How to Install Kitchen Range Hood Vent: Step-by-Step Guide
Are you tired of lingering kitchen odors and smoke that just won’t dissipate? Installing a kitchen range hood vent might be the perfect solution for you.
Not only does it help keep your kitchen air fresh and clean, but it also adds a touch of elegance to your cooking space. Imagine preparing your favorite meals without worrying about smoke alarms or greasy build-up. Sounds appealing, right?
We will walk you through the straightforward process of installing a kitchen range hood vent, ensuring you have all the tips and tricks to make the task as smooth as possible. By the end of this guide, you’ll feel empowered to take on this home improvement project and enhance your kitchen environment. Let’s dive in and discover how simple it can be to transform your kitchen air quality and aesthetic appeal.

Credit: www.create-enjoy.com
Choosing The Right Range Hood
Choosing the right range hood is crucial for a functional kitchen. It enhances air quality and removes smoke, steam, and odors. A well-chosen range hood also adds to the kitchen’s style. But how do you choose the right one? Consider the types, sizes, and capacities available.
Types Of Range Hoods
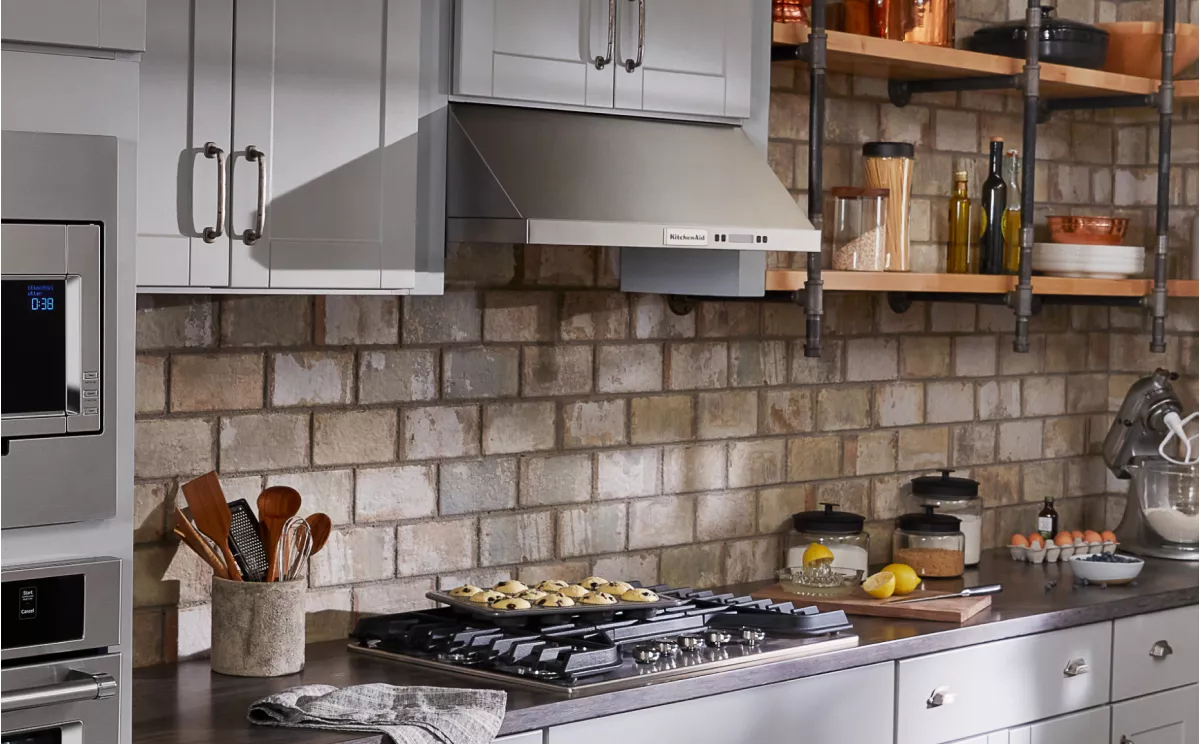
Range hoods come in various types. Wall-mounted hoods attach to the wall above the stove. These are common in many homes. Island hoods hang from the ceiling over a cooking island. They suit open kitchen layouts. Under-cabinet hoods fit beneath kitchen cabinets. They are ideal for small spaces. Downdraft hoods are less common. They pop up from the counter and are good for minimalistic designs.
Size And Capacity Considerations
The size of the range hood should match your stove size. A larger stove needs a bigger hood. This ensures efficient ventilation. Capacity is measured in cubic feet per minute (CFM). A higher CFM means more air is moved. Choose a CFM based on your cooking style. Heavy cooking requires a higher CFM. Measure your kitchen space. This helps in choosing the right size and capacity.
Gathering Necessary Tools And Materials
Gather essential tools like a screwdriver, tape measure, and power drill. Gather materials including ductwork, vent cap, and mounting brackets. Ensure all items are ready for a seamless installation process.
Gathering the necessary tools and materials is vital for installing a kitchen range hood vent. Proper preparation ensures a smooth installation process and helps prevent any delays. Knowing what you need before starting saves time and effort. Below is a guide on the essential tools and required materials needed for this task.Essential Tools
Before beginning, ensure you have all essential tools at hand. This will streamline your installation process.- Drill:A power drill is crucial for creating holes.
- Level:It helps ensure the range hood is perfectly aligned.
- Screwdriver:Necessary for fastening screws securely.
- Tape Measure:Accurate measurements are key to proper installation.
- Utility Knife:Useful for cutting ductwork and tape.
- Hammer:Needed for securing nails and adjusting fittings.
Required Materials
Gathering the right materials is just as important as having the right tools. These materials are essential for a successful installation.- Range Hood Vent:The main component of your installation.
- Ductwork:Allows proper ventilation from the hood to the outside.
- Screws and Anchors:Ensure the hood is securely mounted.
- Sealant:Prevents air leaks and secures duct connections.
- Electrical Wire:Required if the hood has an electrical component.
- Protective Gear:Safety glasses and gloves to protect yourself.
Preparing The Installation Area
Ensure a clear and spacious area for the kitchen range hood vent installation. Remove obstacles and clean the surface. Mark precise measurements for accurate placement.
Installing a kitchen range hood vent is a rewarding DIY project, enhancing both the functionality and aesthetics of your kitchen. Before diving into the installation, preparing the installation area is crucial for a smooth process. This step sets the foundation for a successful installation, ensuring your range hood fits perfectly and operates efficiently.Measuring And Marking
Accurate measurements are your best friend when installing a range hood. Begin by measuring the width of your cooking range. Most range hoods should align with this width for optimal performance. Next, measure the height from the cooking surface to where the hood will be installed. You’ll need to mark this height on the wall, ensuring it’s at a comfortable distance for ventilation. Use a level to ensure these markings are straight. Double-check your measurements. It’s much easier to correct a mistake now than mid-installation. Have you considered any obstructions like cabinets or shelves? Adjust your markings accordingly to prevent future headaches.Clearing The Space
Before you start drilling or mounting, clear the space around your cooking area. Remove any pots, pans, or utensils that could get in the way. It might be tempting to leave some items in place, but a clutter-free zone reduces accidents and increases efficiency. Think about what you’ll need for the installation. Gather your tools and supplies within arm’s reach. A clean, organized space isn’t just about aesthetics; it’s about creating an environment where you can focus and work safely. How much easier will the installation be with everything in order?Installing The Vent Ductwork
Installing the Vent Ductwork Begin by measuring the path for the ductwork. Cut precise openings in the ceiling and wall. Attach the duct sections securely, ensuring they fit tightly. Seal the joints to prevent leaks. Connect the ductwork to the range hood and the exterior vent cap.
Installing the vent ductwork for your kitchen range hood is a crucial part of ensuring that the air flows smoothly from your cooking area to the outside of your home. Proper installation can significantly improve the efficiency of your range hood, keeping your kitchen air fresh and clean. Whether you’re a seasoned DIY enthusiast or just getting started, understanding the steps involved in this process can make it more manageable. Let’s dive into the key aspects of installing vent ductwork, focusing on choosing the duct path and cutting the vent hole.Choosing The Duct Path
Selecting the right duct path is essential for optimal performance. The shortest and straightest path is usually the best choice, as it minimizes airflow resistance. Consider where your range hood is located and the nearest point where it can vent outside. – Evaluate your kitchen layout: Look for the easiest route that avoids structural obstacles like beams or plumbing. – Consider exterior access: Ensure the duct path leads to a convenient exterior wall or roof where venting is possible. – Plan for maintenance: Choose a path that allows easy access for cleaning and repairs. With the right path in mind, you’re setting the stage for efficient venting. Have you ever considered how a simple tweak in duct placement could improve your kitchen’s air quality?Cutting The Vent Hole
Once you’ve determined the duct path, it’s time to cut the vent hole. Precision is key here to ensure a snug fit and optimal performance. – Measure twice, cut once: Use a template or measurement tool to outline the exact spot for the vent hole. – Select the right tools: A jigsaw or hole saw is typically suitable for cutting through different materials like drywall or siding. – Be mindful of safety: Wear protective gear and ensure the area is clear of any obstructions before cutting. Taking the time to cut the vent hole accurately can make a big difference. Have you ever noticed how much easier projects become when you prioritize precision and safety?Mounting The Range Hood
Mounting the range hood involves securing it above your stove. Position the hood at the recommended height for efficiency. Connect to the ventilation system, ensuring proper alignment for optimal air flow.
Mounting the range hood properly ensures optimal performance in your kitchen. This crucial step requires precision and care. With the right tools and guidance, you can complete this task smoothly.Securing The Hood To The Wall
Begin by marking the position on the wall. Use a level to ensure accuracy. Drill holes where you marked the wall for the screws. Position the range hood carefully. Secure it by tightening the screws firmly. Double-check to ensure it’s level and stable.Connecting Electrical Wiring
Turn off the power from the circuit breaker first. Identify the wires: usually, black is live, white is neutral, and green or bare is ground. Connect the wires from the hood to the corresponding house wires. Use wire nuts to secure the connections. Finally, tuck the wires neatly into the junction box. Turn the power back on and test the hood.
Credit: prolinerangehoods.com
Connecting The Vent System
Connecting the vent system is a crucial step in installing your kitchen range hood. This process ensures that smoke, steam, and odors are efficiently removed from your kitchen, keeping your space fresh and comfortable. Let’s dive into how you can smoothly connect the vent system with precision and ease.
Attaching The Ductwork
Begin by selecting the right type of ductwork for your range hood. Ensure it matches the specifications in your range hood manual.
Measure the distance from the hood to the exterior wall or roof vent. This helps you cut the ductwork to the exact length needed, avoiding unnecessary waste.
Securely attach the ductwork to the range hood’s vent outlet using screws and brackets. This minimizes the risk of any air leaks.
Consider using a flexible duct if your setup requires curves or bends. It’s easier to maneuver and install in tight spaces.
Sealing The Connections
Once the ductwork is attached, focus on sealing the connections to ensure there are no gaps. Any leaks can reduce the efficiency of your range hood.
Apply a generous amount of HVAC tape around the joints. This reinforces the connection and prevents air from escaping.
Use duct mastic for additional sealing. It’s a thick paste that provides a durable, airtight seal. Just make sure it’s applied evenly around the joints.
Have you ever wondered why your kitchen still smells even after cooking? It could be those tiny gaps in your ductwork. Sealing them properly makes all the difference.
Once everything is sealed, test the vent system. Turn on the range hood and observe if any air escapes from the connections. Adjust the seals if necessary.
Remember, a well-connected vent system not only enhances your kitchen environment but also extends the life of your range hood. Wouldn’t you want to make sure your kitchen is always fresh and welcoming?
Testing The Installation
Testing the Installation Ensure the kitchen range hood vent functions by turning it on and checking airflow. Listen for unusual noises and inspect for leaks or blockages.
After installing your kitchen range hood vent, testing is crucial. Ensuring everything works perfectly gives peace of mind. A correctly functioning vent improves kitchen air quality. Let’s walk through the essential steps for testing the installation.Checking For Airflow
Start by turning on the range hood. Listen for the fan noise. This indicates it’s drawing air. Place a piece of paper near the vent. If it sticks, airflow is good. Ensure the air exits through the outside vent. Check various fan speeds for consistent performance.Inspecting For Leaks
Look for air leaks around the duct joints. Use your hand to feel for escaping air. Seal any leaks with duct tape or sealant. Ensure the vent cover is securely attached. Check for leaks when the fan is off and on. This ensures a tight seal under all conditions. Testing guarantees your range hood functions efficiently. It keeps your kitchen fresh and free from unwanted odors.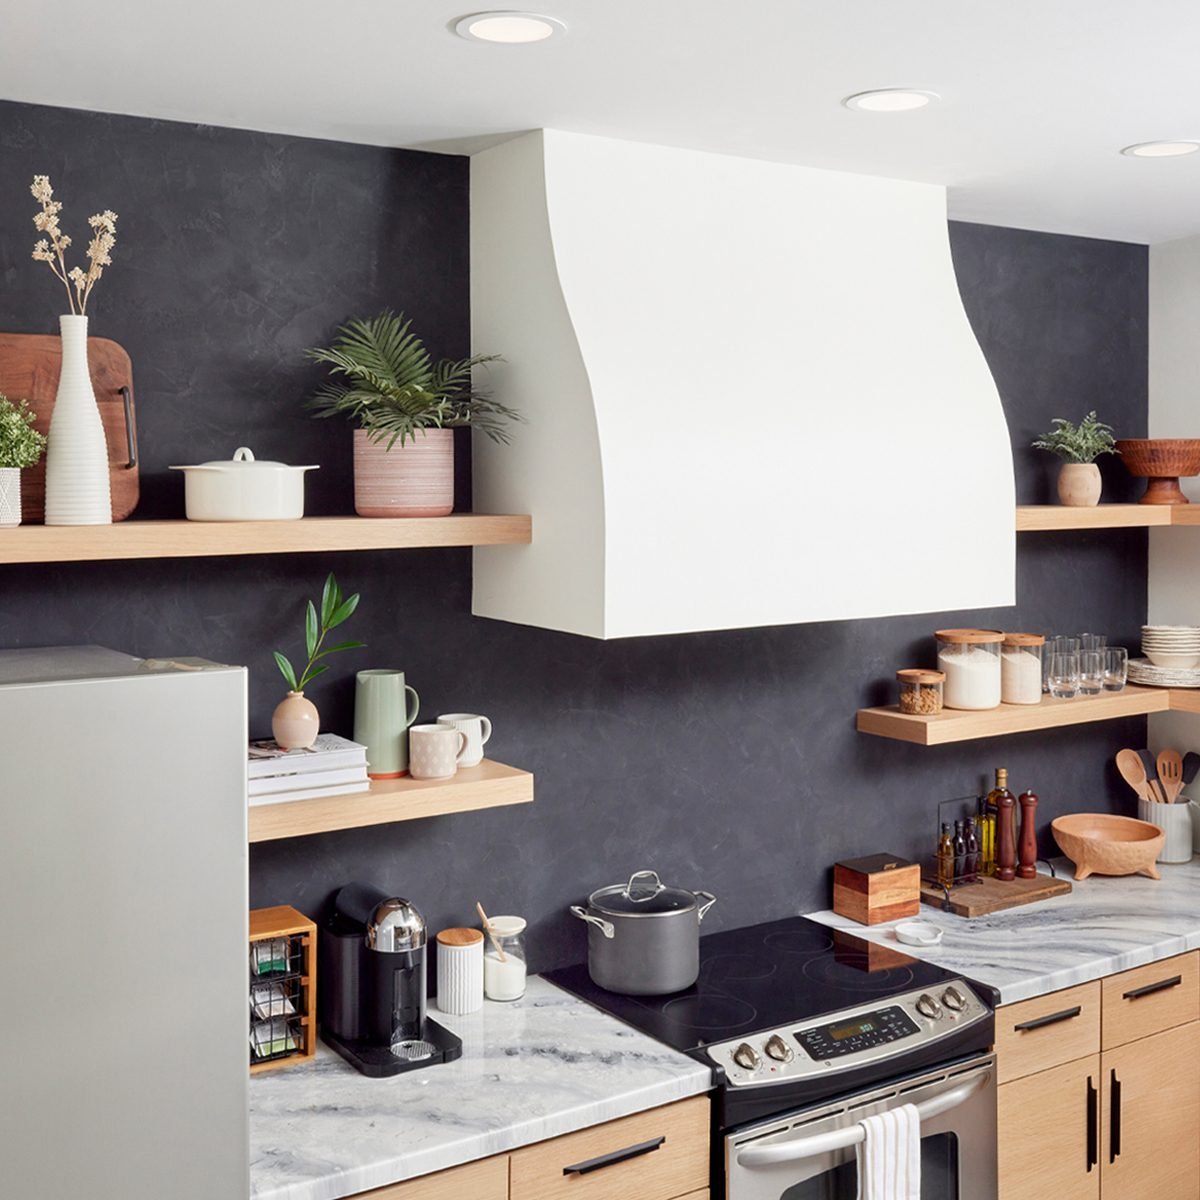
Credit: www.familyhandyman.com
Final Adjustments And Finishing Touches
After installing your kitchen range hood vent, it’s time for the final touches. These last steps ensure everything aligns perfectly and functions smoothly. Paying attention to these details can enhance both performance and aesthetic appeal. Let’s dive into the key aspects of final adjustments and finishing touches.
Aligning The Hood
Ensure the hood is centered above the stove. Use a level to check alignment. Adjust the brackets if needed. Tighten all screws securely to prevent wobbling. Double-check the duct connection for leaks. Proper alignment improves efficiency and appearance.
Cleaning And Maintenance Tips
Wipe down the hood with a damp cloth to remove dust. Use mild soap for stubborn stains. Regular cleaning maintains its shine and function. Check filters monthly for grease buildup. Replace or clean filters as necessary. Clean ducts annually to prevent blockages.
Frequently Asked Questions
Can I Install A Hood Vent Myself?
Yes, you can install a hood vent yourself with basic tools and skills. Ensure you follow manufacturer instructions carefully. Proper installation requires knowledge of electrical wiring and venting. Consider hiring a professional if unsure. Safety and correct venting are crucial for optimal performance.
Do Stove Hoods Have To Be Vented Outside?
Stove hoods can be vented outside or recirculated internally. Vented hoods remove smoke and odors more effectively. Recirculating hoods use filters to clean the air. Choose based on kitchen layout and preferences.
Is It Better To Vent A Range Hood Through A Wall Or Roof?
Venting a range hood through the roof is usually better for efficient airflow and moisture control. Wall venting can be easier but may face obstacles like windows or structural barriers. Always prioritize a direct path with minimal bends for optimal performance.
Consult a professional to ensure proper installation.
What Is The Code For Range Hood Venting?
The code for range hood venting typically follows local building codes and the International Residential Code (IRC). Ducts should be metal, smooth, and as short as possible. Ensure proper vent termination outside the building. Always consult local regulations and a professional for specific requirements.
Conclusion
Installing a kitchen range hood vent can be straightforward. Follow the steps carefully. Ensure you have all the necessary tools. Measure twice to avoid mistakes. Safety should be your top priority. Take your time and double-check each step. A well-installed vent improves air quality.
It also enhances your kitchen’s functionality. Now, enjoy a fresher and cleaner cooking space. With these tips, you’re ready to tackle the task. Happy cooking!