Do It Yourself Kitchen Backsplash: Transform Your Space
Are you tired of staring at the same old kitchen walls every day? Imagine transforming your cooking space into a stylish haven without breaking the bank.
A do-it-yourself kitchen backsplash can be your perfect solution. It’s not just about looks; it’s about adding a touch of your personality to one of the most important spaces in your home. You don’t need to be a professional designer or have a hefty budget to achieve a stunning kitchen makeover.
With a bit of creativity and some simple tools, you can create a backsplash that speaks to your style. Intrigued? Let’s dive into how you can make your kitchen the heart of your home, reflecting your unique taste and flair.
Choosing The Right Materials
Embarking on a DIY kitchen backsplash project is an exciting journey into personalizing your space. Choosing the right materials can make all the difference in achieving a stunning result. The materials you select will not only impact the aesthetic appeal of your kitchen but also the ease of installation and maintenance. As you dive into this creative endeavor, consider how each option will harmonize with your existing decor and meet your practical needs.
Tile Options
Tiles are a classic choice that offers a multitude of styles, colors, and textures. Ceramic and porcelain tiles are popular for their durability and water resistance, making them ideal for kitchen environments. If you’re aiming for a more rustic or traditional look, consider terracotta or stone tiles. They add warmth and charm, though they may require more care. Mosaic tiles, on the other hand, can create intricate patterns and are a fantastic way to infuse personality into your kitchen.
Peel And Stick Solutions
If you’re looking for a hassle-free installation, peel and stick solutions might be your best bet. These are perfect for DIY enthusiasts who want a quick update without the mess of grout. They come in a variety of designs, mimicking the look of real tiles, wood, or metal. Their adhesive backing allows for easy application, making them a time-saver and a cost-effective choice. However, think about the longevity and how often you might want to refresh your design.
Glass And Metal Choices
For those seeking a modern and sleek appearance, glass and metal options offer a striking effect. Glass tiles reflect light beautifully, creating a bright and airy feel in your kitchen. They are easy to clean but require careful installation to avoid breakage. Metal tiles, such as stainless steel or copper, bring an industrial touch and are incredibly durable. Consider how these materials will interact with your kitchen’s appliances and fixtures, enhancing or contrasting their finishes.
Essential Tools And Supplies
Choosing essential tools and supplies is key for a successful DIY kitchen backsplash project. Gather tiles, adhesive, grout, spacers, and a tile cutter. Ensure your toolkit includes a level, sponge, and safety gear for a smooth installation.
Transforming your kitchen with a DIY backsplash can be a rewarding project. Not only does it add a personal touch, but it also lets you showcase your creativity. However, achieving a professional look requires the right tools and supplies. Let’s dive into the essentials you need to get started.Measuring And Cutting Tools
Accurate measurements are crucial for a flawless backsplash installation. Consider using a tape measure for precision. A level ensures tiles are aligned perfectly. Cutting tools like a tile cutter or wet saw are indispensable for trimming tiles to fit awkward spaces. A pencil or chalk can help mark cutting lines clearly.Adhesives And Grout
Choosing the right adhesive is key to a durable backsplash. Thin-set mortar works well for heavy tiles, while tile mastic is ideal for lighter materials. Grout fills the gaps between tiles, adding strength and a finished look. Opt for epoxy grout for its water-resistant qualities, especially if your backsplash is near a sink.Safety Gear
Safety should never be overlooked. Protect your eyes with safety goggles while cutting tiles. Gloves not only keep your hands clean but also protect from sharp tile edges. Consider using a dust mask if your cutting tool generates dust. A safe workspace contributes to a successful project. Are you ready to roll up your sleeves and transform your kitchen? With these tools and supplies, you’re set to create a backsplash that reflects your unique style. What design are you envisioning for your kitchen?Preparing Your Kitchen
Transform your kitchen with a DIY backsplash. Choose tiles that match your style and install them yourself. Enjoy a fresh look and a sense of accomplishment in your cooking space.
Preparing your kitchen for a DIY backsplash installation is crucial to ensure a smooth and successful project. Imagine stepping back to admire your new backsplash, knowing that the foundation was laid with care and precision. This preparation stage is where you set the stage for the creativity that follows. Here’s how to make your kitchen ready for transformation.Cleaning And Clearing The Area
Before diving into the installation, make sure your workspace is spotless. A clean surface ensures that the adhesive will stick properly. Wipe down the walls with a mild detergent to remove any grease or dust. Clear the countertops of all items. This includes small appliances, decor, and utensils. Having a clutter-free area allows you to move freely and avoid accidents. Think of this as giving your kitchen a fresh slate, ready for a new touch.Protecting Surfaces
Protecting your surfaces is as important as cleaning them. Cover your countertops with old sheets or plastic to shield them from adhesive spills. This simple step saves you from potential headaches later on. Don’t forget the floors. Use drop cloths to prevent damage from falling tiles or adhesive. Consider taping the edges of your counters and cabinets. This can prevent any accidental scratches or stains. It’s all about keeping your kitchen safe while you work on your masterpiece.Planning Your Design
This is where your vision comes to life. Take a moment to plan out your design. Sketch it out or use painter’s tape to visualize the layout on the wall. This helps you see if your idea fits the space as beautifully as you imagined. Think about the color scheme and tile pattern. Do you want bold and vibrant, or subtle and classic? Consider how it complements the rest of your kitchen decor. Ask yourself: Does this design express your personal style? Having a clear plan not only saves time but ensures you’re happy with the result. Preparation is the key to turning your DIY backsplash into a stunning focal point in your kitchen.
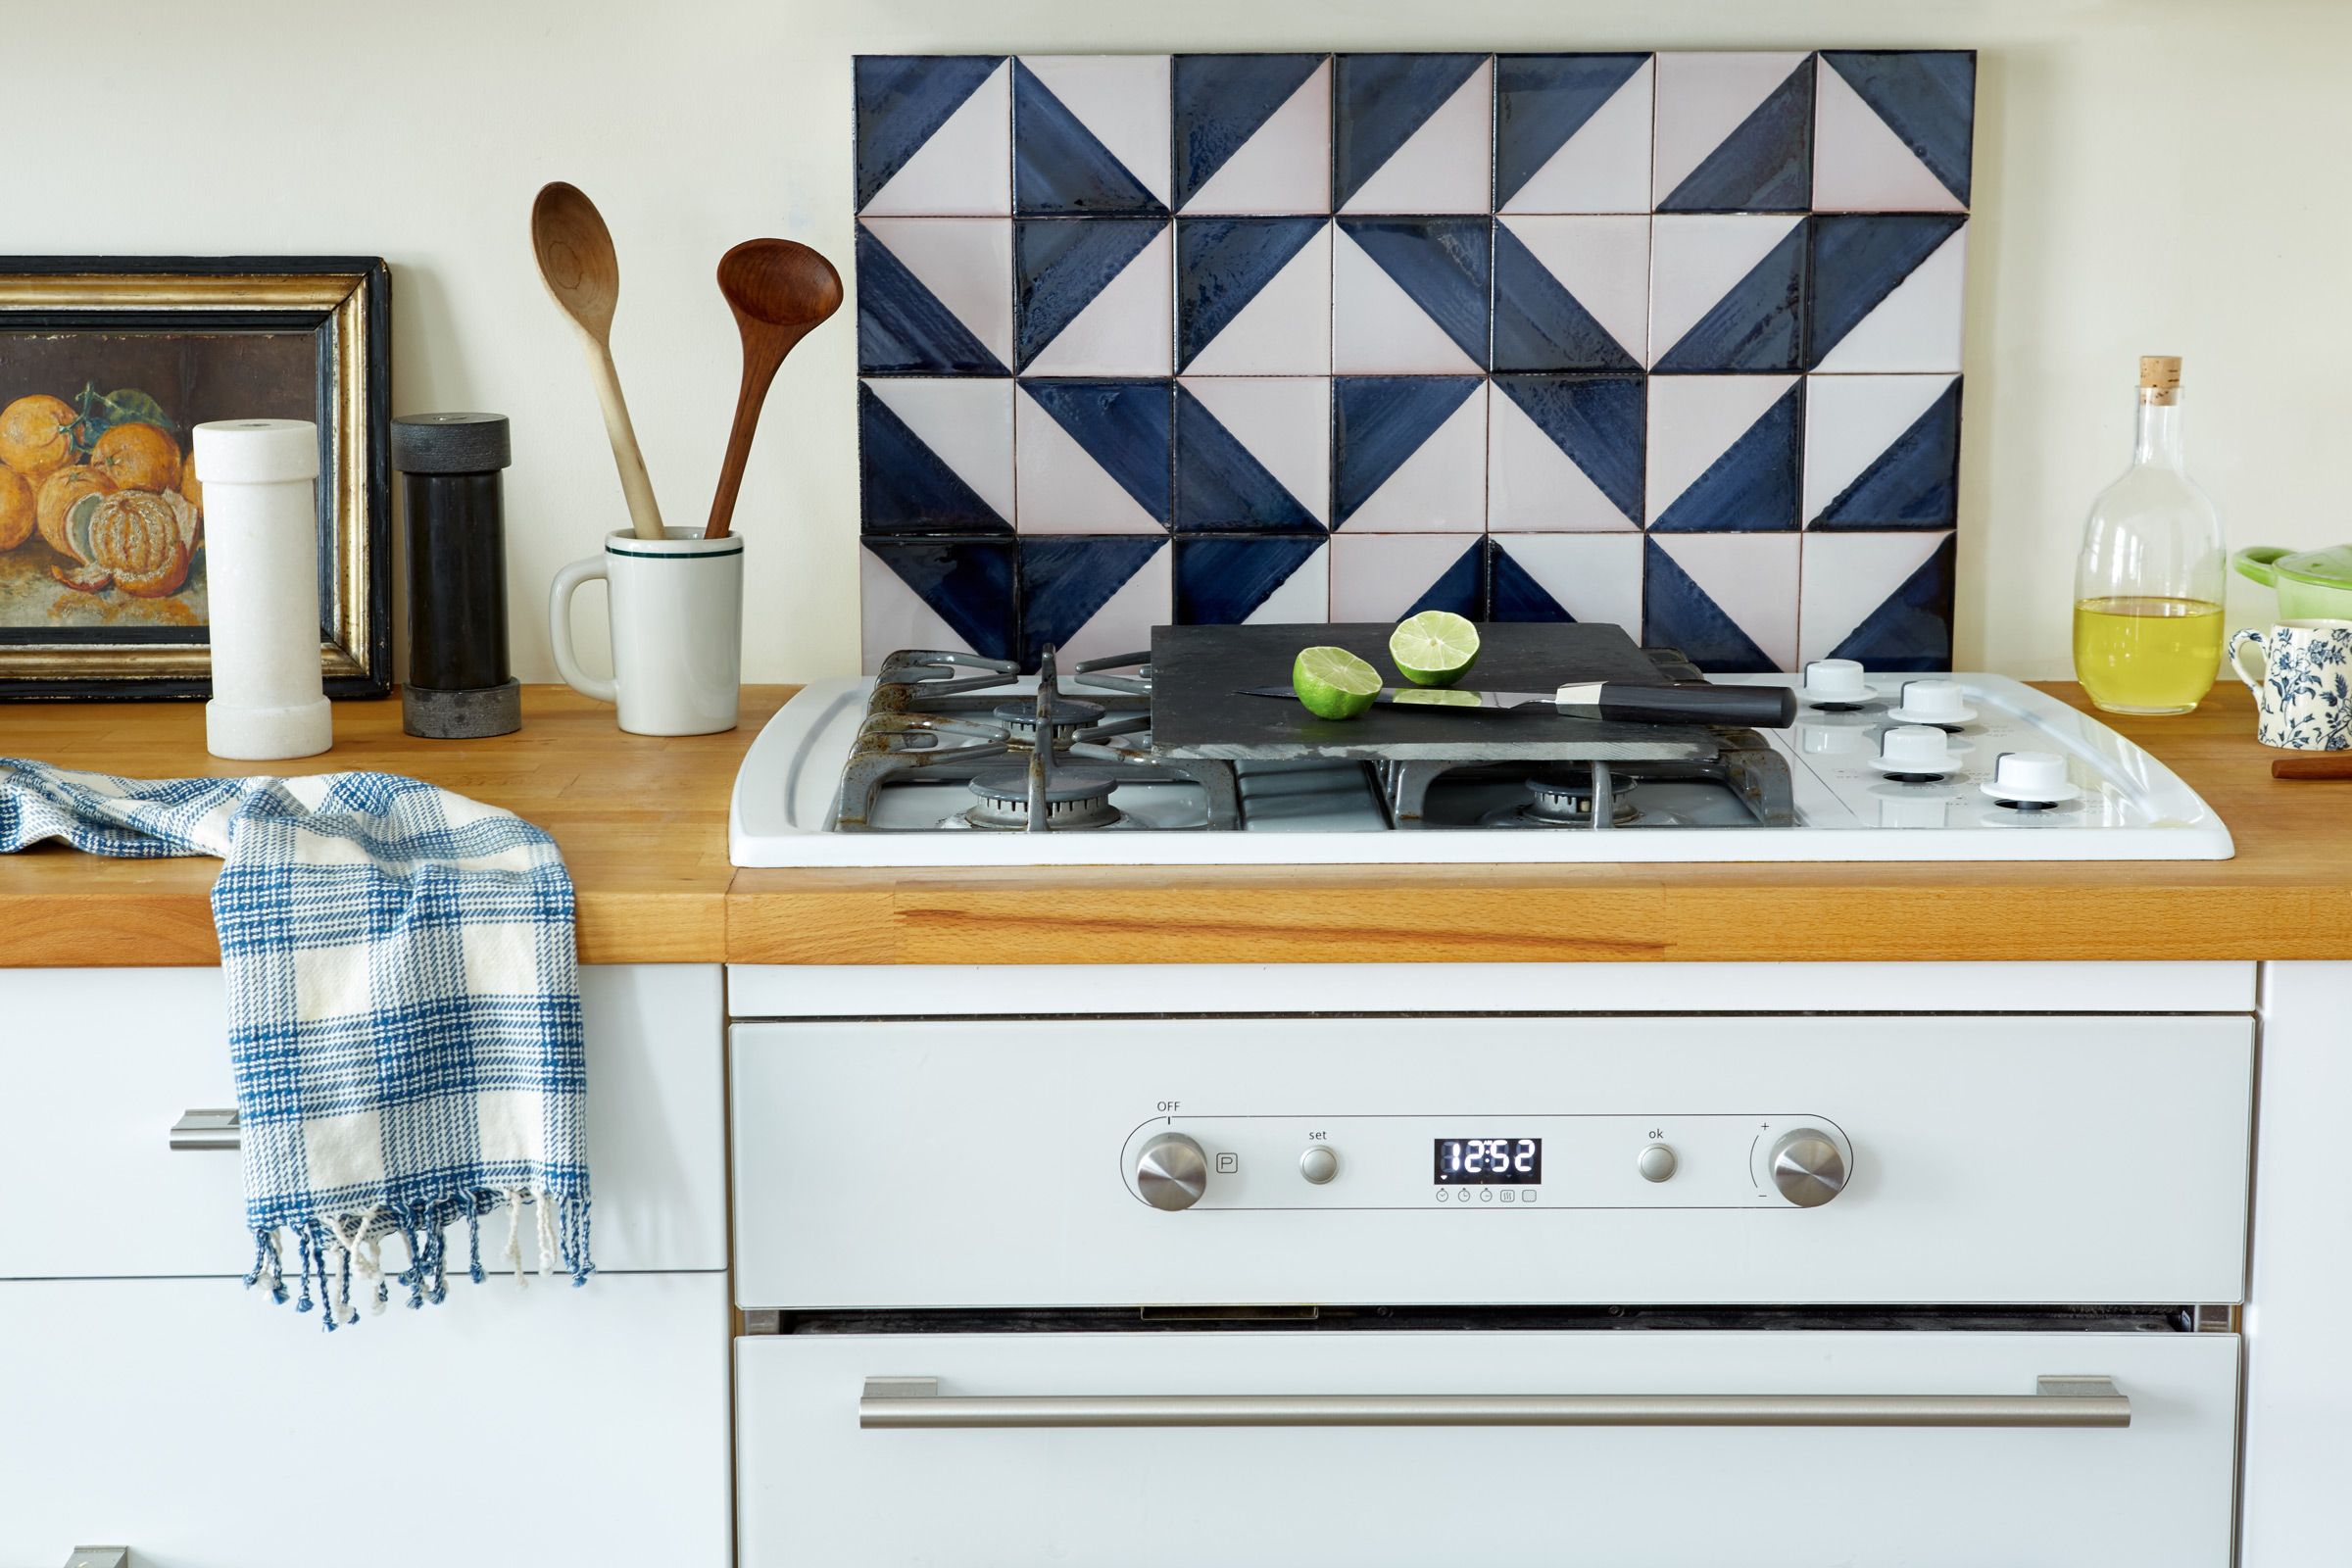
Credit: www.megandauphineeliving.com
Installation Process
Transform your kitchen with a DIY backsplash installation. Begin by cleaning the wall surface thoroughly. Measure and cut tiles to fit, then apply adhesive to secure them in place. Finally, grout the tiles and clean the surface for a polished look.
Enjoy your new, stylish kitchen backdrop.
Installing your own kitchen backsplash can be an exciting project. With the right tools and a dash of creativity, you can transform your kitchen space. The installation process is straightforward, but attention to detail is key. Here’s how you can tackle the steps with ease.Applying Adhesive
Begin with a clean, dry surface. This ensures your adhesive sticks well. Use a notched trowel to spread the adhesive evenly. Start from the center and work your way outwards. It’s like spreading peanut butter on toast—smooth and consistent. Remember, applying too much adhesive can cause problems. A thin layer is often all you need.Setting The Tiles
Press each tile firmly into the adhesive. This helps it stay in place. Align each tile with the next to maintain a consistent pattern. Think of it as piecing together a puzzle where every piece must fit perfectly. Use spacers between tiles to keep them even. This little trick can make a big difference in your final look.Grouting Techniques
Once the adhesive is dry, it’s time to grout. Mix your grout according to the package instructions. Use a rubber float to spread the grout diagonally across the tiles. This ensures it fills all gaps. Wipe away excess grout with a damp sponge. This reveals the beauty of your tiles while keeping lines clean. Does your backsplash reflect your personality? A well-installed backsplash not only protects your walls but also adds a personal touch to your kitchen. Your effort can turn an ordinary kitchen into an extraordinary one.Finishing Touches
As you near the completion of your DIY kitchen backsplash project, the finishing touches are where your creativity truly shines. These final steps not only enhance the aesthetic appeal but also ensure the durability of your handiwork. Are you ready to add that extra sparkle to your kitchen?
Sealing The Surface
Once you’ve meticulously laid out your tiles, sealing the surface is crucial. This step protects your backsplash from moisture and stains, keeping it looking new. Use a clear sealant that complements your tiles. A brush or roller can help you apply it evenly.
Consider the sealant type based on your tiles: matte for a subtle look or glossy for a vibrant finish. Remember, a well-sealed backsplash is easier to clean and maintain. Have you sealed your tiles yet?
Adding Decorative Elements
Now comes the fun part—adding decorative elements to personalize your kitchen space. You can use stencils to paint unique patterns, or add adhesive decals for a quick and stylish upgrade.
Consider using decorative trim to frame your backsplash. This adds depth and character to the design. Does your backsplash reflect your personality yet?
Final Clean-up
With all enhancements in place, a thorough clean-up is essential. Wipe down your tiles with a damp cloth to remove any dust or residue. This keeps your backsplash gleaming and ready for display.
Ensure that you clean up any tools and materials used during the project. A tidy workspace often leads to a tidy mind. Are you ready to admire your masterpiece?
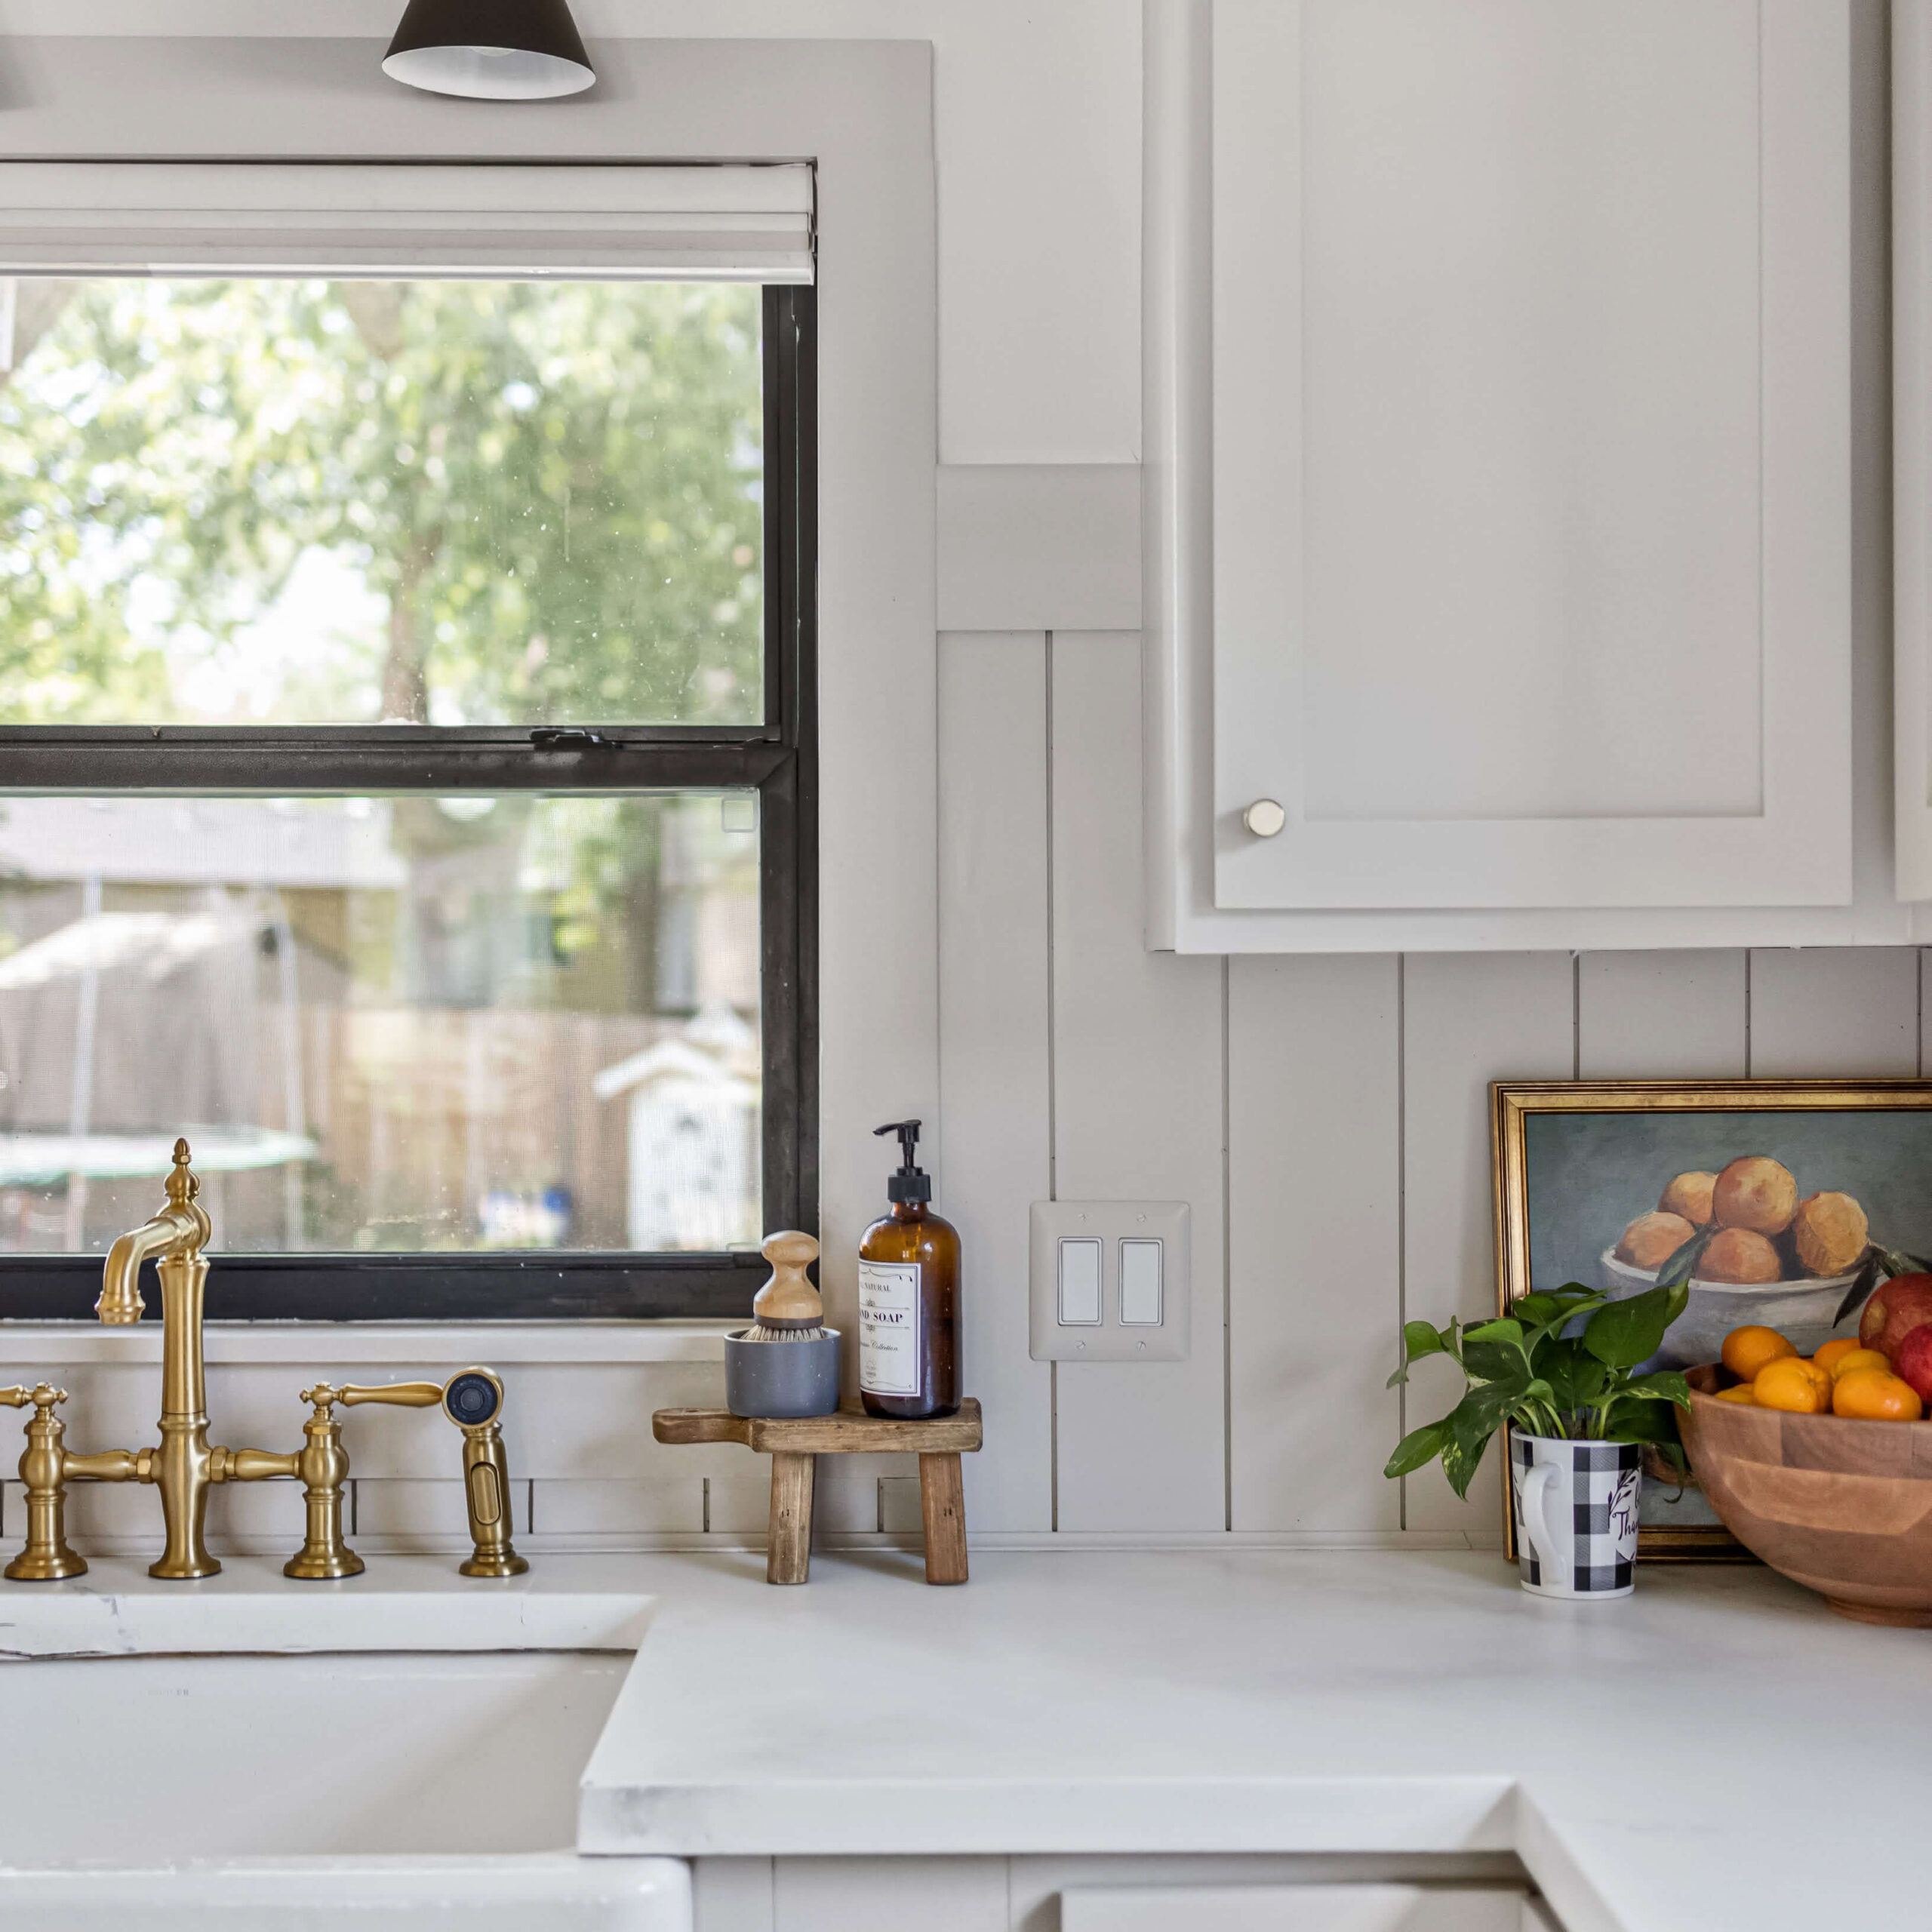
Credit: crystelmontenegrohome.com
Common Mistakes To Avoid
Creating your own kitchen backsplash can be a rewarding project. Yet, even the most enthusiastic DIYers make mistakes. Knowing what to avoid can save time and effort. Here are some common pitfalls to steer clear of.
Improper Measurements
Accurate measurements are crucial for a perfect fit. Many underestimate their importance. Always measure twice to ensure accuracy. Consider every edge, corner, and outlet. A small error can lead to wasted materials and frustration. Use a reliable measuring tape and double-check your numbers.
Overuse Of Adhesive
Too much adhesive can create a mess. It may ooze from tile edges, ruining the look. Apply a thin, even layer for best results. Excess adhesive can make cleaning difficult and cause tiles to slip. Always follow the product instructions for the right amount. Remember, less is often more.
Ignoring Drying Times
Patience is key with drying times. Rushing the process can cause tiles to shift or fall. Each adhesive has a recommended drying time. Always allow the full time to ensure strong adhesion. Plan your project timeline accordingly. This will ensure your backsplash remains secure and attractive.
Maintenance And Care
Proper care extends the life of your DIY kitchen backsplash. Regularly wipe with a damp cloth to prevent stains. Avoid abrasive cleaners to maintain its shine and texture.
Maintaining and caring for your DIY kitchen backsplash ensures its beauty lasts. Regular upkeep prevents stains and keeps it looking fresh. With the right techniques, your backsplash can remain a stunning feature of your kitchen.Regular Cleaning Tips
Consistent cleaning is key for a spotless backsplash. Use a soft cloth with mild soap. Avoid harsh chemicals that might damage the material. For stubborn spots, a mixture of vinegar and water works well. Dry the backsplash with a clean towel to prevent water marks.Repairing Damages
Minor damages can occur from daily kitchen activities. Small cracks or chips can be fixed with a touch-up kit. Fill in the cracks gently and smooth the surface. For larger damages, consider replacing the affected tile. This keeps the backsplash looking uniform and appealing.Re-sealing Advice
Re-sealing is essential for porous materials like stone. It protects against moisture and stains. Seal the backsplash every six months for optimal protection. Clean the surface thoroughly before applying the sealant. Follow the manufacturer’s instructions for best results. This ensures the sealant bonds effectively, maintaining your backsplash’s integrity.
Credit: inmyownstyle.com
Frequently Asked Questions
What Is The Easiest Diy Kitchen Backsplash?
Peel-and-stick tiles offer the easiest DIY kitchen backsplash. They require minimal tools and are simple to apply. These tiles come in various styles, making it easy to customize your kitchen. Just clean the surface, peel, and stick for a quick upgrade.
It’s a budget-friendly option for beginners.
What Is The Cheapest Way To Do A Backsplash?
Use peel-and-stick tiles for a cost-effective backsplash. They are easy to install and require minimal tools. Choose from various designs to match your kitchen style. These tiles offer a budget-friendly, quick solution to transform your space without the need for professional help.
Are Peel And Stick Backsplashes Any Good?
Peel and stick backsplashes offer convenience and affordability. They are easy to install and replace, enhancing kitchen decor. Made from durable materials, they resist moisture and stains. Ideal for DIY projects, they provide a quick refresh without professional help. Perfect for renters wanting a temporary, stylish upgrade.
How Long Do Peel And Stick Backsplashes Last?
Peel and stick backsplashes typically last 5 to 10 years. Their lifespan depends on installation quality and exposure. Proper maintenance can extend their durability. They are a cost-effective and stylish option for quick home updates. Ensure the surface is clean and dry for optimal adhesion.
Conclusion
Creating your own kitchen backsplash is rewarding. It adds personal touch. You save money. You learn new skills. The process is simple. Choose materials wisely. Plan your design carefully. Measure accurately for a perfect fit. Use adhesive properly. Ensure tiles are secure.
Enjoy the transformation. Your kitchen looks fresh. Friends will admire your work. Feel proud of your effort. A DIY backsplash brings satisfaction. It’s a fun project. Ready to try it yourself? Dive into DIY backsplash. Your kitchen awaits its new look.
Happy tiling!