
How to Disconnect a Kitchen Sink: Expert Guide
Are you staring at your kitchen sink, wondering how to tackle the task of disconnecting it? Whether you’re about to embark on a full kitchen renovation or just need to replace a faulty sink, the thought of diving into plumbing might feel daunting.
But here’s the good news: disconnecting a kitchen sink can be straightforward, even for beginners. Imagine the satisfaction of completing the task yourself, saving money, and gaining a new skill in the process. This guide will walk you through each step, demystifying the process and empowering you to take control of your kitchen project.
Stick with us, and by the end, you’ll wonder why you ever hesitated in the first place. Ready to transform your kitchen without a hitch? Let’s get started!
Tools And Materials
Disconnecting a kitchen sink involves various steps that require specific tools and materials. Proper preparation ensures a smooth process and helps prevent any mishaps. Knowing the right equipment is crucial for a successful disconnection.
Tools Required
Having the right tools makes the task easier. Here are the essential tools:
- Adjustable Wrench:Useful for loosening nuts and bolts.
- Pipe Wrench:Ideal for gripping and turning pipes.
- Bucket:Helps collect water during disconnection.
- Plumber’s Tape:Prevents leaks by sealing pipe threads.
- Screwdriver:Removes screws securing sink components.
Materials Needed
Gathering the right materials is crucial. It ensures efficiency and safety:
- Rags or Towels:Useful for wiping spills and drying hands.
- Plastic Sheeting:Protects the floor from water damage.
- Gloves:Protects hands from grime and sharp edges.
Safety Precautions
Safety is important during disconnection. Follow these precautions:
- Turn Off Water:Prevents leaks and flooding.
- Disconnect Power:Stops electrical hazards if dealing with garbage disposal.
- Ventilate Area:Reduces exposure to any fumes from cleaning agents.
Having these tools and materials ready simplifies the disconnection process. It enhances efficiency and ensures safety throughout the task.

Credit: www.youtube.com
Preparing Your Workspace
Preparing Your Workspace Clear the area under your sink. Gather necessary tools like a wrench and bucket. Ensure good lighting for visibility.
Preparing Your Workspace is crucial before disconnecting a kitchen sink. A well-organized area ensures a smooth and efficient process. It minimizes potential hazards and keeps your tools within reach. Start by organizing and clearing the workspace to prevent clutter. This enhances your focus and helps avoid accidents. Proper preparation allows you to tackle the task confidently, reducing stress.Clear The Area
Begin by removing items from under the sink. Store cleaning supplies and other items elsewhere. This gives you easy access to pipes and fittings. It also prevents damage to your belongings. Place towels or mats to protect the floor from spills. Keep your tools organized nearby, so you can reach them easily.Ensure Safety Measures
Wear protective gloves to safeguard your hands from sharp edges. Ensure good lighting to see clearly and avoid mistakes. Use safety goggles to protect your eyes from debris. Ensure the water supply is turned off before starting. This prevents unexpected leaks and keeps your workspace dry.Turning Off Water Supply
Turning off the water supply is crucial for disconnecting a kitchen sink. Locate and close the valves under the sink. This prevents leaks and ensures a smooth disconnection process.
Turning off the water supply is the first step in disconnecting a kitchen sink. This prevents any unexpected leaks or water damage. It’s crucial to ensure all water flow stops before moving forward. This process is simple and ensures safety during your plumbing task.Locate The Valves
Find the water valves under the sink. Typically, these are small, round knobs. They are often found on the wall or connected directly to the pipes. Usually, there are two valves. One is for hot water and the other for cold. Look closely to avoid confusion.Shut Off Water Flow
Turn each valve clockwise to stop the water. This shuts off the flow completely. Test the faucet to make sure no water is running. If you hear silence, the water is off. Double-check each valve to ensure they are tightly closed.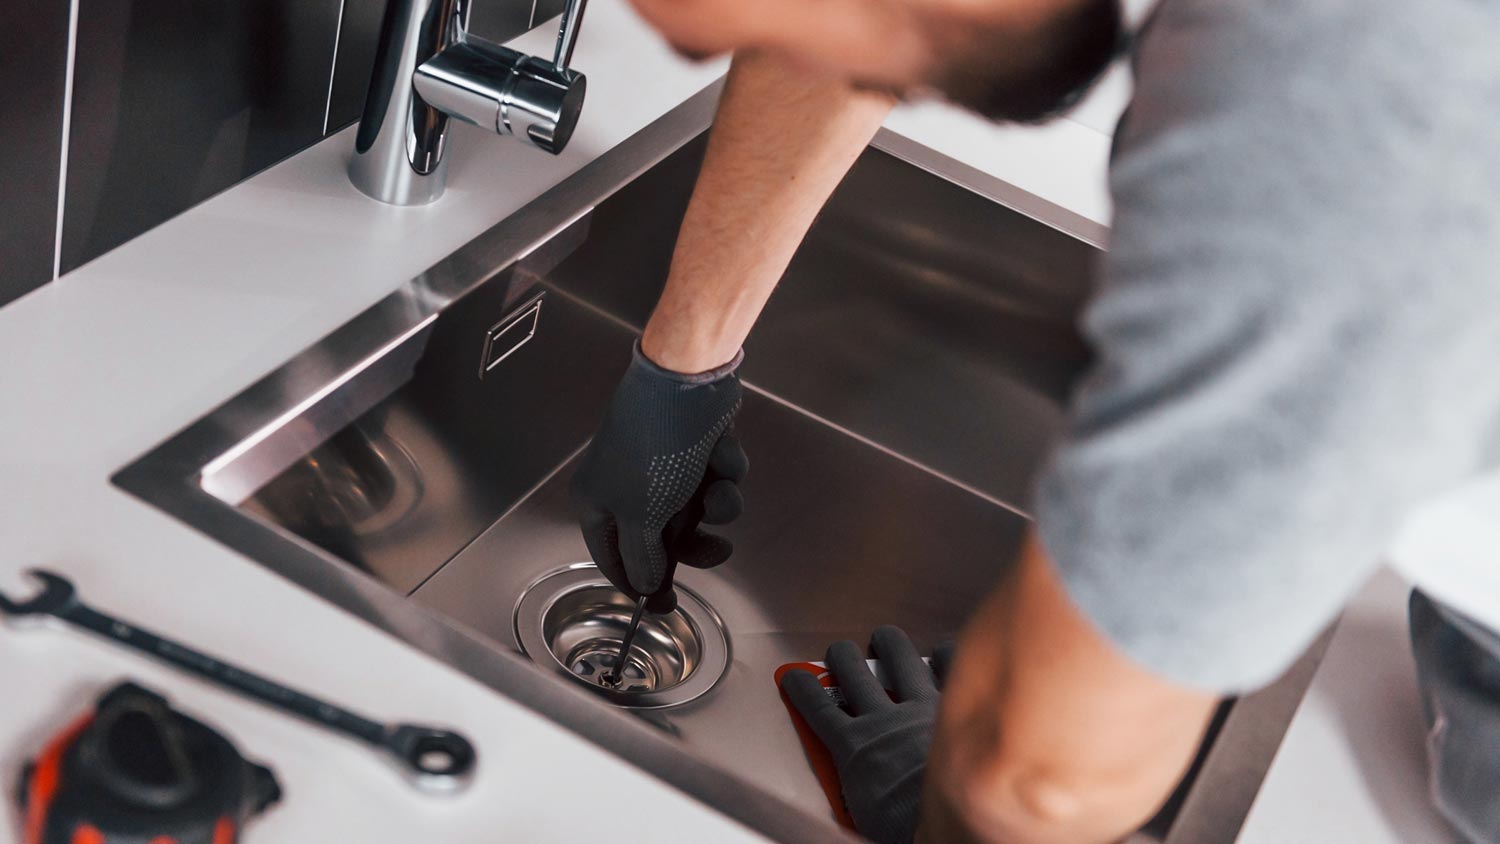
Credit: www.angi.com
Disconnecting The Drain Pipe
Disconnecting a kitchen sink drain pipe involves loosening nuts using pliers to detach the pipe. Ensure a bucket is placed under the pipe to catch any residual water. Carefully remove the pipe to prevent spills and check for clogs or debris before reinstalling.
Disconnecting the drain pipe under your kitchen sink is a vital task. It ensures water flows smoothly and prevents leaks. Before starting, gather necessary tools like pliers and a bucket.Loosen The Slip Nuts
Locate the slip nuts on the drain pipe. These nuts connect different sections of the pipe. Use pliers to grip and turn each slip nut counterclockwise. This action loosens the connection. Some slip nuts may be plastic or metal. Handle them carefully to avoid damage. If they are stuck, apply a gentle force.Remove The P-trap
The P-trap is a curved part of the pipe. It holds water to prevent sewer gas from entering. To remove it, first ensure the slip nuts are loose. Place a bucket under the P-trap. This catches any residual water. Carefully pull the P-trap away from the drain pipe. Check for any blockages or debris inside. Clean it thoroughly if needed.Detaching The Faucet Connections
Detach the faucet connections by first shutting off the water supply. Use a wrench to loosen the nuts connecting the faucet to the water lines. Carefully remove the hoses, ensuring no water spills.
Detaching the faucet connections is a crucial part of disconnecting your kitchen sink. It’s a task that requires a bit of patience and some simple tools. When done correctly, you’ll prevent potential water leaks and ensure a smooth sink removal process.Unfasten Water Lines
Before starting, make sure to turn off the water supply. This step might seem obvious, but it’s often overlooked in the excitement of DIY tasks. Locate the shut-off valves under the sink and rotate them clockwise until they stop. Next, grab a wrench or pliers to unfasten the water lines. These are usually connected to the faucet with nuts that need to be loosened. Remember, lefty-loosey! If the nuts are stubborn, a little penetrating oil can work wonders.Remove Faucet Nuts
Once the water lines are detached, it’s time to remove the faucet nuts. These nuts secure the faucet to the sink and are usually hidden beneath the sink basin. Be prepared to contort yourself a bit to reach them. Using a basin wrench can make this task much easier, especially in tight spaces. Loosen each nut carefully, and keep a towel handy to wipe away any accumulated grime. Have you ever had to improvise when you didn’t have the right tool? In my first sink disconnection, I used a pair of adjustable pliers instead of a basin wrench. It took longer, but the satisfaction of completing the task was worth it. By following these steps, you’ll have the faucet connections detached in no time. Are you ready to move to the next stage of your sink removal journey?
Credit: www.youtube.com
Removing The Sink
Disconnecting a kitchen sink involves several steps. Begin by shutting off the water supply and loosening the faucet connections. Next, carefully detach the drainage pipes, ensuring all water is drained.
Removing the kitchen sink can seem like a daunting task, but with the right approach, it’s entirely manageable. Whether you’re replacing an old sink or just doing some plumbing work, understanding how to properly remove the sink is crucial. This section will guide you through this process with clear and actionable steps.Loosen Mounting Clips
Begin by locating the mounting clips under the sink. These clips are typically found around the perimeter, securing the sink to the countertop. Use a screwdriver to loosen each clip. As you turn the screws, you might feel a sense of accomplishment. It’s these little victories that make DIY projects rewarding. Make sure all clips are fully loosened to prevent any damage when lifting the sink.Lift The Sink Out
With the clips loosened, you’re ready for the next step: lifting the sink out. Gently slide a putty knife around the edges to break any sealant. This ensures you don’t damage the countertop or the sink itself. Carefully lift the sink straight up. If it feels stuck, double-check for any missed clips or sealant. Once free, place the sink on a soft surface to avoid scratches or dents. Have you ever wondered how much lighter a sink feels when you finally detach it from its restraints? It’s a moment of triumph, reminding you that sometimes, the most challenging tasks are just about taking the first step. By following these steps, you can remove your kitchen sink with confidence and precision.Cleaning And Inspecting
Disconnecting a kitchen sink involves cleaning and inspecting the area. Ensure the water supply is off. Carefully loosen connections and remove debris.
Disconnecting a kitchen sink is more than just a practical task—it’s an opportunity to ensure everything is in top shape. Once you’ve removed the main components, it’s time to give the area a thorough cleaning and inspection. This step is essential, not just for cleanliness, but to spot any issues that might require attention. By cleaning and inspecting, you can extend the life of your plumbing and prevent potential problems. Let’s dive into the specifics of this crucial step.Clean The Area
Before inspecting, ensure the area is spotless. Wipe down all surfaces with a damp cloth to remove any grime or residue. Use a mixture of warm water and mild dish soap for an effective clean. For stubborn spots, a baking soda paste can work wonders. Remember to clean around the sink’s edges and underneath, where grime often accumulates unnoticed. A clean work area isn’t just about hygiene—it’s about creating a clear view for inspection.Inspect For Damage
Once everything is clean, take a closer look for any signs of wear or damage. Check pipes and seals for cracks or leaks. Examine the sink basin for chips or rust, which can be early indicators of larger issues. Do you notice any unusual odors? This could signal hidden problems like mold or trapped food particles. Addressing these issues now can save you from costly repairs later. By dedicating some time to cleaning and inspecting your kitchen sink, you maintain not just its appearance, but its functionality. What hidden issues might you uncover in your own kitchen?Tips For Reinstallation
Before reinstalling, ensure you turn off water supply valves under the sink. Disconnect pipes carefully to avoid damage. Use a wrench to loosen the nuts holding the sink in place.
Reinstalling a kitchen sink can be a straightforward task if you keep a few key tips in mind. Whether you’re upgrading your kitchen or simply replacing an old sink, ensuring a smooth reinstallation process can save you time and prevent future headaches. Let’s dive into some essential tips that will guide you in setting up your sink seamlessly.Check Compatibility
Before you start the reinstallation, it’s crucial to confirm that your new sink is compatible with your existing plumbing setup. This means checking the dimensions of your sink and comparing them with the countertop cutout. Ensure the drain location aligns with your current plumbing to avoid extensive modifications. If you’ve chosen a sink with extra features like a garbage disposal, make sure there’s adequate space and support.Ensure Proper Sealing
One of the most overlooked steps in sink installation is proper sealing. A watertight seal is essential to prevent leaks and water damage. Use a high-quality sealant or plumber’s putty around the edges of the sink. Press firmly to eliminate any gaps, ensuring a snug fit. Double-check that the sealant is evenly distributed. Consider this step as a safeguard against future issues; a little effort here can save you from costly repairs later. Reinstallation doesn’t have to be daunting. Wouldn’t it be nice to avoid the hassle of water damage by simply spending a few extra minutes on sealing? Taking these precautions ensures your kitchen sink serves you well for years to come.Frequently Asked Questions
How To Disconnect Plumbing For Kitchen Sink?
Turn off the water supply under the sink. Use a wrench to unscrew the pipes and remove them. Disconnect the drain pipe by loosening the slip nuts. Remove the faucet by unscrewing the mounting nuts. Ensure all connections are completely detached before removing the sink.
How Easy Is It To Disconnect A Sink?
Disconnecting a sink is relatively easy for those with basic plumbing skills. Turn off water supply first. Use a wrench to loosen and remove pipes carefully. Detach the sink from the countertop or wall. Ensure you have a bucket handy for potential water spills.
Always follow safety precautions.
How To Detach A Sink From A Countertop?
Turn off water supply and disconnect plumbing. Remove any clips or brackets securing the sink. Carefully cut through caulk or sealant with a utility knife. Gently lift the sink from the countertop. Clean the countertop surface for any leftover adhesive or sealant.
How Do I Disconnect And Reconnect A Sink?
Turn off the water supply. Use a wrench to disconnect pipes and fixtures. Remove the sink carefully. To reconnect, position the sink and tighten connections. Turn the water back on and check for leaks.
Conclusion
Disconnecting a kitchen sink doesn’t have to be complicated. With the right steps, anyone can manage it. Start by gathering your tools. Next, follow each step carefully. Safety is important, so take your time. Always check for leaks afterward. This ensures everything is secure.
If unsure, ask for help. A friend or professional can assist. Now, you have a clearer understanding. Feel confident to tackle this task. Remember, patience makes the process easier. Soon, you’ll have your sink disconnected. Enjoy the satisfaction of completing it yourself.
Your kitchen project is now underway.