How to Pack a Kitchen for Moving: Expert Tips
Executive Chef & Lead Commercial Kitchen Specialist at Daily Kitchup Test Lab
Packing up your kitchen for a move can feel like a daunting task. You might be wondering where to start with all the utensils, appliances, and the seemingly endless supply of spices and pantry items.
But don’t worry, you’re not alone in this. With the right approach, you can transform this overwhelming chore into a manageable task. Imagine opening your boxes in your new home, finding everything intact and in place. That’s the peace of mind you deserve.
As you read on, you’ll discover practical tips and clever hacks to pack your kitchen efficiently. This guide is designed to save you time, reduce stress, and ensure your kitchen arrives safely at its new destination. So, let’s dive in and make your move as smooth as possible.
Credit: www.smoothmoves.com.au
Gather Packing Supplies
Gather sturdy boxes, bubble wrap, and packing tape for your kitchen move. These supplies protect fragile dishes and glassware. Use dividers for glasses and wrap each item carefully to prevent damage.
Packing your kitchen can be a daunting task, but gathering the right supplies makes all the difference. Imagine yourself standing in front of a mountain of dishes, pots, and pans, unsure of where to start. It’s tempting to dive in without a plan, but trust me, preparation is key. By organizing your packing supplies ahead of time, you set yourself up for success. Let’s explore what you’ll need and how you can make eco-friendly choices along the way.Essential Materials
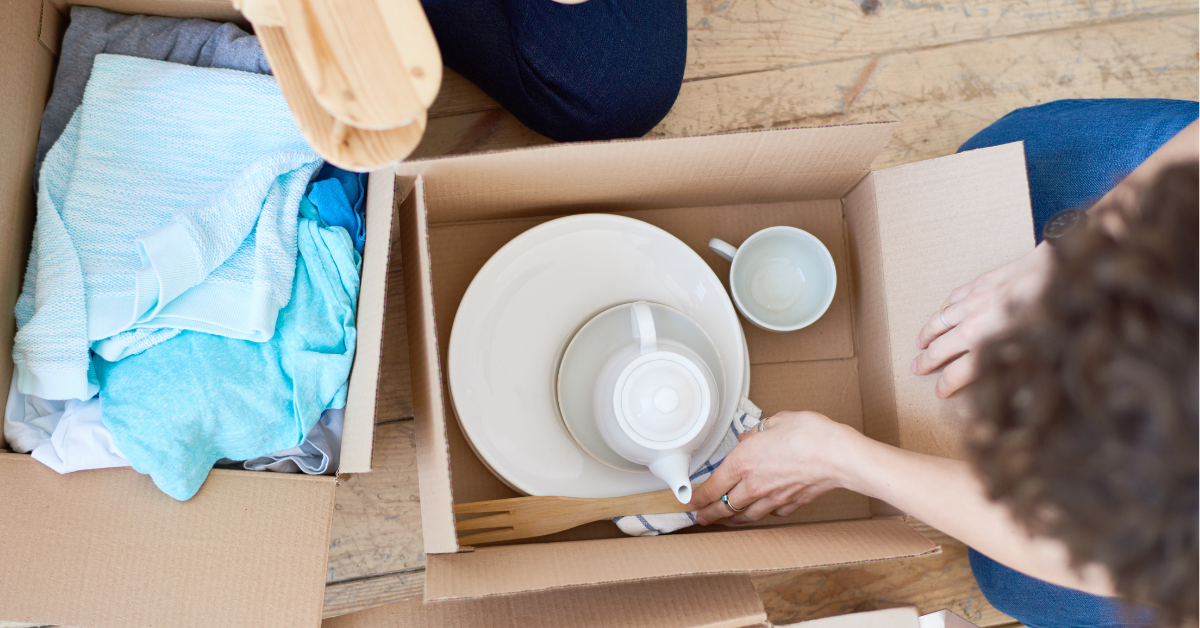
When you’re ready to pack, start with a checklist of essential materials. You can’t go wrong with sturdy boxes in various sizes. Medium boxes are perfect for heavy items like pots, while smaller boxes work well for your delicate glassware. Bubble wrap and packing paper are lifesavers for fragile items. Wrap each dish individually and use paper to fill any gaps. This prevents clinking and potential breakage during the move. Don’t forget to label your boxes. A simple marker can save you hours of frustration when unpacking. Imagine opening a box and instantly knowing where everything goes. That’s the power of labels.Sourcing Sustainable Options
If you’re environmentally conscious, consider sustainable packing options. Many companies offer biodegradable packing peanuts and recycled boxes. These alternatives are not only kinder to the planet but also effective. Think about using towels or old t-shirts to cushion your dishes. It’s a clever way to recycle what you already have and minimize waste. Plus, it saves money on packing materials. Have you considered renting reusable plastic bins? They’re durable, stackable, and eliminate the need for cardboard altogether. Ask your local moving company if they offer this service. It’s a great way to reduce your environmental footprint. What creative solutions have you found for packing? Share your tips with others who might be facing the same challenge.Sort And Declutter
Sort and Declutter Packing a kitchen for moving involves sorting items first. Group similar items and decide what to keep. Declutter by discarding or donating items you no longer need.
Packing your kitchen for a move can feel overwhelming. Sorting and decluttering is crucial. It reduces clutter and makes packing easier. Follow these steps for a smooth moving process.Decide What To Keep
Start with one cabinet at a time. Identify items you use regularly. Keep essentials like pots, pans, and dishes. Check expiration dates on food items. Throw away expired products. Avoid keeping duplicates. One blender is enough. Be mindful of space in your new kitchen.Donate Or Sell Unwanted Items
Create a pile of items you don’t need. Donate gently used cookware to local charities. Consider selling valuable items online. Hosting a yard sale is effective. It helps you earn a bit of money. Ensure items are clean and in good condition. Buyers prefer well-maintained goods.Pack Non-essentials First
Begin packing with non-essential items like cookbooks and decorations. Clear space for essentials by boxing rarely used kitchen gadgets. This approach simplifies the moving process and keeps necessary items accessible until the move.
Packing your kitchen for a move can seem overwhelming, but starting with non-essentials eases the process. Tackling these items first helps you maintain a functional kitchen up until the moving day. This method reduces stress and ensures that your daily cooking routine remains uninterrupted. Now, let’s delve into what constitutes non-essentials and how best to pack them.Seasonal And Rarely Used Items
Begin with seasonal items that only see daylight a few times a year. Think about those holiday cookie cutters or the fondue set stashed at the back of your cupboard. Packing these first is ideal since you won’t need them immediately. Rarely used items often include specialty appliances like ice cream makers or slow cookers. These can be safely tucked away early in the packing process. Have you ever had a moment where you realize you haven’t used an item in months? That’s your cue to pack it.Bulk Pantry Supplies
Next, tackle bulk pantry supplies. Those oversized bags of flour and sugar or the 10-pound sack of rice can be packed ahead of time. Consider transferring them into smaller containers if they are open, to minimize spills during transit. Think about your dry goods like beans, pasta, and canned goods. Packing these in small boxes reinforces the container and prevents it from being too heavy. Are you holding onto expired items? This is the perfect time to declutter and refresh your pantry. Packing non-essentials first not only clears space but also helps you organize. What will you tackle first in your kitchen packing journey?
Credit: www.betterremovalistssunshinecoast.com.au
Safeguard Fragile Items
Safeguard fragile items by using ample packing paper and bubble wrap. Place each item in a sturdy box, ensuring no gaps. Fill empty spaces with crumpled paper to prevent movement during transit.
Packing up your kitchen can be a daunting task, especially when it comes to fragile items. These delicate pieces require extra attention and care to ensure they arrive at your new home intact. Whether it’s your grandmother’s china or the glass vase you picked up on a memorable trip, safeguarding these items is crucial. Let’s delve into some practical strategies to keep your breakables secure during the move.Packing Dishes And Glassware
Begin by gathering sturdy boxes, preferably dish packs, which are specially designed for fragile items. Line the bottom of each box with crumpled packing paper for cushioning. Wrap each dish individually. Use packing paper or bubble wrap, securing it with tape. Stack dishes vertically in the box, as they are less likely to break this way. For glassware, the method is similar. Wrap each piece separately and fill hollow items, like wine glasses, with crumpled paper to prevent collapse. Place glasses upright and use dividers for added protection.Protecting Small Appliances
Small appliances like blenders and coffee makers also need careful packing. Clean them thoroughly and remove any detachable parts. Wrap the appliance in bubble wrap, securing it with tape. Place it in a box lined with packing paper, ensuring it fits snugly. Use additional packing paper or foam peanuts to fill any empty spaces in the box. This prevents movement and potential damage during transit. Have you ever had a blender arrive at your new home with a crack? Avoid this by double-checking that all items are tightly packed. By paying close attention to these strategies, you can ensure your fragile kitchen items arrive safely, ready to be enjoyed in your new space.Organize And Label Boxes
Organize kitchen items by category and label each box clearly. Use sturdy boxes to protect fragile items.
Organizing and labeling boxes is crucial when packing your kitchen for a move. It ensures you know where everything is, making unpacking easier. Proper labeling helps movers handle boxes with care. This process saves time and reduces stress.Categorizing Contents
Sort kitchen items into categories. Group similar items together, like utensils or dishes. This helps in packing efficiently and ensures nothing gets left behind. Use small boxes for heavy items like canned goods. Larger boxes can hold lighter items, like plastic containers. Keep fragile items separate and wrap them carefully.Creating An Inventory List
Create an inventory list for each box. Write down what goes into each box as you pack. This list helps track your items during the move. Use a simple notebook or a digital app for this task. Number each box and note its contents next to the corresponding number. This method helps you find items quickly when unpacking.Utilize Space Efficiently
Efficient space utilization is key when packing your kitchen for a move. Proper use of space helps protect your items and reduces the number of boxes needed. This means less clutter and a smoother moving day. Let’s explore some strategies to pack your kitchen items effectively.
Filling Gaps With Soft Items
Soft items like kitchen towels can fill gaps in boxes. They cushion delicate items such as glasses and plates. This prevents shifting during transport. Use towels, dishcloths, or linens as padding. Wrap fragile items with these before placing them in boxes. This method saves space and protects your belongings.
Stacking Boxes Safely
Stack boxes carefully to avoid damage. Place heavier items at the bottom. Lighter, fragile items should be on top. This prevents crushing and keeps everything intact. Make sure boxes are tightly packed. No empty spaces should be left. This keeps boxes stable and reduces the risk of toppling.
Pack Essential Kitchen Box
Sort and pack kitchen items by category for easy unpacking. Use sturdy boxes for dishes, glassware, and utensils. Label everything clearly to find essentials quickly in your new home.
Packing your kitchen for a move can seem daunting, but creating an essential kitchen box can make the transition smoother. Imagine arriving at your new home, exhausted and hungry, only to find that you can’t locate your cooking tools or basic food supplies. That’s why an essential kitchen box is a lifesaver. It helps you maintain a semblance of normalcy in the chaos of moving. This box should contain the items you need immediately to whip up a quick meal or brew a comforting cup of coffee.Must-have Cooking Tools
Your essential kitchen box should include the cooking tools you use daily. Think of items like a skillet, a saucepan, and a sharp knife. Packing these ensures you can cook basic meals without rummaging through endless boxes. Don’t forget a spatula and a wooden spoon—they’re versatile and take up little space. Adding a can opener and measuring cups can save you from frustrating searches later. What would you miss the most if you couldn’t find it in your new kitchen?Basic Food Supplies
Packing a few basic food supplies is crucial for immediate meal preparation. Consider including a small bottle of olive oil, salt, and pepper. These essentials can turn simple ingredients into a satisfying meal. Throw in a few non-perishable items like pasta or canned soup. Having these on hand can be a relief after a long day of unpacking. And why not add a small bag of coffee or tea? A warm drink can offer a comforting pause amidst the chaos.Manage Perishable Foods
Packing perishable foods requires careful planning. Use insulated coolers and ice packs to keep items fresh. Label boxes clearly to prevent spoilage during the move.
Packing a kitchen for a move is no small feat, especially when it comes to managing perishable foods. This part of the process can be tricky, but with careful planning, you can ensure your food doesn’t go to waste. From using up frozen items to safely transporting perishables, every step counts in making your move smooth and efficient.Using Up Frozen Items
Start by taking a detailed inventory of your freezer. Identify what you have and prioritize items that are close to their expiration dates. Plan meals around these foods in the weeks leading up to your move. Consider hosting a pre-move dinner party. Invite friends over and use this opportunity to cook and share your frozen treasures. It’s a fun way to empty your freezer while enjoying quality time with loved ones. If you find yourself with excess frozen foods, consider donating them to a local food bank. Many communities have resources to help redistribute food to those in need.Transporting Perishables
Transporting perishables requires extra care to prevent spoilage. Use coolers with ice packs to keep items like dairy, meat, and fresh produce at safe temperatures. Ensure your coolers are easily accessible during transit to minimize the time your perishables are outside cold storage. If you’re moving long-distance, explore options such as dry ice to extend the cooling period. Dry ice can keep your perishables frozen for longer, but handle it with caution to avoid burns. Think about the layout of your new kitchen. Will you have enough fridge space right away? Plan to make a grocery run soon after your move to restock fresh essentials and replenish any items you had to discard. Managing perishable foods during a move might seem daunting, but with a bit of foresight, you can minimize waste and make the transition smoother. Have you ever found a surprising way to use up your frozen items or discovered a great tip for transporting perishables? Share your experiences in the comments!Tips For Moving Day
Moving day can be both exciting and overwhelming, especially when it involves packing up your kitchen. To make the process smoother, it’s essential to have a plan in place. Here are some crucial tips to ensure your kitchen transition goes off without a hitch.
Handling Last-minute Packing
Even with the best-laid plans, last-minute packing is inevitable. Keep a few boxes and packing supplies handy for the unexpected items you might find. Resist the urge to throw everything in a box; instead, group similar items together to make unpacking easier.
It’s wise to pack an “essentials” box with items you’ll need immediately upon arrival, like a coffee maker, a few utensils, and cleaning supplies. This prevents you from rummaging through boxes on your first morning in the new home.
Have you ever found yourself scrambling for a phone charger amidst piles of boxes? Avoid this by keeping a small bag of personal essentials separate. This will save you time and stress on moving day.
Coordinating With Movers
Effective communication with your movers can significantly impact your moving experience. Ensure they know which boxes contain fragile kitchen items. Clearly label these boxes and point them out to your movers on the day.
Consider creating a simple inventory list of your kitchen items. Share this list with your movers to ensure nothing gets misplaced. This step can also help you quickly verify that all items have arrived at your new location.
Do you plan to personally transport some valuable or delicate items? Let your movers know beforehand to avoid any mix-up. Clear communication can prevent mishaps and keep your transition smooth.
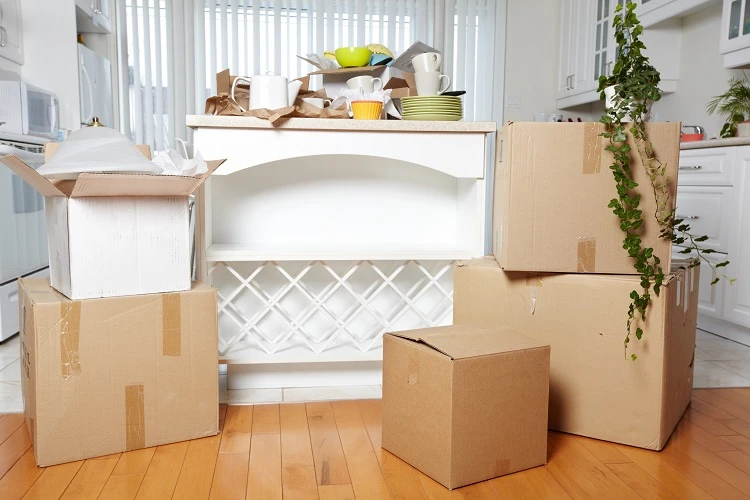
Credit: www.alliancemoving.com
Frequently Asked Questions
What Is The Hardest Room To Pack When Moving?
The kitchen is the hardest room to pack when moving. It contains fragile items, various utensils, and small appliances. Organizing these items securely requires time and careful planning. Use sturdy boxes and bubble wrap to protect delicate items. Label boxes clearly for easy unpacking in your new home.
How Long Does It Take To Pack A Kitchen For Moving?
Packing a kitchen typically takes 8 to 12 hours. Start with rarely used items first. Use proper packing materials to protect fragile items like glassware and dishes. Label boxes clearly for easier unpacking in your new home. Plan ahead and dedicate time to avoid last-minute stress.
Should You Wrap Pots And Pans When Moving?
Yes, wrap pots and pans to prevent scratches and dents during moving. Use bubble wrap or packing paper. Secure lids separately and nest smaller items inside larger ones. Label boxes clearly for easy unpacking. Proper wrapping protects your cookware and ensures a smooth transition to your new kitchen.
How Many Boxes Are Needed To Pack A Kitchen?
Typically, you need around 20 to 30 boxes to pack a kitchen. Consider varying sizes for different items. Use small boxes for heavy items like dishes and larger ones for lightweight items like utensils. Always get extra boxes for unexpected needs.
Conclusion
Packing a kitchen for moving can be stress-free with planning. Start early. Gather all necessary materials. Label boxes clearly for easy unpacking. Wrap fragile items well to prevent breaks. Use smaller boxes for heavy items. Stay organized and pack similar items together.
This makes unpacking easier. Remember to keep essential items handy. You’ll need them upon arrival. With these tips, your kitchen move will be smooth. Make sure to double-check everything. Now, you’re ready to settle into your new home with ease.
Happy moving!

Similar Posts