How to Pack a Kitchen to Move: Expert Tips & Tricks
Executive Chef & Lead Commercial Kitchen Specialist at Daily Kitchup Test Lab
Moving can be both exciting and daunting, especially when it comes to packing your kitchen. It’s easy to feel overwhelmed by the thought of organizing pots, pans, dishes, and appliances.
But don’t worry—you’re not alone in this! Imagine opening the door to your new home and effortlessly unpacking your kitchen essentials, all neatly arranged and ready to use. Sounds great, right? By following a few simple steps, you can transform what seems like a chaotic task into a smooth, stress-free process.
This guide is here to help you tackle the kitchen with confidence, ensuring that every item finds its place without a hitch. Keep reading to discover the secrets to packing your kitchen like a pro, and make your move easier than ever.
Credit: www.smoothmoves.com.au
Gather Necessary Supplies
Gather necessary supplies, including sturdy boxes, bubble wrap, and packing tape, to ensure safe transport of kitchen items. Use dish pack boxes for fragile dishes and label everything clearly for easy unpacking later.
Packing a kitchen for a move can be a daunting task. But with the right supplies, you can make the process smooth and efficient. The first step is gathering all necessary packing materials. This ensures that you are well-prepared to protect your kitchen items and avoid last-minute scrambles. Imagine the relief of having everything you need right at your fingertips!Essential Packing Materials
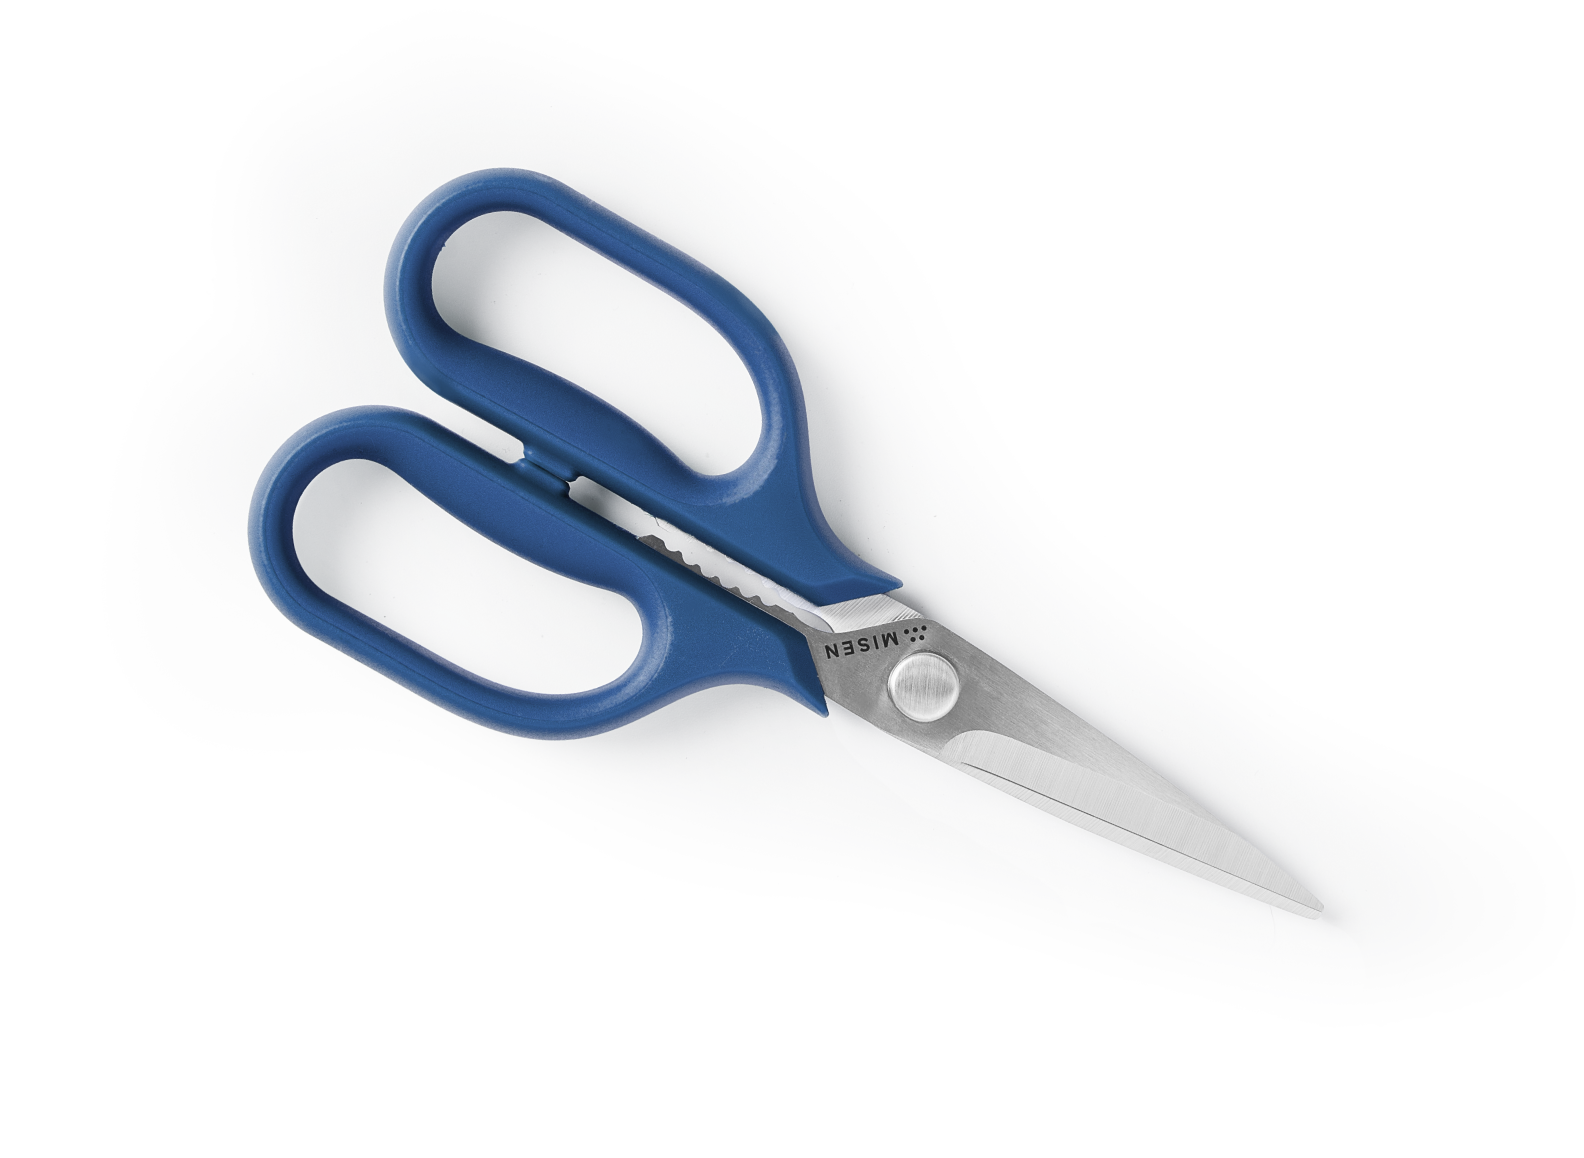
Start with sturdy packing tape to secure your boxes. Bubble wrap and packing paper are crucial for cushioning fragile items like glassware and plates. Consider using dish foam sleeves for added protection. Markers are essential for labeling boxes. You’ll thank yourself later when you know exactly where the coffee mugs are without rummaging through every box. How often have you found yourself hunting for scissors in a pile of chaos? Keep them handy to cut tape and open boxes.Choosing The Right Boxes
Select boxes of various sizes to accommodate different kitchen items. Small boxes are perfect for heavy items like canned goods or bottles, preventing them from getting too heavy to lift. Medium boxes are versatile for most kitchenware, while large boxes can hold lightweight items like baking sheets and pots. Consider specialized boxes like dish barrels for fragile items. These are designed to offer extra protection for your delicate kitchenware. Have you ever tried to fit a blender into a flimsy box? It’s not fun. Opt for boxes that provide the right support and space for your appliances. Choosing the right boxes and materials is a game changer. It can save you time and reduce stress on moving day. What supplies do you find indispensable when packing your kitchen? Share your thoughts in the comments!Sort And Declutter
Begin by sorting kitchen items into categories like utensils, dishes, and pantry goods. Discard expired or unused items to declutter. Carefully wrap fragile items and pack them securely in labeled boxes for easy unpacking.
Packing up a kitchen for a move can feel like a daunting task. With pots, pans, gadgets, and spices galore, it’s easy to become overwhelmed. However, starting with sorting and decluttering can make the process smoother and more efficient. By carefully deciding what you need and removing what you don’t, you’ll not only lighten your load but also set up your new kitchen for success.Deciding What To Keep
Take a moment to consider the items you use most frequently. Think about your daily routine and which kitchen tools truly make your life easier. If there’s a gadget you haven’t used in the past year, it might be time to let it go. Ask yourself if you really need duplicates of certain items. Do you use both of those spatulas, or does one simply sit in the drawer? Be honest about your actual cooking habits and keep only what you love and use regularly. Consider the space in your new kitchen. Will there be room for all your current items? Sometimes downsizing can be beneficial, leading to a more organized and functional space.Donating Or Selling Unwanted Items
Once you’ve decided what to part with, think about how others might benefit from those items. Local charities and shelters often welcome kitchenware donations, providing them to families in need. If you have higher-value items, consider selling them. Platforms like eBay or Facebook Marketplace can help you find buyers, and you might even make a little extra cash to offset moving expenses. Organize a garage sale for a fun way to clear out items and engage with your community. Invite neighbors and friends, and turn it into a social event. It’s a win-win situation where your unwanted items find new homes, and your moving load is lightened.Pack Non-essential Items First
Begin by packing non-essential kitchen items like holiday dishes and special gadgets. This clears space for essential items and makes the move smoother.
Packing up your kitchen for a move can feel overwhelming. The key to a smooth transition is to start with the non-essential items. This allows you to gradually clear out space without disrupting your daily routine. By tackling these items first, you can streamline the process and avoid last-minute chaos.Seasonal And Rarely Used Items
Begin by identifying seasonal items and those you rarely use. Think about that ice cream maker collecting dust or the turkey roaster you only pull out in November. Wrap these items securely and store them in boxes, labeling each box clearly. This will make unpacking easier and help you find what you need quickly in your new home.Storing Cookbooks And Decorative Pieces
Your cookbooks and decorative kitchen items add personality to your space, but they can be heavy and fragile. Wrap each book and decorative piece individually in bubble wrap or packing paper to protect them during the move. Group similar-sized items together and place them in sturdy boxes, ensuring they are well-padded. Label the boxes clearly so you can decide when to unpack these items in your new kitchen. By focusing on non-essential items first, you can make a significant dent in your packing without disrupting your day-to-day life. Is there a kitchen gadget you haven’t used in a while? Packing it now might just be the perfect opportunity to decide if you really need it, or if it’s time to let it go.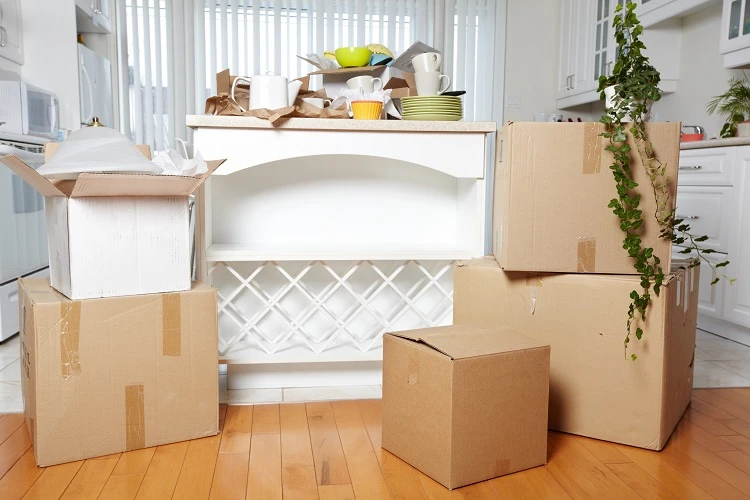
Credit: www.alliancemoving.com
Organize Glassware And Dishes
Carefully wrap glassware and dishes in bubble wrap or newspaper to prevent breakage. Use sturdy boxes and label them as fragile. Place heavier items on the bottom and lighter ones on top for safety.
Packing up your kitchen can be a daunting task, especially when it comes to your fragile glassware and dishes. You might be wondering how to ensure these delicate items make it to your new home without a scratch. Organizing glassware and dishes effectively is crucial to a smooth transition. With a little planning and the right materials, you can protect your cherished pieces and prevent any unwanted surprises when you unpack.Using Bubble Wrap And Packing Paper
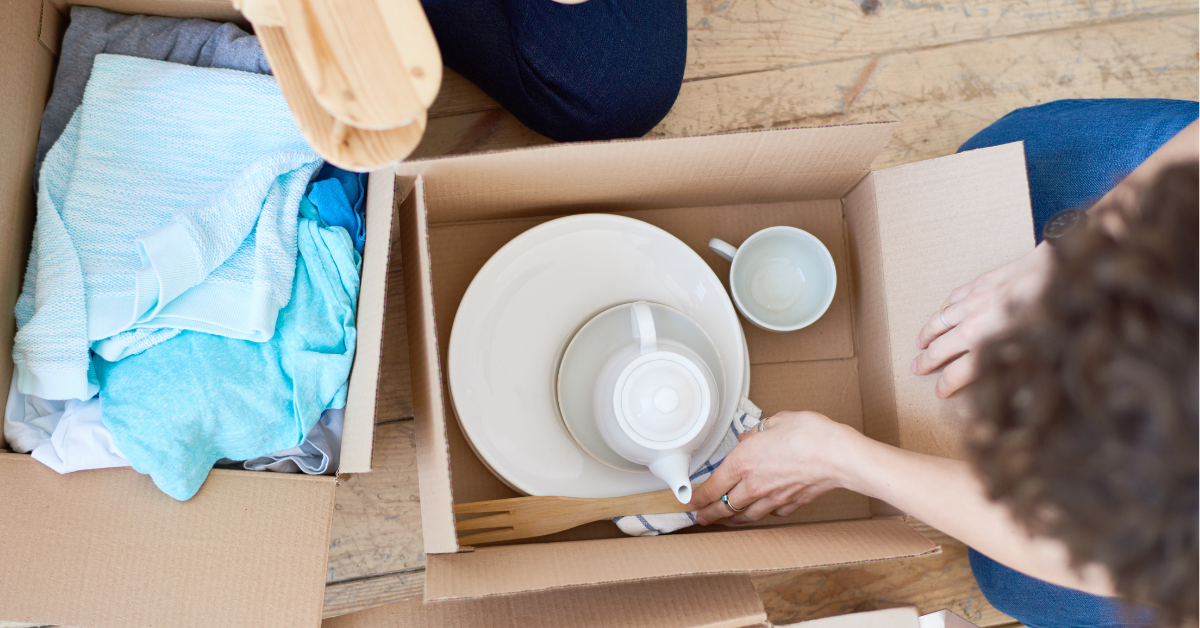
Start by gathering quality packing materials. Bubble wrap and packing paper are your best friends here. Wrap each glass individually, using bubble wrap to cushion it thoroughly. This provides a protective barrier against impacts. Packing paper can be used to fill in any gaps within the box, ensuring the glasses don’t shift during transit. Consider wrapping dishes with packing paper first for added protection. Layer the paper between plates to avoid any contact. This prevents scratches and chipping. Don’t forget to label your boxes as ‘Fragile’. This will alert movers to handle them with extra care.Stacking And Arranging Plates Safely
Stacking plates might seem straightforward, but it’s important to do it right to avoid breakage. Place the largest plates at the bottom and gradually stack smaller ones on top. This helps distribute weight evenly. Use packing paper between each plate to add a layer of protection. This simple step prevents surface scratches and chips. Place the stacked plates vertically rather than flat in the box. This method reduces pressure and lowers the risk of breakage during movement. It’s a small change that makes a big difference. Have you ever opened a box to find shattered pieces of your favorite set? By taking these precautions, you can prevent such heartaches and ensure your dishes arrive safely.Secure Pots And Pans
Packing pots and pans securely involves wrapping each item in bubble wrap or newspaper. Use sturdy boxes and fill gaps with soft materials like towels to prevent shifting. Label boxes clearly to ensure safe transport and easy unpacking.
Packing a kitchen for a move can be a daunting task, especially when it comes to securing your pots and pans. These items are not only bulky but can also be easily damaged if not packed properly. With the right strategies, you can protect your cookware and ensure it arrives at your new home in perfect condition. Let’s dive into some effective techniques to make this process as smooth as possible.Nesting Techniques
Maximize space by nesting your pots and pans. Place smaller pots inside larger ones, ensuring they fit snugly. This not only saves space but also provides a protective layer for each piece. Use a soft cloth or a sheet of packing paper between each item to prevent scratches. Have you ever thought about using old dish towels for this? They work wonders and also help you pack less overall. When stacking, start with the largest, heaviest pot at the bottom. This creates a stable base and reduces the risk of tipping or shifting during the move.Protecting Lids And Handles
Lids can be tricky, but with a little creativity, you can keep them safe. Wrap each lid individually in bubble wrap or packing paper. Secure with tape to ensure it doesn’t unravel in transit. Handles deserve special attention too. They can easily get bent or broken if not properly protected. Use small pieces of bubble wrap to cushion handles and tape them securely. Consider packing lids separately from the pots. This might seem counterintuitive, but it can prevent them from clanging together and breaking. You could even use a small box just for lids, placing them upright like records to save space. Are you ready to tackle your kitchen packing with confidence? With these tips, your pots and pans will be ready to serve you well in your new home.Wrap Small Appliances
Wrap small appliances individually using bubble wrap or soft towels. Secure with tape to prevent movement. Label each package clearly for easy unpacking.
Wrapping small appliances correctly ensures they arrive safely at your new home. These items often have delicate parts and accessories. Taking extra care during packing prevents damage and loss. Follow these steps to keep your kitchen gadgets in top shape.Cleaning And Prepping Appliances
Before packing, clean each appliance thoroughly. Remove any food particles or residue. This prevents odors and stains during transport. Make sure appliances are completely dry. Moisture can cause mold or rust. Unplug devices and let them cool down. Secure any loose parts. This includes blades or attachments.Packing Cords And Accessories
Gather all cords and accessories for each appliance. Secure cords with twist ties or rubber bands. This prevents tangling and damage. Place cords in a labeled plastic bag. Include manuals and extra parts. Keep each appliance’s accessories together. This makes unpacking easier. Use bubble wrap or towels to cushion fragile parts. Place the appliance in a sturdy box. Fill empty spaces with packing peanuts or crumpled paper. Seal the box with strong tape. Label the box clearly with its contents. These steps ensure your small appliances arrive safely and ready to use.Label And Inventory Boxes
Label and inventory boxes clearly to simplify unpacking in your new kitchen. Write contents and destination room on each box. This helps track items and makes organizing easier.
Moving can be a daunting task, especially when it comes to packing up the kitchen. The key to an organized move lies in how you label and inventory your boxes. This not only helps you find essentials quickly in your new home but also ensures nothing gets lost in the shuffle. Let’s dive into how to create a foolproof system for labeling and inventorying your kitchen boxes.Creating An Efficient Labeling System
Start by assigning a unique color or pattern to each category of kitchen items. Use colored tape or stickers to differentiate between categories like cookware, utensils, and pantry items. This visual cue will make it easy to identify the contents of each box at a glance. Label each box on multiple sides. This way, no matter how the box is stacked, you can easily spot its contents. Include a brief description, like “Pots & Pans” or “Baking Supplies,” to make unpacking smoother. Consider adding a priority label to boxes containing essentials you’ll need immediately. This can save you from rummaging through all your boxes on the first night in your new place. What will you need first—your coffee maker or your favorite mug?Making A Comprehensive Inventory List
Create a detailed inventory list to keep track of all your kitchen items. Number each box and list its contents on a spreadsheet or a simple notebook. This record will be your go-to guide if you need to locate something specific or check for missing items. Update your inventory list as you pack. This ensures accuracy and prevents confusion later. You’ll thank yourself when you can easily find the blender for your morning smoothie without opening every box. Consider using inventory apps designed for moving. These apps often allow you to attach photos and even track the condition of valuable items. It’s a great way to ensure nothing is left behind or broken during the move. By thoughtfully labeling and inventorying your kitchen boxes, you’ll make your moving day less stressful and more organized. Taking these extra steps can transform what might seem like a chaotic process into a manageable and even satisfying experience.Prepare An Essentials Box
Packing a kitchen involves organizing essentials. Begin by selecting items used daily like dishes, cutlery, and cookware. Secure these in an essentials box for easy access on moving day.
Packing up your kitchen for a move can be a daunting task, but preparing an essentials box can make the transition smoother. This box is your go-to for the first few days in your new home, ensuring you have immediate access to crucial items without rummaging through countless boxes. Think about those moments when you just want to brew a cup of coffee or whip up a simple meal. Having your essentials handy will make settling in a breeze.Packing Daily Use Items
Focus on items you use every day. Include a couple of plates, bowls, cups, and cutlery. A coffee maker or kettle, and your favorite mug might be essential for your morning routine. Consider packing a small saucepan and frying pan for simple meals. Do you have a go-to spice mix or seasoning that you can’t live without? Add it to your box. Ensure you pack enough for a few days, avoiding the need for immediate grocery shopping.Including Cleaning Supplies
A clean kitchen is a happy kitchen. Include basic cleaning supplies like dish soap, a sponge, and a couple of cleaning cloths. These items will help you keep your kitchen tidy from day one. Don’t forget trash bags—they’re indispensable for collecting packing waste and food scraps. A roll of paper towels can be versatile for cleaning spills or drying dishes. What surprises you most about your kitchen essentials? Perhaps it’s the little things that make a big difference during a move. Consider adding these items to your essentials box to ensure a smooth transition into your new kitchen.
Credit: www.fsmithandson.co.uk
Frequently Asked Questions
What Is The Best Way To Pack Kitchen Items When Moving?
Use sturdy boxes and bubble wrap for fragile items. Pack dishes vertically and use dish towels for extra protection. Label boxes clearly for easy unpacking. Place heavier items at the bottom and fill gaps with packing paper. Secure lids on containers and use tape to seal boxes tightly.
What Is The Hardest Room To Pack When Moving?
The kitchen is often the hardest room to pack due to its numerous items and fragile dishes. Organizing and safely packing appliances, utensils, and food requires careful planning and time. Prioritize decluttering and use sturdy boxes with proper labeling for efficient packing.
How Many Boxes Does It Take To Pack Up A Kitchen?
Packing a kitchen typically requires 10 to 15 boxes. Consider using small to medium-sized boxes for heavy items like dishes and glassware. Larger boxes suit lighter items like pots, pans, and small appliances. Adjust box quantity based on kitchen size and item volume.
How Early Should You Start Packing For A Move?
Start packing for a move 4-6 weeks in advance. Begin with non-essential items. Organize and label boxes clearly. Gradually pack essentials closer to the moving date. This approach ensures a stress-free and efficient move.
Conclusion
Packing your kitchen for a move can be smooth. Start early and stay organized. Use strong boxes for heavy items. Wrap fragile dishes with care. Label each box clearly. Keep essentials separate for quick access. Work room by room to reduce stress.
Donate or discard unwanted items. This saves space and time. Seek help from friends or family if needed. A little planning makes the process easier. Your new kitchen awaits. Ready to unpack? Happy moving!

Similar Posts