
Are you tired of your outdated kitchen cabinets? Maybe you’re dreaming of a fresh look but aren’t quite sure where to start.
Removing kitchen cabinets might seem like a daunting task, but it doesn’t have to be. Imagine transforming your kitchen space with ease, saving money, and perhaps even enjoying the process. You’re just a few steps away from making this change a reality.
In this guide, we’ll walk you through the process of removing your kitchen cabinets, ensuring you feel confident and empowered to take on this DIY project. Stick around, and you’ll discover how simple it can be to give your kitchen the makeover it deserves.
Credit: www.thekitchn.com
Preparation
Start by emptying cabinets to avoid accidents. Disconnect water and power supplies for safety. Use a screwdriver to remove screws holding the cabinets. Carefully detach cabinets from the wall, ensuring minimal damage to surrounding surfaces.
Preparing to remove kitchen cabinets is an essential step that sets the stage for a smooth and successful project. Whether you’re planning a complete kitchen remodel or just need to replace a few cabinets, proper preparation ensures you avoid unnecessary complications and damage. With a clear plan and the right mindset, you can tackle this task with confidence. Let’s dive into the preparation steps that will help you get started on the right foot.Gather Tools And Materials
Before you begin, make sure you have all the tools and materials you need. Having everything on hand saves time and frustration. You’ll typically need a screwdriver, pry bar, utility knife, and a drill. Don’t forget to grab some safety gear as well. Gloves and goggles are essential to protect yourself from sharp edges and debris. It’s also wise to have a sturdy step ladder if your cabinets are mounted high.Clear The Work Area
A clutter-free workspace makes the job easier and safer. Start by removing everything from the countertops and inside the cabinets. This includes dishes, appliances, and any decorative items. Consider relocating nearby furniture or decorative pieces that might be in the way. This not only gives you more space to work but also prevents accidental damage.Ensure Safety Measures
Safety should always be a priority. Make sure the power is turned off to any electrical outlets or lighting fixtures in the area. This precaution prevents the risk of electrical shock during removal. Double-check that your tools are in good working condition. Using faulty equipment can lead to accidents. Always work with a partner if possible, as having an extra set of hands can be invaluable when handling heavy or awkward cabinets. By focusing on these preparation steps, you lay a solid foundation for the task ahead. Are you ready to transform your kitchen space with confidence?Empty Cabinets
Begin by emptying the cabinets and removing doors and drawers. Unscrew the fasteners holding them to the wall. Carefully lift the cabinets off the brackets, ensuring no damage to surrounding areas.
Emptying your kitchen cabinets is the first essential step in their removal. It might seem straightforward, but a systematic approach makes the process smoother. Taking the time to properly empty and organize will save you effort and confusion later.Remove Contents
Start by taking everything out of the cabinets. Use a sturdy box or container to hold items. This prevents anything from falling or getting lost. Carefully remove items, one cabinet at a time. Keep fragile items like glassware separate to avoid breakage. Set aside a safe area to temporarily store these contents.Label Items For Organization
Labeling is crucial for keeping things organized. As you remove items, sort them into categories. Group similar items like plates, cups, or pantry goods together. Use sticky notes or labels to identify each category. This helps in easily locating items later. If you have a lot of items, consider numbering the boxes. Create a simple list of contents for each box. This will make reassembling your kitchen much easier. By following these simple steps, you ensure a seamless cabinet removal process.Detach Cabinet Doors
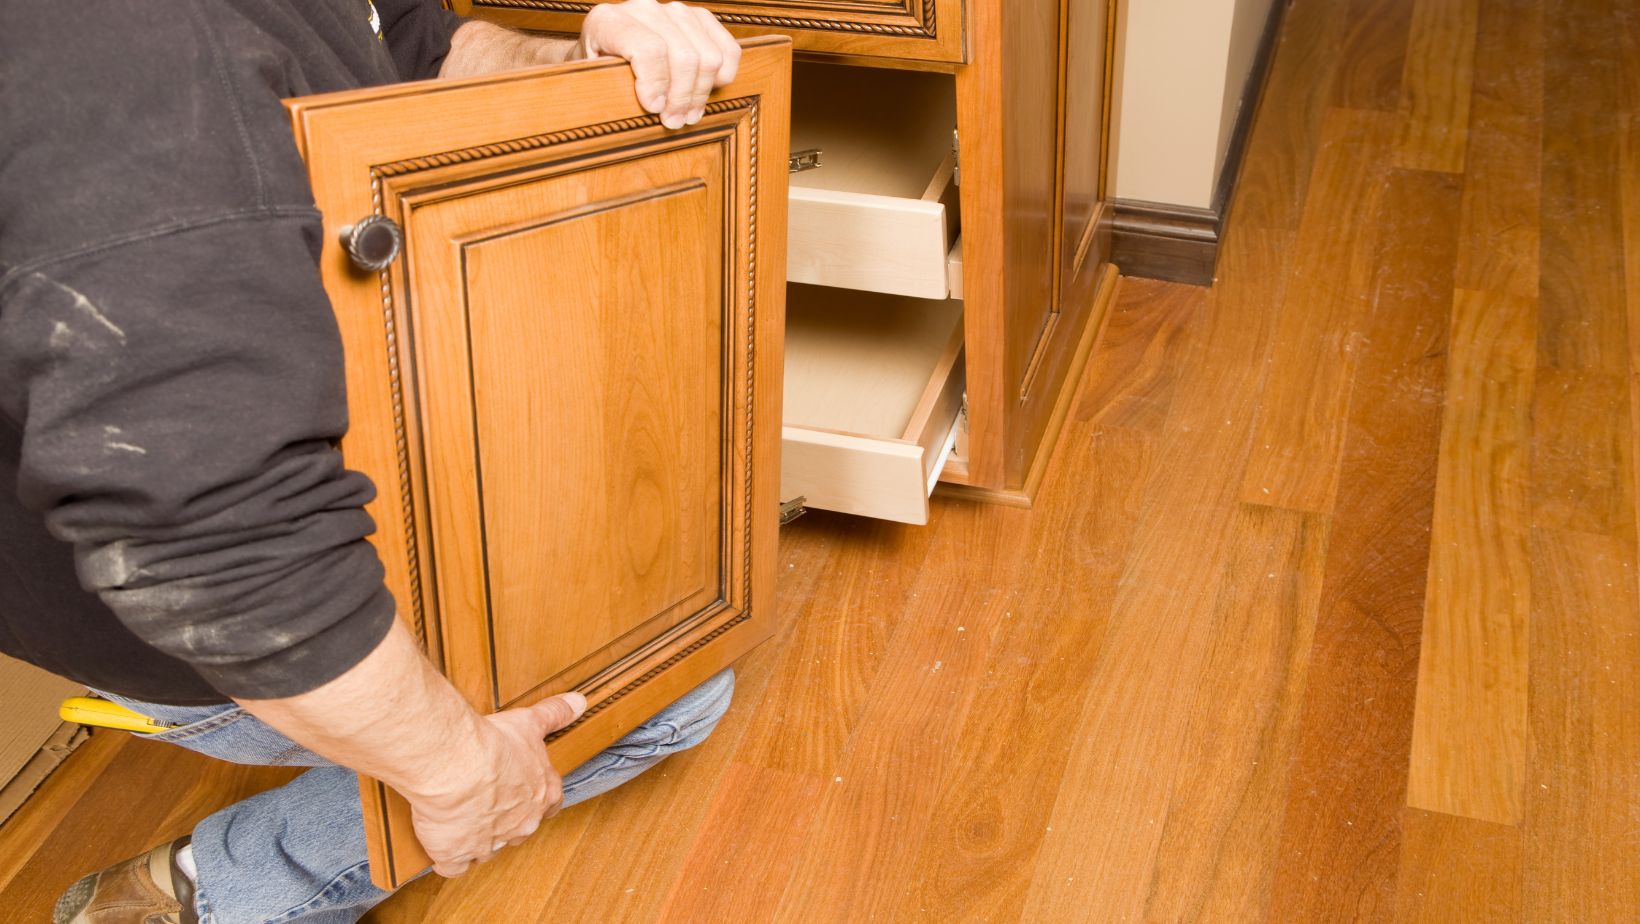
Begin by unscrewing the hinges from the cabinet frame using a screwdriver. Carefully lift and remove the doors to detach them completely.
Detaching kitchen cabinet doors is a crucial step in cabinet removal. This process requires careful handling to avoid damage. Removing cabinet doors makes the cabinet lighter and easier to handle. It also provides better access to the cabinet’s interior. Follow these simple steps to detach cabinet doors efficiently.Unscrew Hinges
Begin by locating the screws on the cabinet hinges. Use a screwdriver that fits well to avoid stripping the screws. Start at the bottom hinge and work your way up. This prevents the door from suddenly dropping. Keep a hand on the door for support as you unscrew. Gently lift the door away from the cabinet once all screws are removed. Place the door in a safe area.Remove Handles And Knobs
Next, focus on the cabinet handles and knobs. Use a screwdriver to unscrew them from the doors. Hold onto the screws to avoid losing them. Removing handles and knobs helps prevent scratches during cabinet removal. It also allows for easier cleaning or replacement later. Place all hardware in a labeled bag for easy reassembly.Remove Shelves
Removing kitchen cabinets involves unscrewing the hinges and brackets, then gently detaching them from the walls. Carefully lift the cabinet away to prevent damage to the surrounding area.
Removing kitchen cabinets can be a manageable task. Begin with the shelves inside your cabinets. These shelves are often held by brackets and screws. Understanding how to remove them safely is essential.Unscrew Brackets
Start by identifying the brackets holding the shelves. Use a screwdriver to loosen the screws. Be careful not to strip the screws. Sometimes, shelves have more than one bracket. Make sure to unscrew each one. Keep the screws in a safe place for future use.Safely Store Shelves
After unscrewing, carefully take out the shelves. Store them in a dry, safe area. Avoid stacking them too high to prevent damage. Label each shelf if necessary. This helps when reinstalling or repurposing them.Disconnect Utilities
Disconnecting utilities is the first step to safely remove kitchen cabinets. Shut off water, electricity, and gas connections before starting. This ensures a secure environment while dismantling the cabinets.
Disconnecting utilities is crucial when removing kitchen cabinets. Ensure safety by turning off electricity and detaching plumbing fixtures. These steps prevent accidents and protect your home.Turn Off Power Supply
Cut the power to the kitchen area. Find the main electrical panel. Switch off the circuit controlling the kitchen outlets. Use a voltage tester to confirm no electricity flows. This prevents shocks while working.Detach Plumbing Fixtures
Locate the water valves under the sink. Turn them clockwise to stop water flow. Disconnect the pipes using a wrench. Place a bucket underneath to catch any water. Remove the faucet carefully, avoiding damage to the countertop.Unscrew Cabinets From Walls
Removing kitchen cabinets involves unscrewing them from the walls. First, clear out all items inside. Then, find and remove the screws securing the cabinets. Use a drill for efficiency. Gently pull the cabinets away from the wall once all screws are out.
Removing kitchen cabinets can seem like a daunting task, but breaking it down into simple steps makes it manageable. One of the crucial steps is unscrewing the cabinets from the walls. This requires careful attention to detail and a bit of patience. With the right tools and a bit of help, you’ll have those cabinets down in no time.Locate And Remove Screws
First, take a close look at your cabinets to find where they are attached to the wall. Screws are usually located inside the cabinet, near the back panel or at the top and bottom. Using a flashlight can help you see clearly into the dark corners. Once you’ve located the screws, use a screwdriver or drill to carefully remove them. Keep a container handy to store the screws safely—losing them can be frustrating and might delay your project. Consider labeling each screw location with tape if you plan to reinstall the cabinets later. This small step can save you a lot of confusion in the future.Enlist Help For Heavy Cabinets
Kitchen cabinets can be surprisingly heavy, especially if they’re filled with dishes or cookware. Even empty, the awkward size can make them difficult to handle alone. Ask a friend or family member to lend a hand. Two pairs of hands are often necessary to safely lower the cabinets once they’re unscrewed. This also prevents any accidental damage to your walls or cabinets. Think about using a step stool or ladder for upper cabinets. Your safety is paramount, and having someone to stabilize the ladder while you work can make all the difference. Removing kitchen cabinets doesn’t have to be a solo mission. Sharing the load can make the process quicker and more enjoyable. Have you ever tackled a similar project with help? It can make all the difference.Detach Countertops
Removing kitchen cabinets begins by detaching countertops. First, locate and remove screws holding the countertop to the cabinets. Gently lift the countertop, ensuring all adhesive is loosened, to safely separate it from the cabinets.
Detaching countertops is a crucial step in removing kitchen cabinets. This process requires precision and care to avoid damage. Countertops are often secured with adhesives or screws. Understanding how to properly detach them ensures a smooth cabinet removal.Loosen Adhesive Or Screws
Start by inspecting the underside of the countertop. Look for screws or adhesive holding it in place. Use a screwdriver to remove any screws. Take your time to avoid stripping them. If adhesive is used, a putty knife can help. Slide it gently between the countertop and cabinet. This helps break the seal without causing damage.Lift And Remove Carefully
Once loose, lifting the countertop requires care. Get someone to assist, if possible. Lift the countertop evenly from both ends. This prevents cracks or breaks. Place it in a safe area to prevent any accidents. Ensure the workspace is clear of any obstacles. Safety should be your top priority during this step.
Credit: www.reddit.com
Dispose Or Store Cabinets
After removing kitchen cabinets, deciding whether to dispose or store them is crucial. This decision depends on the cabinets’ condition and your future plans. Storing cabinets can be beneficial if you intend to reuse them. Disposal might be necessary if they’re damaged or unwanted. Proper handling ensures minimal environmental impact.
Decide On Reuse Or Recycling
Consider the cabinets’ material and condition. If they’re in good shape, think about reusing them in another part of your home. Old cabinets can serve well in garages or basements. Recycling is an option if reuse isn’t feasible. Many recycling centers accept wood and metal cabinets. Check local regulations for recycling guidelines. You may need to disassemble them first.
Transport To Desired Location
Plan how to move your cabinets safely. For reuse, transport them to the new location with care. Use a truck or a large vehicle if possible. Secure the cabinets to prevent damage during transit. If recycling, find the nearest recycling center. Confirm their operating hours and rules. Arrange transportation that aligns with these details. This ensures a smooth disposal process.
Clean Up
After removing kitchen cabinets, a thorough clean-up is essential. This process ensures your kitchen is ready for new installations or fresh paint. Gather all necessary cleaning tools and supplies, such as brooms, vacuum cleaners, and cleaning solutions. Focus on clearing debris and inspecting the area for damage.
Clear Debris
Start by collecting loose debris left from cabinet removal. Use a broom to sweep the floor. Pay attention to corners and tight spaces where dirt accumulates. A vacuum can be helpful for small particles and dust. Check the countertops for any leftover screws or nails. Dispose of debris in a trash bag to keep the area tidy.
Inspect Area For Damage
Examine the walls and floors for signs of damage. Look for holes, scratches, or dents caused by removing cabinets. Check for water damage, especially around sinks. Use a flashlight to see better in dimly lit areas. If you find damage, plan repairs before proceeding with your kitchen renovation. This step ensures a smooth transition to the next phase.
Credit: cabinetpaintingco.com
Frequently Asked Questions
Can I Remove Kitchen Cabinets Myself?
Yes, you can remove kitchen cabinets yourself. Use proper tools, ensure safety, and follow step-by-step instructions. Disconnect utilities before starting. Have a friend assist for heavy lifting.
How Hard Is It To Pull Out Kitchen Cabinets?
Removing kitchen cabinets can be moderately challenging. Basic tools and some DIY skills are needed. Disconnect utilities first. Unscrew and gently detach cabinets from walls. Ensure proper support to avoid damage. Consider professional help for a safer, quicker job.
Are Kitchen Cabinets Glued To The Wall?
Kitchen cabinets are typically screwed to the wall for stability. Glue may be used occasionally for extra support, but screws are the primary method. Ensure cabinets are securely fastened to prevent accidents. Proper installation ensures durability and safety in your kitchen.
How To Unclip A Kitchen Cabinet?
To unclip a kitchen cabinet, open the door fully. Locate the hinge clips inside. Press the release button or lever on the hinge. Gently lift and detach the door from the cabinet. Ensure you support the door to avoid damage.
Repeat for additional hinges if necessary.
Conclusion
Removing kitchen cabinets can be a straightforward process. Start by gathering all necessary tools. Next, ensure safety by turning off power and water. Label every piece for easy reinstallation later. Carefully detach cabinets from walls, avoiding damage. Use gentle force when needed.
This task requires patience and attention to detail. Proper planning prevents mishaps. Invite a friend to help for efficiency. Celebrate your progress with a sense of accomplishment. Now, enjoy your newly freed space. Transform it with fresh ideas and creativity.
Feel empowered by completing this project yourself. Your kitchen awaits its next exciting chapter!