How Do I Fix a Leaky Kitchen Faucet: Quick Solutions
Executive Chef & Lead Commercial Kitchen Specialist at Daily Kitchup Test Lab
Fixing a leaky kitchen faucet might seem like a daunting task, but it doesn’t have to be. Imagine this: you’re standing in your kitchen, and all you can hear is the incessant drip-drip-drip of a leaky faucet.
It’s not just an annoying sound; it’s a constant reminder of wasted water, which can add up on your utility bill. You might even find yourself avoiding the kitchen just to escape the noise. But what if you could silence that drip and save money with a simple DIY fix?
In this guide, we’ll walk you through the steps to repair your leaky kitchen faucet effortlessly. You don’t need to be a plumbing expert to tackle this task; all it takes is a little guidance and some basic tools. Stick with us, and soon that persistent drip will be a thing of the past. Let’s dive in and get your kitchen back to being the peaceful, efficient space you love.
Identify The Leak Source
Identify the Leak Source Examine the faucet parts closely for any visible drips or moisture. Check connections, seals, and washers to pinpoint the problem area. Identifying the exact source helps in choosing the right repair method.
Identifying the source of a leaky kitchen faucet is the first step in tackling the problem effectively. Knowing where the leak originates can save you time and prevent further damage. Whether it’s a drip-drip from the spout or a sneaky trickle under the sink, pinpointing the leak helps you understand the best way to fix it. You might be surprised at how straightforward it can be to identify the culprit. Let’s dive into where these leaks commonly occur and what tools you’ll need to inspect them.Common Leak Points
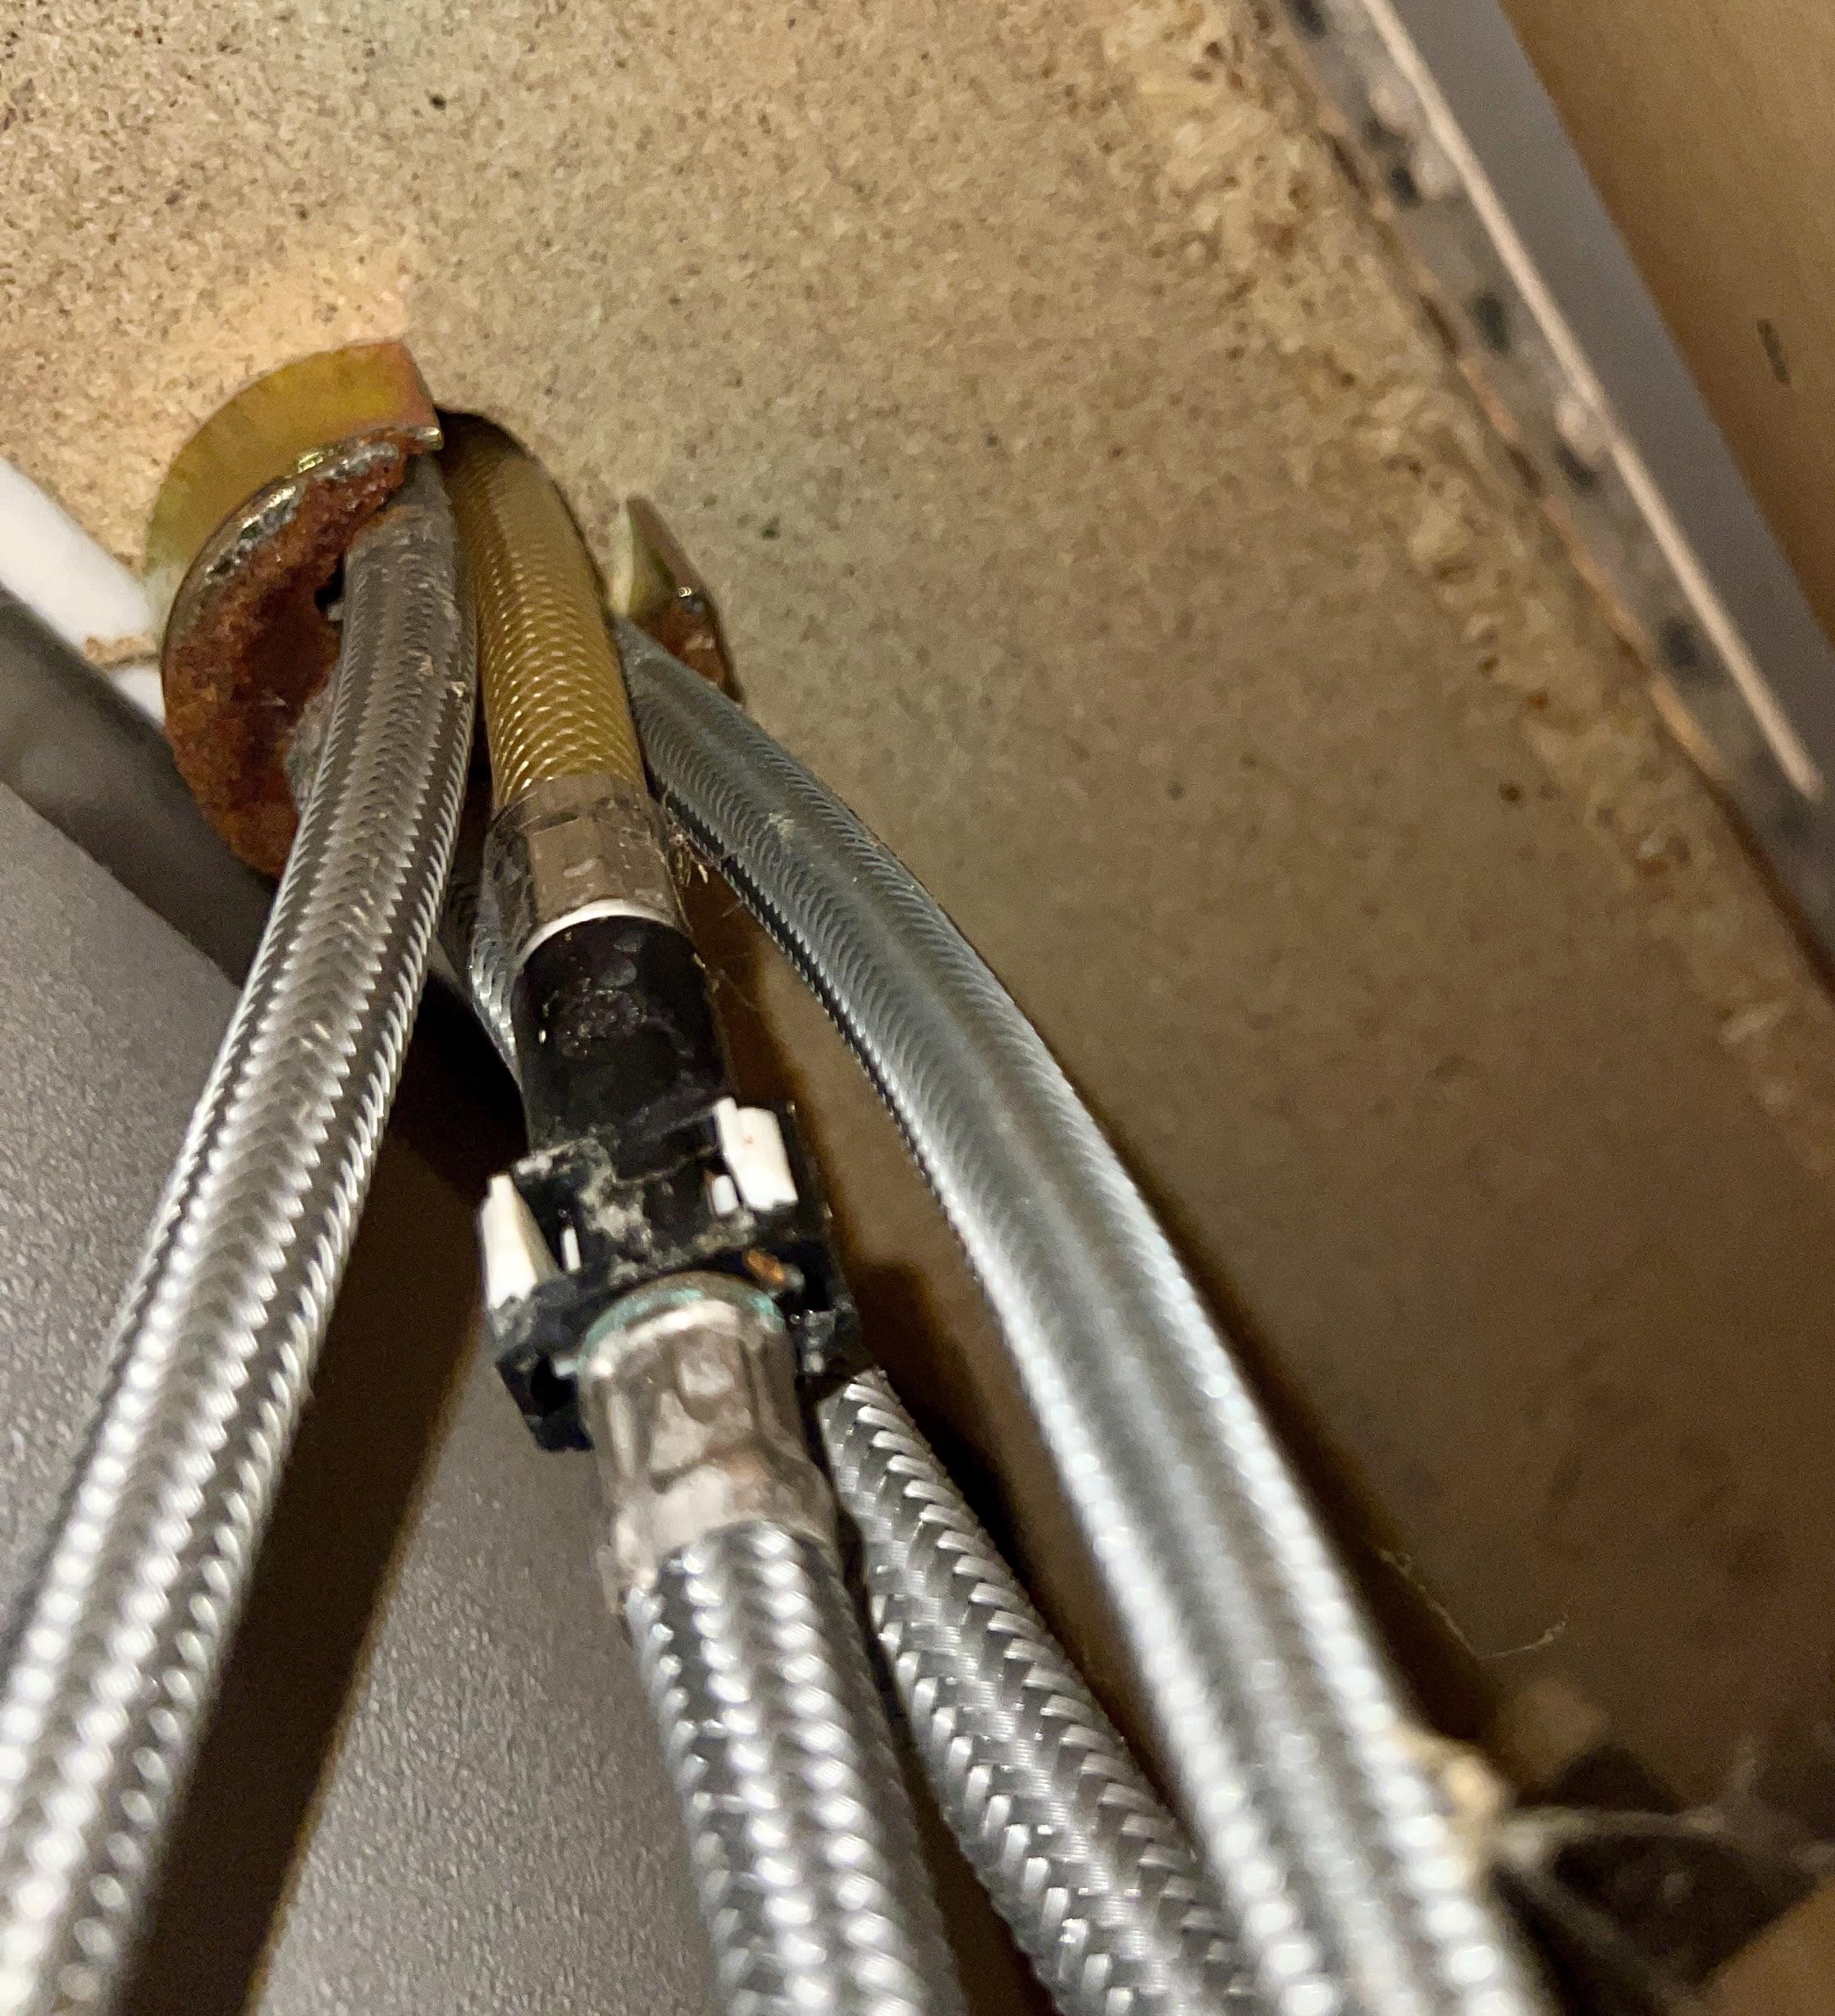
Your faucet might betray its age by leaking from a few common areas. The spout is a frequent offender, often dripping due to worn-out washers or seals. Handle leaks can occur if the O-rings are worn, causing water to leak when you twist the handles. The base of the faucet might be leaking due to a loose or damaged washer, especially if you notice water pooling around it. Underneath the sink, the supply lines or connections could be the source, causing water to puddle on the floor.Tools Needed For Inspection
A few basic tools can help you inspect your kitchen faucet for leaks. Start with a flashlight to illuminate dark or hard-to-see areas. A small mirror can be handy for checking under the sink or behind fixtures. Adjustable wrenches and screwdrivers are essential for tightening loose connections. Don’t forget a towel or rag to wipe up any water and protect your cabinets from drips. Having a bucket nearby can catch any water while you work, keeping your space dry and clean. As you gather these tools, think about the faucet’s history. Has it been repaired before? If so, maybe the same issue is resurfacing. This personal insight might guide you in knowing where to look first. Identifying the source correctly means you can tackle the repair with confidence and precision. Ready to start inspecting? Grab your tools and turn those drips into a distant memory!Shut Off Water Supply
Fixing a leaky kitchen faucet starts with shutting off the water supply. This step prevents further water damage and makes repairs easier. You need to stop water flow before fixing the faucet.
Locate The Shut-off Valves
Find shut-off valves under the sink. They are usually attached to the pipes. Turn them clockwise to stop water flow. If you don’t see valves, turn off the main water supply.
Drain Remaining Water
After turning off the water, drain the remaining water. Open the faucet to let out leftover water in the pipes. This ensures no water spills during repair.
Repair Faucet Handle
A leaky kitchen faucet can be frustrating. Often, the culprit is the handle. Fixing it is simpler than you think. With a few tools and patience, you can stop the drip and save water. Let’s explore how to repair the faucet handle.
Remove The Handle
First, turn off the water supply. This prevents any accidents. Look for the screw on the handle. It may be hidden under a decorative cap. Use a screwdriver to remove the screw. Once done, gently pull the handle off. You might need to wiggle it slightly. If it sticks, a little WD-40 can help.
Replace Worn-out Washers
Inspect the washers. They may be worn out or damaged. Remove the old washers using pliers. Take them to a hardware store for matching replacements. Choose high-quality washers for a durable fix. Position the new washers carefully. Ensure they sit snugly in place. This will prevent future leaks.
Fix The Spout Leak
Fixing a spout leak in your kitchen faucet might seem daunting, but with a little patience and the right tools, you can easily tackle it yourself. Often, these leaks are caused by worn-out O-rings within the spout assembly. Addressing this issue promptly can prevent further damage and save you from costly repairs down the line. Let’s dive into how you can fix the spout leak efficiently.
Detach The Spout
Begin by turning off the water supply to avoid any unintended gushes as you work. You might have a shut-off valve under the sink, which makes this step straightforward. Once the water is off, carefully remove the faucet handle. This usually involves loosening a screw that’s hidden beneath a cap on top of the handle. With the handle out of the way, the spout should be free to detach. Gently lift it off, ensuring you keep track of any washers or seals that might come loose. Taking photos during disassembly can be helpful when reassembling.
Inspect And Replace O-rings
With the spout removed, inspect the O-rings that are seated around the base. These small rubber circles are the usual culprits behind leaks. Over time, they can become brittle or cracked, especially if exposed to hard water. Carefully slide the old O-rings off and examine them for damage. Replace them with new ones, ensuring they are of the correct size and fit snugly. A small dab of plumber’s grease can help the new O-rings seat correctly and prolong their life. As you reassemble the faucet, make sure everything is aligned properly to avoid any leaks.
Have you ever fixed a faucet yourself? The satisfaction of a job well done is immense. Plus, you learn a new skill that might come in handy sooner than you think. Next time you notice a drip, will you tackle it head-on?
Address Valve Seat Issues
Fixing a leaky kitchen faucet often involves addressing valve seat issues. Remove the faucet and inspect the valve seat for damage. If worn, replace or reseat to stop leaks effectively.
Addressing valve seat issues is crucial for fixing a leaky kitchen faucet. Valve seats connect the faucet and the spout. Over time, they can wear out or become dirty. This can lead to leaks. By addressing valve seat issues, you can restore your faucet’s functionality.Clean Or Replace Valve Seats
First, turn off the water supply. This prevents any water flow while you work. Next, remove the faucet handle. Use a wrench to take off the stem assembly. Inspect the valve seat for signs of damage or dirt. If it’s dirty, clean it using a soft cloth or brush. Vinegar can help remove mineral deposits. If the valve seat is worn out, replace it. Purchase a new one from a hardware store. Ensure it matches your faucet model.Reassemble The Faucet
After cleaning or replacing the valve seat, reassemble the faucet. Place the stem assembly back in position. Tighten it with a wrench but avoid over-tightening. Reattach the faucet handle. Turn the water supply back on. Check for leaks by turning the faucet on and off. If the leak persists, there might be another issue. Consider seeking professional help if needed.Credit: plumbing-united.com
Frequently Asked Questions
How Do I Stop A Kitchen Faucet From Dripping?
Turn off the water supply. Disassemble the faucet. Replace worn-out washers or seals. Reassemble the faucet. Test for leaks.
Can You Fix A Leaky Faucet Yourself?
Yes, you can fix a leaky faucet yourself. Start by turning off the water supply. Replace worn-out washers or seals. Tighten loose parts with a wrench. Consult a guide or video for detailed steps. If unsure, consider calling a professional for assistance.
It’s a simple task with the right tools.
What Is The Most Common Cause Of A Leaky Dripping To Handle A Faucet?
The most common cause of a leaky faucet is a worn-out washer or O-ring. These components can degrade over time, leading to drips. Replacing them usually fixes the issue. Regular maintenance can prevent future leaks and extend the faucet’s lifespan.
Ensure you use compatible parts for effective repair.
How To Change The Washer On A Kitchen Faucet?
Turn off the water supply. Remove the faucet handle using a screwdriver. Unscrew the packing nut and take out the stem. Replace the worn washer with a new one. Reassemble the faucet parts in reverse order. Test the faucet to ensure no leaks.
Conclusion
Fixing a leaky kitchen faucet isn’t difficult. First, identify the problem. Is it the washer or the valve? Gather your tools. A wrench and screwdriver often suffice. Turn off the water supply. Remove the faucet handle, inspect the parts. Replace damaged components.
Tighten everything securely. Test for leaks. Still leaking? Consider seeking professional help. Regular maintenance prevents future leaks. Keep your faucet clean. Preserve its longevity. A little effort saves money. Your kitchen stays dry and functional. Happy fixing! Embrace DIY. Save time and money.
Enjoy a leak-free kitchen.

Similar Posts