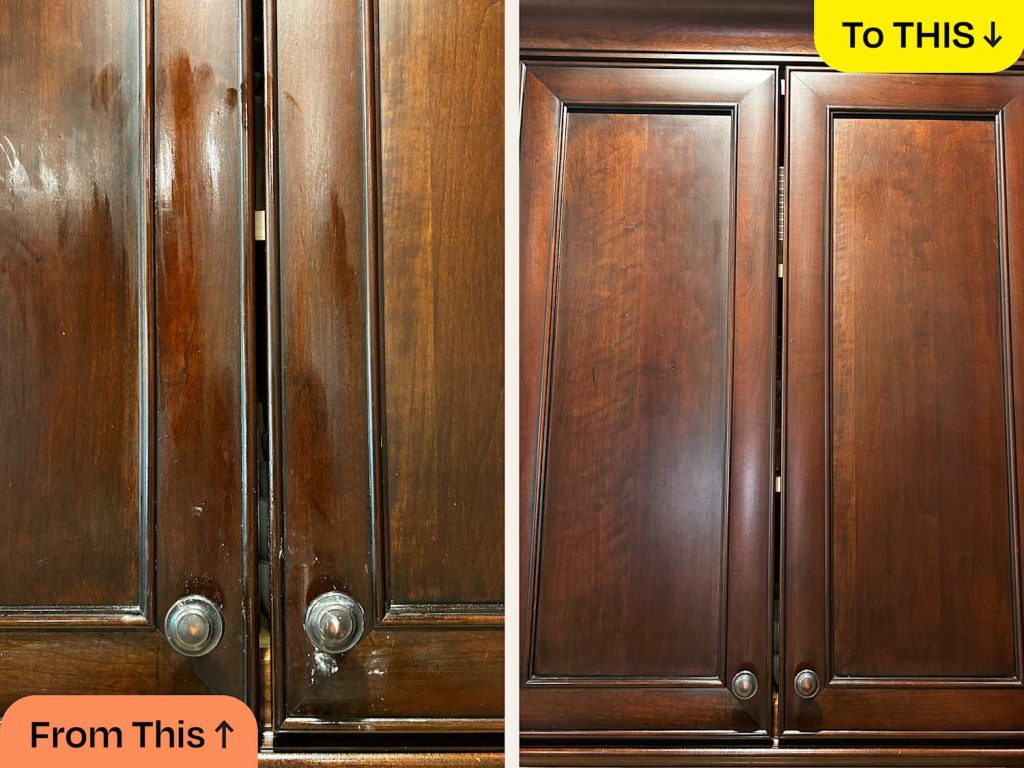
Are you tired of sticky cabinet knobs, grimy drawer handles, and faucets that have lost their shine? Your kitchen hardware works hard every day, and it deserves a little TLC to keep it looking its best.
Imagine walking into your kitchen and feeling a sense of pride as every piece of hardware sparkles and shines. Cleaning your kitchen hardware doesn’t have to be a daunting task. With the right tips and tricks, you can bring back the luster of your kitchen’s metal, wood, and plastic fixtures with minimal effort.
In this guide, we’ll show you the simple steps to make your kitchen hardware gleam like new, turning a chore into a satisfying accomplishment. Ready to transform your kitchen’s appearance? Let’s dive in and discover how easy it can be to make your kitchen shine!
Essential Cleaning Tools
Cleaning kitchen hardware requires the right tools for efficient results. Proper cleaning keeps your kitchen looking fresh and functioning well. Let’s explore the essential tools needed for the task.
Must-have Supplies
- Microfiber Cloths:They are gentle and effective. They trap dust and dirt without scratching surfaces.
- Scrub Brushes:Choose different sizes. Small brushes reach tight spots, while larger ones clean broad areas.
- Sponges:Get both abrasive and soft sponges. Use abrasive for tough spots and soft for delicate areas.
- Bucket:A sturdy bucket holds water and cleaning solutions. It’s handy for rinsing and soaking.
- Gloves:Protect your hands from chemicals and hot water. They also provide a better grip on cleaning tools.
Choosing The Right Cleaners
Picking the right cleaner is vital. It ensures kitchen hardware remains spotless and durable.
- All-Purpose Cleaner:Ideal for most surfaces. It removes grease and grime efficiently.
- Vinegar Solution:Mix vinegar with water. It’s a natural cleaner great for metal and glass.
- Baking Soda Paste:Combine baking soda with water. This paste tackles stubborn stains and deodorizes.
- Dish Soap:Mild dish soap works well on delicate items. It cleans without leaving residue.
- Commercial Metal Polish:Use it for metal fixtures. It restores shine and prevents tarnish.
Each cleaner serves a unique purpose. Choose based on the hardware material and cleaning needs.

Credit: www.reddit.com
Cleaning Stainless Steel
Cleaning kitchen hardware made of stainless steel is simple. Use a mix of warm water and mild dish soap. Wipe gently with a microfiber cloth to avoid scratches.
Cleaning stainless steel in your kitchen can seem daunting, but it’s quite manageable with the right techniques. Stainless steel is a popular choice for kitchen hardware due to its sleek appearance and durability. However, it requires regular maintenance to keep it looking pristine. The key is understanding how to clean it effectively without causing damage.Streak-free Techniques
Achieving a streak-free shine on stainless steel surfaces is simpler than you might think. Use a microfiber cloth dampened with warm water to wipe down the surface. This method helps remove fingerprints and smudges without leaving streaks. For extra shine, consider using a mixture of vinegar and water. Spray the solution onto the surface and wipe with a clean, dry cloth. This natural cleaner cuts through grime and polishes the steel beautifully. Remember to always dry the surface completely to avoid water spots.Avoiding Scratches
Preventing scratches on stainless steel is crucial to maintaining its appearance. Avoid abrasive cleaners and scrubbing pads, as they can damage the finish. Instead, opt for a soft sponge or cloth when cleaning. When tackling tough spots or stuck-on food, soak the area with warm, soapy water before gently wiping it away. Always wipe in the direction of the grain to preserve the stainless steel’s natural pattern and avoid unsightly marks. Have you ever noticed that the grain in stainless steel can be your guide? Observing and following it can make all the difference in keeping your kitchen hardware pristine.Polishing Brass Fixtures
Polishing brass fixtures begins with removing dust using a soft cloth. Mix warm water with mild soap to clean. Rinse and dry thoroughly to prevent water spots. For stubborn tarnish, apply a paste of vinegar and salt. Rub gently, rinse, and buff dry for a shiny finish.
Polishing brass fixtures can transform the look of your kitchen, making it gleam with a classic elegance. Over time, brass can lose its luster, becoming dull and tarnished. Revitalizing these fixtures doesn’t need to be a daunting task. With a few simple techniques and the right tools, you can make your kitchen hardware shine like new.Natural Cleaning Solutions
Using natural solutions not only protects the environment but also ensures the longevity of your brass fixtures. A common household item, such as lemon, can work wonders. Simply cut a lemon in half, sprinkle it with salt, and rub it over the brass. For a more robust cleaning, create a paste using equal parts flour, salt, and white vinegar. Apply the paste to your brass fixtures, let it sit for about 30 minutes, then rinse with warm water and dry thoroughly. These ingredients are gentle yet effective, removing tarnish without harsh chemicals.Maintaining Shine
Once your brass fixtures are polished, maintaining their shine is crucial. A regular wipe-down with a soft, dry cloth helps prevent dust and grime build-up. Consider using a microfiber cloth, which is excellent for lifting and trapping dirt. Every few weeks, apply a thin layer of olive oil or mineral oil to your fixtures. This not only enhances their shine but also creates a protective barrier against moisture and tarnish. Consistent maintenance ensures that your kitchen hardware continues to sparkle, adding a touch of warmth and sophistication to your space. Have you ever noticed how a polished brass fixture can change the entire vibe of your kitchen? Keeping them shiny is more than just cleaning—it’s about preserving a piece of your home’s charm.Restoring Wooden Handles
Cleaning kitchen hardware involves gentle scrubbing and polishing. Use mild soap and water for initial cleaning. Dry thoroughly and apply wood conditioner for shine and protection.
Restoring wooden handles in your kitchen is more than just a cleaning task; it’s an opportunity to breathe new life into your kitchen’s charm. Wooden handles have a unique warmth and character that can transform the overall aesthetic of your kitchen. However, they also require special care to maintain their beauty and durability. Have you ever looked at your kitchen handles and wondered how you can restore their original luster without damaging them? With the right techniques, you can preserve the finish and bring back the natural glow of your wooden handles. Let’s explore how you can achieve this with gentle cleaning methods and finish-preserving techniques.Gentle Cleaning Methods
Start by dusting off any loose dirt using a soft cloth or a microfiber duster. This removes surface particles without scratching the wood. Mix a solution of mild soap and warm water. Dip a clean cloth into the solution, wring it out thoroughly, and gently wipe the handles. Avoid soaking the wood as too much moisture can cause damage. For stubborn stains, use a mixture of baking soda and water. Apply the paste to the affected area and gently scrub with a soft brush. Would you believe that sometimes the simplest solutions are the most effective? Regular gentle cleaning can prevent the buildup of grime and extend the life of your wooden handles.Preserving Finish
Once the handles are clean, it’s time to preserve the finish. You can use a quality wood polish or conditioner to restore shine and protect the wood. Apply the polish using a clean, dry cloth. Rub it into the wood in a circular motion, allowing the polish to penetrate deeply. Avoid using products that contain harsh chemicals, as they can strip away the finish and leave the wood vulnerable to damage. You might wonder, does the type of polish matter? Yes, choosing the right polish can enhance the natural beauty of the wood and provide lasting protection. Regular maintenance with these methods can keep your kitchen looking fresh and inviting, proving that a little effort goes a long way in preserving the elegance of wooden handles.Descaling Faucets
Regular cleaning keeps kitchen hardware looking fresh. Descale faucets by applying vinegar and letting it sit. Scrub gently to remove buildup and rinse with water.
Keeping your kitchen faucets free from mineral buildup not only ensures a steady flow of water but also extends their life. Descaling faucets is a vital part of maintaining your kitchen’s cleanliness and functionality. Faucets, often overlooked, can easily accumulate calcium and lime deposits, especially if you live in an area with hard water. These mineral buildups can cause water flow issues and make your faucets look unattractive. Let’s explore practical ways to clean your faucets effectively.Removing Mineral Buildup
Start by mixing equal parts of white vinegar and water in a small bowl. The acidity in vinegar effectively breaks down mineral deposits. Soak a clean cloth in the solution and wrap it around the faucet, ensuring the affected areas are fully covered. Leave the cloth on the faucet for about 30 minutes. This gives the vinegar enough time to dissolve the buildup. After removing the cloth, use a toothbrush to scrub away any remaining residue. Rinse with water and wipe dry with a clean towel. If the buildup is stubborn, consider using a plastic bag filled with vinegar. Secure it around the faucet with a rubber band and leave it overnight. This method allows the vinegar to work its magic for a longer period.Preventative Measures
Regular cleaning is key to preventing mineral buildup. Make it a habit to wipe down your faucets with a vinegar solution at least once a week. This simple step can save you time and effort in the long run. Consider installing a water softener if your water is particularly hard. It reduces the mineral content in your water, preventing deposits from forming on your faucets. Finally, be proactive. Check your faucets regularly for any signs of buildup. Addressing issues early ensures your faucets remain in excellent condition. Have you ever considered how much time you spend dealing with faucet issues? A few preventative measures can free up your time and keep your kitchen running smoothly.
Credit: www.tiktok.com
Cleaning Ceramic And Glass
Cleaning ceramic and glass kitchen hardware is simple. Use a mixture of vinegar and water for stubborn stains. Gently scrub with a soft cloth to avoid scratches. Rinse thoroughly and dry with a clean towel for a sparkling finish.
Cleaning ceramic and glass surfaces in your kitchen can be a rewarding task, transforming your space from dull to dazzling. These materials are delicate but showcase elegance when maintained well. Whether it’s your ceramic stove top or glass cabinet doors, ensuring they’re spotless boosts the entire ambiance of your kitchen. Let’s dive into some effective techniques to keep them pristine without causing damage.Stain Removal Techniques
When tackling stains on ceramic or glass, quick action is key. Begin by preparing a mixture of equal parts water and white vinegar. This solution works wonders in loosening stubborn stains. Apply it using a soft cloth, gently rubbing the affected area until the stain starts to lift. If you’re dealing with baked-on residue, let the solution sit for a few minutes before wiping. For more persistent stains, try using baking soda paste. Mix baking soda with a bit of water to form a paste, apply it to the stain, and scrub gently. Remember, patience is vital. Often, a repeated application is necessary to fully remove stubborn spots.Avoiding Abrasives
Using abrasive materials can lead to scratches and permanent damage to your ceramic and glass surfaces. Always reach for non-abrasive cloths and sponges. Microfiber cloths are an excellent choice as they are gentle yet effective. If you ever find yourself in a hurry, resist the temptation to use steel wool or rough scrubbing pads. They might seem like a quick fix but can ruin the smooth finish of your surfaces. Think about the long-term beauty of your kitchen hardware. Wouldn’t you rather invest a little extra time now to preserve their elegance for years to come? Whether you’re hosting a dinner party or just enjoying a quiet evening, a sparkling kitchen can make all the difference. Keeping your ceramic and glass surfaces clean doesn’t have to be a chore when you know the right techniques.Tackling Tough Grime
Kitchen hardware often collects stubborn grime over time. This grime is hard to remove without the right approach. Tackling tough grime requires specific techniques and tools. By understanding the right solutions, you can keep your kitchen looking fresh and clean. Let’s explore effective methods to handle this challenge.
Heavy-duty Solutions
For stubborn grime, use heavy-duty cleaners. Choose products designed for kitchen grease. Look for degreasers with strong formulas. These products break down tough stains and build-up. Apply the cleaner generously on affected areas. Let it sit for a few minutes. This helps to dissolve the grime effectively.
Scrubbing tools are crucial. Use brushes with stiff bristles. They reach into crevices and loosen dirt. Sponges with abrasive surfaces are also useful. Ensure to scrub gently to avoid damaging hardware.
Using Proper Safety Gear
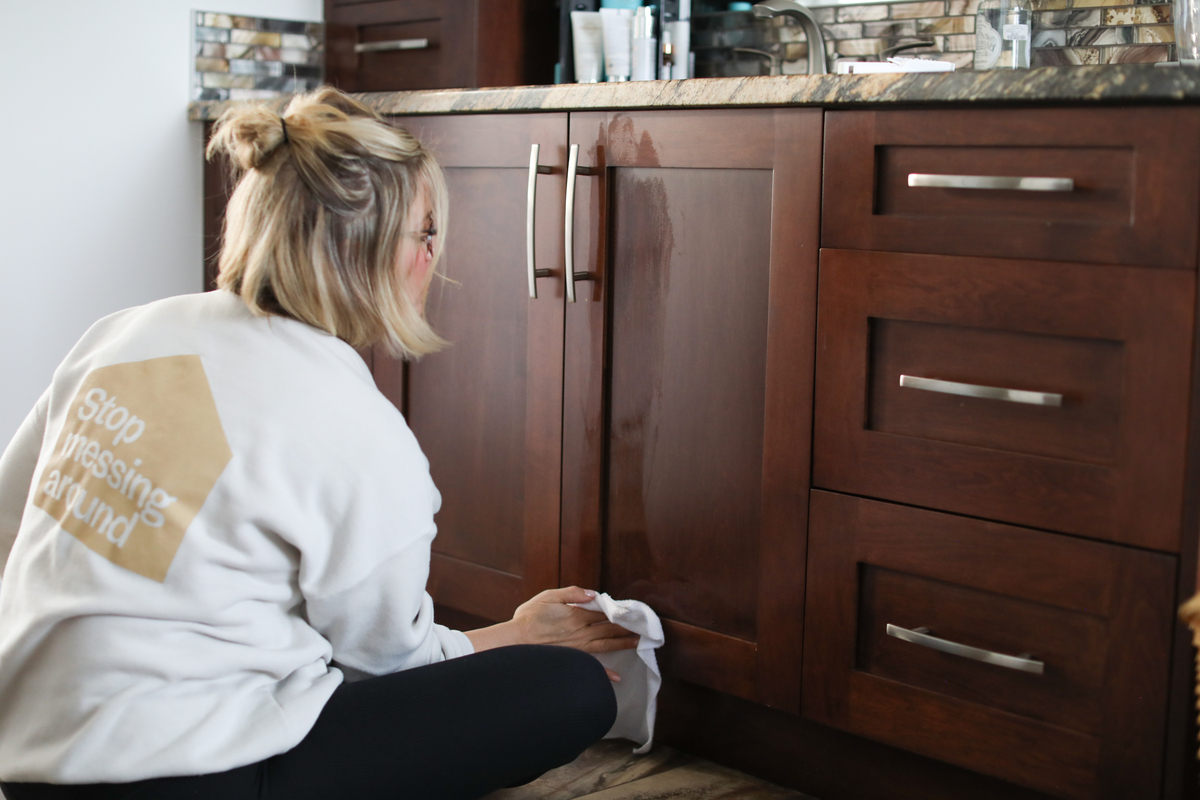
Safety is important when using strong cleaners. Wear gloves to protect your hands. They prevent skin irritation from harsh chemicals. Use goggles to shield your eyes. This prevents accidental splashes from entering your eyes.
Ensure good ventilation in the kitchen. Open windows or use fans. This reduces inhalation of chemical fumes. Consider wearing a mask for additional protection. It’s crucial to follow safety instructions on product labels. Proper gear ensures a safe cleaning experience.
Credit: www.housework.com
Routine Maintenance Tips
Regular maintenance of your kitchen hardware is essential to keep it looking pristine and functioning smoothly. By integrating routine cleaning habits into your schedule, you can prevent grime buildup and extend the life of your kitchen fixtures. Let’s explore some practical tips to help you maintain your kitchen hardware effectively.
Establishing A Cleaning Schedule
Consistency is key in keeping your kitchen hardware spotless. Create a cleaning calendar that fits into your routine. For example, dedicate a specific day each week for a more thorough cleaning of your kitchen handles, knobs, and faucets.
Consider setting reminders on your phone or calendar to ensure you stick to this schedule. Over time, this will become a natural part of your routine, and you’ll notice a significant reduction in dirt and grease accumulation.
Do you prefer cleaning in the mornings or evenings? Choose a time that you find most convenient and least disruptive to your daily activities.
Quick Daily Habits
Incorporating small, daily habits can make a big difference. Make it a point to wipe down your cabinet handles and drawer pulls with a damp cloth after cooking. This simple step can prevent oil and residue from settling in.
Keep a microfiber cloth handy in the kitchen for quick clean-ups. This not only helps in maintaining shine but also reduces the effort needed during your weekly deep-cleaning session.
Ask yourself, how often do you touch your kitchen hardware with sticky fingers? Addressing this immediately with a quick wipe can prevent the need for more intensive cleaning later.
By making these small adjustments, you can maintain a cleaner, healthier kitchen environment with minimal effort.
Frequently Asked Questions
How Do I Make My Cabinet Hardware Look New?
Clean cabinet hardware with mild soap and water. Dry thoroughly. Polish with a metal-specific polish to restore shine. Replace worn pieces for a fresh look. Regular maintenance helps preserve appearance.
How To Clean Old Dirty Hardware?
Use a soft cloth and mild cleaner to wipe surfaces. Remove dust with compressed air. Apply isopropyl alcohol on stubborn grime. Avoid moisture contact with electronic parts. Reassemble carefully after drying.
How To Clean Brushed Nickel Kitchen Hardware?
Use warm water and mild soap to clean brushed nickel. Gently wipe with a soft cloth. Avoid abrasive cleaners. Dry immediately to prevent water spots and preserve the finish. Regular cleaning maintains its shine and appearance.
How To Clean Really Old Hardware?
Start by unplugging and disassembling the hardware. Use a soft brush to remove dust and debris. Clean surfaces with isopropyl alcohol and a microfiber cloth. Avoid using water or harsh chemicals. Ensure all components are completely dry before reassembling and powering on.
Conclusion
Keeping kitchen hardware clean ensures a tidy and healthy environment. Regular cleaning prevents grime buildup and extends hardware life. Use gentle cleaning solutions for safe and effective results. Dry thoroughly to prevent rust or damage. Consider using microfiber cloths for a spotless shine.
Organize cleaning tools for easy access. Set a cleaning routine for consistent maintenance. Clean hardware enhances kitchen beauty and functionality. A clean kitchen brings joy to cooking and gatherings. Enjoy a fresh, welcoming kitchen space. Make cleaning a habit. Your kitchen hardware will thank you.