How to Install a Kitchen Faucet: Step-by-Step Guide
Executive Chef & Lead Commercial Kitchen Specialist at Daily Kitchup Test Lab
Are you tired of that old, leaky kitchen faucet that just doesn’t do the job anymore? Installing a new kitchen faucet might seem daunting, but it’s simpler than you think.
Imagine transforming your kitchen with a fresh, modern touch that not only looks great but also functions perfectly. You don’t need to be a plumbing expert to achieve this. With just a few tools and the right guidance, you can have your new faucet up and running in no time.
Dive into this guide to discover how you can upgrade your kitchen efficiently and effortlessly. Let’s make your kitchen the heart of your home again!
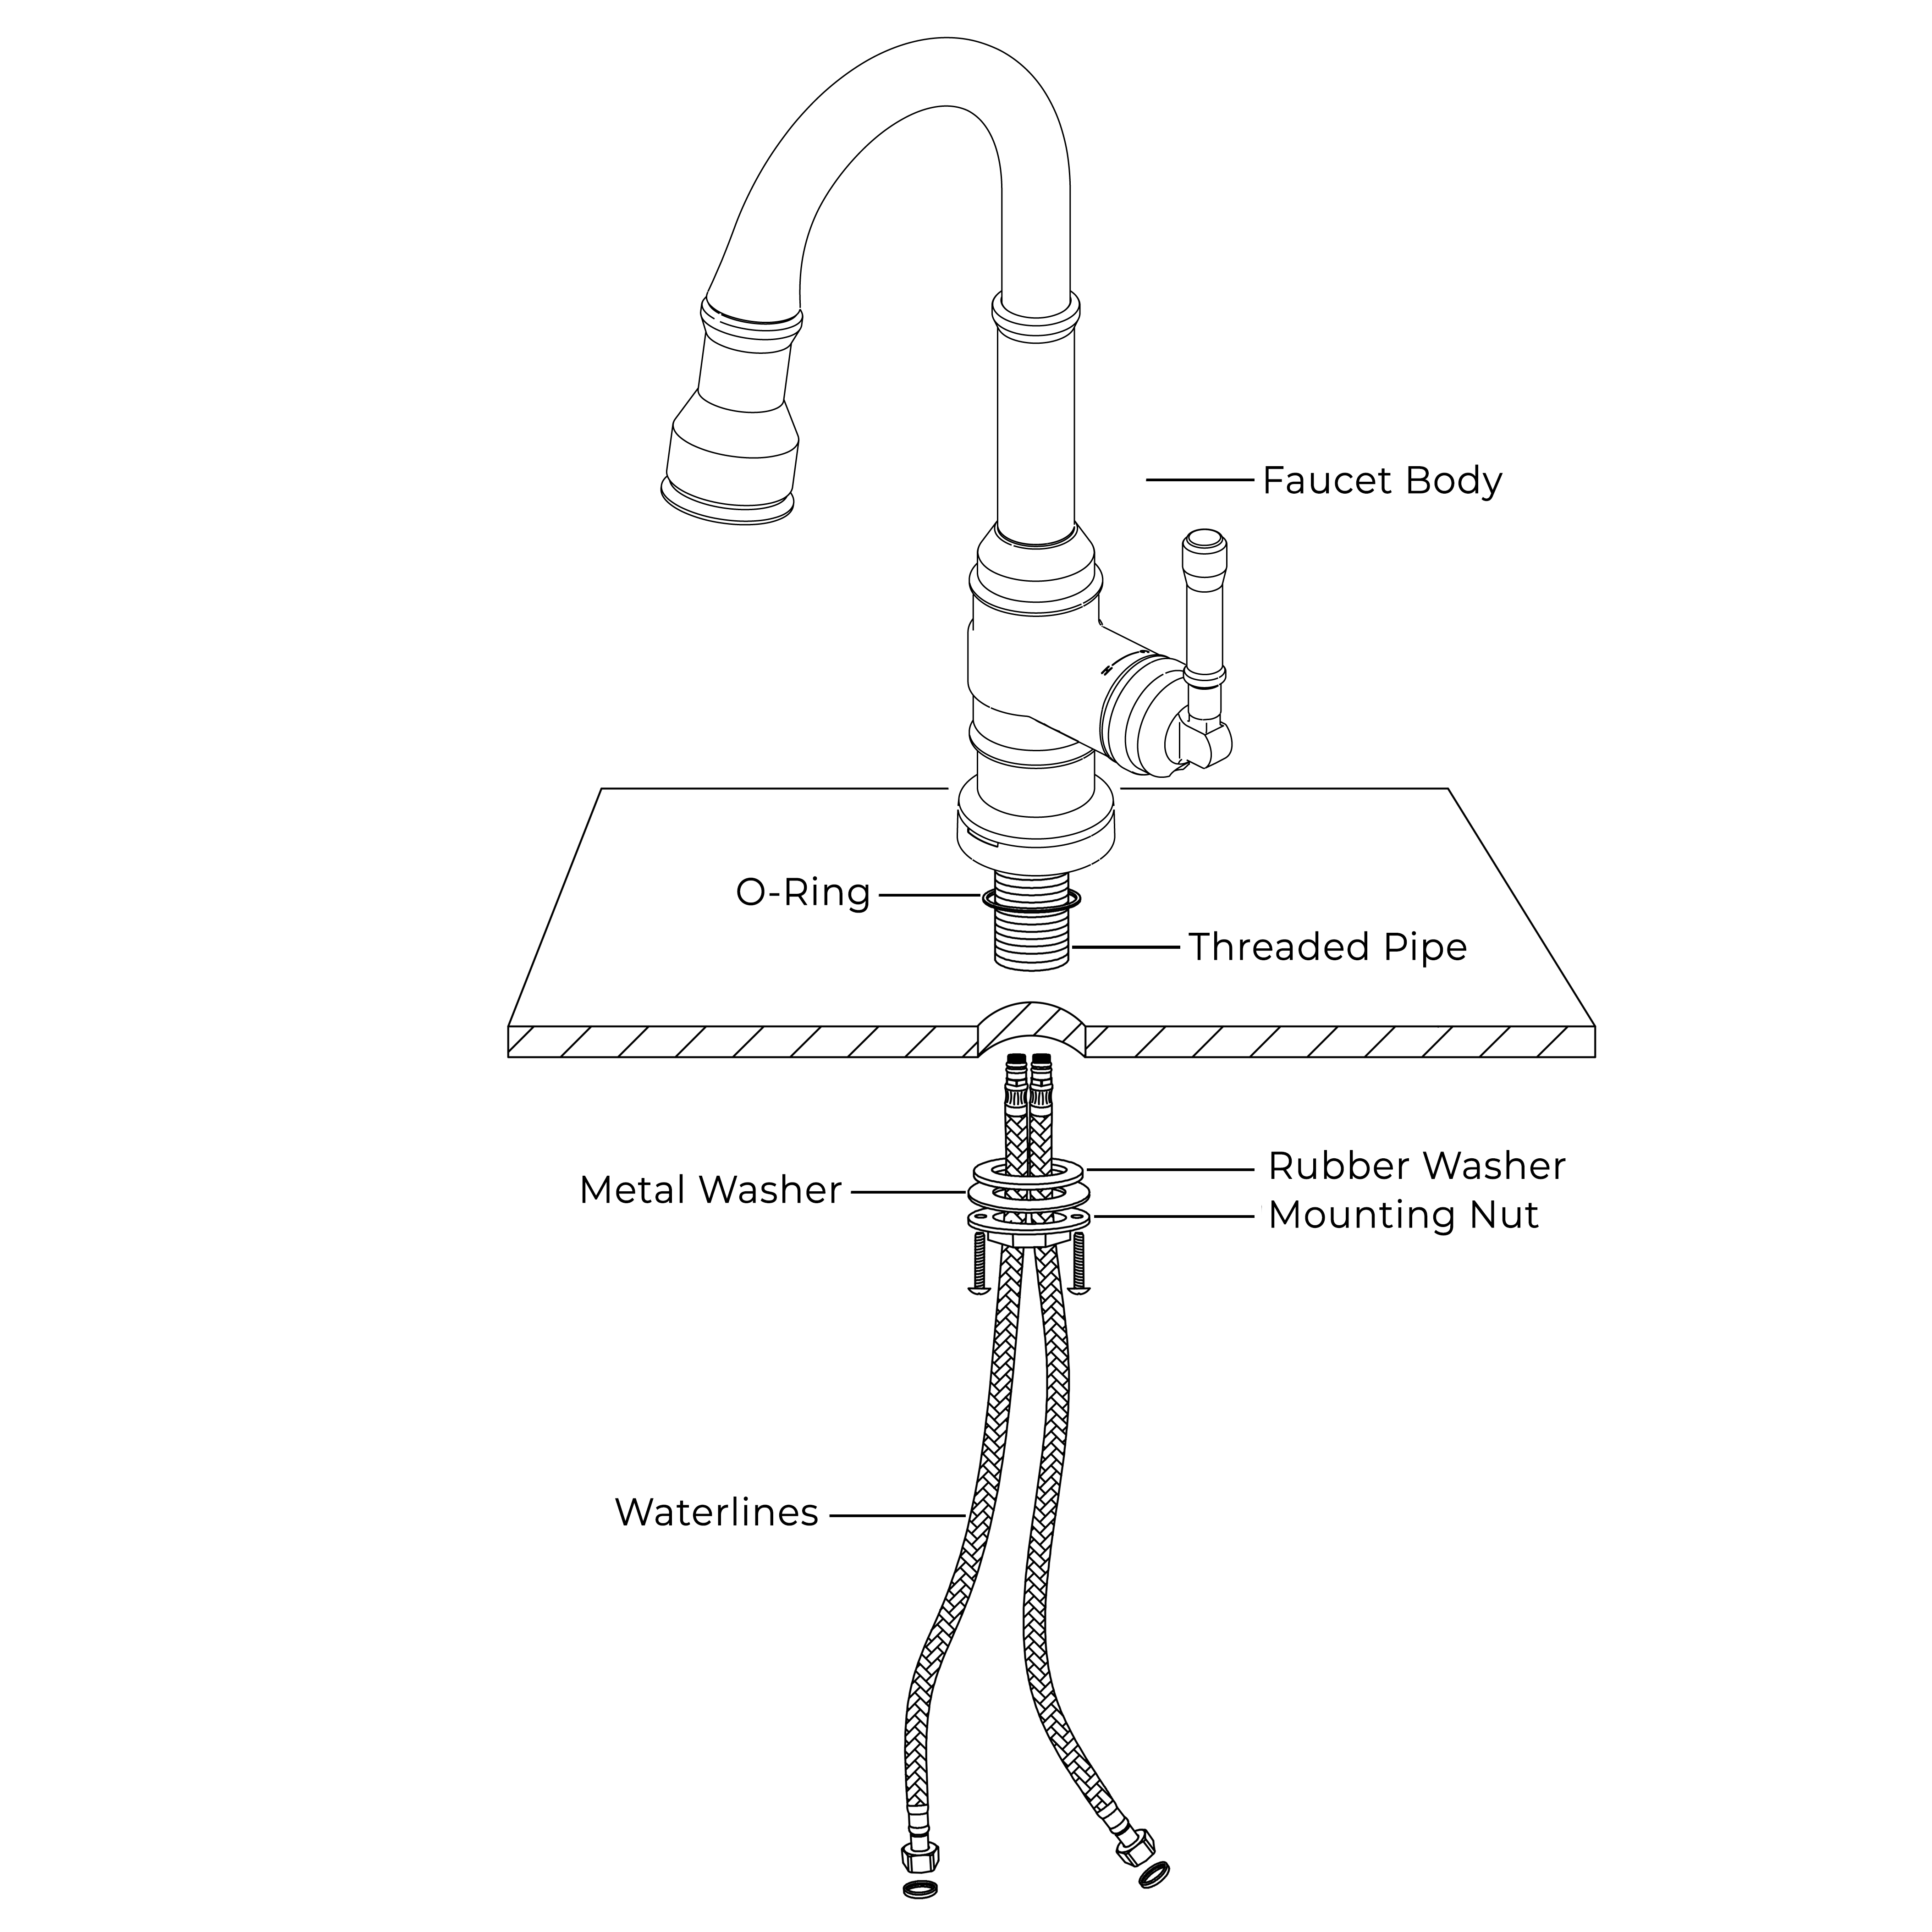
Credit: www.fontanashowers.com
Tools And Materials Needed
Gather essential tools like a wrench, screwdriver, and plumber’s tape. Ensure you have a new faucet, supply lines, and a bucket. Having these items ready will simplify the installation process.
Installing a kitchen faucet can be a straightforward task. Having the right tools and materials is crucial for a smooth installation. This guide will help you gather everything needed for the job.Tools You Will Need
- Adjustable wrench
- Basin wrench
- Screwdriver
- Pliers
- Bucket
- Rag or towel
Materials Required
- New kitchen faucet
- Faucet supply lines
- Plumber’s tape
- Silicone sealant
- Rubber gaskets
Additional Helpful Items
- Flashlight
- Safety goggles
- Old towels
Preparing The Workspace
Preparing the Workspace Clear the area under the sink to ensure easy access. Gather necessary tools like a wrench and plumber’s tape. Turn off water supply valves to prevent leaks during installation.
Preparing the workspace is a crucial step in installing a kitchen faucet. A well-prepared workspace ensures a smoother and more efficient installation process. It reduces the risk of errors and makes the task more manageable. By organizing your space and having the right tools on hand, you set yourself up for success.Clearing The Area
Start by removing items from under the sink. This includes cleaning supplies, trash bins, and any personal items. A clear area provides easy access to plumbing fixtures. It also helps prevent accidents or damage to your belongings. After clearing, clean the space. Wipe down surfaces to remove dust and debris. This will make working under the sink more pleasant and hygienic.Gathering Supplies
Before beginning, gather all necessary tools and materials. This might include a new faucet, wrenches, plumber’s tape, and a basin wrench. Having everything nearby saves time and avoids interruptions. Lay out your tools in an organized manner. This ensures you can find what you need quickly and easily. Double-check that you have all components of the new faucet. Missing pieces can delay installation and cause frustration.Removing The Old Faucet
There’s a certain satisfaction in giving your kitchen a fresh look by installing a new faucet. But before you can marvel at your upgrade, you’ll need to say goodbye to the old one. Removing the old faucet might seem daunting, but with a bit of guidance, it’s a straightforward task. Let’s dive into how you can efficiently remove that old fixture and prepare for the new addition.
Turning Off Water Supply
First things first, safety is key. Locate the shut-off valves under your sink and turn them off to prevent any water leakage. If your valves are stubborn, a gentle tap with a wrench may help. Don’t skip this step, unless you want a mini flood on your hands!
Disconnecting Water Lines
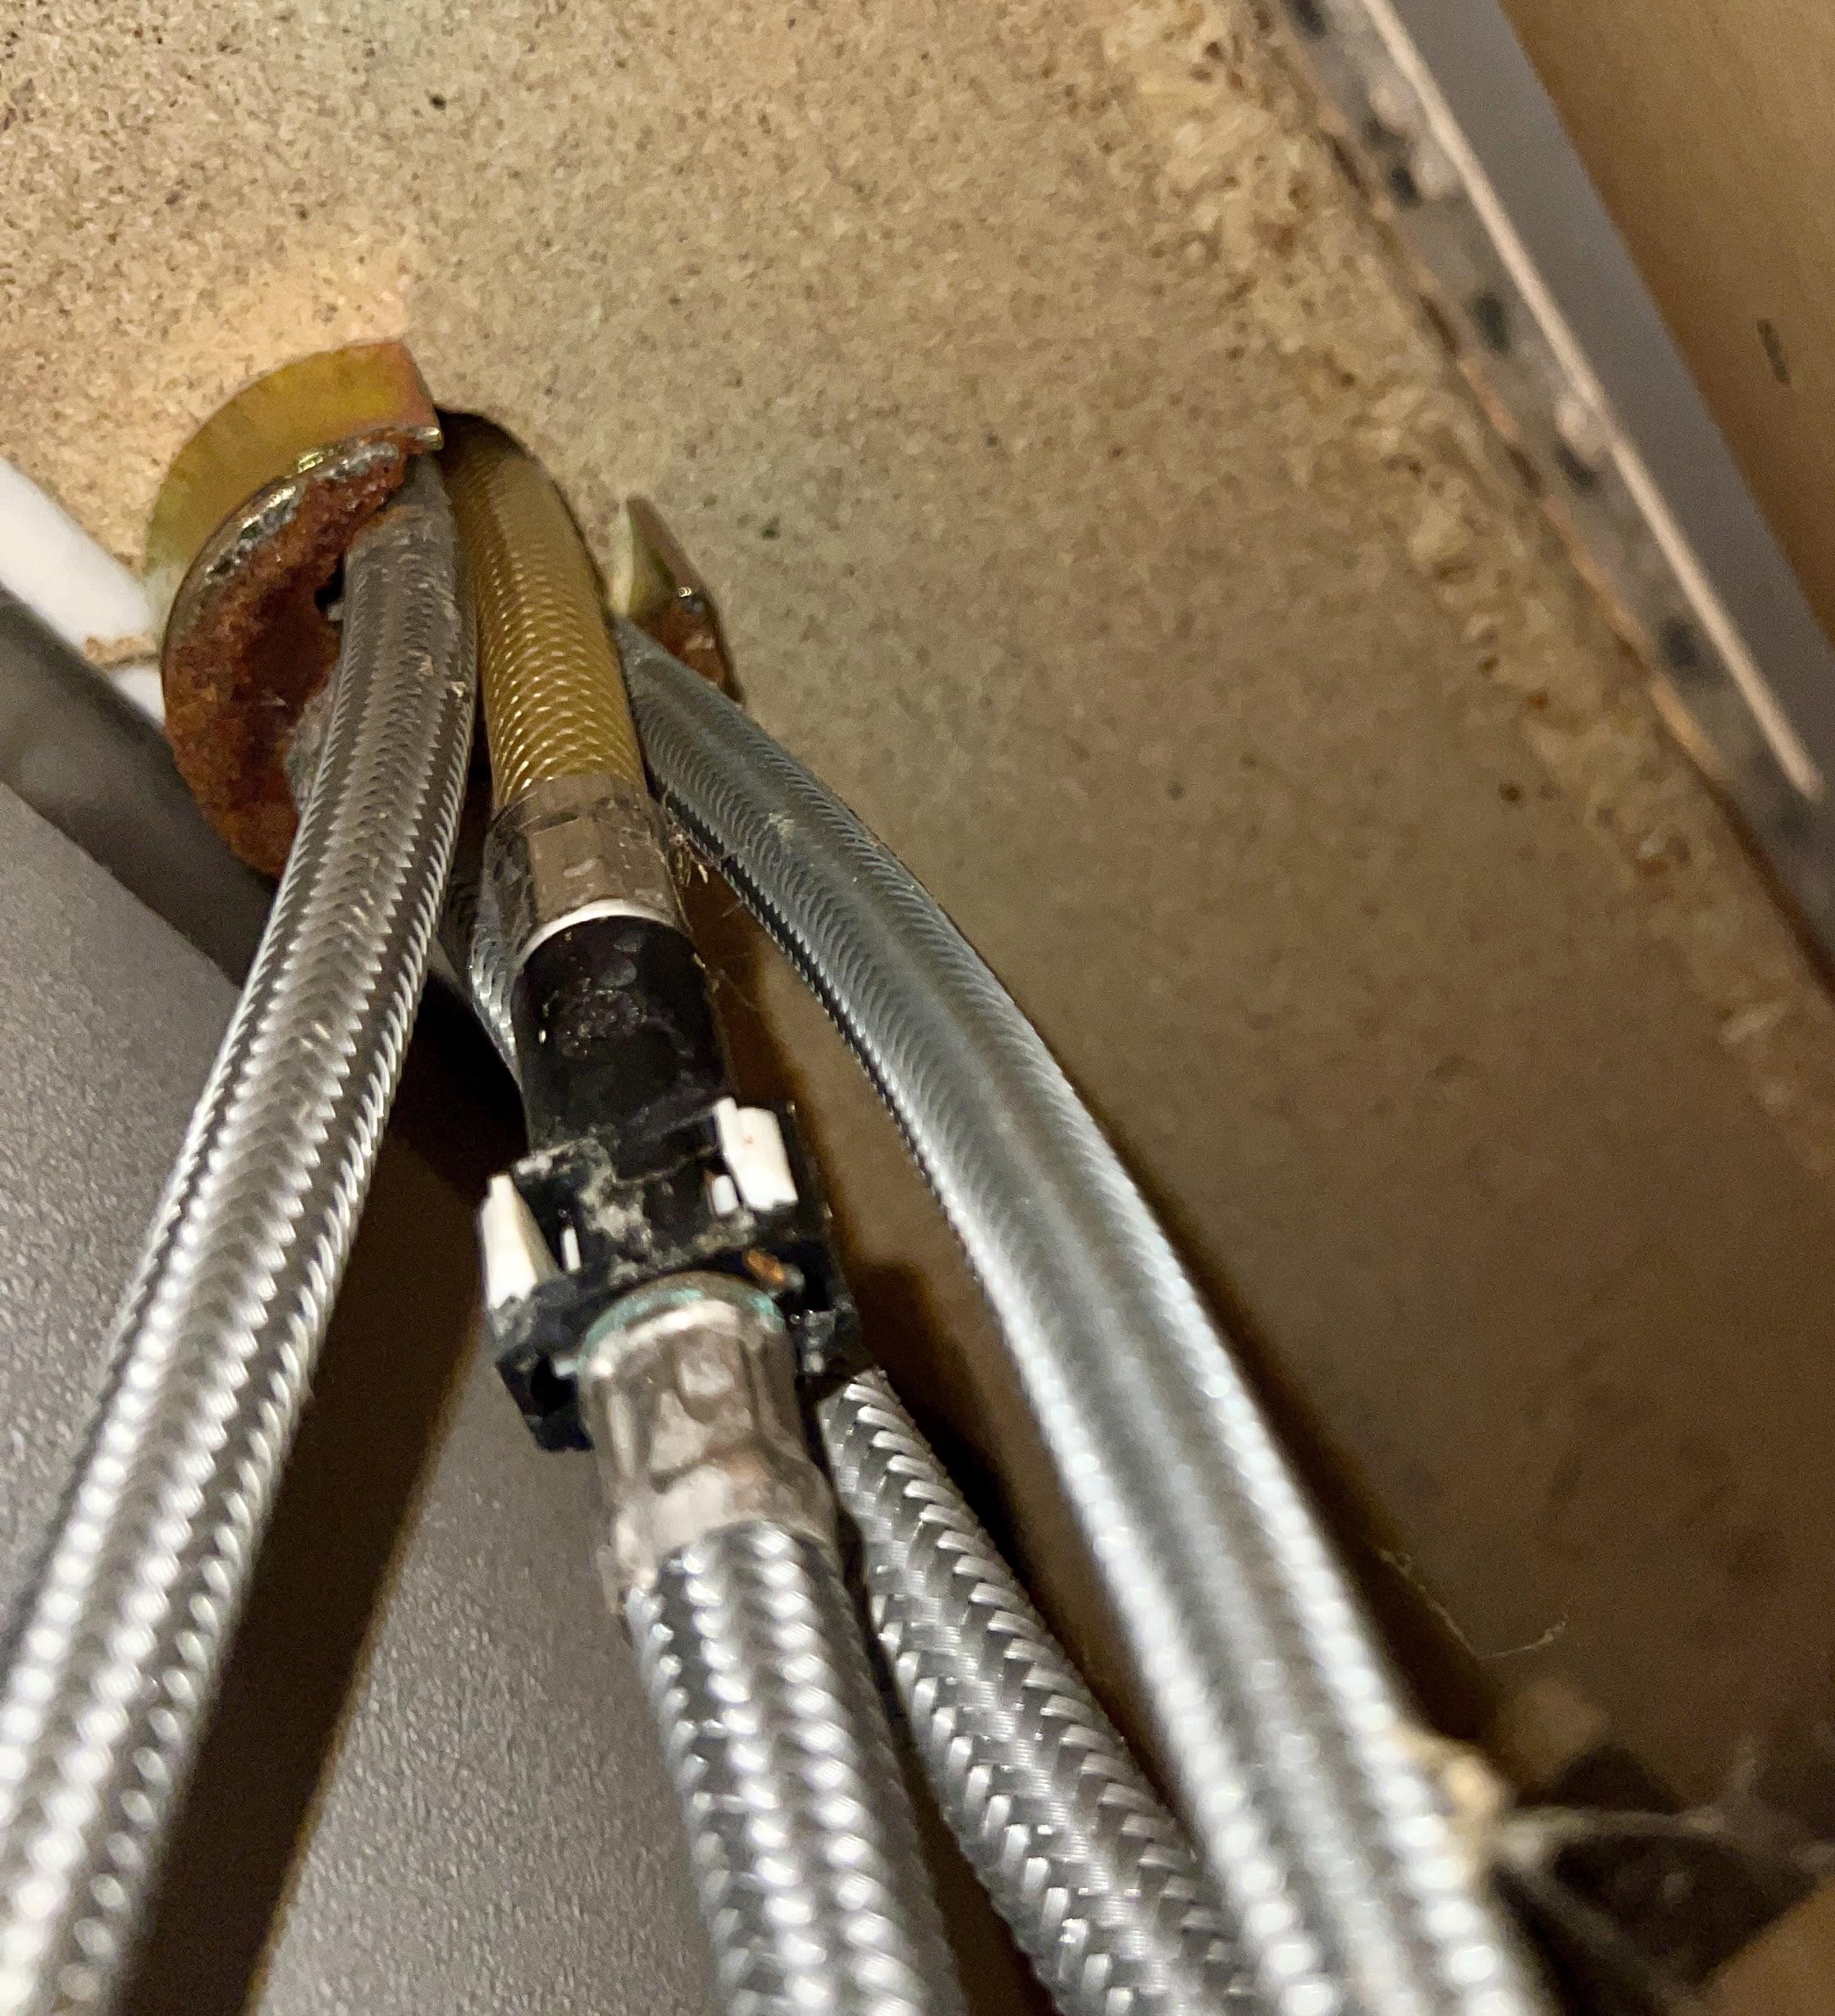
Once the water supply is off, it’s time to disconnect those water lines. Grab a wrench and loosen the nuts attaching the faucet to the water lines. You might encounter a bit of residue build-up, so be prepared for some elbow grease. Why not take this chance to check your water lines for any wear and tear?
Detaching The Old Faucet
With the water lines out of the way, you can focus on the faucet itself. Most faucets are held in place by mounting nuts underneath the sink. Use a basin wrench to unscrew these nuts. It might be cramped, but remember, patience is your best friend here. As you pull out the old faucet, do you feel a sense of accomplishment knowing you’re one step closer to a stylish kitchen?

Credit: www.youtube.com
Installing The New Faucet
Replacing a kitchen faucet can freshen up your space. Begin by turning off the water supply. Next, remove the old faucet and clean the area. Install the new faucet according to the instructions, ensuring it’s secure. Finally, turn the water back on and check for leaks.
Installing a new kitchen faucet can seem like a daunting task, but with a bit of patience and the right tools, you can do it yourself. It’s a satisfying DIY project that not only saves you money but also gives you the opportunity to personalize your kitchen space. As you embark on this task, remember that careful preparation and attention to detail will make the process smoother.Positioning The New Faucet
Begin by inserting the faucet’s supply lines and shank through the sink holes. Ensure the faucet is centered and aligned properly. Adjust it to match the desired position, confirming that it will operate smoothly without obstruction. Take a moment to admire the faucet’s design and imagine how it will enhance your daily kitchen activities. Positioning is crucial, so take your time to get it right.Securing The Faucet
Underneath the sink, use a wrench to tighten the mounting nuts onto the faucet shank. Make sure they are securely fastened to prevent any wobbling. If your faucet includes a gasket or putty, apply it to create a watertight seal. Secure it firmly, but avoid over-tightening, which might damage components. It’s all about finding that perfect balance, much like cooking a great meal.Connecting Water Lines
Attach the water supply lines to the corresponding hot and cold valves. Use your hands to thread them initially, then tighten with a wrench for a snug fit. Double-check that all connections are secure to prevent leaks. Turn the water supply back on and test the faucet for leaks. Do you hear any dripping? If so, recheck the connections and tighten as necessary. Once everything is secure, take a moment to test the faucet’s functionality. Ensure smooth operation and enjoy the fruits of your labor. Your kitchen’s new centerpiece is ready to serve, adding both function and style to your space.Testing The Installation
Turn on the faucet to check for leaks. Ensure water flows smoothly from the spout. Tighten any loose connections as needed.
Once you’ve installed your new kitchen faucet, the next crucial step is to test the installation. Proper testing ensures that your faucet works efficiently and prevents any potential water damage. Taking the time to thoroughly check your work can save you from future headaches and costly repairs. Let’s dive into the testing process to make sure everything is running smoothly.Checking For Leaks
Start by slowly turning on the water supply. Keep a keen eye on the connections beneath the sink. It’s essential to look for any signs of moisture or dripping. A small leak now can turn into a bigger problem later. If you notice any leaks, tighten the connections with a wrench. Sometimes, a bit of plumber’s tape around the threads can do wonders for sealing stubborn leaks. Have you ever noticed how a small oversight can lead to significant issues? This is your chance to catch any potential problems early.Ensuring Proper Water Flow
Next, test the water flow by turning the faucet on. Check both hot and cold water to ensure they are flowing as expected. Observe the water pressure; it should be consistent and strong. If it’s weak, it could indicate a blockage or an issue with your home’s water supply. Try removing the aerator and cleaning it if the flow seems inadequate. It’s surprising how something as simple as a clogged aerator can impact your faucet’s performance. Testing the installation is like the final exam for your DIY project. It confirms that your hard work has paid off and that your kitchen faucet is ready for use. Are you ready to enjoy the fruits of your labor?Final Touches
Begin by ensuring the faucet is securely tightened and aligned. Check for leaks and adjust as needed. Finish by cleaning the area and testing water flow for proper installation.
As you wrap up your kitchen faucet installation, it’s important to pay attention to the final touches. These finishing steps ensure that your new faucet not only looks great but functions perfectly. Paying attention to details now will save you from potential headaches later.Cleaning Up
Take a moment to tidy up your workspace. Wipe down the sink and countertop to remove any dust or debris. Use a gentle cleaner to make your new faucet shine and remove any fingerprints or smudges. Inspect the area for any stray parts or tools. Double-check that everything is securely tightened and in place. This is also a great time to test the faucet again to ensure there are no leaks.Disposing Of Old Materials
Consider the environment when getting rid of old materials. Many components of your old faucet, such as metal parts, can be recycled. Check with your local recycling center for guidelines on recycling plumbing materials. If your old faucet is still in working condition, think about donating it to a local charity or reuse center. This not only helps the environment but also supports your community. Have you ever thought about the impact of your disposal choices? Making mindful decisions can make a difference.
Credit: www.youtube.com
Frequently Asked Questions
Can I Install A Kitchen Faucet By Myself?
Yes, you can install a kitchen faucet by yourself. Follow instructions carefully, ensure you have the right tools. Turn off water supply and check for leaks after installation. Consider professional help if unsure about plumbing tasks for safety and efficiency.
How Do You Install A Faucet Step By Step?
Turn off the water supply and remove the old faucet. Clean the area thoroughly. Install the new faucet by securing it with nuts and washers. Connect water supply lines to the faucet. Turn on the water supply and check for leaks.
Adjust as necessary for proper installation.
Do You Put Plumbers Putty Under A Faucet?
Plumbers putty is not typically used under faucets. Use a rubber gasket or silicone sealant for a watertight seal. Plumbers putty is more suitable for drain fittings where flexibility is needed. Always follow the manufacturer’s instructions for installation.
How Much Will A Plumber Charge To Install A Kitchen Faucet?
A plumber typically charges $150 to $350 to install a kitchen faucet. Costs vary based on location and complexity.
Conclusion
Installing a kitchen faucet can be simple with patience. Follow the steps carefully for a smooth process. Double-check connections to avoid leaks. Use tools correctly to prevent damage. Seek help if unsure. A properly installed faucet enhances your kitchen’s functionality.
Enjoy a fresh look and improved water flow. Regular maintenance keeps your faucet working well. Remember, practice makes perfect. With time, your skills will grow. Feel confident in tackling more home projects. Happy plumbing and enjoy your new faucet!

Similar Posts