
Are you tired of staring at your worn-out kitchen counters? Want a fresh, new look without breaking the bank?
Installing kitchen counter laminate could be your perfect solution. It’s affordable, comes in a variety of styles, and can instantly transform your kitchen space. But here’s the thing: you might think it’s a daunting task, right? What if I told you that you could do it yourself with just a few tools and a bit of patience?
In this guide, I’ll walk you through the process, step-by-step, ensuring that your kitchen gets that stunning upgrade you’ve been dreaming of. Stick around, and by the end, you’ll feel confident enough to tackle this project on your own. Let’s dive in!
Tools And Materials
Gather essential tools like a saw, laminate roller, and adhesive. Ensure you have materials such as laminate sheets and edge strips. Proper tools and materials make installation smoother and more efficient.
Installing laminate countertops can transform a kitchen. It’s a cost-effective way to enhance your space. Before starting, gather the right tools and materials. This ensures a smooth and efficient installation process.Tools You’ll Need
A few essential tools are required. Each plays a vital role in the installation. Make sure to have a measuring tape. Accuracy is key when cutting the laminate. A circular saw is crucial. It helps in making straight, clean cuts. For precision, a jigsaw is also handy. It is perfect for cutting curves or corners. Sandpaper is necessary. It smooths the edges of the laminate. A roller is required to press down the laminate. This ensures a firm bond with the surface. A utility knife is useful. It’s excellent for trimming excess laminate.Materials Required
Gather all materials before starting. This avoids interruptions during the process. Purchase the laminate sheets first. They should match the desired kitchen style. Laminate adhesive is essential. It secures the laminate to the counter surface. You will need contact cement. It provides a strong bond between surfaces. Double-sided tape helps hold the laminate in place temporarily. Masking tape protects areas not being laminated.Safety Gear
Safety is paramount during any installation. Wear safety goggles to protect your eyes. Dust from cutting laminate can be harmful. Use a dust mask to avoid inhaling particles. Gloves protect your hands from sharp tools. Dress appropriately. Wear clothing that covers your skin. Choose non-slip footwear. It ensures stability during the installation process.Optional Tools
While not essential, some tools make the job easier. A router is useful. It trims edges with precision. A file can smooth rough edges. A speed square helps in making accurate angles. Clamps are beneficial. They hold materials steady while working. A straightedge guides your cuts. It ensures clean, straight lines. Prepare these tools and materials. This ensures a seamless countertop transformation.Preparing The Countertop
Preparing your countertop is crucial for a successful laminate installation. A smooth, clean surface ensures proper adhesion and longevity. Follow these steps carefully to achieve a professional finish.
Cleaning The Surface
Start by removing any existing debris or old adhesive. Use a mild detergent and warm water for cleaning. Scrub the surface thoroughly to eliminate dirt and grease. Ensure the countertop is completely dry before moving to the next step.
Measuring And Cutting The Laminate
Accurate measurements are essential for a perfect fit. Use a measuring tape to determine the countertop dimensions. Mark these dimensions on the back of the laminate sheet. Use a utility knife or a saw designed for laminate materials to make precise cuts.
Double-check your measurements to avoid errors. Keep your cuts straight and edges clean. Proper preparation leads to a smooth installation process.
Applying Adhesive
Applying adhesive is a crucial step in installing kitchen counter laminate. The right adhesive ensures a strong bond between the laminate and the substrate. A firm grip prevents peeling or lifting over time. Follow this guide to achieve a smooth and durable finish.
Choosing The Right Adhesive
Select an adhesive specially made for laminate installation. Contact cement is a popular choice. It’s strong and provides a durable bond. Ensure the adhesive is water-resistant. This quality is essential for kitchen environments. Always check the label for compatibility with your materials.
Proper Application Techniques
Ensure the substrate is clean and dry. This prevents adhesion issues. Use a brush or roller to apply the adhesive evenly. Cover the entire surface without leaving gaps. Allow the adhesive to dry until it’s tacky. This usually takes about 15-20 minutes. Carefully align the laminate with the substrate. Press firmly to ensure a strong bond. Use a roller to smooth out any air bubbles. This step is vital for a flawless finish.

Credit: www.familyhandyman.com
Laying The Laminate
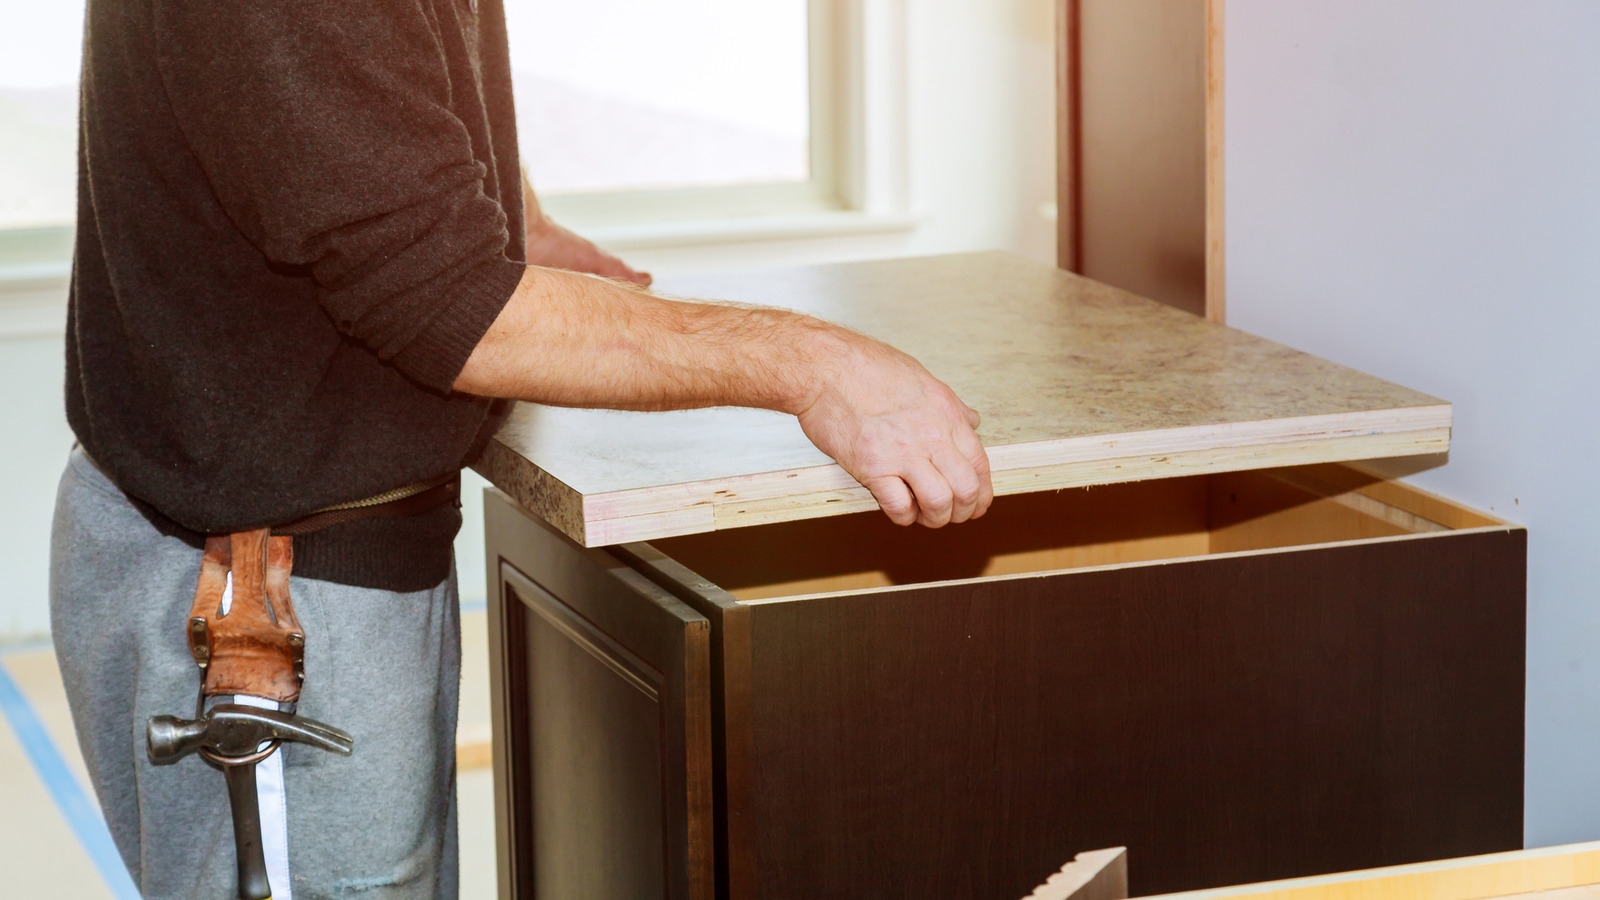
Laying the laminate on a kitchen counter involves precise measuring and cutting. Use adhesive to secure the laminate sheet in place, ensuring a smooth fit. Trim excess material and finish with edge strips for a polished look.
Laying laminate on kitchen counters transforms the space. It adds style and durability. Proper installation ensures long-lasting results. Begin by preparing the countertop. Clean the surface thoroughly. Then, follow these steps to lay the laminate perfectly.Aligning The Laminate
Place the laminate sheet on the counter. Ensure it covers the entire area. Check the edges for proper fit. Trim excess material if necessary. Use a measuring tape for accuracy. Mark the positions with a pencil. Precision is key in this stage. A well-aligned laminate enhances appearance.Ensuring A Smooth Surface
Apply adhesive evenly across the surface. Use a roller to spread it thinly. Press the laminate firmly onto the adhesive. Work from the center outward. This prevents air bubbles from forming. Smooth out any wrinkles with a roller. Inspect the surface carefully. A smooth finish is essential for durability.Trimming And Finishing
Trimming and finishing the edges of your kitchen counter laminate ensures a polished look. Carefully cut excess laminate using a router. Sand the edges smoothly to avoid roughness. Ensure all corners are neatly finished for a clean, professional appearance. Proper trimming enhances both functionality and aesthetics of your kitchen space.
Transforming your kitchen with laminate countertops can be a rewarding DIY project. Once you’ve adhered the laminate to the countertop, it’s time to focus on trimming and finishing. This step ensures a polished, professional look. It’s where precision meets creativity, allowing you to add those final touches that make all the difference. Let’s dive into the details of trimming excess laminate and sealing edges to achieve that seamless finish.Trimming Excess Laminate
Begin with a router equipped with a laminate trimming bit. Carefully guide the router along the edges to remove any overhang. This tool helps you achieve a clean cut, aligning the laminate perfectly with the countertop edges. Ensure your hands are steady and your grip is firm. If you’re new to using a router, practice on a scrap piece first. This helps prevent any accidental gouges on your beautiful new surface. After routing, use a fine file or sandpaper to smooth the edges. Always file in a downward motion to avoid chipping. This step is crucial for a seamless transition from laminate to counter.Sealing Edges
Sealing the edges is a vital step to protect your countertop from moisture and wear. Use a laminate edge sealer or a clear silicone caulk. Apply it evenly along all exposed edges to prevent water from seeping underneath. A small brush or a caulk gun can make the application process easier and more precise. Be sure to wipe away any excess immediately to maintain a clean look. Consider adding a strip of matching laminate edging if your countertop design includes corners or intricate shapes. This not only enhances the appearance but also provides additional protection. Remember, the final touches are about combining functionality with aesthetics. How will you ensure your kitchen countertop not only looks great but also stands the test of time?Troubleshooting Common Issues
Troubleshooting common issues while installing kitchen counter laminate involves ensuring a clean, dry surface. Check for air bubbles under the laminate sheet. Use a roller to smooth out any bubbles for a seamless finish.
Installing kitchen counter laminate can be a rewarding DIY project, but it often comes with its own set of challenges. You might run into unexpected issues that can make the process feel overwhelming. However, understanding these common problems and knowing how to fix them can save you time and frustration. Let’s dive into some of the typical hurdles you might face, and how to overcome them with ease.Handling Air Bubbles
Air bubbles can appear under your laminate surface, creating an uneven finish. This can happen if the adhesive isn’t evenly spread or if the laminate isn’t pressed down properly. To tackle this, use a laminate roller to smooth out the surface immediately after laying it down. If bubbles still appear, a sharp needle can be your best friend. Gently puncture the bubble and press it flat, ensuring the adhesive spreads evenly underneath. Remember, patience is key—rushing can often lead to more bubbles.Fixing Misaligned Laminate
Misalignment can be a common issue, especially if you’re working alone. It’s crucial to measure and align your laminate carefully before applying adhesive. If you’ve already applied it and notice a misalignment, don’t panic. Carefully lift the laminate before the adhesive sets fully. You can then realign it correctly. Consider having a second pair of hands to help; it can make a significant difference in keeping everything straight. What if you can’t lift it anymore? A sharp utility knife can trim the excess, but this requires precision. Always cut slowly and steadily to avoid damaging the laminate or the underlying surface. Remember, every challenge is an opportunity to learn. Have you ever faced these issues before, and how did you solve them? Your experiences could help others in the same boat.Maintenance Tips
You’ve successfully installed your new kitchen counter laminate. Now, the focus shifts to maintaining its pristine look and feel. With a few simple routines, your countertop can stay beautiful and functional for years.
Routine Cleaning
Regular cleaning is crucial. Use a damp microfiber cloth to wipe down the surface daily. This keeps dust and crumbs at bay.
For stubborn spots, a mild dish soap mixed with warm water works wonders. Avoid abrasive pads; they can scratch the surface.
Have you ever found a stain that just won’t budge? Try a paste of baking soda and water. Gently rub the stain, and it should lift away.
Preventing Damage
Prevention is always better than repair. Use cutting boards instead of cutting directly on the laminate. This avoids scratches.
Hot pots and pans can cause burns. Always use trivets or hot pads to protect the surface.
Have you noticed small chips forming? Be cautious with heavy pots and pans. Dropping them can damage your countertop.
Little habits make a big difference. What simple steps will you take today to ensure your countertop stays in top condition?

Credit: crystelmontenegrohome.com
Credit: www.housedigest.com
Frequently Asked Questions
Can I Install Laminate Countertops Myself?
Yes, you can install laminate countertops yourself. Ensure you have proper tools and follow instructions carefully. It’s a cost-effective DIY project, but requires precision and patience. Consider consulting professional guides or videos for best results.
What Goes Under A Laminate Countertop?
A sturdy substrate like plywood or particleboard supports a laminate countertop. It provides stability and ensures durability. Moisture-resistant barriers, such as plastic sheeting, protect against water damage. Proper support, like braces or rods, may be necessary for overhangs.
How To Secure A Laminate Countertop To Cabinets?
Secure laminate countertops by applying adhesive to the cabinet top. Position the countertop carefully. Use screws through the underside of the cabinet, ensuring they don’t penetrate the laminate surface. Verify alignment, then tighten screws for a firm hold. Always ensure the countertop is level and properly aligned before finalizing.
Do I Really Need Build Up Strips Under Laminate Countertops?
Build-up strips provide essential support for laminate countertops. They ensure stability, prevent sagging, and allow for proper installation. Without them, countertops might not align correctly with cabinets, potentially causing long-term issues. Always consult installation guidelines or professionals for the best results.
Conclusion
Installing kitchen counter laminate is straightforward with the right steps. Plan ahead. Gather all materials before starting. This saves time and effort. Follow each step carefully for a professional look. Laminate offers a durable, stylish surface. It is easy to clean.
Choose a design that fits your kitchen theme. DIY projects build skills and confidence. You’ll appreciate your handiwork every day. Consider laminate for its affordability and variety. Your kitchen will gain a fresh, updated appearance. Enjoy cooking in your newly revamped space.
Feel proud of your accomplishment. Share your experience with friends and family.