
Are you tired of looking at your outdated kitchen cabinets but dread the thought of a pricey renovation? Good news—you don’t need to break the bank to give your kitchen a fresh, new look.
One simple and effective way to transform your space is by painting your cabinet doors. But before you dive into this rewarding DIY project, you first need to know how to remove those cabinet doors without a hitch. Imagine the satisfaction of seeing your kitchen come alive with a color that reflects your style and personality.
It’s easier than you think! In this guide, we’ll walk you through the straightforward steps to safely and efficiently remove your kitchen cabinet doors, setting the stage for a stunning makeover. Ready to roll up your sleeves and get started? Let’s make your kitchen the envy of all your guests.
Gather Necessary Tools
Gather tools like a screwdriver, drill, and painter’s tape for removing kitchen cabinet doors. Ensure you have a safe workspace.
Gathering the necessary tools is the first step in removing kitchen cabinet doors for painting. Having the right equipment ensures a smooth and efficient process. Without the proper tools, you might struggle or even damage the cabinets. Preparing your toolkit beforehand makes the task easier and less time-consuming.Identify Required Tools
Start by identifying the tools needed for the job. You will need a screwdriver, drill, and possibly a hammer. These are essential for removing screws and hinges. Keep a flashlight handy to illuminate hard-to-see areas.Ensure Tools Are In Good Condition
Check that all tools are in good working condition. A faulty screwdriver can damage screw heads. Ensure drills have charged batteries or a power source nearby. This prevents interruptions during the process.Organize Your Tools
Organize tools in a toolbox or tray. This keeps them accessible and prevents misplacement. Place the toolbox near the work area for convenience. This saves time searching for tools during the task.Safety Equipment
Do not forget safety equipment. Use gloves to protect your hands. Safety goggles shield your eyes from debris. Wear sturdy shoes to protect your feet. Safety should always be a priority.Prepare A Workspace
Set up a clean and clear workspace. Remove any clutter that could obstruct your work. Lay down a tarp to catch dust and debris. A tidy area enhances efficiency and safety. Gathering these tools and preparing your workspace ensures a smooth process. With everything ready, removing cabinet doors becomes a straightforward task.Prepare The Workspace
Clear off countertops to create a spacious work area. Lay down drop cloths to protect surfaces from paint. Ensure adequate lighting to help you see details while removing cabinet doors.
Preparing your workspace is crucial before removing kitchen cabinet doors for painting. A well-organized space ensures efficiency and prevents accidents. Focus on creating a clean, safe area to work in. This includes protecting surfaces, ensuring good lighting, and having necessary tools ready.Protect Surfaces
Start by covering floors and counters with drop cloths or plastic sheets. This prevents paint drips or scratches. Secure covers with tape to keep them in place. Clear the countertops of any items that could be damaged or obstruct your work. Use cardboard or foam sheets to protect nearby walls and appliances.Ensure Adequate Lighting
Good lighting helps you see what you’re doing clearly. Check if existing lights are sufficient. Add portable lamps or work lights for extra brightness. Position lights to avoid shadows on the cabinets. This will help in painting evenly and spotting any imperfections.Remove Cabinet Contents
Removing kitchen cabinet doors is essential for painting. First, empty the cabinets for easy access. Then, unscrew hinges carefully and detach doors to prepare for a smooth painting process.
Removing kitchen cabinet doors for painting starts with clearing them. Cabinet contents can be obstacles. Emptying cabinets ensures a smoother process. It helps you avoid accidents and keeps items safe.Empty Cabinets
Begin by taking everything out. This includes dishes, pots, and spices. Place them on a nearby counter or table. Use baskets or boxes for storage. This keeps items organized and prevents clutter. Emptying cabinets also reveals hidden dirt and grime. Clean each cabinet before proceeding.Label Items For Easy Reassembly
Labeling items aids in putting them back later. Use sticky notes or masking tape. Write simple labels like “top shelf” or “left drawer”. Keep labels visible on each item. This saves time during reassembly. It reduces confusion about where things belong. You’ll find items quickly when cabinets are ready.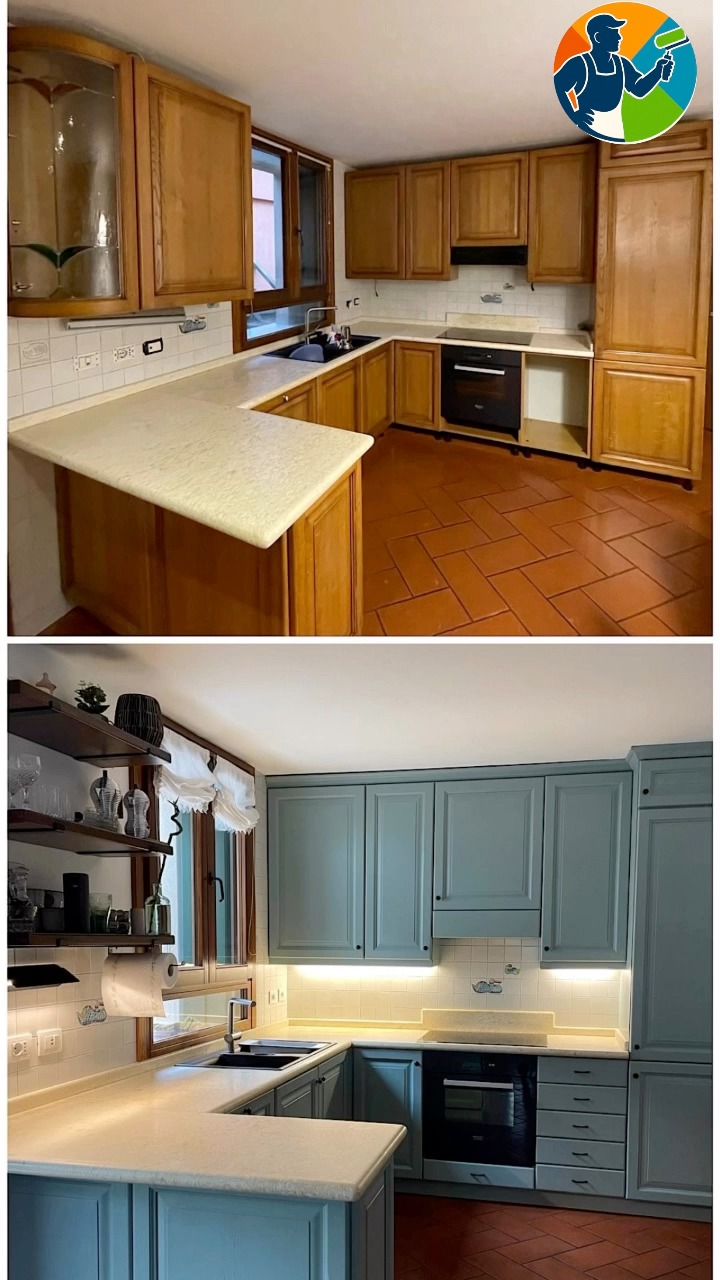
Credit: www.facebook.com
Identify Hinge Types
Different hinge types affect how you remove cabinet doors. Identify the hinge style first for easy removal. Check for visible screws or hidden mechanisms.
Removing kitchen cabinet doors for painting is a great way to refresh your space without the cost of a complete remodel. One of the first steps is to identify the hinge types you’re dealing with. Understanding the hinge type can make the removal process smoother and help you avoid damaging the cabinet or door. Let’s dive into the common hinge types and how to locate the screws for a seamless removal process.Common Hinge Types
Most kitchen cabinets use one of several common hinge types. Each type has its unique features and removal requirements:- Overlay Hinges:These are often found in modern kitchens. They allow the door to overlap the cabinet frame when closed. If your cabinets have a clean, streamlined look, you likely have overlay hinges.
- Inset Hinges:These hinges sit inside the cabinet frame, offering a flush look. They are commonly used in traditional kitchen designs.
- European Hinges:Popular for their concealed design, these hinges are hidden when the door is closed. They are adjustable, making them a favorite for DIY enthusiasts.
Locating Screws
Once you’ve identified the hinge type, the next step is locating the screws holding the doors in place. Here’s how to do it effectively:- For overlay and inset hinges, screws are typically visible on the side of the hinge attached to the cabinet frame. Use a screwdriver to remove them carefully.
- With European hinges, look inside the cabinet for the screws. They are often hidden from plain view, so you might need to open the cabinet door wide to access them.
- If the screws are painted over or hard to see, use a flashlight or magnifying glass to locate them.
Unscrew Cabinet Doors
Removing kitchen cabinet doors for painting is simple. First, locate the hinges and use a screwdriver to unscrew them. Carefully detach the doors and set them aside for a smooth painting process.
Removing kitchen cabinet doors for painting is a simple yet crucial task. Properly unscrewing the cabinet doors ensures a smooth painting process and a professional finish. Follow the steps below to carefully remove your cabinet doors without causing damage.Start With Top Hinges
Always begin with the top hinges. This prevents the door from falling. Use a screwdriver to remove the screws holding the top hinge. Doing this first makes the process safer. It also helps maintain the alignment of the door.Support The Door While Unscrewing
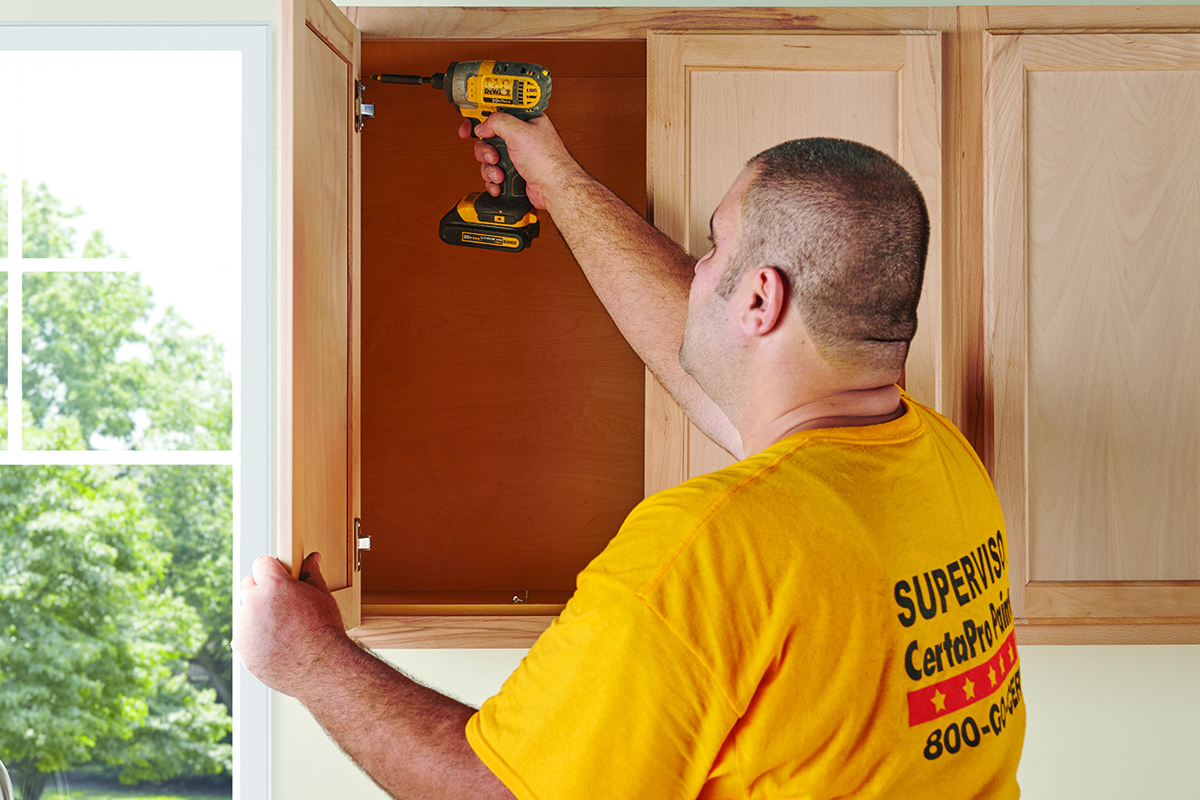
Support the door with one hand while unscrewing. This avoids any sudden falls or damages. If the door is heavy, ask for help. Having another person hold the door steady is safer. Once the top hinge is free, proceed to the bottom hinge. Again, keep the door supported until all screws are removed. This ensures a safe and controlled removal.Label And Store Hardware
Label and store hardware properly to keep track of each piece. Remove kitchen cabinet doors carefully for painting, and ensure you place screws and hinges in labeled bags. This organization makes reassembly easier and prevents misplaced parts.
Removing kitchen cabinet doors for painting might seem straightforward, but organizing the hardware is crucial for a hassle-free reinstallation. Properly labeling and storing the screws, hinges, and doors will save you time and prevent the frustration of mismatched parts. Let’s explore some practical tips to keep your hardware organized.Use Small Bags For Screws
An easy way to keep track of screws is by placing them in small bags. You can use zip-lock bags or small containers. Label each bag with the cabinet door it belongs to. This ensures you don’t end up with a pile of unidentified screws when it’s time to reassemble. Consider using a permanent marker or sticky labels for clarity. This simple step can make a huge difference later.Label Doors And Hinges
Each door and hinge should have a distinct label. Use masking tape and a marker to write the location or number on each piece. Think about labeling them in a way that makes sense to you. Perhaps by room or by cabinet number. When you reattach them, you’ll know exactly where each piece belongs. This can save precious time and prevent potential errors. Labeling also helps if you decide to rearrange or upgrade your kitchen layout. An organized system is invaluable in both short-term projects and long-term plans. Are you ready to simplify your cabinet painting project?Inspect And Clean Doors
Carefully remove kitchen cabinet doors for painting by unscrewing hinges and handles. Inspect doors for damage and clean surfaces thoroughly to ensure a smooth painting process.
Removing kitchen cabinet doors for painting is an essential task. Before you start, inspect and clean the doors. This ensures a smooth painting process. A clean surface allows the paint to adhere better. It also helps in identifying any repairs needed. Follow these steps to prepare your cabinet doors effectively.Check For Damage
Examine each door closely. Look for cracks, dents, or loose hinges. These issues can affect the painting finish. Repair any visible damage before proceeding. Tighten loose screws or replace damaged hinges. Fill cracks with wood filler and sand them smooth. A well-repaired door ensures a flawless paint job.Clean Surfaces Thoroughly
Dirt and grease can ruin a paint job. Use a mild detergent and warm water. Gently scrub each door with a soft cloth. Pay attention to corners and edges. Rinse with clean water and dry completely. For stubborn stains, use a vinegar solution. This ensures all surfaces are spotless and ready for paint.
Credit: www.tiktok.com
Credit: certapro.com
Frequently Asked Questions
Should You Take Cabinet Doors Off Before Painting?
Yes, it’s best to remove cabinet doors before painting. This ensures even coverage and prevents drips. You can easily access all surfaces, making the painting process more efficient. Removing doors also reduces the risk of paint getting on hinges and hardware.
Proper preparation leads to a professional finish.
Can I Paint My Cabinets Without Removing The Doors?
Yes, you can paint cabinets without removing doors. Clean thoroughly, sand lightly, and use painter’s tape to protect hardware. Apply primer and paint evenly for a smooth finish. This saves time and effort, transforming your kitchen with minimal hassle. Ensure proper ventilation during the process for best results.
How To Take A Kitchen Cabinet Door Off?
Remove screws from the hinges using a screwdriver. Support the cabinet door as you take it off.
How To Strip Cabinets Before Painting?
To strip cabinets before painting, remove hardware, then use a paint stripper. Scrape off old paint carefully. Sand surfaces to smooth imperfections. Clean thoroughly to eliminate dust and residue. Ensure proper ventilation during the process.
Conclusion
Removing kitchen cabinet doors for painting is simple and rewarding. Follow the steps to ensure a smooth process. Gather tools like a screwdriver and label each door. This saves time later. Carefully unscrew hinges and handles. Keep screws safe. Clean surfaces thoroughly before painting.
Choose a well-ventilated area to paint. Let each coat dry completely. Reattach doors and admire your work. A fresh look for your kitchen awaits. Enjoy the new space and share your experience with others. Painting cabinet doors transforms your kitchen easily.
Remember, patience and preparation are key. Happy painting!