Are you tired of that leaky faucet in your kitchen? Or perhaps you’re planning a stylish upgrade to your cooking space?
Either way, knowing how to remove your kitchen faucet is a valuable skill. It might seem daunting at first, but with the right guidance, you can do it yourself. Imagine the satisfaction of taking control of your home repairs, saving money, and avoiding the hassle of scheduling a plumber.
You’ll learn the steps to remove that old faucet easily and efficiently, giving you the confidence to tackle other home projects. Ready to transform your kitchen and boost your DIY skills? Keep reading to discover the simple steps to remove your kitchen faucet like a pro.

Credit: www.reddit.com
Gather Tools And Materials
Begin by gathering necessary tools and materials for removing the kitchen faucet. Essential items include a wrench, pliers, and a bucket to catch water. Ensure you have replacement parts ready if needed.
Removing a kitchen faucet might seem like a daunting task, but with the right tools and materials, you’ll be well-equipped to tackle it. Whether you’re a seasoned DIY enthusiast or a beginner, gathering the necessary items beforehand can make the process smoother and more efficient. Imagine the satisfaction of knowing you have everything you need right at your fingertips, ready to transform your kitchen space.Tools You Will Need
- Adjustable Wrench:Essential for loosening and tightening nuts and bolts.
- Screwdriver:A Phillips or flat-head screwdriver will help remove screws.
- Basin Wrench:Ideal for reaching and maneuvering in tight spaces under the sink.
- Bucket:Useful for catching any water that might spill during the removal.
- Towels or Rags:Handy for wiping up spills and keeping your work area clean.
Materials You Will Need
- Plumber’s Tape:Ensures a tight seal on connections to prevent leaks.
- Replacement Faucet:Choose a new faucet that matches your kitchen’s style.
Safety Precautions
Before diving in, ensure you have shut off the water supply to prevent any unexpected flooding. Remember, safety goggles can protect your eyes from debris. Are you ready to bring your DIY skills to life?
Organize Your Work Area
Clear out items stored under the sink to give yourself ample space to work. Place all your tools and materials within easy reach, so you’re not scrambling mid-task. A clutter-free area not only eases the process but also boosts your focus.
By preparing well, you set yourself up for a seamless removal process. So, are you excited to kick-start your kitchen upgrade journey?
Credit: www.reddit.com
Prepare The Workspace
Clear the area under the sink to create a clutter-free workspace. Ensure tools and materials are easily accessible. This preparation simplifies the removal process and prevents unnecessary delays.
Removing a kitchen faucet can be a straightforward task. Before you start, preparing the workspace is essential. A well-organized area can save you time and prevent mishaps. It ensures a smooth process, making the job easier and more efficient.Clear The Area
Begin by clearing the space around the sink. Remove items from the countertop to create a clean work area. This helps in avoiding any accidental damage or spills. Check under the sink for stored items. Remove them to access the plumbing easily. A clear area will provide enough room to maneuver tools and parts.Turn Off Water Supply
Locate the water valves under the sink. Turn them clockwise to stop water flow. This prevents leaks and keeps the workspace dry. Check the faucet to ensure water is off. Turn the faucet handles to confirm no water is running. This step is crucial for safety and avoiding water damage.Remove The Old Faucet
Removing an old kitchen faucet can seem daunting, but with the right steps, it becomes a manageable task. Whether your faucet is leaking or you’re just ready for an upgrade, removing it is the first step in the process. Dive into this guide to learn how to efficiently disconnect and remove your old kitchen faucet.
Disconnect Water Lines
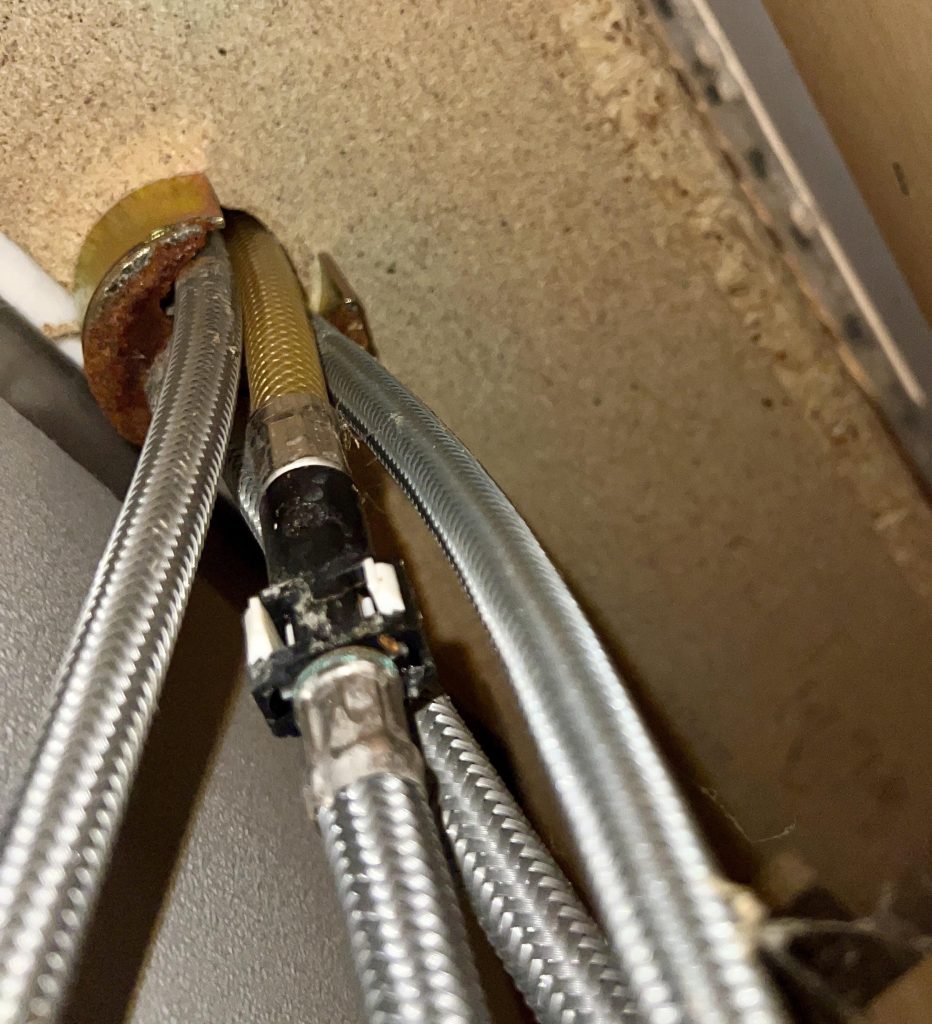
Before you start, ensure your water supply is turned off. Locate the valves under your sink and twist them clockwise to shut off the water. Use an adjustable wrench to disconnect the water lines from the faucet, being careful to have a towel or bucket handy to catch any residual water.
Unscrew Mounting Nuts
Underneath the sink, you will find the mounting nuts that secure the faucet. Use a basin wrench for those hard-to-reach places. It might take a little elbow grease, but with patience, you’ll have those nuts unscrewed in no time.
Lift Out The Faucet
Once the mounting nuts are removed, the faucet should be free. Gently lift the faucet from the top of the sink. If it resists, a little wiggle or a gentle tap could do the trick.
Isn’t it satisfying to see progress? Now that the old faucet is out, you’re one step closer to installing your shiny new fixture. Remember, every successful DIY project starts with the right tools and a dash of determination. What’s the next project on your DIY list?
Clean The Sink Area
Removing a kitchen faucet begins with clearing the sink area. Gather tools like a wrench and bucket. Turn off water supply valves. Disconnect water lines and remove any mounting nuts. Gently lift the faucet out. Clean the area for a fresh installation.
Cleaning the sink area is crucial when removing a kitchen faucet. A clean area ensures your work progresses smoothly. It helps prevent dirt and debris from entering the plumbing. Follow these steps to prepare your sink for faucet removal.Remove Old Sealant
Begin by removing any old sealant around the faucet base. Use a putty knife or scraper. Gently slide it under the sealant layer. Carefully lift the sealant away from the sink surface. Avoid scratching the sink. A clean edge ensures a better fit for the new faucet.Wipe Down The Surface
Once the sealant is gone, wipe down the sink area. Use a damp cloth or sponge. Remove any residue or grime. Pay attention to corners and edges. A clean surface prevents future issues. It also provides a fresh start for installation.Install New Faucet
Removing a kitchen faucet involves turning off the water supply and disconnecting the hoses. Loosen the mounting nuts under the sink using a wrench. Carefully lift the old faucet out of the sink, preparing the area for the new installation.
Installing a new kitchen faucet can be simple and rewarding. It gives your kitchen a fresh look. Follow these steps for a successful installation. Gather all necessary tools before starting. They include a wrench, plumber’s tape, and a basin wrench.Position New Faucet
Place the new faucet into the sink hole. Align it properly with the sink’s holes. Ensure the faucet is stable and straight. Check that all components fit well. This prevents leaks and misalignment.Secure With Mounting Nuts
Use mounting nuts to secure the faucet. Tighten them with a wrench until firm. Do not overtighten, to avoid damage. Ensure the faucet is steady. This step is crucial for a leak-free setup.Reconnect Water Lines
Connect the water supply lines to the faucet. Use a wrench to tighten connections. Wrap plumber’s tape around threads for a better seal. Turn on the water supply to check for leaks. Adjust connections if necessary.Test The New Faucet
Test the new faucet easily by first removing the old kitchen faucet. Disconnect water supply lines and unscrew mounting nuts for a seamless replacement.
Testing your new faucet is crucial after installation. This ensures it works perfectly. Follow these steps to test and enjoy a hassle-free kitchen experience.Check For Leaks
Turn on the water supply. Inspect all connections for drips. Use a dry cloth to wipe areas around the faucet. This highlights any moisture. Tighten connections if you find leaks. Leaks can cause water damage over time. Ensure all nuts and bolts are secure.Ensure Proper Water Flow
Run both hot and cold water. Check for smooth flow. Listen for any unusual noises. Adjust the faucet handle for desired water temperature. Make sure water pressure is consistent. A proper flow means your installation is successful. If flow is weak, check for blockages in the pipes.
Credit: www.reddit.com
Frequently Asked Questions
How To Get A Kitchen Faucet Off?
Turn off the water supply. Use a wrench to loosen nuts under the sink. Remove the faucet carefully.
How To Loosen A Kitchen Faucet Nut?
Use a basin wrench to access and loosen the kitchen faucet nut. Turn counterclockwise to unscrew it. Apply penetrating oil if the nut is stuck. Gently tap with a hammer to loosen stubborn nuts. Ensure the area is dry to prevent slipping during the process.
How To Remove A Single Handle Faucet?
Turn off water supply under the sink. Remove the faucet handle using an Allen wrench. Unscrew mounting nuts to detach the faucet. Clean the area once removed. Ensure all connections are securely tightened when reinstalling.
How To Remove A Kitchen Faucet Handle With No Visible Screws?
To remove a kitchen faucet handle with no visible screws, locate and remove the decorative cap. Use an Allen wrench to loosen the hidden set screw inside. Gently lift the handle off the faucet assembly. Always consult the manufacturer’s instructions for specific guidance on your faucet model.
Conclusion
Removing a kitchen faucet is simple with the right tools. Follow the steps closely. Gather your tools first. Turn off the water supply. Carefully detach the old faucet. Check for leaks and clean up thoroughly. Install the new faucet securely.
Test it to ensure proper function. Clean your workspace once done. Remember, patience is key. Don’t rush the process. Enjoy your new faucet and its ease of use. Regular maintenance will keep it working well. Share tips with friends who might need help.
Thanks for reading and happy plumbing!