How to Replace a Kitchen Faucet: Step-by-Step Guide
Executive Chef & Lead Commercial Kitchen Specialist at Daily Kitchup Test Lab
Have you noticed your kitchen faucet dripping or looking a bit outdated? Replacing it might seem like a daunting task, but it’s much simpler than you think.
Imagine the satisfaction of transforming your kitchen all on your own, saving money, and adding a personal touch to your space. You don’t need to be a professional plumber to get the job done. With just a few tools and a bit of guidance, you can replace your kitchen faucet quickly and easily.
This article will walk you through each step, ensuring you have the confidence and know-how to tackle this project. Ready to roll up your sleeves and dive into the world of DIY home improvement? Let’s get started!

Credit: www.youtube.com
Tools And Materials Needed
Gather a wrench, plumber’s tape, and a basin wrench for easy installation. Ensure you have a new kitchen faucet, flexible supply lines, and a bucket. Disconnect old fittings and connect new ones securely.
Replacing a kitchen faucet can seem daunting, but with the right tools and materials, it becomes a manageable task. Gathering everything you need before starting saves time and frustration. This preparation ensures a smooth and efficient process. Below, discover what you need to successfully replace your kitchen faucet.Tools Required
You’ll need basic tools for this project. Make sure you have them ready.- Adjustable wrench: Essential for loosening and tightening nuts.
- Phillips screwdriver: Useful for removing screws.
- Plumber’s tape: Helps seal connections to prevent leaks.
- Basin wrench: Handy for reaching tight spots under the sink.
- Bucket: Keeps water spills contained.
Materials Needed
Gather these materials to complete the installation smoothly.- New kitchen faucet: Choose one that suits your style and needs.
- Supply lines: Ensure they match the faucet’s connections.
- Sealant: Use for extra leak protection.
- Rags or towels: Useful for cleaning and drying surfaces.
Safety Gear
Safety is important. Protect yourself with these items.- Safety goggles: Shield eyes from debris.
- Work gloves: Prevent hand injuries and provide grip.

Credit: www.youtube.com
Preparing The Workspace
Preparing the Workspace Clear the area under the sink to make room for tools and ensure easy access. Turn off the water supply to prevent leaks during the process. Gather necessary tools and supplies, like a basin wrench and plumber’s tape, for a smooth faucet replacement.
Preparing the workspace for replacing a kitchen faucet is crucial. A well-prepared area ensures a smooth and efficient process. It prevents unnecessary complications. Follow these steps to create an ideal workspace.Clearing The Area
Start by removing items under the sink. This includes cleaning supplies and stored goods. A clear area provides easy access to plumbing connections. It also helps in maneuvering tools without obstructions. Lay a towel or mat on the cabinet floor. This protects surfaces from water spills and tool scratches. Gather necessary tools like a wrench, pliers, and a flashlight. Keep them within reach for quick access.Shutting Off Water Supply
Locate the water valves under the sink. Turn them clockwise to shut off the water supply. If individual valves are absent, use the main water shut-off. Open the faucet to release trapped water in the pipes. This reduces pressure and prevents water spills. Double-check that the water is off by turning the faucet handles. Ensure no water flows from the spout.Removing The Old Faucet
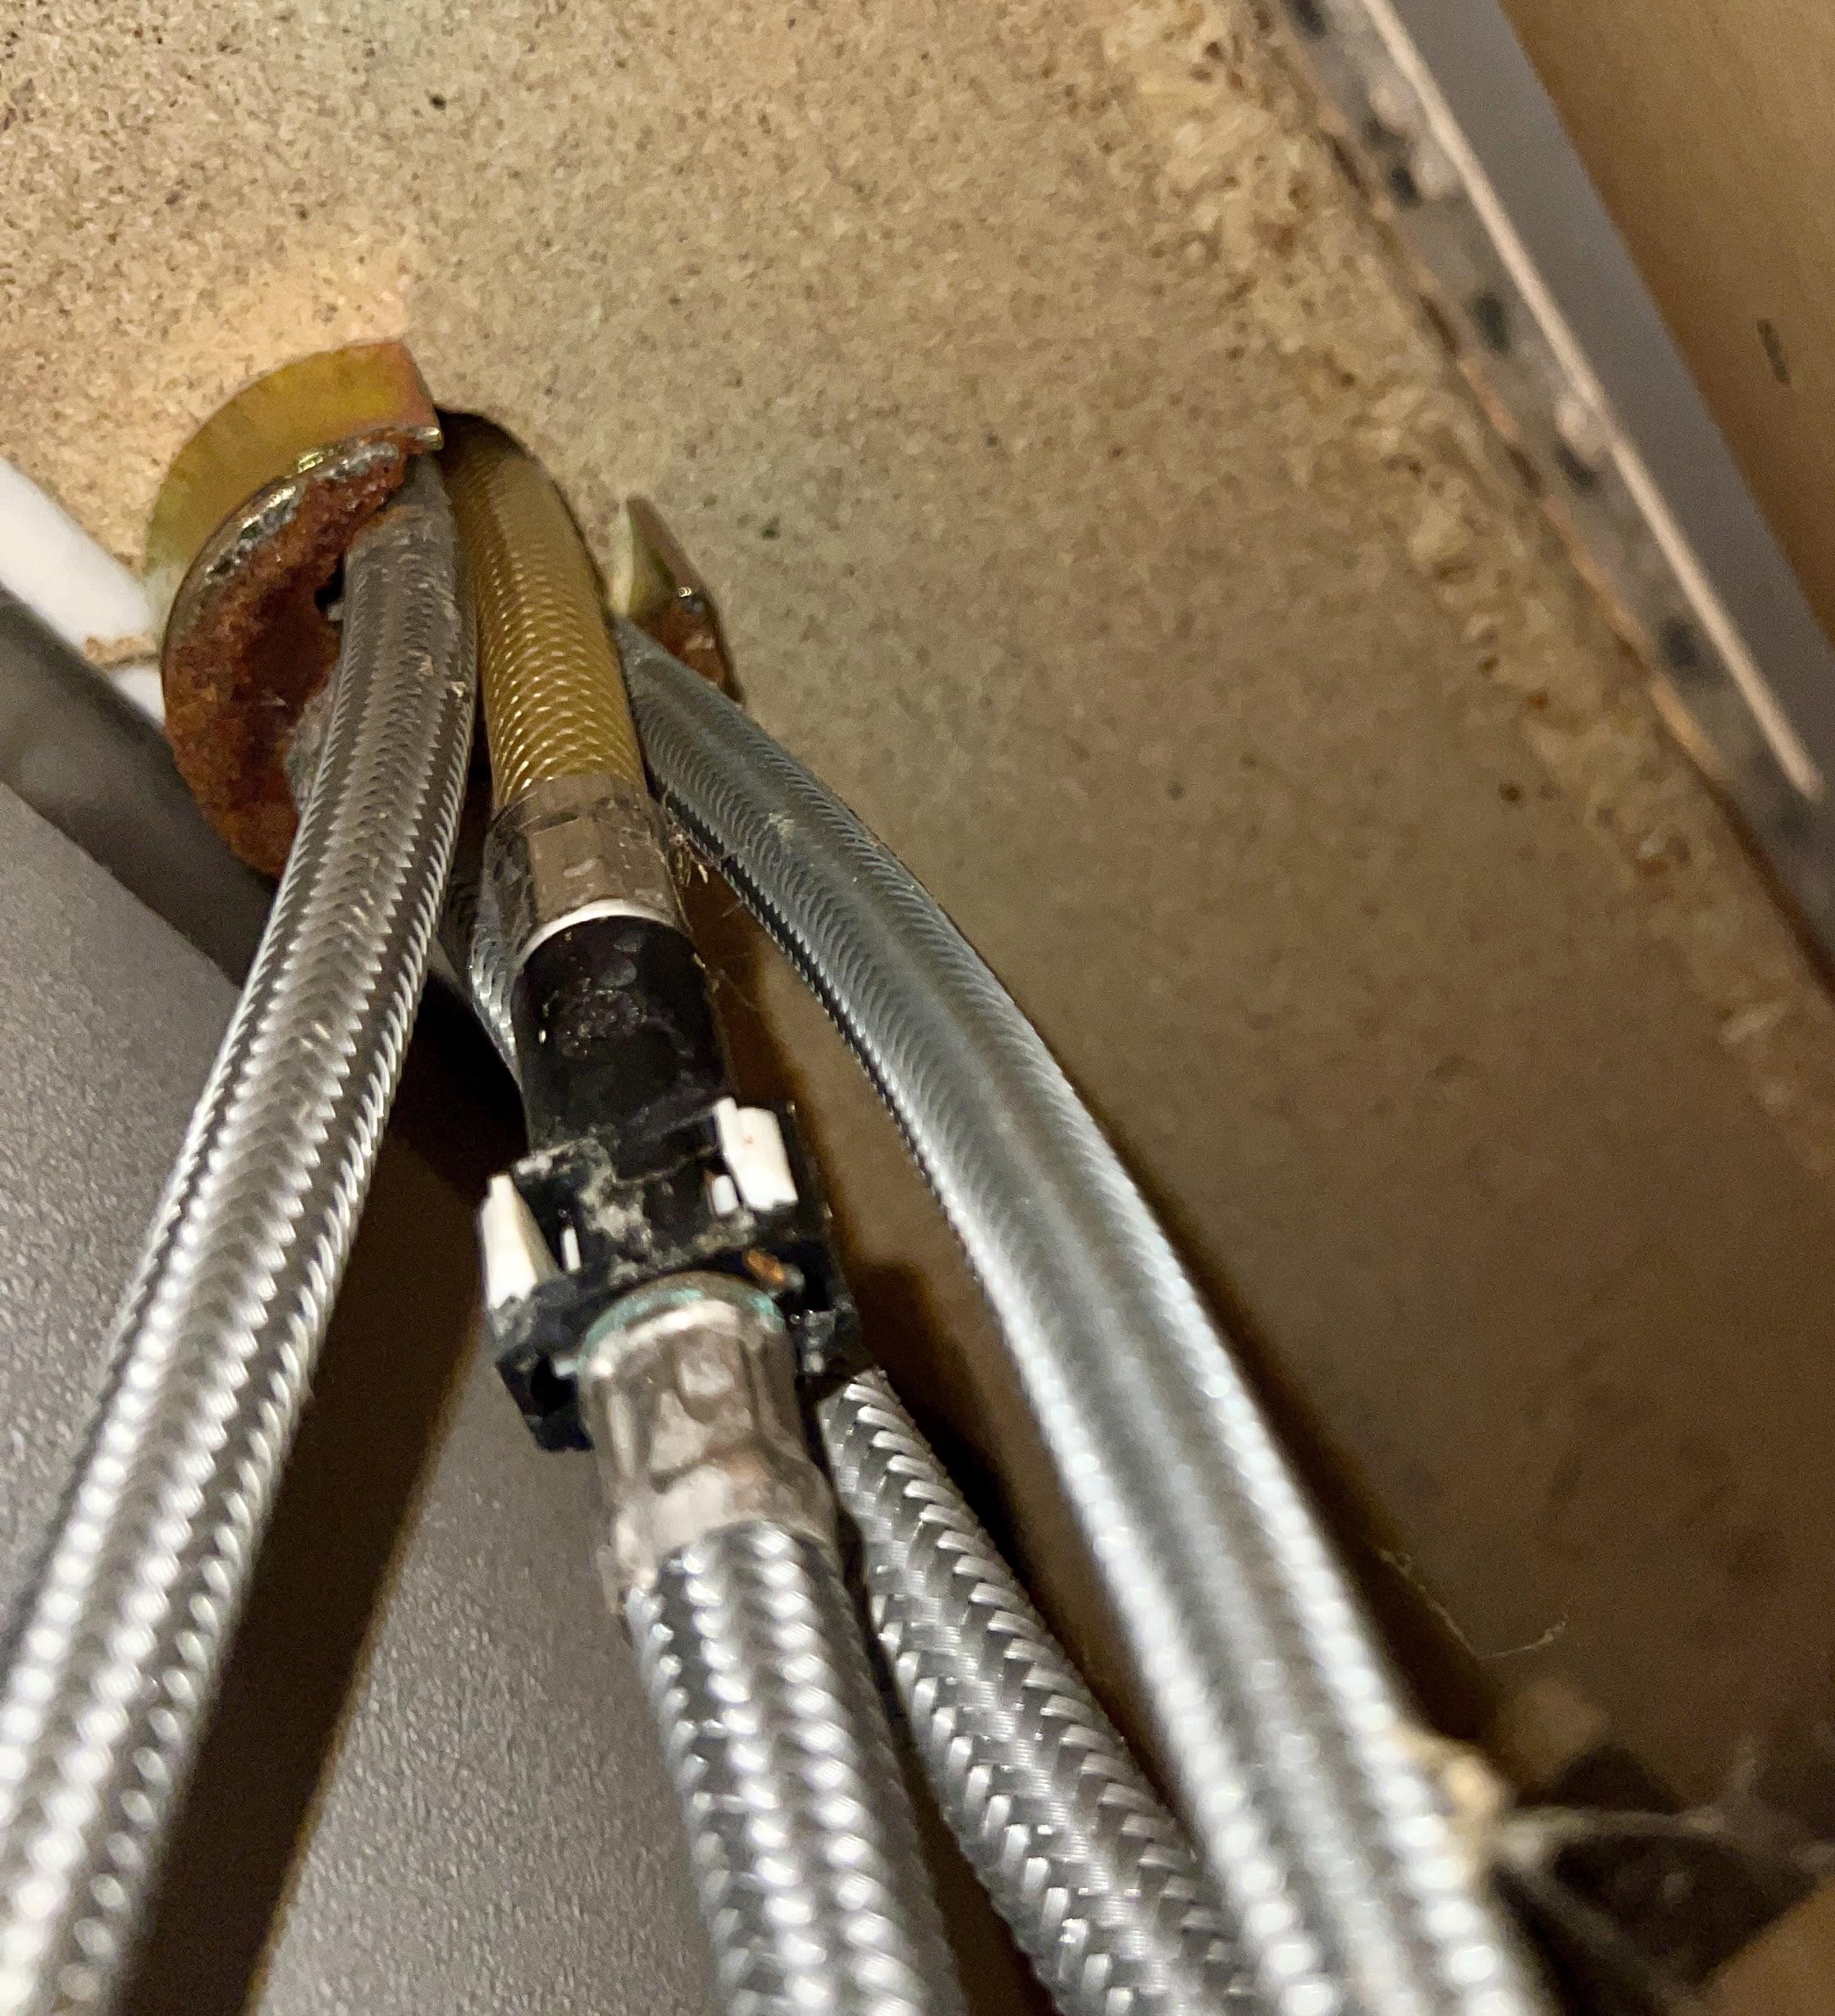
Turn off the water supply under the sink. Use a wrench to loosen and disconnect the water lines. Carefully remove the mounting hardware to detach the old faucet from the sink.
Removing the Old Faucet Replacing a kitchen faucet might seem daunting, but it’s manageable with the right approach. The first step is removing the old faucet. This involves disconnecting water lines, loosening mounting nuts, and lifting out the old fixture. Each step is crucial for a smooth replacement process. Let’s dive into the details.Disconnecting Water Lines
Start by turning off the water supply. Locate the valves under the sink and twist them clockwise. This prevents leaks and keeps your workspace dry. Use a wrench to unscrew the water lines from the faucet. Keep a bucket nearby to catch any remaining water. This ensures a clean area and avoids mess.Loosening Mounting Nuts
Mounting nuts hold the faucet in place. Use a basin wrench to reach them under the sink. Twist counterclockwise to loosen. If they’re stuck, apply penetrating oil to ease the process. Be patient; older faucets can be stubborn. Once loose, remove the nuts completely.Lifting Out The Old Faucet
With the nuts removed, gently lift the faucet from the sink. Wiggle it slightly if it’s stuck due to age or residue. If necessary, use a putty knife to scrape away any sealant. Place the old faucet aside, ready for disposal. Inspect the sink area for debris or damage before installing the new faucet.
Credit: pbphomerepair.com
Installing The New Faucet
Installing the new faucet can be a straightforward task with a few steps. Once you’ve removed the old faucet, it’s time to set up the new one. Follow these simple instructions to ensure your kitchen faucet functions perfectly.
Positioning The Faucet
Place the faucet into the hole on the sink. Ensure it sits firmly on the surface. Align the faucet correctly with the sink’s edges. This step is crucial for a stable fit.
Securing With Mounting Nuts
Use mounting nuts to secure the faucet underneath the sink. Tighten them to keep the faucet steady. Use a wrench for a firm hold. Check that the faucet doesn’t wobble.
Connecting Water Lines
Attach the water lines to the faucet’s connections. Ensure they’re tightly fastened. Use pliers if needed for a secure connection. Turn on the water supply to check for leaks.
Testing The Installation
Turn the water back on and check for leaks. Ensure everything is securely tightened. Test the faucet’s functionality, including hot and cold water flow.
Testing the installation of your new kitchen faucet is crucial. It ensures everything works smoothly. This step prevents future water issues. Follow these simple checks to confirm a successful installation.Turning On Water Supply
First, locate your kitchen’s water valves. They are usually under the sink. Turn them on slowly to avoid pressure surges. Listen for any unusual sounds as the water flows. No noise means a smooth flow. Ensure both hot and cold water supplies are open. This helps to balance pressure. It also verifies that both temperatures work correctly.Checking For Leaks
Look under the sink for any drips or puddles. Use a flashlight to inspect dark corners. If you find water, tighten connections gently. Check the faucet handle and spout. Both should be dry. Turn the faucet on and off several times. This helps identify slow leaks. Run water through both hot and cold settings. Observe if the water pressure remains consistent. A steady flow indicates correct installation. This thorough check ensures your kitchen faucet functions perfectly.Final Touches
Tighten any connections and check for leaks after installing the faucet. Ensure the water flows smoothly. Clean up any debris around the sink area for a neat finish.
Completing the installation of a kitchen faucet involves some final touches. These steps ensure your space remains clean and functional. After installing the faucet, it’s crucial to tidy up and dispose of old parts responsibly. This not only enhances the appearance but also aids in proper maintenance.Cleaning The Area
Begin by wiping down the sink and surrounding areas. Use a mild cleaner or vinegar solution. This removes any residue left from the installation. Check for any leaks or drips around the faucet. Tighten connections if necessary. A clean area ensures your new faucet looks great and functions well.Proper Disposal Of Old Parts
Gather all the removed parts like the old faucet and washers. Place them in a bag for disposal. Check local regulations for recycling or disposal options. Some parts may be recyclable, reducing waste. Proper disposal prevents clutter and maintains a tidy kitchen environment.Frequently Asked Questions
Can I Replace My Kitchen Faucet Myself?
Yes, you can replace your kitchen faucet yourself. Ensure you have basic plumbing skills and necessary tools. Follow instructions carefully to avoid leaks. Turn off water supply first for safety. With patience, you can successfully install a new faucet and enhance your kitchen’s functionality and appearance.
How Much Should A Plumber Charge To Replace A Kitchen Faucet?
A plumber typically charges $150 to $300 for replacing a kitchen faucet. Costs depend on location and faucet complexity. Always request quotes from multiple plumbers to ensure competitive pricing. Consider labor, materials, and any additional plumbing adjustments that may be needed during the installation process.
Do I Need To Shut Off Water To Replace A Kitchen Faucet?
Yes, shut off the water supply before replacing a kitchen faucet. This prevents leaks and water damage. Locate the shut-off valves under the sink and turn them clockwise. After replacing, turn them back on to test the new faucet. Always check for leaks after installation.
Do All Kitchen Faucets Fit All Kitchen Sinks?
Not all kitchen faucets fit all sinks. Compatibility depends on the sink’s hole configuration and faucet type. Measure and check specifications before purchasing to ensure a proper fit. Consider single-hole, center-set, or widespread options, matching them with your sink’s design for the best result.
Conclusion
Replacing a kitchen faucet is simple with the right steps. Start by gathering all necessary tools. Follow each step carefully to avoid mistakes. Turn off the water before removing the old faucet. Use the instructions to install the new faucet securely.
Check for leaks once installed. It’s a rewarding task when completed. You save money and learn a new skill. Enjoy the satisfaction of doing it yourself. With patience, anyone can handle this task. Your kitchen will look refreshed with a new faucet.
Take pride in your accomplishment.

Similar Posts