How to Fix Dripping Kitchen Faucet: Quick DIY Guide
Executive Chef & Lead Commercial Kitchen Specialist at Daily Kitchup Test Lab
Are you tired of that relentless drip, drip, drip coming from your kitchen faucet? Not only is it an annoying soundtrack to your daily life, but it can also lead to higher water bills and wasted resources.
The good news? You don’t need to be a plumbing expert to fix it. With a little guidance, you can have your faucet working like new in no time. Imagine the satisfaction of knowing you tackled this problem yourself, saving both water and money.
Stick around, and let’s turn that dripping nuisance into a silent, efficient fixture again. You’ll be surprised at how simple the solution can be!
Identify The Leak Source
Identifying the source of a leak in your kitchen faucet is the first step towards fixing it. This process might seem daunting, but with a bit of patience and the right approach, you can pinpoint the problem. Leaks can originate from several places, and knowing where to look can save you time and effort.
Common Drip Points
Drips often occur at the spout, but that’s not the only place to investigate. Check the handles, as worn-out seals can cause leaks. Another common area is the base of the faucet where it connects to the sink. Have you noticed water pooling around the faucet? This could indicate a problem with the O-rings or seals. Don’t overlook the supply lines either; a loose connection there can mimic a faucet leak.
Tools For Inspection
Before diving into the inspection, gather a few essential tools. A flashlight is invaluable for peering into hidden crevices. Use an adjustable wrench for tightening any loose parts. A small mirror can help you see under the faucet without contorting yourself into uncomfortable positions. Do you have these tools ready? They can make the inspection process much smoother.
As you inspect, take your time. The aim is to find the exact source of the leak, whether it’s a worn gasket or a loose connection. Once identified, fixing the issue becomes much easier. Have you ever found a leak in an unexpected place? Share your experience and tips to help others tackle their kitchen faucet woes.
Turn Off Water Supply
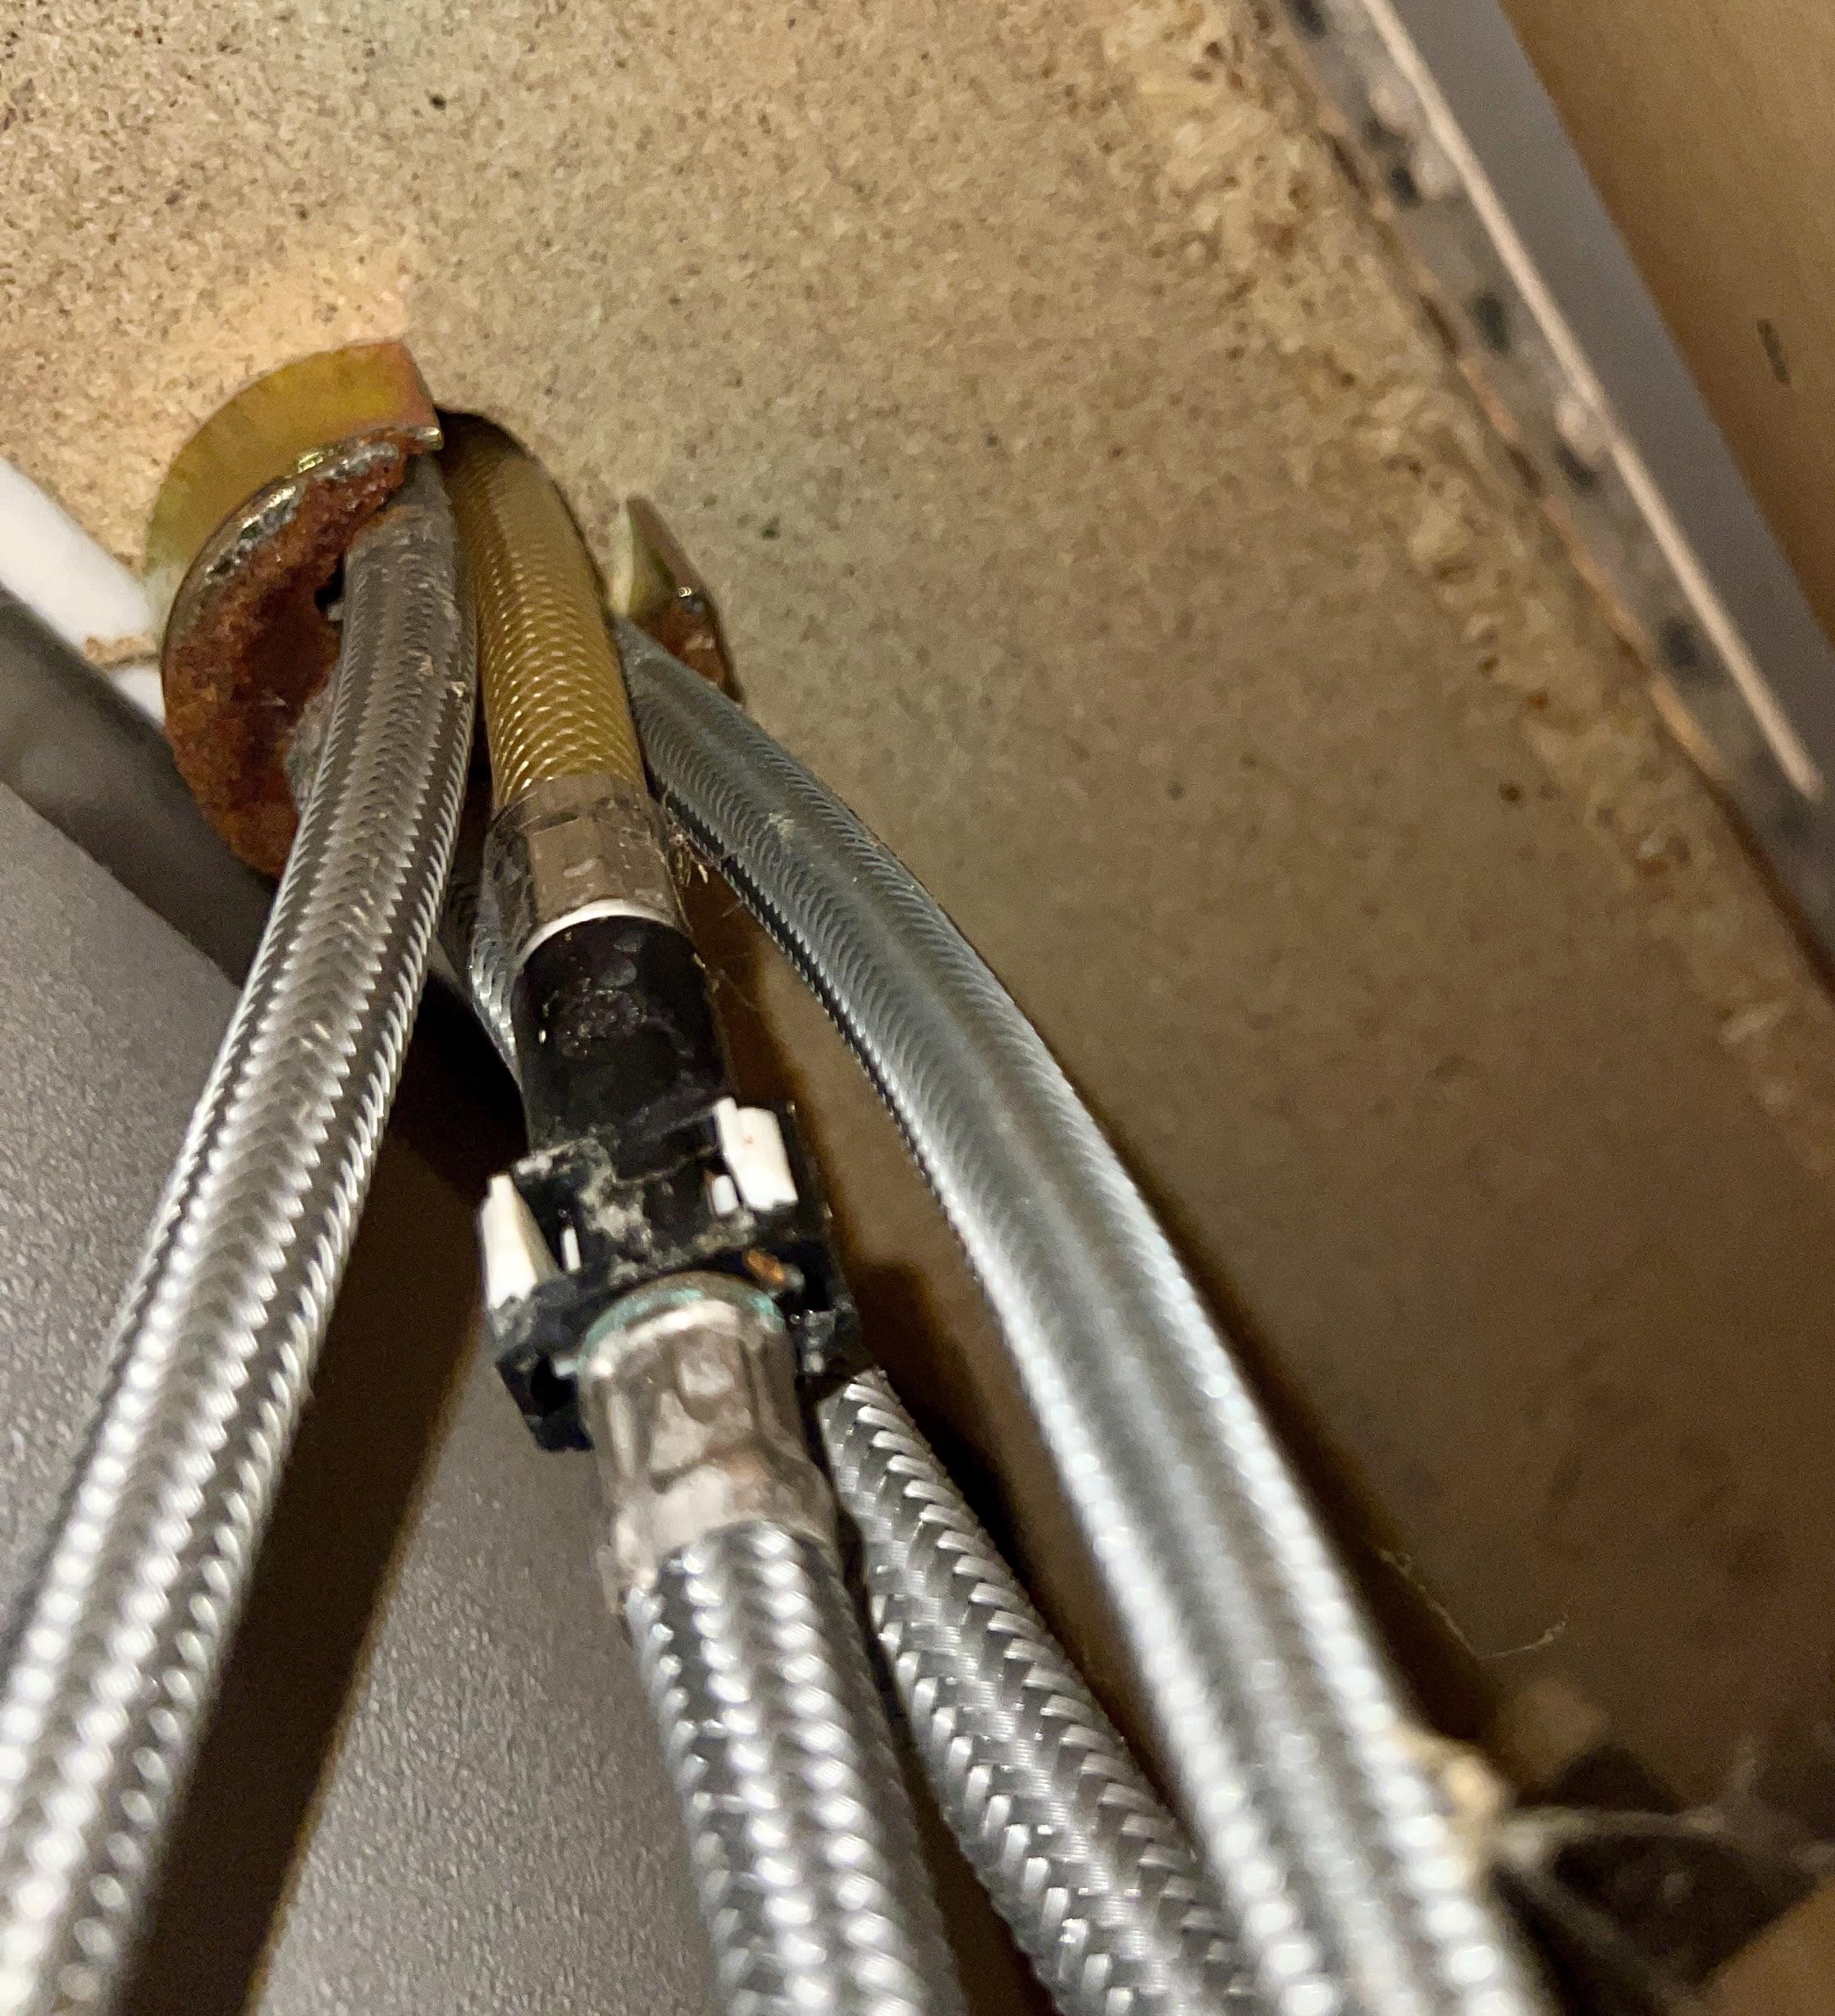
Turn off the water supply before fixing a dripping kitchen faucet. Locate the shut-off valves under the sink. Turn them clockwise to stop the water flow.
Turning off the water supply is a critical first step in fixing a dripping kitchen faucet. Imagine trying to stop a river with your bare hands—impossible, right? Without stopping the water flow, you’ll have a wet mess on your hands. So, let’s get that water supply shut off before diving into the repair.Locate Shut-off Valves
Start by checking under your sink for the shut-off valves. These are usually small, round knobs or levers connected to the pipes. If they are elusive, feel free to use a flashlight to get a clear view. Turn the valves clockwise until they stop. Don’t force them—if they’re stuck, they may require a gentle wiggle or two. If you’re not sure which valve is which, you can always turn off both the hot and cold water lines for safety.Draining Residual Water
Even after shutting off the valves, there will still be water in the pipes. This is where draining the residual water comes in. Open the faucet and let any remaining water flow out. You might hear a gurgling sound as the last bit of water trickles down. Once the faucet stops dripping, you’ve successfully drained the system. Consider placing a small bucket or bowl under the faucet to catch any residual drips. It’s a simple trick but can save you from additional clean-up later. Ever tried fixing a faucet with water still in the pipes? It’s a lesson learned the hard way for many DIY enthusiasts. That’s why draining is an essential step to ensure a hassle-free repair process. Are you ready to tackle the next step with confidence?Disassemble The Faucet
Disassemble the faucet to address a dripping kitchen faucet. Begin by turning off the water supply. Carefully remove the handle and other parts to access the cartridge or valve.
Disassembling a kitchen faucet can be a daunting task, but it’s crucial for fixing that annoying drip. Have you ever found yourself frustrated by the constant sound of water droplets hitting the sink? You’re not alone. Many homeowners face this issue, and the solution often lies in getting to the heart of the faucet’s internal mechanism. Let’s dive into how you can effectively disassemble your faucet without any professional help.Removing Faucet Handle
The first step in disassembling your faucet is removing the handle. Often, the handle is secured by a screw hidden beneath a decorative cap. You might need a screwdriver or an Allen wrench, depending on your faucet model. Once you find the screw, remove it carefully. Here’s a tip: place a towel in the sink to catch any falling parts. It saves you from the hassle of searching for tiny screws later. Isn’t it fascinating how such a small tool can hold everything together?Accessing Internal Parts
With the handle removed, accessing the internal parts becomes straightforward. Typically, you’ll see a nut or a retaining clip holding the cartridge or valve in place. Use a wrench to loosen these components. As you remove each piece, keep them organized. How often have you disassembled something only to forget where each part goes? A simple trick is to take photos as you go. This visual guide will be your lifesaver during reassembly. Remember, the key to fixing a dripping faucet lies in understanding its internal workings. Are you ready to tackle this DIY project and say goodbye to that persistent drip?Credit: plumbing-united.com
Inspect And Replace Worn Parts
Inspect the faucet for worn or damaged parts. Replace washers, O-rings, or seals to stop the dripping. Ensure all components fit snugly to prevent future leaks.
Inspecting and replacing worn parts is crucial for fixing a dripping kitchen faucet. Identifying faulty components prevents water waste and costly repairs. Begin by turning off the water supply. This ensures a safe and dry workspace. Gather basic tools like a screwdriver and wrench. Now, let’s explore key parts you may need to inspect and replace.O-rings And Washers
O-rings and washers often cause faucet drips. They wear out over time. To inspect, remove the handle. Check for cracks or flattening. Replace if damaged. New O-rings and washers are affordable. They seal the faucet tightly. This stops leaks efficiently.Valve Seat And Springs
Valve seats and springs ensure smooth water flow. Leaks occur when these parts wear out. Use a wrench to access the valve seat. Look for corrosion or damage. If faulty, replace them. New springs help maintain even pressure. This prevents dripping and extends faucet life. Regular maintenance keeps your faucet in top shape. It saves water and reduces utility bills.Reassemble The Faucet
Reassemble the faucet by carefully aligning and securing all parts back into place. Ensure each component is tightened properly to prevent future leaks. Once assembled, test the faucet to confirm it is no longer dripping.
Reassembling the kitchen faucet is a crucial step in fixing a drip. After disassembling and identifying the problem, it’s time to put everything back together. A well-reassembled faucet ensures that the problem doesn’t recur and that your kitchen remains a drip-free zone. Let’s explore the correct order and ensure those seals are tight.Correct Order Of Assembly
When reassembling the faucet, pay attention to the order of the components. You might be tempted to rush, but patience is key. Consult the diagram or photo you took before disassembly. Make sure each part goes back in its designated place. This ensures that everything functions smoothly. If you’ve ever put together a puzzle, you know how satisfying it is when each piece fits perfectly. Use that same attention to detail here. One misplaced part can cause more issues down the line. Double-check each step as you go.Ensuring Tight Seals
A tight seal is essential to prevent leaks. Check the condition of O-rings and washers before reassembly. These small components play a big role in sealing. Replace any worn-out parts. It’s often the simplest details that make the biggest difference. Use plumber’s tape for threaded connections. This extra step adds an additional layer of security against leaks. As you tighten parts, avoid over-tightening. This can cause damage or strip the threads. Feel for resistance and stop once everything is snug. Have you ever screwed a bottle cap on too tight, only to struggle to open it later? The same principle applies here. Tight, but not too tight, ensures functionality without future hassle. By ensuring everything is in its right place and tightly sealed, you’re on your way to a drip-free kitchen. Isn’t it amazing how a few simple steps can lead to such a satisfying result?Turn On Water And Test
Ensure the faucet is tightly reassembled. Turn on the water supply and check for any leaks. This confirms the fix is successful.
Turning the water back on after tinkering with your kitchen faucet is the moment of truth. It’s the time to assess if your efforts have paid off or if there’s more work to be done. This step can be both exciting and nerve-wracking, but with a little patience, you’ll have your kitchen faucet working perfectly in no time.Checking For Leaks
Once the water is on, take a close look around the faucet. Check all the joints and connections. Are there any signs of dripping or moisture? If you spot any leaks, don’t panic. It’s a chance to fine-tune your handiwork. Tighten any loose connections and ensure that washers are properly seated. It’s normal to feel a bit anxious, but remember, every successful fix starts with thorough checking.Adjusting Water Flow
How does the water flow feel? Is it smooth and consistent, or does it sputter and spray unpredictably? Adjusting the water flow might require some finesse. Use the faucet handles to regulate the pressure and speed until you achieve a steady stream. Sometimes, a small tweak can make a world of difference. If the flow seems off, consider adjusting the aerator or checking the valve settings. Is your faucet behaving as expected? If not, what might be going wrong?Prevent Future Drips
Fixing a dripping kitchen faucet prevents future leaks and saves water. Tightening loose parts and replacing worn-out washers can often solve the issue. Regular maintenance ensures smooth operation and reduces the risk of annoying drips.
Preventing future drips from your kitchen faucet is essential. It saves water and avoids costly repairs. By taking simple steps, you can maintain a leak-free faucet. Regular checks and using quality parts make a big difference.Regular Maintenance Tips
Regular maintenance is key to a healthy faucet. Clean the faucet regularly to prevent mineral build-up. Check for loose parts every few months. Tighten screws and bolts if necessary. Inspect the washer and replace if worn out. Lubricate the moving parts for smooth operation. Make a schedule to perform these checks consistently.Choosing Quality Parts
Quality parts ensure long-lasting performance. Invest in high-grade washers and cartridges. They resist wear and tear effectively. Choose stainless steel or brass components. These materials are durable and rust-resistant. Avoid cheap plastic parts as they break easily. Look for brands with good reviews for peace of mind.Credit: www.youtube.com
Credit: www.tiktok.com
Frequently Asked Questions
How Do I Get My Kitchen Faucet To Stop Dripping?
Turn off the water supply. Remove the faucet handle. Replace worn-out washers or O-rings. Reassemble the faucet. Check for leaks.
Why Does My Kitchen Faucet Drip After I Turn It Off?
A dripping kitchen faucet often results from a worn-out washer or faulty cartridge. Replacing these components usually stops the leak. Mineral deposits can also cause drips. Regular maintenance helps prevent these issues.
What Is The Most Common Cause Of A Dripping Faucet?
The most common cause of a dripping faucet is a worn or damaged washer. Replacing it often fixes the leak. Regular maintenance can prevent further issues, ensuring your faucet remains in good condition. If the problem persists, consider consulting a professional plumber for a thorough inspection.
How To Fix A Kitchen Tap That Is Dripping?
Turn off the water supply. Remove the tap handle using a screwdriver. Replace the worn washer or O-ring. Reassemble the tap and turn on the water supply. Test for leaks.
Conclusion
Fixing a dripping kitchen faucet is simpler than it seems. Start by identifying the problem. Often, a worn-out washer or valve is the culprit. Gather your tools and parts before starting the repair. Follow the steps carefully and double-check your work.
Test the faucet to ensure the drip is gone. Regular maintenance helps prevent future leaks. A steady faucet saves water and reduces your bill. Enjoy peace of mind with a drip-free kitchen. Share your success with friends and family. Encourage them to fix their faucets, too.
Happy repairing!

Similar Posts