How to Put in a Kitchen Faucet: Easy DIY Guide
Executive Chef & Lead Commercial Kitchen Specialist at Daily Kitchup Test Lab
Are you tired of that old, leaky kitchen faucet? Or maybe you’re just looking to upgrade your kitchen’s style?
Replacing a kitchen faucet might seem daunting, but with a little guidance, you can do it yourself and save both time and money. Imagine the satisfaction of turning on a shiny new faucet that you installed with your own hands.
Plus, think about the potential savings when you skip hiring a professional. In this guide, we’ll walk you through the steps to put in a kitchen faucet, making the process simple and stress-free. You’re just a few easy steps away from transforming your kitchen into a more functional and stylish space. Are you ready to dive in? Let’s get started!

Credit: www.amazon.com
Tools And Materials Needed
Installing a kitchen faucet might seem daunting at first, but with the right tools and materials, you’ll find it’s a straightforward task that can be accomplished with ease. Gathering all you need beforehand ensures a smooth process, saving you from unnecessary trips to the hardware store. Let’s dive into what you’ll need to get started.
Basic Tools
- Adjustable Wrench:Essential for loosening and tightening nuts and bolts. Its adjustable feature makes it versatile for different sizes.
- Basin Wrench:Specifically designed for faucets, this tool reaches nuts in tight spaces, a common challenge under the sink.
- Screwdriver:A standard Phillips screwdriver works well for securing faucet components.
Materials Required
- New Faucet:Choose one that matches your kitchen’s style and meets your functional needs. Consider features like pull-out sprayers or water filtration.
- Plumber’s Tape:Also known as Teflon tape, it’s used to seal pipe threads and prevent leaks.
- Supply Lines:These connect the faucet to the water supply. Opt for flexible ones for easier installation.
Additional Accessories
- Bucket:Handy for catching any residual water when you disconnect the old faucet.
- Cleaning Supplies:Before installing the new faucet, clean the area around the sink for a neat finish.
Have you ever started a home project only to realize you were missing a critical tool halfway through? Preparing this list beforehand ensures you’re ready to tackle the job with confidence. Do these tools and materials cover everything you expected, or is there a surprise addition you hadn’t considered?

Credit: www.youtube.com
Preparing The Workspace
Organize the workspace by clearing clutter and ensuring good lighting. Gather necessary tools and materials for easy access. Preparing the area makes the installation process smoother and helps avoid mistakes.
Preparing the workspace is essential for a smooth faucet installation. A well-organized area can prevent accidents and ensure a successful project. Setting up the space properly saves time and effort. The following steps guide you through organizing your workspace effectively.Clearing The Area
Remove items from the sink area. Take out any cleaning supplies and dishes. Ensure the countertop is empty. This creates space to work freely. Check under the sink too. Remove stored items for easy access to plumbing.Turning Off Water Supply
Locate the water valves under the sink. Turn them clockwise to stop water flow. This prevents leaks during installation. Test the faucet to ensure water is off. Double-check both hot and cold supplies.Removing The Old Faucet
Removing the old faucet is the first step in installing a new kitchen faucet. Turn off the water supply and disconnect the water lines. Carefully unscrew the mounting nuts, then lift the old faucet away from the sink.
Removing the old faucet is a crucial first step in upgrading your kitchen. Taking out the old faucet might seem daunting, but with some patience and the right tools, it can be a straightforward task. You’ll be surprised how much cleaner and more modern your sink area looks once the old fixture is gone.Detaching Water Lines
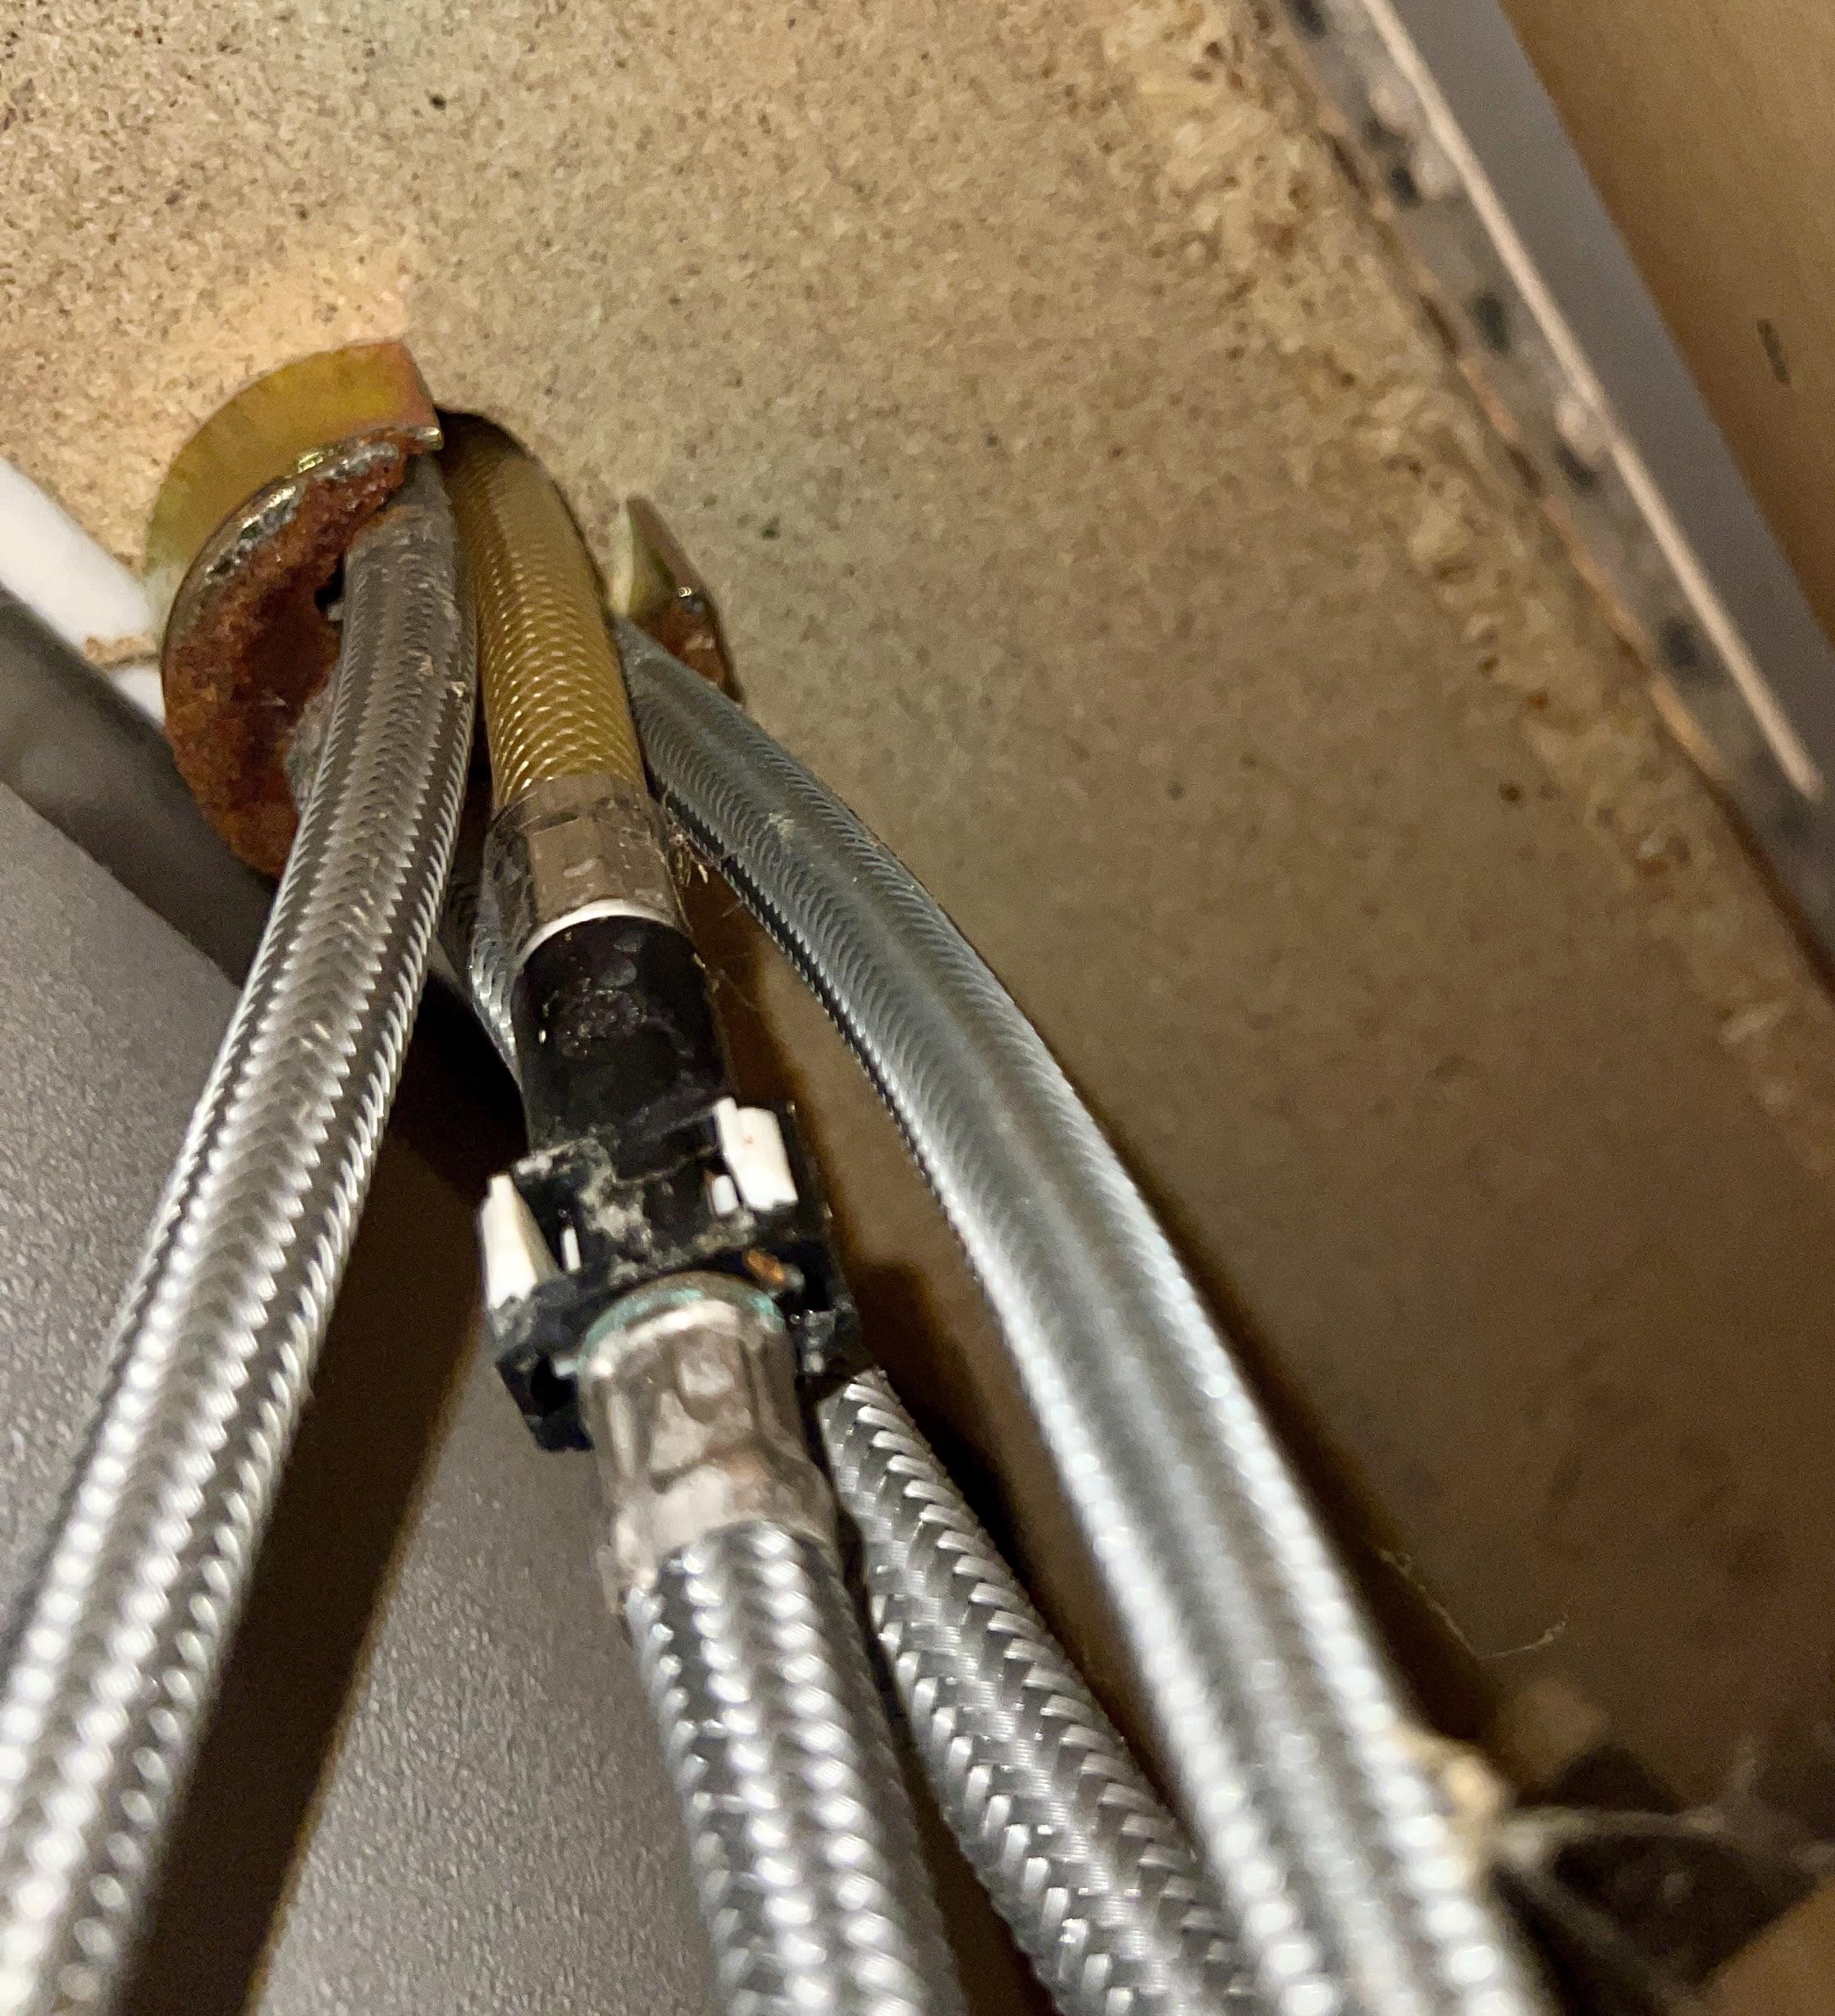
Before getting started, ensure the water supply to your kitchen is turned off. You can usually find the shut-off valves under the sink. If you can’t locate them, you might need to turn off the main water supply to your house. Use an adjustable wrench to loosen the nuts connecting the water lines to the faucet. It’s a good idea to place a bucket or towels under the sink to catch any residual water that might spill out. Remember to label the hot and cold lines if they aren’t already, making installation of the new faucet much easier.Unscrewing The Faucet
After detaching the water lines, it’s time to unscrew the faucet from the sink. This is where you might encounter rust or mineral build-up, which can make the task a bit challenging. Apply a penetrating oil to the nuts to make unscrewing easier. Use a basin wrench for those hard-to-reach nuts under the sink. It’s a handy tool that offers better leverage in tight spaces. If you don’t have one, a regular wrench will do, but it might take a little more effort. As you remove the faucet, think about how this small change can refresh your kitchen’s look. Have you ever noticed how a new fixture can alter the entire vibe of a space? Keep that excitement in mind as you work through the steps.Installing The New Faucet
Installing a kitchen faucet involves simple steps. Begin by turning off the water supply. Securely connect the faucet to the sink, ensuring all fittings are tight.
Installing the New Faucet Getting a new kitchen faucet installed can refresh your space. It’s a simple task that can make a big impact. Before starting, gather all necessary tools. You’ll need a wrench, plumber’s tape, and a bucket. Ensure you have the faucet instructions handy. Let’s dive into the details of installing your new kitchen faucet.Positioning The Faucet
Begin by carefully placing the faucet on the sink. Make sure it’s centered over the holes. Check if the faucet’s spout can rotate freely. Ensure no obstructions are present. A proper position will prevent leaks later. Double-check the alignment with the sink’s edge. This step is crucial for a sleek look.Securing The Faucet Base
After positioning, secure the faucet base. Use the mounting hardware provided. Tighten nuts with a wrench for stability. Be careful not to over-tighten. Over-tightening can damage the sink. Ensure the faucet doesn’t wobble. Test its sturdiness by gently moving it. If stable, proceed to the next step.Connecting Water Supply Lines
Connecting water supply lines is crucial for installing a kitchen faucet. Ensure the water lines are securely attached to the faucet’s inlet. Tighten connections to prevent leaks and ensure smooth water flow.
Connecting the water supply lines is a crucial step in installing a kitchen faucet. It ensures a steady flow of water, making your kitchen functional. Follow these simple steps to attach and secure the water lines effectively.Attaching Hot And Cold Lines
Identify the hot and cold water lines. Typically, the hot line is on the left. Align the lines with the corresponding faucet inlets. Use your hands to gently screw the lines onto the faucet. Make sure not to cross-thread them. This can cause leaks.Tightening Connections
Once the lines are attached, tighten the connections. Use an adjustable wrench for a firm grip. Turn the wrench clockwise to secure the lines. Do not overtighten. This might damage the fittings. Check for any visible leaks by running water. Tighten further if necessary. Ensure the connections are snug and secure. This prevents water wastage and potential damage. A well-connected faucet enhances your kitchen’s efficiency.
Credit: www.youtube.com
Testing For Leaks
Ensure the faucet is tightly secured and turn on the water. Check under the sink for any drips. Dry areas indicate a successful installation, while wet spots need immediate attention.
Testing your newly installed kitchen faucet for leaks is an essential step that can save you from future headaches. Picture this: you’ve just completed the installation, and everything seems perfect. But how can you be sure that your faucet is leak-free? The answer lies in a careful inspection and testing process that ensures your kitchen remains dry and your faucet functions flawlessly.Turning On The Water Supply
Begin by slowly turning on the water supply. This is your first opportunity to assess the installation. Feel the gentle pressure building up as water rushes into the pipes. Pay attention to any unusual sounds or vibrations that may indicate loose connections.Checking For Drips And Leaks
Once the water is flowing, inspect every connection point for drips. Even a tiny droplet can signal a potential problem. Use a flashlight to closely observe hard-to-see areas, ensuring no part is overlooked. Ask yourself: Is everything as tight as it should be? Feeling confident about your installation is rewarding, but taking the time to check for leaks ensures your peace of mind. Have you ever ignored a tiny drip, only to face a bigger issue later on? Share your experience in the comments below, and let’s learn from each other’s mishaps!Final Touches
Final touches make all the difference when installing a kitchen faucet. Tighten connections and ensure the faucet is secure. Check for leaks and adjust the water flow to complete the installation.
Putting in a kitchen faucet is a rewarding task. After hours of hard work and precision, the final touches are crucial to ensure everything is perfect. These last steps can make a big difference in both functionality and aesthetics.Cleaning The Area
Once the faucet is securely in place, take a moment to clean the area around it. Wipe away any dust or debris that accumulated during installation. You might find a few stubborn smudges or fingerprints on the faucet itself; a gentle cleanser can help restore its shine. A clean workspace not only looks good but also allows you to spot any potential issues. Have you ever noticed how dust can hide a loose screw or fitting? Ensuring everything is spotless gives you peace of mind that the installation is solid.Proper Disposal Of Old Materials
Now, what should you do with the old faucet and associated materials? Proper disposal is key. It’s tempting to toss everything in the trash, but consider recycling options. Many local waste management facilities offer recycling for metals and plastics, which are common in faucets. By recycling, you contribute to environmental sustainability. Have you considered donating your old faucet if it’s still functional? Some organizations accept used fixtures for homes in need. It’s a small act that can make a big impact. These final steps wrap up your faucet installation journey. They ensure your kitchen not only functions well but also stays clean and contributes positively to the environment.Frequently Asked Questions
Can I Install A Kitchen Faucet By Myself?
Yes, you can install a kitchen faucet yourself. Follow the manufacturer’s instructions carefully. Ensure you have basic plumbing tools and turn off the water supply. If unsure, consult a professional plumber for guidance. DIY installation can save money and give a sense of accomplishment.
How Do You Install A Faucet Step By Step?
Turn off the water supply. Remove the old faucet. Install the new faucet onto the sink. Connect the water supply lines. Turn on the water supply and check for leaks.
How Much Would A Plumber Charge To Install A New Kitchen Faucet?
A plumber typically charges between $150 to $350 to install a new kitchen faucet. Prices vary based on location and faucet type. Always request a detailed estimate before hiring.
Do I Need Plumbers Putty To Install A Kitchen Faucet?
Plumber’s putty isn’t always necessary for installing a kitchen faucet. Many faucets come with a rubber gasket. The gasket creates a watertight seal without putty. Check your faucet’s installation instructions for specific requirements. Always ensure a snug fit to prevent leaks.
Conclusion
Installing a kitchen faucet can be an easy task. Follow the steps carefully. You don’t need special skills to succeed. Basic tools are enough. Many people find this process simple. It saves money on hiring a plumber. Plus, you gain some handy skills.
Always check for leaks after installation. This prevents future problems. With patience, you’ll complete the job well. Enjoy your new faucet and improved kitchen. Remember, practice makes perfect. You might help friends with their faucets too. Now, your kitchen looks better and functions smoothly.
Happy plumbing!

Similar Posts