How to Repair a Leaking Kitchen Faucet: Quick Fix Guide
Executive Chef & Lead Commercial Kitchen Specialist at Daily Kitchup Test Lab
Is the persistent drip-drip-drip of your kitchen faucet driving you up the wall? You’re not alone.
A leaking kitchen faucet is more than just a minor annoyance—it can lead to higher water bills and even water damage over time. But the good news is, you don’t have to be a plumbing expert to fix it yourself.
Imagine the satisfaction of turning off that constant drip and enjoying a quieter, more efficient kitchen without the hassle of waiting for a professional or spending extra cash. We’ll guide you through simple, step-by-step instructions to repair a leaking kitchen faucet, using tools you probably already have at home. So, roll up your sleeves and get ready to tackle this issue head-on, saving both your sanity and your money. Let’s dive in and see how you can stop that leak for good.

Credit: www.youtube.com
Identifying The Leak Source
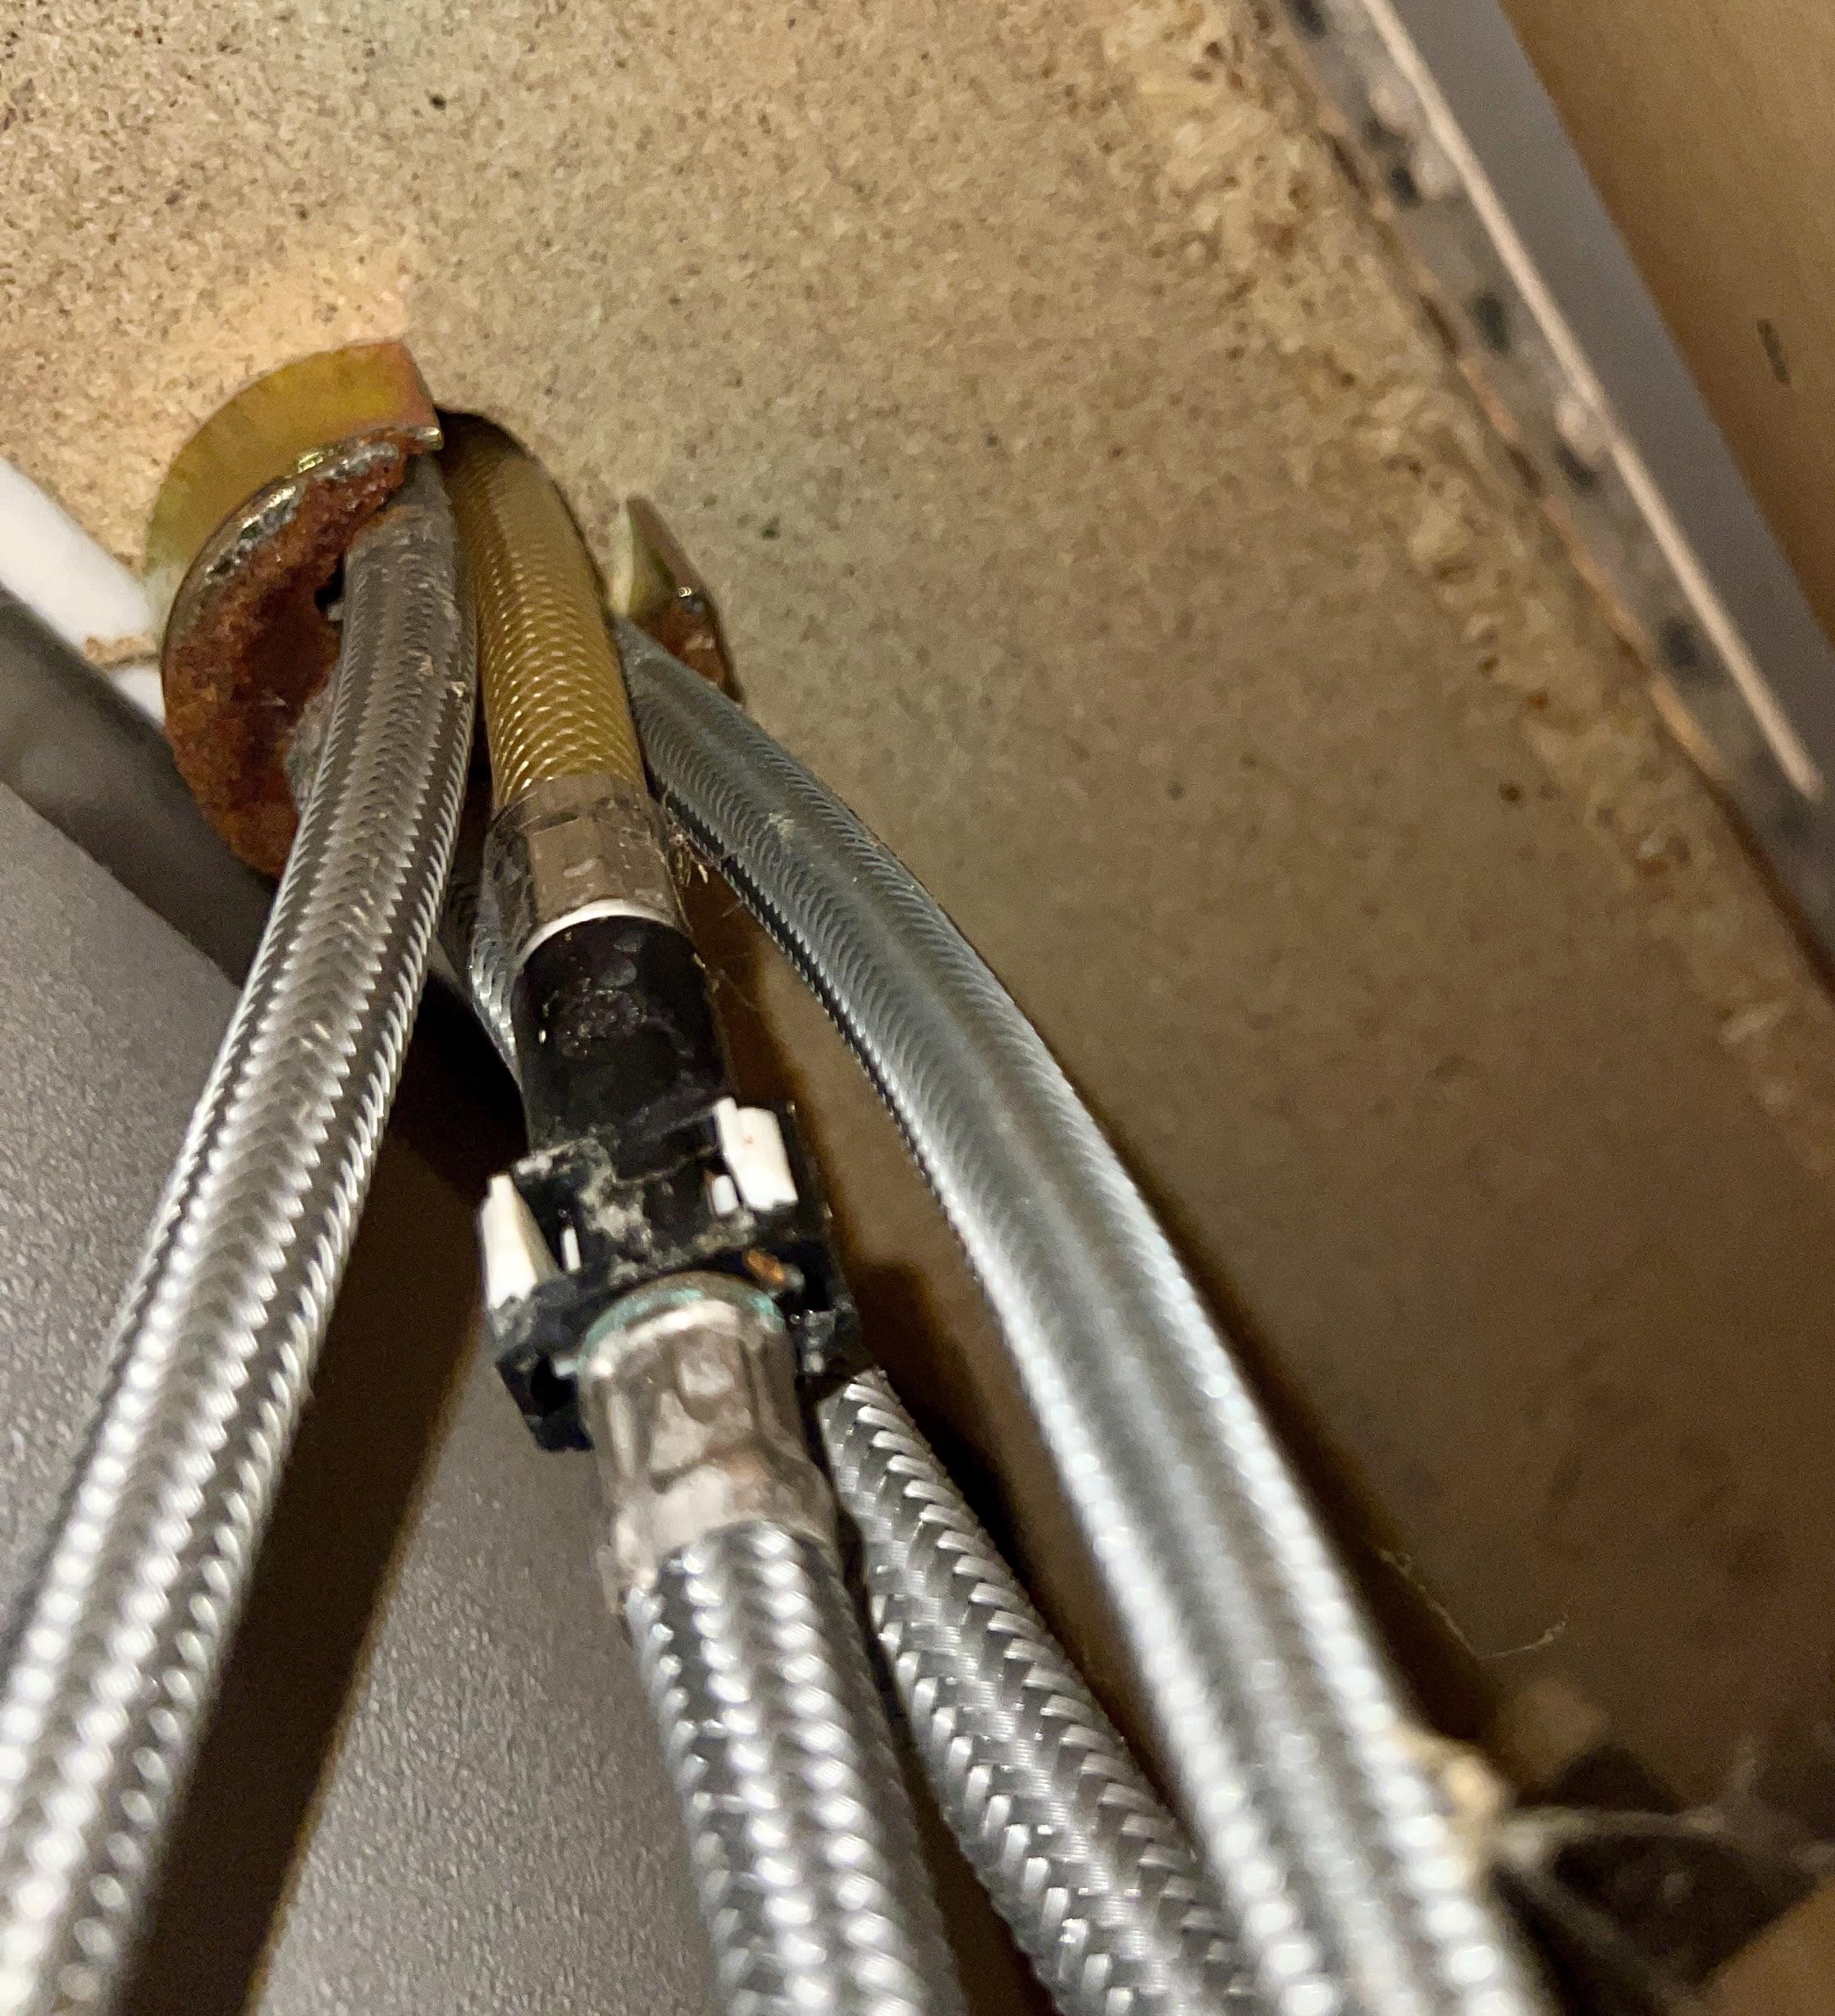
Identifying the leak source is crucial for fixing a leaking kitchen faucet. Start by checking the faucet handles and spout for drips. Inspect under the sink for water pooling, which may indicate a connection issue.
Identifying the source of a leak in your kitchen faucet is crucial for effective repair. A small drip might seem insignificant, but it can lead to larger problems if left unchecked. Understanding where the leak originates can save you time, water, and money. Let’s dive into how you can pinpoint the exact problem area.Common Leak Points
When inspecting your faucet, there are several typical areas where leaks occur.- Spout:If water drips from the spout even when the faucet is turned off, the issue might be with the internal valve.
- Handles:Leaking around the handles usually indicates worn-out seals or O-rings.
- Base:Water pooling around the base of the faucet could point to a problem with the gasket or mounting hardware.
Signs Of A Faulty Faucet
Recognizing the signs of a faulty faucet can prevent further damage.- Consistent Dripping:A constant drip, even when tightly turned off, suggests a worn valve seat or washer.
- Water Pressure Changes:Fluctuations in water pressure might indicate a blockage or a more serious internal fault.
- Odd Noises:Whistling or clanking sounds when the faucet is in use can signal loose components or air in the pipes.
Gathering Necessary Tools
Gather basic tools like wrenches, screwdrivers, and plumber’s tape for a smooth faucet repair. Have a bucket handy to catch any water. Ensure you have replacement parts suited to your faucet model.
Gathering the right tools is essential for fixing a leaking kitchen faucet. Without them, the repair process can become frustrating. A well-prepared toolbox can make the task smoother and quicker. Knowing what you need helps you avoid multiple trips to the store. It also ensures you have everything for a successful repair.Essential Tools For Repair
Start with a wrench. This helps you loosen and tighten faucet parts. Adjustable wrenches are versatile and fit different sizes. Next, grab a screwdriver. You will need both flathead and Phillips types. They help remove screws securing the faucet. A basin wrench is useful for hard-to-reach nuts under the sink. Don’t forget pliers. These help with gripping and turning small parts. A plumber’s tape, also known as Teflon tape, is vital. It ensures a tight seal and prevents leaks. Finally, have a cloth handy. It helps keep the area clean and dry.Optional Items For Ease
Some optional tools can make the repair easier. A flashlight helps you see clearly in dark spaces. It’s useful for spotting leaks and examining connections. A small bucket is handy for catching water drips. It prevents mess under the sink. Having a faucet repair kit saves time. It includes common replacement parts like washers and O-rings. Pipe cleaner helps remove grime around the faucet. It ensures a clean and smooth surface for repairs. Consider using a lubricant. It makes loosening tight parts simpler. These items are optional but helpful. They make the repair process more efficient and less stressful.Turning Off Water Supply
Turning off the water supply is crucial before fixing a leaking kitchen faucet. This step prevents water spills and potential damage. Locate the shut-off valves under the sink and turn them clockwise to stop the water flow.
Turning Off Water Supply Turning off the water supply is the critical first step in repairing a leaking kitchen faucet. Imagine starting a repair job, only to find water gushing uncontrollably. To avoid such a scenario, it’s essential to cut off the water source before beginning any repairs.Locating The Shut-off Valve
Finding the shut-off valve can be a bit like a treasure hunt in your kitchen. Typically, you’ll find it under the sink, attached to the pipes leading to your faucet. Look for a small, round knob or lever. If your kitchen is like mine, you might have to move a few cleaning supplies out of the way. Once you locate it, turning the valve clockwise will stop the water flow. Do you remember the last time you actually checked those valves? It’s always a good idea to ensure they’re easy to operate.Draining Excess Water
After turning off the water, there might still be some water lingering in the pipes. This is where draining excess water comes into play. Simply open the faucet and let the remaining water flow out until it stops. It’s a quick step but one that saves you from unexpected water splashes during the repair. Have you ever started a repair and ended up with soaked sleeves? Trust me, it’s better to let the faucet run dry first.Disassembling The Faucet
Begin by turning off the water supply to the faucet. Carefully unscrew the handle to access the inner components. Remove the nut and washer to inspect the cartridge for damage.
Disassembling the faucet is a crucial step in fixing a leaking kitchen faucet. It might seem daunting at first, but breaking it down into manageable tasks can simplify the process. Understanding how to properly disassemble your faucet ensures you don’t cause further damage, and it gives you a clear view of what might be causing the leak.Removing Faucet Handles
Start by turning off the water supply to prevent any mess. A towel or basin underneath the faucet can catch any residual water. If your faucet handles are screw-fastened, locate the screws usually hidden beneath decorative caps. Use a flathead screwdriver to gently pry off the caps. Once exposed, use a Phillips screwdriver to remove the screws. Remember the first time you assembled a piece of furniture? It’s similar—keep track of every part you remove.Accessing Internal Components
With the handles off, you can access the internal components. Here, you’ll find nuts, cartridges, and perhaps washers. Use an adjustable wrench to unscrew any nuts, but be gentle to avoid stripping them. A little personal tip: If you find any rust or mineral build-up, try using a mixture of vinegar and baking soda to clean it off. This can prevent recurring leaks. Consider this: Why not take a photo of each step? It’s a handy reference for reassembling everything later. And now you’re ready to pinpoint the source of the leak.Inspecting And Replacing Washers
Inspect the washers to identify the source of leakage. Damaged washers often cause kitchen faucet leaks. Replace worn washers to ensure a tight seal and prevent further dripping.
Repairing a leaking kitchen faucet often involves inspecting and replacing washers. These small components play a crucial role in preventing leaks. Washers wear out over time, causing annoying drips. By regularly checking and replacing them, you can keep your faucet in good condition. Here’s how to effectively inspect and replace these washers.Identifying Worn Washers
Start by turning off the water supply. This prevents any accidental flooding. Remove the handle of the faucet using a screwdriver. Once removed, you can access the stem. The washer is usually located at the end of this stem. Check for signs of wear and tear, such as cracks or flattening. A damaged washer needs replacement. A simple inspection can save you from bigger problems.Choosing The Right Replacement
Selecting the right washer is crucial. Take the old washer to a hardware store. This helps in finding an exact match. Washers come in various sizes and materials. Rubber washers are common, but there are also nylon and brass options. Consider the type of faucet you have. This influences the material choice. An incorrect washer may lead to more leaks. Always ensure a snug fit when replacing. This ensures optimal performance and extends the life of your faucet.
Credit: www.youtube.com
Reassembling The Faucet
Tighten screws and reinstall the faucet handle to fix leaks. Ensure the faucet’s parts are properly aligned and secure. Test the faucet for any remaining leaks after reassembling.
Reassembling the faucet after repairing a leak can feel like piecing together a puzzle. But don’t worry, with a little patience and attention, you can ensure everything fits perfectly. Just as you remember every detail of a memorable meal, remembering how each part of your faucet fits is crucial.Properly Aligning Components
To start, make sure all components are clean and free from debris. This ensures a tight fit and prevents future leaks. Align each part according to the sequence you disassembled them. It might help to take photos during disassembly for reference. Pay attention to the O-rings and washers; they need to be seated correctly to prevent water from seeping out. If these tiny parts are not aligned properly, it can lead to another frustrating leak.Securing Handles
Once all the internal components are in place, it’s time to secure the handles. This can often be the most satisfying part, like the final piece of a puzzle. Ensure the handles align perfectly with the faucet’s base. A crooked handle not only looks odd but can cause uneven wear over time. Tighten the screws firmly but be cautious not to overdo it. Over-tightening can strip the threads or crack the handle, leading to more repairs. Isn’t it rewarding to know you can fix things on your own? With every repair, you become more confident in your DIY skills.Testing For Leaks
Testing for leaks involves running the faucet and checking for drips around the base and spout. A simple paper towel can reveal hidden leaks. Identifying these leaks early helps in effective repair, saving water and preventing further damage.
Testing for leaks is crucial after repairing a kitchen faucet. It ensures your efforts have successfully resolved the issue. Start by carefully monitoring the repaired faucet. Look for any signs of water escaping. Detecting leaks early prevents future problems.Gradually Restoring Water Supply
Turn on the water slowly. This helps avoid sudden pressure changes. Observe the faucet as water flows. Pay attention to areas you repaired. If you notice any water seeping, stop immediately. Tighten connections or replace faulty parts. Gradually increasing water flow helps pinpoint problem areas.Checking For Persistent Drips
Once the water flows smoothly, check for drips. Listen for the sound of water droplets. Inspect the faucet and surrounding areas. Look for moisture or small puddles. Persistent drips indicate unresolved issues. They may require further tightening or replacing parts. Addressing drips promptly prevents larger leaks.
Credit: www.youtube.com
Preventive Maintenance Tips
Fixing a leaking kitchen faucet involves checking seals and washers. Turn off water supply before starting repairs. Use a wrench to tighten loose parts or replace worn components to stop drips. Regular inspection helps prevent leaks and saves water.
Preventive maintenance keeps your kitchen faucet in top shape. Small efforts can prevent leaks and costly repairs. Regular care also extends the faucet’s lifespan. Here are some easy tips to follow.Regular Cleaning Practices
Clean your faucet weekly. Use mild soap and warm water. Avoid harsh chemicals that cause damage. Wipe with a soft cloth to prevent scratches. Check for mineral buildup on the aerator. Remove it and soak in vinegar for 30 minutes. Rinse and reattach for smooth water flow.When To Seek Professional Help
Some issues need expert attention. Call a plumber for persistent leaks. Unusual noises or low water pressure also require professional help. If unsure about a repair, don’t risk it. A professional ensures safe and efficient solutions.Frequently Asked Questions
How Do I Stop A Kitchen Faucet From Dripping?
Turn off the water supply and remove the faucet handle. Replace worn washers or seals and reassemble the faucet.
What Are The Three Most Common Causes Of Leaky Dripping Faucets?
The three most common causes of leaky dripping faucets are worn-out washers, damaged O-rings, and corroded valve seats. These components wear out over time, leading to leaks. Regular maintenance and timely repairs can prevent these issues, ensuring your faucets function efficiently and conserving water.
How To Replace The O-ring In A Kitchen Faucet?
Turn off the water supply and remove the faucet handle. Use pliers to extract the old O-ring. Replace with a new O-ring of the same size. Apply plumber’s grease to the O-ring before reinstalling the handle. Turn the water back on to ensure proper installation.
How To Fix A Leaky Faucet Step By Step?
Turn off the water supply. Remove the faucet handle. Replace worn parts like washers or seals. Reassemble the faucet. Turn the water back on and check for leaks.
Conclusion
Repairing a leaking kitchen faucet is easier than it seems. Basic tools and patience are your best friends. Start by identifying the leak source. Then, follow simple steps to fix it. Turn off the water supply first. Replace worn-out parts carefully.
Test the faucet for leaks after repairs. Regular maintenance can prevent future problems. Save money and time by doing it yourself. Feel confident in handling small plumbing tasks. Always prioritize safety during repairs. With practice, you can keep your kitchen faucet leak-free.
Happy fixing!

Similar Posts