How to Replace a Sprayer on a Kitchen Sink: Easy Guide
Executive Chef & Lead Commercial Kitchen Specialist at Daily Kitchup Test Lab
Is your kitchen sink sprayer not working as it should? Don’t worry, you’re not alone.
Many people find themselves in this situation, wondering how to bring their kitchen back to full functionality. The good news is that replacing a sprayer on your kitchen sink is easier than you might think. Imagine the satisfaction of seeing water stream smoothly from your new sprayer, making daily tasks like washing dishes or rinsing vegetables a breeze.
You’ll not only enhance your kitchen’s usability but also add a touch of freshness to your space. Get ready to dive into a step-by-step guide that will empower you to tackle this project with confidence and ease. By the end of this article, you’ll be equipped with all the knowledge needed to make your kitchen sink sprayer as good as new. Let’s get started!
Tools And Materials Needed
Gather a wrench, plumber’s tape, and a bucket for water collection. You’ll also need a new sprayer head and hose. Ensure you have a screwdriver and adjustable pliers handy to assist with the installation process.
Replacing a sprayer on a kitchen sink requires some basic tools and materials. Having everything ready will make the process smoother and quicker. This guide will help you gather the essentials to complete the task efficiently.Basic Tools You Will Need
You will need a few basic tools. A wrench is essential for loosening nuts. A screwdriver might be necessary for removing screws. Pliers can help grip and twist tight connections. Teflon tape will ensure a watertight seal.Materials Required
First, purchase the new sprayer. Make sure it fits your sink model. You may need a replacement hose if the old one is damaged. A basin wrench can be helpful if your sink’s space is tight. Plumber’s putty can be used to seal connections effectively.Additional Items To Consider
Have a bucket ready to catch any water spills. A towel will help clean up any mess. Safety goggles can protect your eyes from splashes. Gloves will keep your hands clean and safe. With these tools and materials, you’re ready to replace your kitchen sprayer.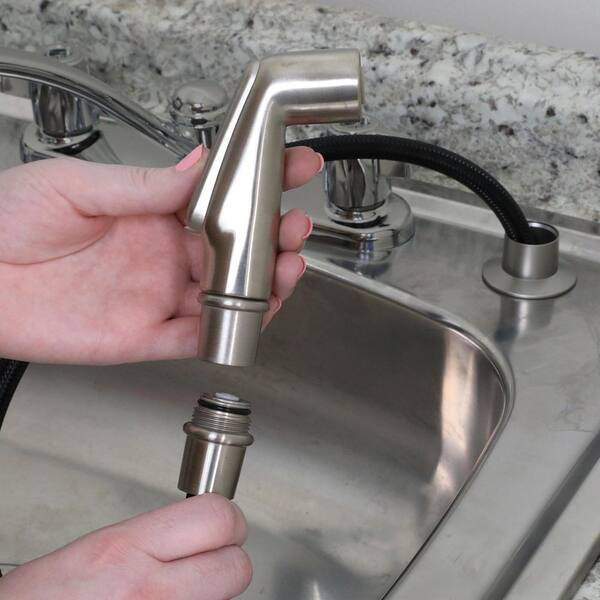
Credit: nrarep.net
Preparation Steps
Replacing a sprayer on a kitchen sink starts with good preparation. Proper steps ensure a smooth and hassle-free process. By following these simple steps, you can make the task easier.
Turn Off Water Supply
Begin by turning off the water supply. Find the shut-off valves under the sink. Turn them clockwise until tight. This stops water flow and prevents leaks. If no valves are present, turn off the main water supply.
Clear Under-sink Area
Next, clear the area under your sink. Remove any stored items to create space. This helps you see and reach the plumbing easily. Place a small bucket or towel beneath the pipes. It catches any drips during the replacement process.
Removing The Old Sprayer
Replacing a kitchen sink sprayer can seem challenging, but it’s manageable. The first step is removing the old sprayer. This process involves detaching the sprayer hose and removing the sprayer head. Let’s dive into these steps to ensure a smooth replacement process.
Detach Sprayer Hose
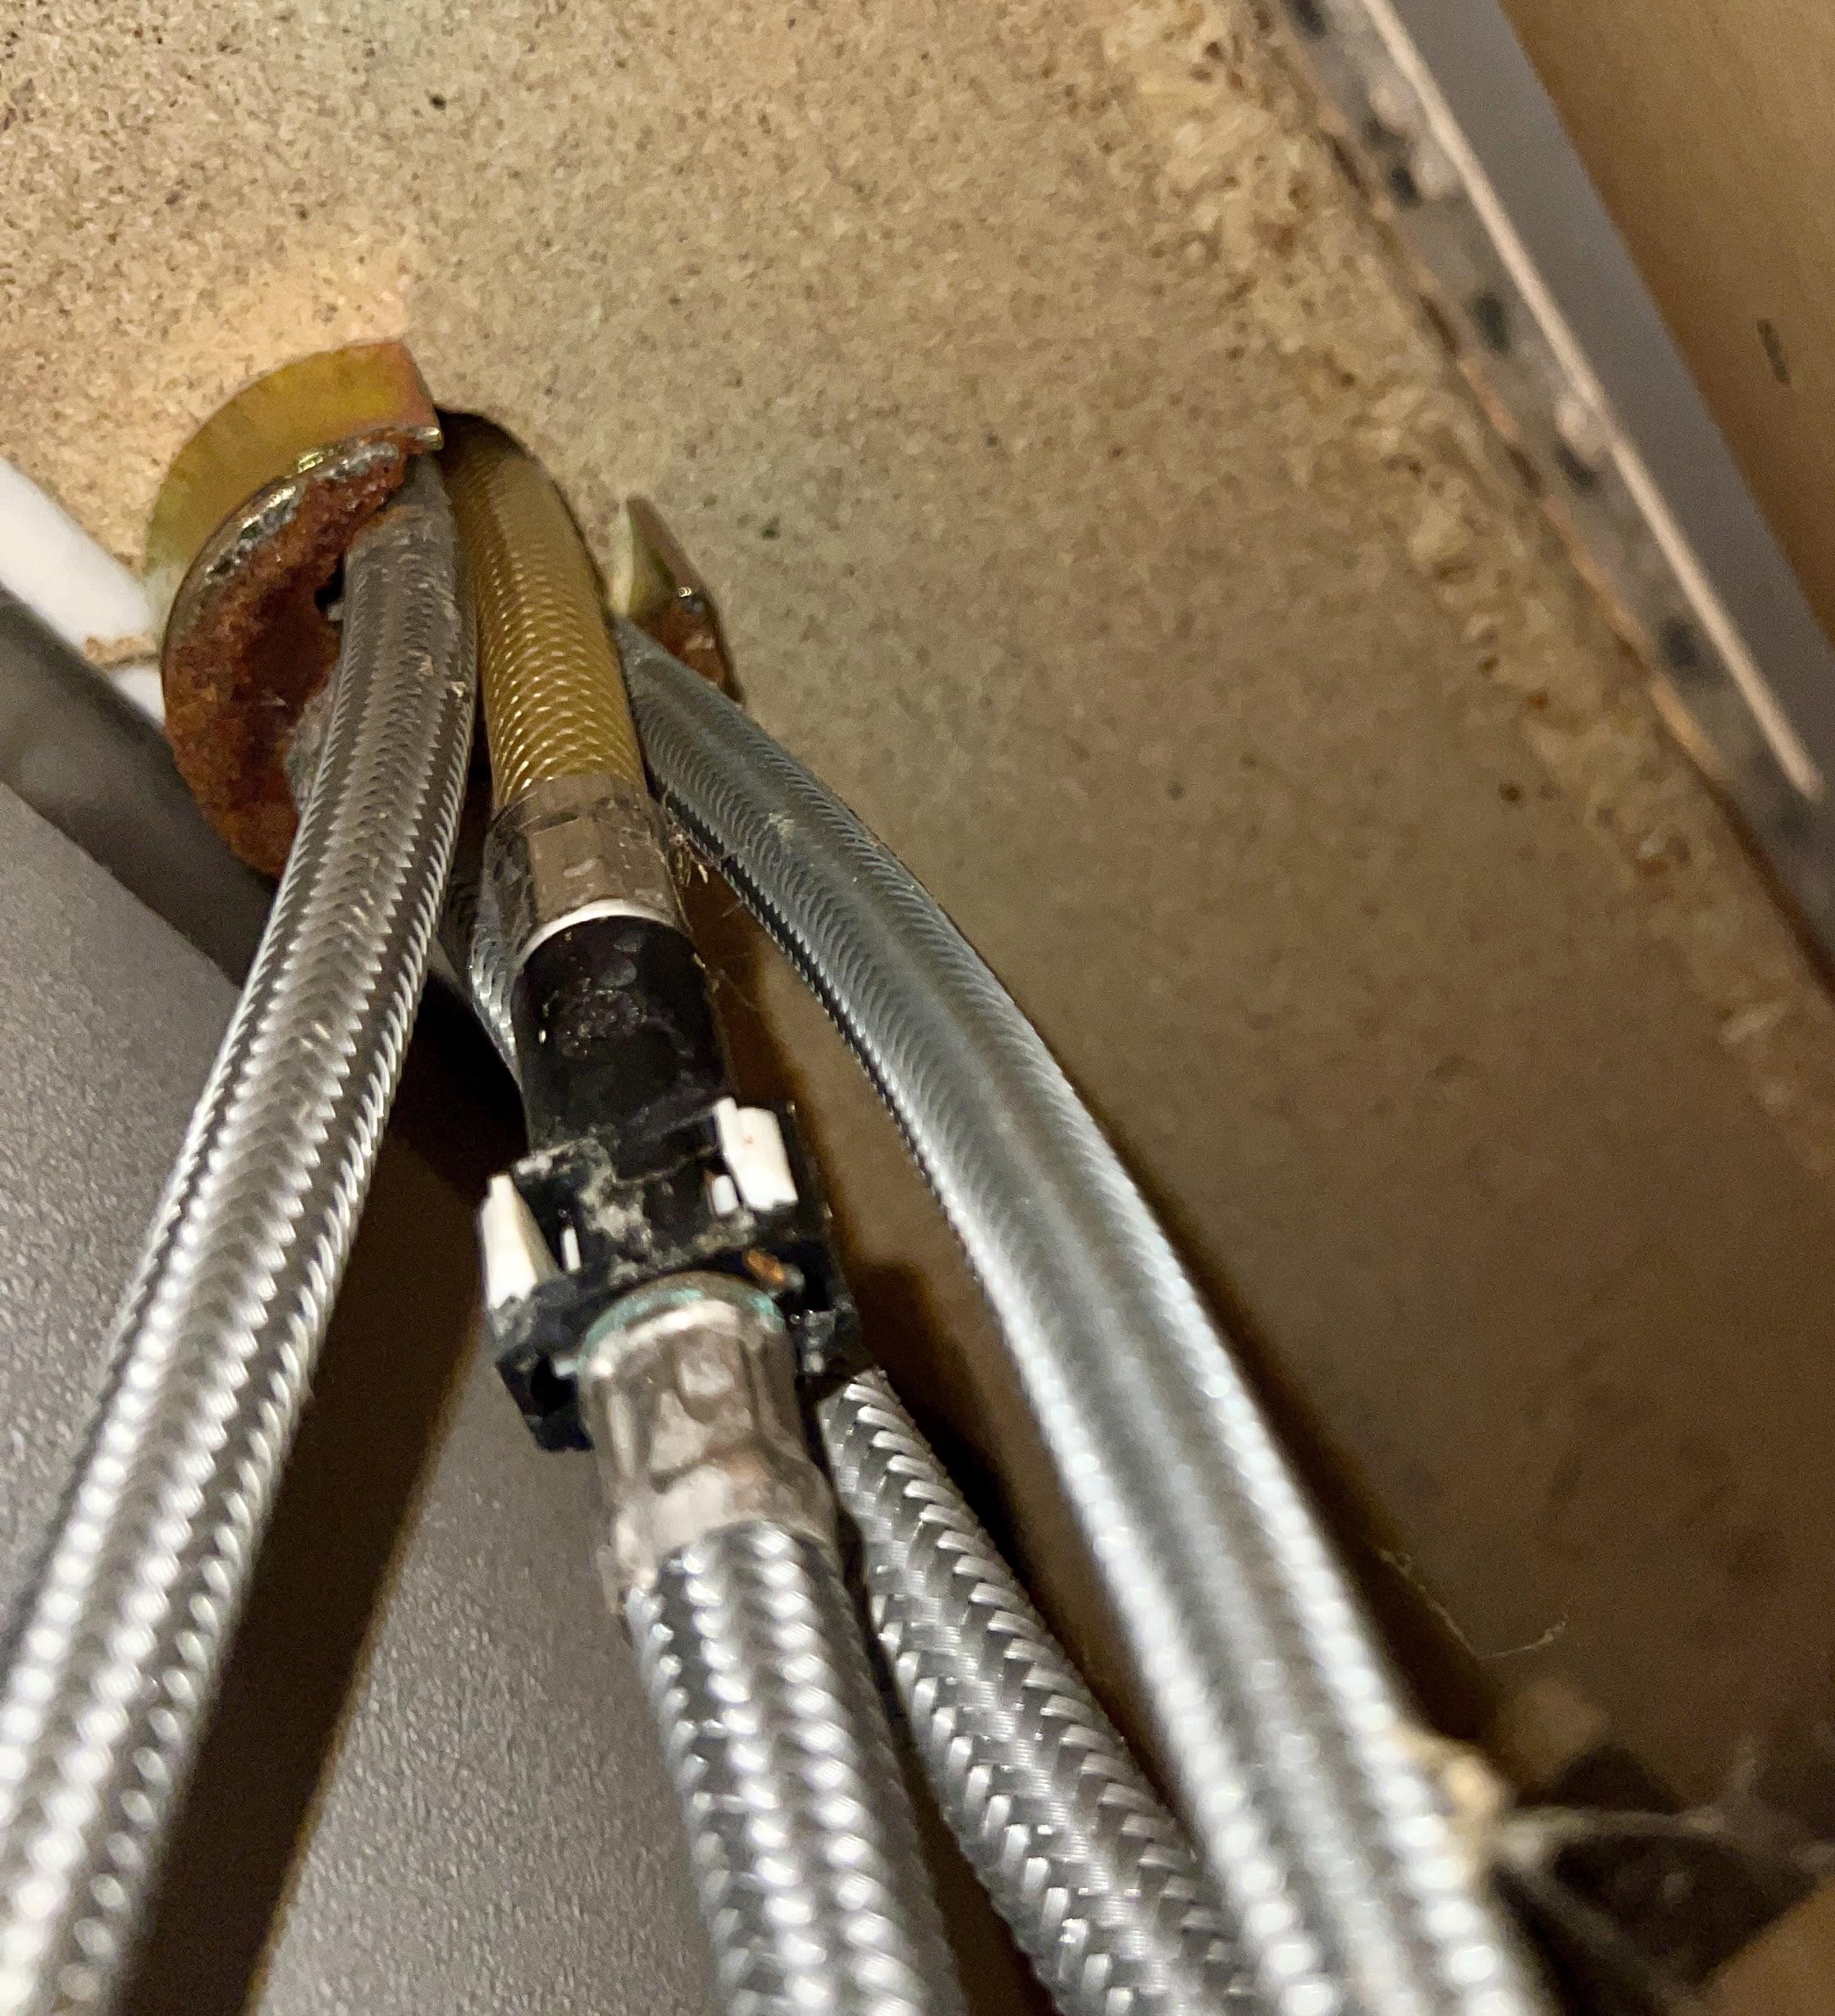
Locate the sprayer hose under the sink. It usually connects to the main faucet with a small clip or nut. Use a wrench to loosen the connection. Be gentle to avoid damaging the other parts. Once loose, pull the hose away from the faucet. Keep a bucket nearby to catch any water left in the hose.
Remove Sprayer Head
Now, focus on the sprayer head above the sink. Most sprayer heads attach with a screw or quick-release clip. Unscrew or unclip the sprayer head carefully. Check for any washers or seals that might stick. If stuck, gently wiggle the head to free it. Once removed, inspect the area for any debris or residue.
Installing The New Sprayer
Begin by turning off the water supply to the kitchen sink. Remove the old sprayer by unscrewing it from the hose connection. Attach the new sprayer to the hose, ensuring a secure fit. Turn the water supply back on and test the new sprayer for any leaks.
Installing a new sprayer on your kitchen sink can seem daunting. But with simple guidance, it becomes manageable. You just need a few tools and a new sprayer kit. Follow these steps to enhance your kitchen’s functionality.Attach New Sprayer Head
First, unwrap the new sprayer head from its packaging. Check for any defects or missing parts. Align the sprayer head with the hose end. Twist it clockwise until it feels snug. Ensure it’s firm but not overly tight. A secure connection prevents leaks. Once attached, gently tug to test its stability.Connect Sprayer Hose
Locate the hose connector under the sink. This is where the hose meets the water supply. Slide the hose through the sprayer hole in the sink. Attach it to the connector by pushing firmly. You might hear a click, indicating it’s locked in place. Ensure no kinks in the hose to allow smooth water flow. Test the sprayer by turning on the water. Check for leaks and adjust if needed.Testing The New Sprayer
Testing the new sprayer involves removing the old one from the kitchen sink. This process requires turning off the water supply and disconnecting hoses. Carefully attach the new sprayer and secure all connections to ensure smooth operation.
After successfully installing your new kitchen sink sprayer, the next crucial step is testing. This phase ensures that everything is working smoothly and efficiently. You wouldn’t want to find out there’s a leak during your next dishwashing session. Let’s dive into the necessary steps to confirm your sprayer is functioning perfectly.Check For Leaks
Begin by turning on the water supply. Gently pull the sprayer hose and direct it into the sink. Observe the connections closely, especially where the hose connects to the faucet and the sprayer head. Are there any drips or moisture accumulating? If you spot any leaks, you might need to tighten the connections. Sometimes a simple twist with a wrench can solve the problem. However, if the leak persists, consider checking the washers or seals for damage. Replacing a small component might save you from bigger headaches later.Ensure Proper Function
Once you’re confident about the leak-free setup, it’s time to test the sprayer’s functionality. Pull out the sprayer and press the trigger. Does the water flow smoothly and consistently? Is the spray pattern as expected? Experiment with different water pressures to see how the sprayer reacts. Imagine washing a big pot or rinsing fruits—does the sprayer cover a wide enough area? If the sprayer seems sluggish or the flow is weak, there might be an issue with the water pressure or the sprayer itself. A quick inspection can often reveal if the hose is kinked or if any debris is blocking the flow. A functional sprayer can make your kitchen chores easier and more enjoyable. How will you ensure your kitchen is equipped for efficiency and ease?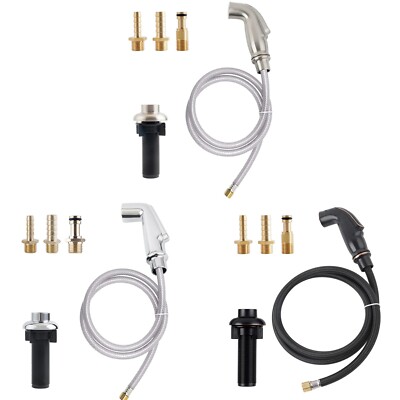
Credit: abbathemusic.nl
Troubleshooting Common Issues
Replacing a sprayer on your kitchen sink can be surprisingly straightforward, but sometimes unexpected issues arise. Whether you’re dealing with leaks or low water pressure, tackling these common problems head-on can save you time and frustration. Let’s dive into how you can troubleshoot these issues effectively and keep your kitchen sprayer in top shape.
Fixing Leaks
Leaks are a common problem with kitchen sprayers, often caused by worn-out washers or loose connections. First, check all connections for tightness. A simple tightening can sometimes stop the leak.
If the leak persists, inspect the washers inside the hose and sprayer head. Replacing them is often a quick fix. Make sure you have the correct size before purchasing replacements, as this ensures a snug fit.
Consider this: have you noticed water pooling at the base of your sink? This could indicate a leak from the sprayer hose itself. Inspect it thoroughly for cracks or holes. If damaged, replacing the hose entirely might be necessary.
Addressing Low Water Pressure
Low water pressure can turn a simple sprayer replacement into a frustrating affair. Start by checking the aerator. Mineral deposits can build up over time, restricting water flow. Remove the aerator and clean it thoroughly with vinegar to dissolve any deposits.
Next, examine the hose for kinks or bends. Straightening out the hose can sometimes dramatically improve water pressure. If your sprayer continues to underperform, it might be time to check the water supply valves.
Are they fully open? Sometimes, they can be partially closed during maintenance and forgotten. Ensuring they are fully open can restore optimal water flow.
Have you ever wondered if your sprayer’s performance issues might be linked to broader plumbing problems? Consider other fixtures in your home—if they also suffer from low pressure, it might be worth consulting a plumber to explore deeper issues.
By addressing these troubleshooting tips, you can enjoy a fully functional kitchen sprayer without the hassle of common problems. Remember, a little attention to detail can prevent bigger headaches down the line.
Maintenance Tips
Maintaining your kitchen sink sprayer is crucial for ensuring its longevity and optimal performance. Regular maintenance not only prevents unexpected breakdowns but also helps you avoid costly repairs. It’s much easier to tackle minor issues before they escalate into bigger problems. Let’s dive into some straightforward maintenance tips that can keep your kitchen sprayer in top shape.
Cleaning The Sprayer
Cleaning your kitchen sprayer regularly is essential. Mineral deposits can accumulate over time, affecting water flow and pressure. To clean your sprayer, detach it from the hose and soak it in a mixture of vinegar and water for about an hour. This solution helps dissolve any stubborn deposits.
If you notice grime on the exterior, a gentle scrub with a soft brush and mild soap can do wonders. This not only keeps your sprayer looking new but also prevents buildup that might affect its functionality. Have you ever thought about how clean your sprayer might be right now?
Regular Inspection
Regularly inspecting your sprayer can help spot potential issues early. Look for leaks or cracks in the hose and handle. Tighten any loose connections and replace worn-out washers promptly. This simple step can save you from sudden water leaks.
Imagine the peace of mind knowing your sprayer is in perfect working condition. A quick check every few months can make a significant difference. What would it take for you to add this to your routine?

Credit: www.youtube.com
Frequently Asked Questions
Can You Replace Just The Sink Sprayer?
Yes, you can replace just the sink sprayer. First, ensure the new sprayer is compatible with your faucet. Turn off the water supply, detach the old sprayer, and connect the new one. Follow the manufacturer’s instructions for installation to ensure proper functionality.
How To Replace Kitchen Sink Sprayer Head?
Turn off the water supply and disconnect the old sprayer head. Attach the new sprayer head, ensuring a secure fit. Test for leaks by turning the water back on. Adjust if necessary to ensure proper function.
How To Replace A Sink Sprayer Diverter?
Turn off the water supply. Disconnect the sprayer hose. Remove the faucet spout to access the diverter. Replace the old diverter with a new one. Reassemble the faucet and reconnect the sprayer hose. Turn the water supply back on and test the sprayer.
How Do You Fix A Sink Sprayer That Won’t Spray?
Check the spray head for clogs. Clean with vinegar if blocked. Inspect hose for kinks or damage. Replace worn washers or seals. Ensure connections are tight. Test water pressure for issues. Replace defective parts if necessary.
Conclusion
Replacing a kitchen sink sprayer is easier than it seems. Gather your tools. Follow each step carefully. Safety first. Turn off the water supply. Remove the old sprayer gently. Install the new sprayer securely. Test it for leaks. Enjoy the improved functionality.
A new sprayer enhances the kitchen experience. Your sink works better. You save money doing it yourself. Feel accomplished with your DIY skills. Share this knowledge with friends. Encourage them to try it too. Keep your kitchen in top shape.
A simple sprayer change makes a big difference.

Similar Posts