How to Replace Kitchen Hood: Step-by-Step Guide
Transforming your kitchen into a cleaner, more efficient space starts with one simple task: replacing your kitchen hood. Whether it’s outdated or underperforming, a new kitchen hood can dramatically improve your cooking environment by removing smoke, steam, and lingering odors.
Imagine cooking your favorite meals without worrying about smoke-filled air or stubborn grease stains. You deserve a kitchen that works as hard as you do, and learning how to replace your kitchen hood is the first step. This guide will walk you through the process, making it easy and stress-free.
Ready to enhance your kitchen experience? Let’s dive in!
Choosing The Right Kitchen Hood
Choosing the right kitchen hood is an essential part of any kitchen renovation or upgrade. Your kitchen hood not only enhances the aesthetics of your space but also ensures a clean and safe cooking environment. With a myriad of options available, how do you decide which one is best for your needs?
Types Of Kitchen Hoods
Kitchen hoods come in various types, each designed to suit different kitchen layouts and functionalities. Wall-mounted hoods are a popular choice for their sleek design and efficiency. If your stove is on an island, an island hood is ideal, offering powerful ventilation from above.
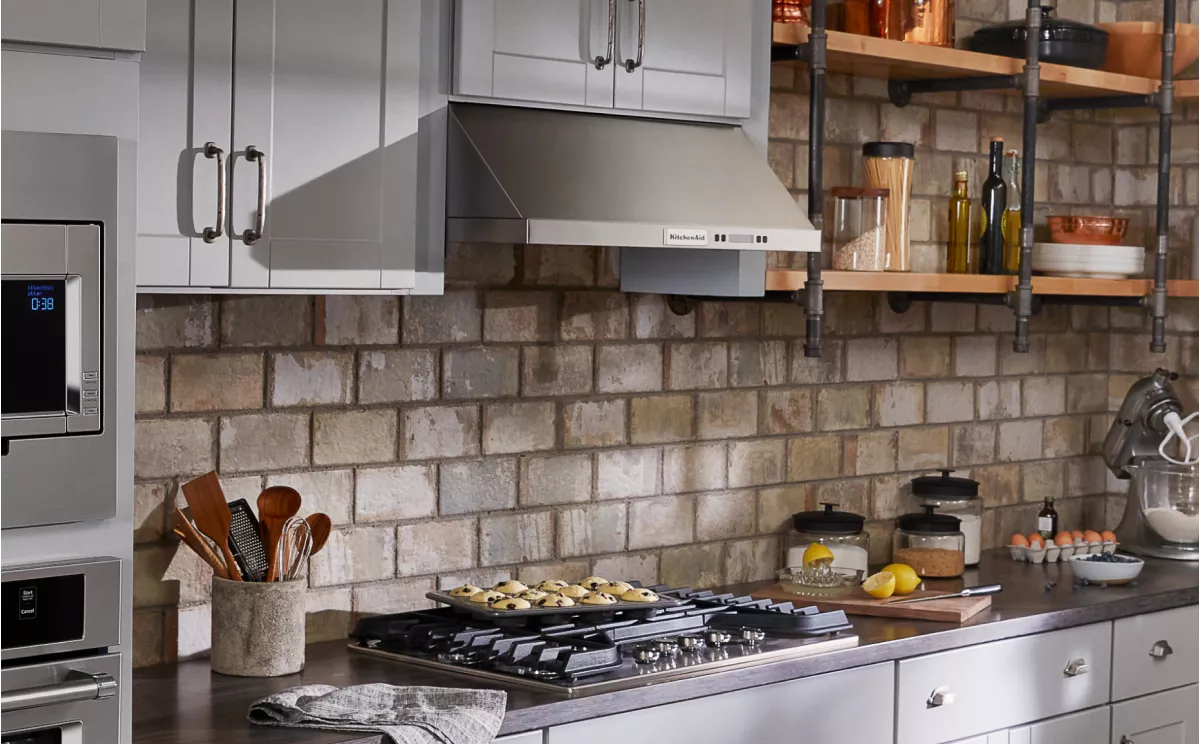
Under-cabinet hoods are perfect if you want to save space, as they fit snugly beneath your cabinetry. For those seeking a modern, minimalistic look, downdraft hoods retract into the counter when not in use. Consider your kitchen’s layout and aesthetics when selecting a type.
Size And Capacity Considerations
Size matters when it comes to kitchen hoods. A hood should be at least as wide as your cooking surface, if not wider. This ensures it effectively captures smoke, steam, and odors.
Capacity, measured in cubic feet per minute (CFM), determines how much air the hood can move. A higher CFM is ideal for those who cook frequently or use high-heat methods. Choose a capacity that matches your cooking habits.
Features To Look For
Modern kitchen hoods come with a variety of features that can enhance your cooking experience. Look for adjustable fan speeds, which offer flexibility depending on what you’re cooking. A built-in light is essential for illuminating your workspace.
Some hoods even come with heat sensors that automatically adjust the fan speed, ensuring optimal ventilation. Noise level is another factor; a quieter hood allows you to enjoy conversations while cooking. Think about what features will make your kitchen time more enjoyable.
Gathering Necessary Tools And Materials
Gather tools like a screwdriver, drill, and pliers for replacing the kitchen hood. Gather materials such as the new hood, mounting brackets, and screws. Having these items ready ensures a smooth installation process.
Gathering the necessary tools and materials is crucial for replacing a kitchen hood. It ensures you have everything ready, saving time and effort. Having the right tools and materials is the first step to a smooth installation process.Essential Tools
- Screwdriver set: Choose both flathead and Phillips.
- Drill: Ensure it’s charged for efficient use.
- Tape measure: Accurate measurements are key.
- Level: Keep the hood perfectly aligned.
- Utility knife: Handy for cutting materials.
- Wire stripper: Necessary for electrical work.
- Safety goggles: Protect your eyes during installation.
- Gloves: Keep your hands safe from sharp edges.
Materials Checklist
- New kitchen hood: Select the right size and style.
- Mounting brackets: Secure the hood in place.
- Electrical wires: Ensure compatibility with your current setup.
- Ventilation duct: Properly direct smoke and steam.
- Screws: Various sizes for different attachment points.
- Sealant: Prevent leaks and secure connections.
- Instruction manual: Follow the steps for installation.
Preparing The Workspace
Ensure the workspace is clean and clutter-free. Gather all necessary tools and materials for the kitchen hood replacement. Arrange them for easy access, minimizing interruptions during the installation process.
Replacing a kitchen hood might seem daunting, but with proper preparation, the task can be straightforward and satisfying. Before diving into the technical aspects, it’s crucial to set the stage for a smooth installation. Preparing the workspace ensures that you stay organized and safe while transforming your kitchen into a more functional space.Ensuring Safety
Safety is paramount when dealing with electrical appliances and heavy equipment. Always disconnect the power supply to your kitchen hood to prevent any accidental shocks. Use a circuit tester to confirm that the power is off. If you’re unsure about handling electrical components, consult a professional. Wear protective gear like gloves and safety goggles to shield yourself from any falling debris or sharp edges. Have a sturdy ladder or step stool on hand to reach higher spots safely. Remember, maintaining a safe workspace is key to a successful project.Clearing The Area
Begin by removing any items or appliances from the surrounding countertops. This not only prevents accidental damage but gives you ample room to maneuver during installation. Consider laying down a drop cloth to catch dust and debris, keeping your kitchen clean and tidy. A well-organized space minimizes distractions and helps you focus on the task at hand. Are there any obstacles like cabinets or shelves near your existing hood? Measure and note these dimensions to ensure the new hood will fit seamlessly. A clutter-free area aids in visualizing the finished look and enhances efficiency. By preparing your workspace thoughtfully, you’re setting yourself up for a hassle-free installation. What steps will you take to ensure your kitchen hood replacement goes smoothly?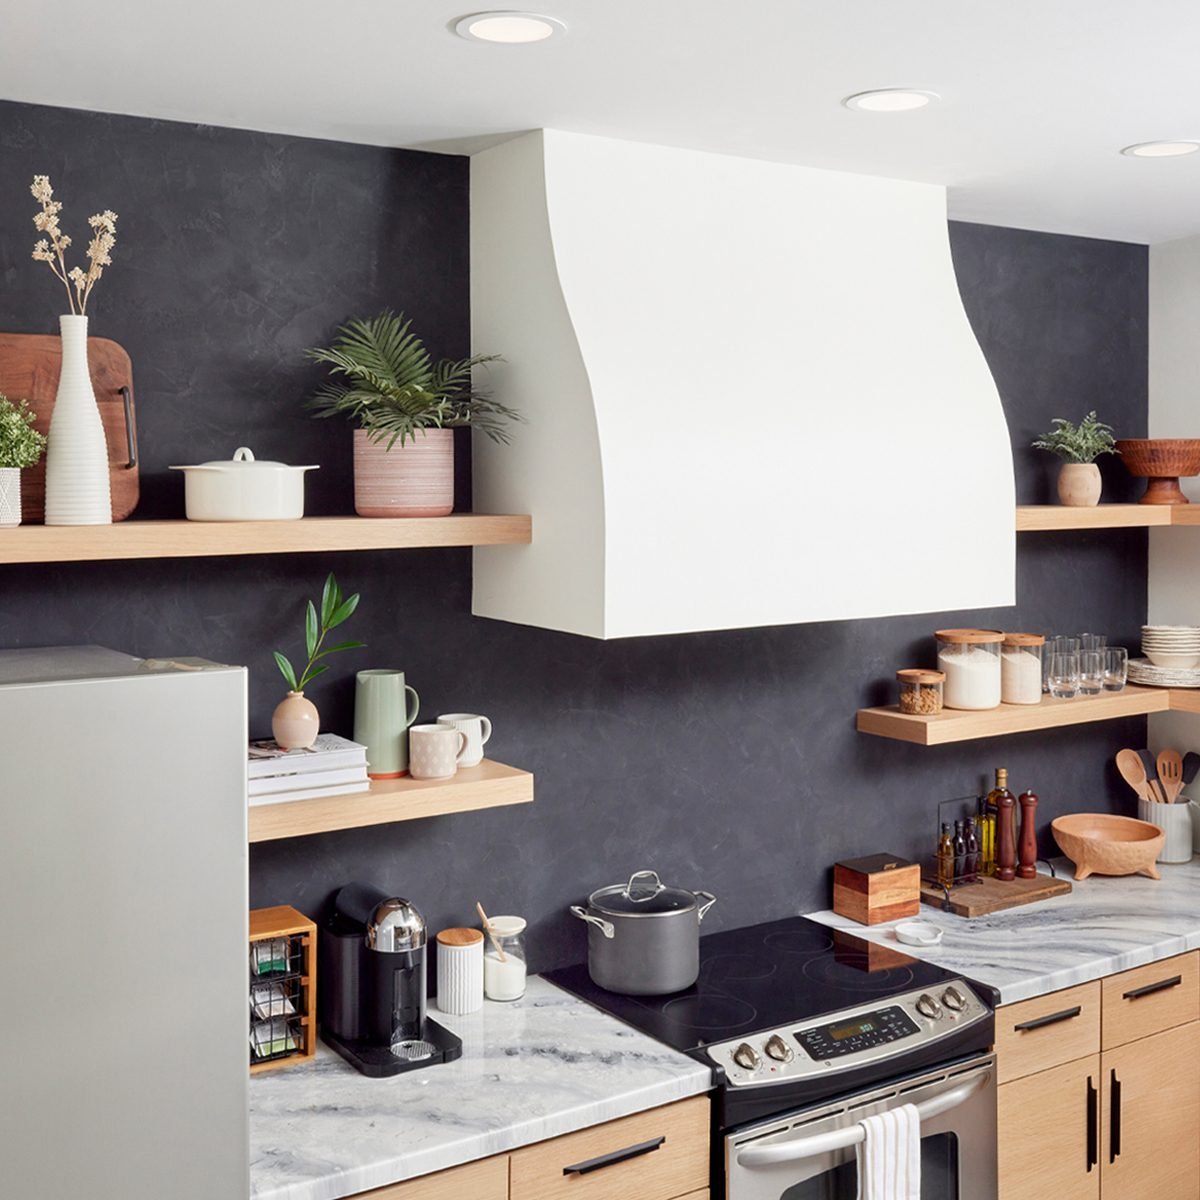
Credit: www.familyhandyman.com
Removing The Old Kitchen Hood
Removing the old kitchen hood may seem daunting, but with the right approach, it’s a manageable task. This step is crucial in making room for a new, efficient model. The process involves careful disconnection and detachment, ensuring safety and precision throughout. Ready to give your kitchen a fresh start? Let’s dive into the details.
Disconnecting Power Supply
Safety first! Before you begin removing your kitchen hood, ensure you’ve disconnected the power supply. This step prevents accidental shocks and ensures your safety during the process. Locate the circuit breaker that controls the hood and switch it off. Double-check that the power is off by testing the hood’s controls. If you’re uncertain, consult a professional to avoid any mishaps.
Detaching The Hood
With the power disconnected, it’s time to detach the hood. Start by removing any filters and cleaning them thoroughly. Next, locate the screws or bolts securing the hood to the cabinet or wall. Use a screwdriver to unscrew them carefully, supporting the hood with your other hand. It’s a good idea to have someone assist you to prevent the hood from falling. Once detached, gently lower the hood and set it aside.
Think about this: What if your kitchen hood removal uncovers hidden issues like mold or wiring problems? Addressing them now could save you future headaches. Taking the time to inspect the area can lead to a safer, more efficient kitchen environment.
Installing The New Kitchen Hood
Replacing a kitchen hood involves removing the old unit and installing a new one. Ensure correct wiring and secure mounting for efficient ventilation. Follow manufacturer instructions for safe and effective installation.
Installing a new kitchen hood can enhance your cooking space. It improves air quality and adds style to your kitchen. This process involves careful alignment and proper electrical connections. Follow these steps to ensure a secure and efficient installation.Aligning And Securing The Hood
Position the hood directly over the stove. Use a measuring tape to ensure it is centered. Mark the mounting points on the wall. Drill holes at the marked locations for the screws. Use a level to keep the hood straight. Secure the hood with screws, ensuring a tight fit. Check the alignment once more for accuracy.Connecting Electrical Wiring
Ensure the power is off at the circuit breaker. Locate the wiring in the hood and the wall. Match the wires by color: black to black, white to white, and green or bare for grounding. Use wire nuts to connect the wires securely. Tuck the wires neatly into the junction box. Restore power and test the hood’s functionality.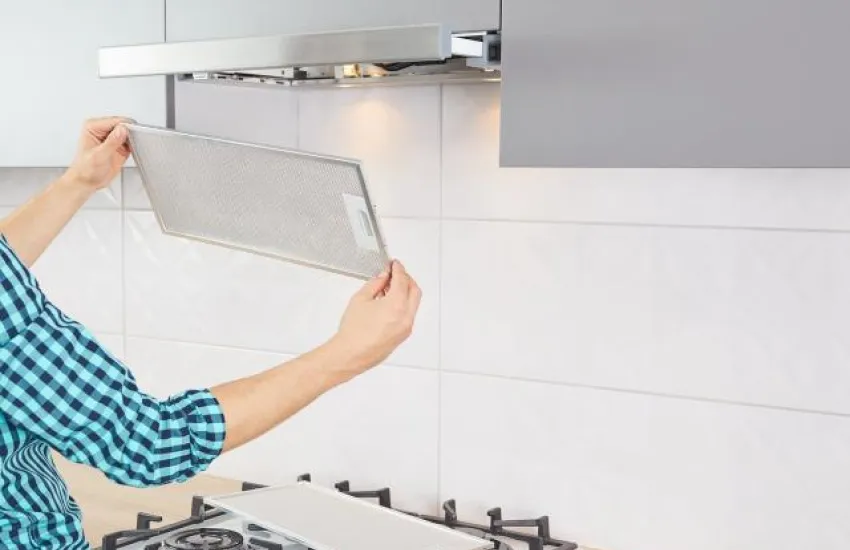
Credit: cltappliance.com
Testing The Installation
Testing the installation ensures the kitchen hood works properly. Turn on the fan and check for smooth operation. Verify the lights and listen for unusual noises to confirm everything is functioning correctly.
Testing the installation of your new kitchen hood is a crucial step that ensures everything is working as it should. It’s not just about flipping the switch and hoping for the best; it’s about making sure the appliance is ready to handle all your cooking escapades. How do you achieve this? By focusing on key aspects like functionality and proper ventilation.Checking Functionality
Start by turning on your kitchen hood to test its various settings. Does it switch between high and low speeds seamlessly? Listen closely to the motor—any unusual sounds might hint at an issue. Consider using a small amount of smoke or steam to test its suction power. You want your hood to capture and vent smoke efficiently, not leave it hanging around your kitchen. Think back to the time you tried out a new gadget. You wouldn’t trust it until you had confirmed it worked properly, right?Ensuring Proper Ventilation
Proper ventilation is vital for a kitchen hood. Check the ductwork to ensure there are no leaks or obstructions. A blocked duct can lead to inefficiency and increased energy costs. Feel around the edges of the hood and ductwork for any air leaks. Is the air being directed where it should be? A kitchen hood with poor ventilation is like a car with a flat tire—it won’t get you far. What’s the point of a new hood if it can’t keep your kitchen air clean and fresh? By addressing these specific aspects, you’ll ensure your kitchen hood installation is not only complete but effective in maintaining your kitchen environment.Maintenance Tips
Replacing a kitchen hood is just the beginning. Keeping it in good shape ensures efficiency. Regular maintenance extends its lifespan and keeps it running smoothly. Simple routines can make a big difference.
Cleaning The Filters
Filters trap grease and smoke particles. Dirty filters reduce airflow and efficiency. To clean them, remove the filters carefully. Soak them in warm, soapy water. Use a brush to scrub away grease. Rinse thoroughly and let them dry before reinstalling. Do this every month for best results.
Regular Inspection Tips
Inspecting your hood regularly prevents major issues. Check the fan for unusual noises or vibrations. Look for loose screws or bolts. Examine the ductwork for any obstructions. Ensure lights and buttons work properly. Address small problems immediately to avoid costly repairs.

Credit: www.create-enjoy.com
Frequently Asked Questions
Is It Easy To Replace A Kitchen Hood?
Replacing a kitchen hood is generally straightforward. Ensure proper measurements and compatible connections for smooth installation. Follow manufacturer’s instructions or consider hiring a professional for complex setups. Check electrical and ventilation requirements to avoid issues. Proper planning and tools can simplify the process, making it manageable for most homeowners.
How Much Does It Cost To Replace A Kitchen Hood?
Replacing a kitchen hood costs between $200 to $1,500. Prices vary based on brand, type, and installation complexity. For budget-friendly options, expect around $200-$500. High-end models can reach $1,000-$1,500. Professional installation may add $100-$500 to the overall cost.
Do I Need An Electrician To Replace A Cooker Hood?
Hiring an electrician for replacing a cooker hood ensures safety and compliance with electrical standards. They have the expertise to handle wiring connections properly. While it’s possible to do it yourself, professional installation reduces risks and guarantees functionality. Always prioritize safety in electrical tasks to avoid hazards.
How Difficult Is It To Install A Range Hood?
Installing a range hood can be moderately difficult. Basic DIY skills and tools are necessary. Following instructions carefully ensures success. Electric and ductwork tasks might require professional help. Proper measurement and alignment are crucial for efficiency. Prioritize safety during installation to avoid mishaps.
Conclusion
Replacing a kitchen hood can be simple. Follow the steps carefully. Measure the space first. Choose the right hood size. Disconnect power before starting. Remove the old hood. Install the new one securely. Connect it to power. Test the hood for proper function.
Clean up the area afterward. Enjoy a fresh, clean kitchen. With patience, anyone can do it. Save money and learn a new skill. Keep safety in mind always. Your kitchen will look better. Plus, it will work more efficiently. Happy cooking with your new kitchen hood!