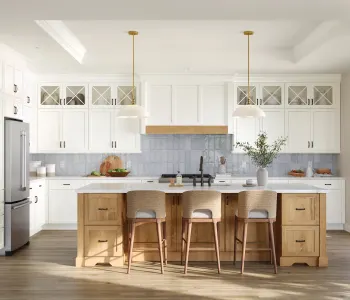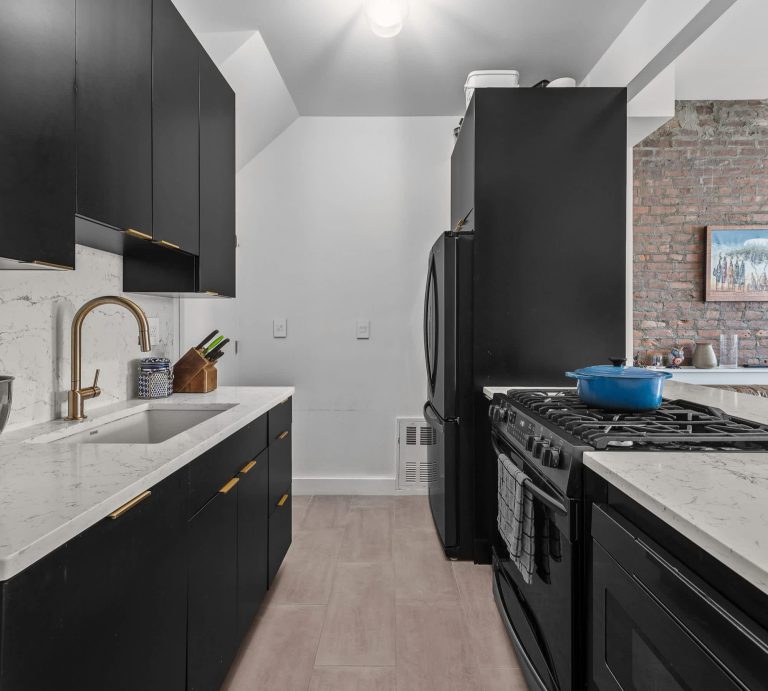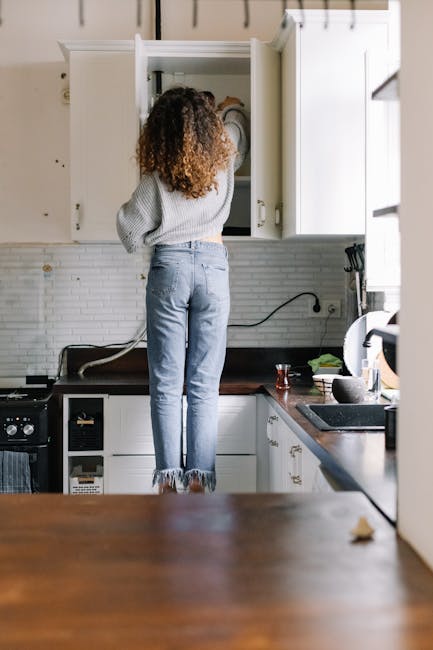
How to Paint My Kitchen Cabinets: Transform Your Space
Are you tired of looking at your outdated kitchen cabinets but hesitant to spend a fortune on replacements? Painting your kitchen cabinets can be a game-changer, transforming the heart of your home without breaking the bank.
Imagine the satisfaction of stepping into your kitchen, seeing it refreshed and renewed, all thanks to your handiwork. This guide is designed to take you through the process step-by-step, ensuring your cabinets look professionally done, even if it’s your first time picking up a paintbrush.
Ready to unleash your inner DIY expert and give your kitchen a stunning makeover? Let’s dive into the world of cabinet painting, where creativity meets practicality, and discover how you can achieve a beautiful, magazine-worthy finish.
Choosing The Right Paint
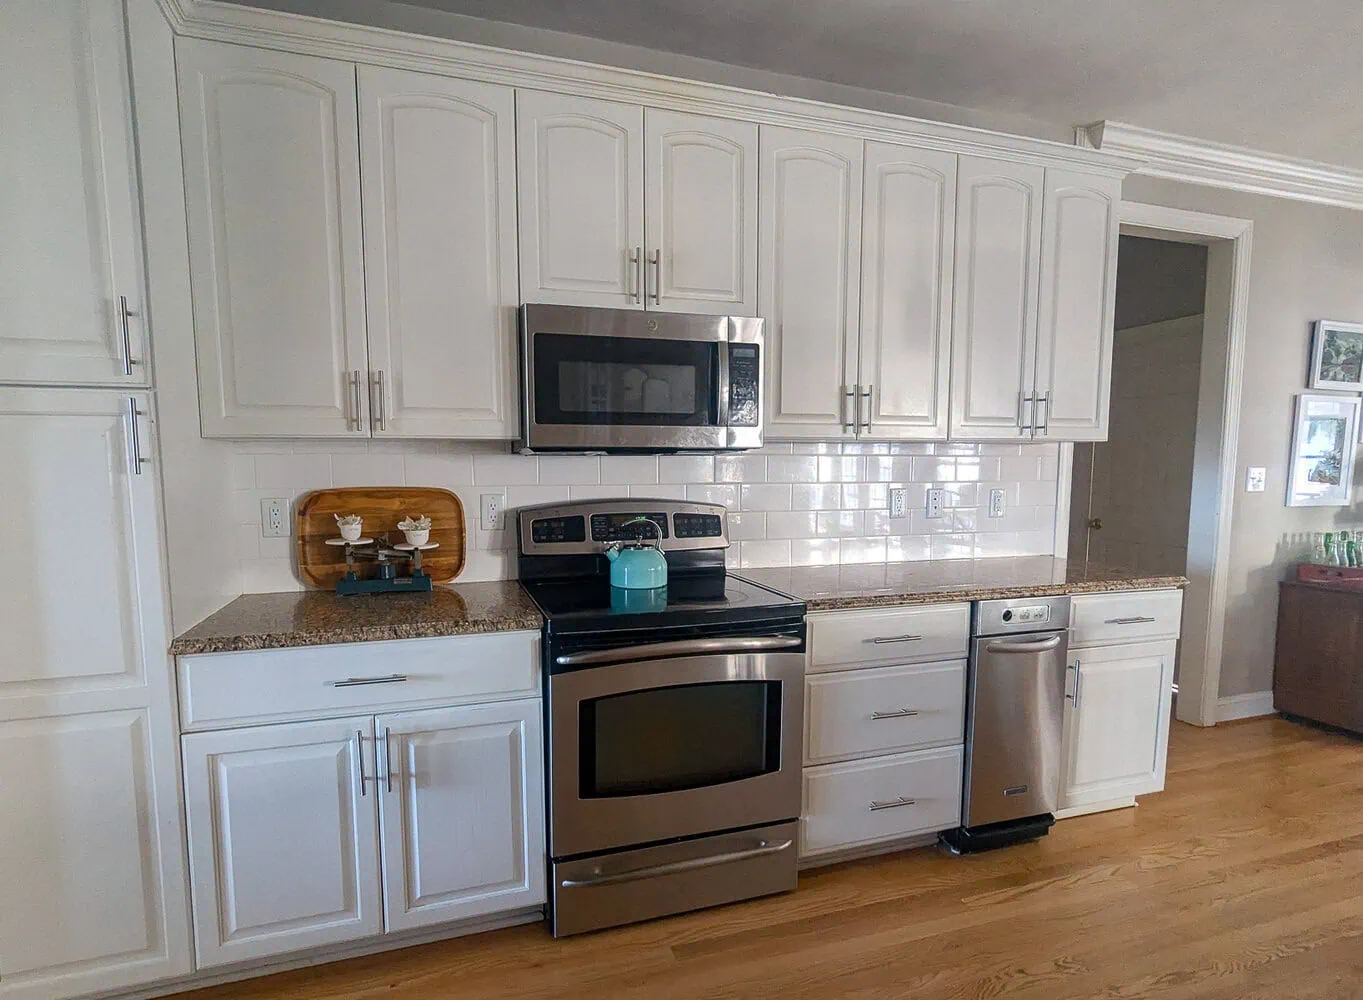
Choosing the right paint for kitchen cabinets enhances durability and style. Opt for semi-gloss or satin finishes for easy cleaning. Prioritize quality and color matching to create a cohesive kitchen look.
Choosing the right paint for your kitchen cabinets is crucial. The paint affects the final look and durability. With the right choice, you ensure beauty that lasts. This section will guide you in selecting the ideal paint for your cabinets.Types Of Paint For Cabinets
- Acrylic Paint:Water-based and easy to clean. Offers a smooth finish.
- Oil-Based Paint:Known for durability and a rich finish. Requires more time to dry.
- Chalk Paint:Gives a matte and rustic look. Ideal for a vintage style.
- Milk Paint:Non-toxic and eco-friendly. Great for a natural finish.
Color Selection Tips
- Consider Lighting:Light affects color perception. Test colors in your kitchen’s natural light.
- Match with Countertops:Complement your countertop color. Create harmony in the kitchen.
- Neutral Shades:Whites, grays, and beiges are timeless. They offer versatility and elegance.
- Bold Colors:Blues, greens, or reds can add character. Use them for a vibrant look.
Credit: www.lovelyetc.com
Gathering Supplies
Painting kitchen cabinets can transform the heart of your home. A fresh coat of paint brightens the space and adds a personal touch. Before starting, gather all necessary supplies. Proper preparation ensures a smooth painting process.
Essential Tools And Materials
Having the right tools makes painting easier. Below is a list of essential items:
- Screwdriver:Remove cabinet doors and hardware easily.
- Sandpaper:Smooth surfaces for better paint adhesion.
- Paintbrushes and Rollers:Choose quality brushes for a clean finish.
- Painter’s Tape:Protect areas you don’t want painted.
- Drop Cloths:Cover floors to prevent paint spills.
- Primer:Helps paint stick and enhances durability.
- Paint:Select high-quality paint suitable for kitchen cabinets.
- Bucket and Stir Stick:Mix paint thoroughly for consistency.
Safety Equipment
Safety is important in any DIY project. Gather these items to protect yourself:
- Gloves:Keep hands safe from chemicals and sharp tools.
- Mask:Prevent inhalation of dust and paint fumes.
- Goggles:Shield eyes from splashes and dust.
- Old Clothing:Wear clothes you don’t mind getting dirty.
With the right supplies, painting cabinets becomes a manageable task. Preparation is key for a successful makeover.
Preparing The Cabinets
Preparing kitchen cabinets for painting involves cleaning and sanding surfaces. Remove all hardware and doors. Use a degreaser to eliminate grease and grime. Sand surfaces to ensure paint adhesion. Clean dust thoroughly with a damp cloth. Ensure surfaces are dry before applying primer.
Preparing your kitchen cabinets for painting is a crucial step. It ensures a smooth and long-lasting finish. Follow these steps carefully to achieve professional results.Cleaning And Degreasing
Start with a thorough cleaning. Kitchen cabinets often collect grease and grime. Use a gentle cleaner and a soft cloth. Remove all dirt and sticky residue. This helps the paint adhere better. Pay special attention to handles and edges. These areas can accumulate more grime. A clean surface is essential for a flawless finish.Removing Doors And Hardware
Take off cabinet doors and all hardware. This includes knobs, hinges, and handles. Label each door and its hardware. This helps during reinstallation. Use a screwdriver for this process. Keep all screws and small parts safe. Store them in a labeled container. Removing doors makes painting easier and neater.Sanding For A Smooth Finish
Sand the cabinet surfaces gently. Use fine-grit sandpaper for this task. Sanding removes old paint and rough patches. It also helps the new paint stick better. Wipe away any dust with a damp cloth. Ensure all surfaces are smooth and even. Sanding is key to a professional-looking paint job.Priming The Surface
Priming your kitchen cabinets is a crucial step in painting. It helps paint stick better and last longer. Without priming, paint can peel or chip. A good primer creates a smooth base, hiding imperfections. It’s the foundation for a flawless finish.
Choosing The Right Primer
Selecting the right primer is essential. Not all primers work for every surface. For kitchen cabinets, use a high-quality bonding primer. It sticks well to surfaces like wood or laminate. This ensures durability and longevity. Some primers block stains and odors. They are perfect for kitchen environments. Choose a primer that suits your cabinet material. Read labels for specific uses and benefits.
Applying The Primer Evenly
Even application is key to a smooth finish. Start by cleaning your cabinets thoroughly. Remove dust and grease for better adhesion. Use a brush or roller for the primer. Brushes work well for edges and corners. Rollers cover larger areas quickly and smoothly. Apply thin, even coats for best results. Avoid thick layers that may drip or sag. Let the primer dry completely before painting. Follow drying times on the label. This ensures a firm base for your paint.
Painting Techniques
Transform your kitchen cabinets with easy painting techniques. Clean, sand, and prime the surfaces for a smooth finish. Choose a durable paint and apply evenly for a fresh look.
Painting your kitchen cabinets can be a transformative project that breathes new life into your space. However, achieving a flawless finish requires the right techniques. Understanding the nuances of painting techniques can make the difference between a DIY look and a professional appearance. Let’s dive into some essential painting techniques to help you master this task.Using Brushes Vs. Rollers
Choosing between brushes and rollers can be pivotal. Brushes offer precision, perfect for intricate details and corners. They allow you to control the paint flow but might leave brush marks if not used skillfully. On the other hand, rollers are great for covering large, flat surfaces. They provide a smoother finish and are quicker, saving you time. However, rollers may struggle with grooves and edges where a brush might be more effective. Consider your cabinet design. If it’s more detailed, a combination might be your best bet. You can use rollers for the larger areas and brushes for the fine details.Achieving A Professional Look
A professional look starts with preparation. Clean your cabinets thoroughly to remove grease and grime. Sand them lightly to ensure the paint adheres well. Priming is your next critical step. A good primer creates a smooth base for your paint and enhances durability. Choose a primer that matches your paint type for the best results. When painting, apply thin coats and let them dry completely between applications. This prevents drips and ensures even coverage. Aim for at least two coats for a robust finish. Finally, consider using a clear topcoat for added protection and a polished look. This extra layer shields your cabinets from daily wear and tear, keeping them looking fresh for longer. Have you considered how these techniques can elevate your kitchen? With patience and the right approach, your cabinets can shine with a professional touch.Drying And Curing
Drying and curing are essential steps for painting kitchen cabinets. Proper drying prevents smudging, while curing ensures durability. Allow cabinets to dry for several hours and cure for days to achieve a smooth, lasting finish.
Painting your kitchen cabinets is a rewarding project, but understanding the drying and curing process is crucial for a long-lasting, professional finish. This stage is often overlooked, yet it’s as important as the painting itself. Proper drying and curing ensure that your cabinets not only look good but also withstand daily use without chipping or peeling. So, how do you get this right?Allowing Sufficient Drying Time
After you’ve painted your cabinets, it’s tempting to rush to the finish line, but patience is key. Ensure each coat of paint dries thoroughly before applying the next. Depending on the type of paint, this could be anywhere from a few hours to a full day. Oil-based paints typically require more drying time than latex paints. Check the manufacturer’s instructions for specific times, but as a rule of thumb, a minimum of 24 hours is advisable. Feeling the surface can be misleading. Even if it feels dry to the touch, the paint beneath might still be wet. Allow ample time for drying to prevent smudges or imperfections.Ensuring Proper Ventilation
Proper ventilation is a game-changer in the drying process. It helps the paint cure evenly and reduces lingering odors, making your kitchen more comfortable. Open windows and doors to let fresh air in. A small fan can help circulate air, but avoid pointing it directly at the cabinets to prevent dust from settling. Why is ventilation so critical? It speeds up drying and helps avoid moisture buildup, which can lead to paint adhesion issues. Have you ever noticed how paint seems to dry quicker in summer? That’s the magic of good airflow! By understanding and applying these principles, you’ll ensure your freshly painted kitchen cabinets are both beautiful and durable. Take a moment to reflect: are you allowing enough time for each stage, and is your space well-ventilated? These small adjustments can make a big difference in the final result.Reassembling And Finishing Touches
After painting, reassemble cabinets carefully to avoid scratches. Ensure all screws and hinges are tightly secured. Apply finishing touches like knobs and handles for a refreshed look.
Reassembling and finishing touches are the exciting final steps in your kitchen cabinet transformation. After all the hard work of painting, it’s time to see everything come together. This phase is crucial to ensuring your cabinets not only look great but also function well. Let’s dive into the details of reattaching doors and hardware, and inspecting for final touch-ups.Reattaching Doors And Hardware
The moment you reattach those cabinet doors, your kitchen begins to regain its identity. Begin by carefully aligning the hinges with their previous positions. This ensures a perfect fit and prevents any unwanted gaps. Use a screwdriver to secure the screws, but don’t over-tighten them. Over-tightening can strip the wood or damage the paint. Next, attach the handles or knobs, ensuring they are centered and firmly fixed. Consider updating your hardware for an instant style upgrade.Inspecting For Final Touch-ups
Once everything is reassembled, take a step back and inspect your work. Look for any paint smudges, uneven edges, or missed spots. A small brush can be your best friend for final touch-ups, allowing you to address minor imperfections and achieve a flawless finish. Ask yourself: Does the color look consistent? Are there any areas that need more attention? A thorough inspection helps ensure your cabinets look polished and professional. You’ve put in the effort, so make sure every detail shines.
Credit: www.reddit.com
Maintenance Tips
Refreshing kitchen cabinets with paint can brighten the space. Begin by cleaning surfaces thoroughly to remove grease. Sand lightly for better paint adhesion, then apply primer before painting.
Maintaining your freshly painted kitchen cabinets is crucial to keeping them looking vibrant and fresh. The journey doesn’t end after the paint dries; it’s just the beginning. A little care goes a long way in preserving the beauty and functionality of your cabinets.Cleaning And Care
Regular cleaning is essential. Use a soft cloth or sponge with mild detergent to wipe down your cabinets weekly. Avoid harsh chemicals, as they can strip the paint and dull the finish over time. Consider using a microfiber cloth for dusting. It’s gentle and effective, preventing scratches or dullness. Make it a habit to clean spills immediately to prevent stains or water damage.Handling Wear And Tear
Even the best paint job can face wear and tear. Protect your cabinets by using felt pads on the inside of cabinet doors to reduce impact when they close. This simple trick can significantly extend the life of your paint. Inspect your cabinets regularly for chips or scratches. Touch up paint can be your best friend here. Keeping a small amount of your cabinet paint for touch-ups is a smart move. Ask yourself: How often do you check for minor damages? Identifying and fixing small issues early can save you from bigger repairs later on.
Credit: imperialcabinets.net
Frequently Asked Questions
Can I Just Paint Over My Kitchen Cabinets?
Yes, you can paint over kitchen cabinets. Clean and sand surfaces for better adhesion. Use primer for best results. Choose high-quality paint for durability. Proper preparation ensures a smooth finish.
Is It A Good Idea To Paint Kitchen Cabinets Yourself?
Painting kitchen cabinets yourself can be cost-effective and rewarding. Ensure you have the right tools and follow proper techniques for best results. Thorough preparation and patience are essential for a professional finish. Consider your skill level and time commitment before starting this DIY project.
Can I Just Paint Over My Kitchen Cabinets Without Sanding?
Yes, you can paint kitchen cabinets without sanding. Use a deglosser or primer specifically for glossy surfaces. This helps the paint adhere better, ensuring a smooth finish. Clean the cabinets thoroughly before applying the primer. This method saves time while still achieving a professional look.
Is It Better To Roll Or Brush Paint Cabinets?
Brushing offers detailed control for intricate areas, while rolling provides a smooth finish on flat surfaces. For best results, use both methods. Brush for corners and edges, and roll for larger areas. This combination ensures an even and professional look for your cabinets.
Conclusion
Transforming your kitchen cabinets can be simple. With patience, anyone can do it. Remember to prepare surfaces well. Choose colors that suit your kitchen. Use good quality paint for lasting results. Follow steps carefully for a polished look. Enjoy a fresh and inviting kitchen space.
Painting cabinets saves money and updates style. Share your success with friends and family. It’s rewarding to see your hard work pay off. Now, your kitchen feels new and vibrant. Embrace the change and enjoy your refreshed home.