How to Build a Kitchen Island: DIY Guide to Success
Imagine stepping into your kitchen, where a stunning island stands at the heart of the room, transforming your cooking space into a masterpiece of functionality and style. You’re not just dreaming; you’re taking charge and crafting the perfect kitchen island yourself.
This article is your guide to building a kitchen island that reflects your personal taste while enhancing your kitchen’s efficiency. With simple steps and clear instructions, you’ll discover how to create a space that not only meets your practical needs but also elevates your home’s aesthetic appeal.
Dive in to unlock the secrets of designing a kitchen island that becomes the envy of every guest. Your journey to a dream kitchen begins now.
Choosing The Right Design
Selecting the ideal design for your kitchen island enhances functionality and style. Consider size, materials, and storage needs.
Choosing the right design for your kitchen island is crucial. It sets the tone for the whole space. The design should complement existing elements and enhance functionality. Consider the island’s role in your kitchen. Will it be a cooking station or a gathering spot? These questions guide your design choices.Assessing Your Space
Begin by measuring your kitchen area. Accurate dimensions help avoid mistakes. Ensure there’s enough room for movement. Consider how the island will impact traffic flow. Large kitchens offer more design flexibility. Smaller spaces need thoughtful planning. Visualize the island’s placement. Use tape or cardboard to outline its footprint. This aids in understanding spatial dynamics.Selecting A Style
Decide on a style that fits your home. Traditional designs exude warmth and charm. Modern styles offer sleek lines and minimalism. Farmhouse designs bring rustic appeal. Consider how the island complements your kitchen cabinets. Match materials and colors for a cohesive look. Personal preferences play a significant role. Choose features that reflect your taste.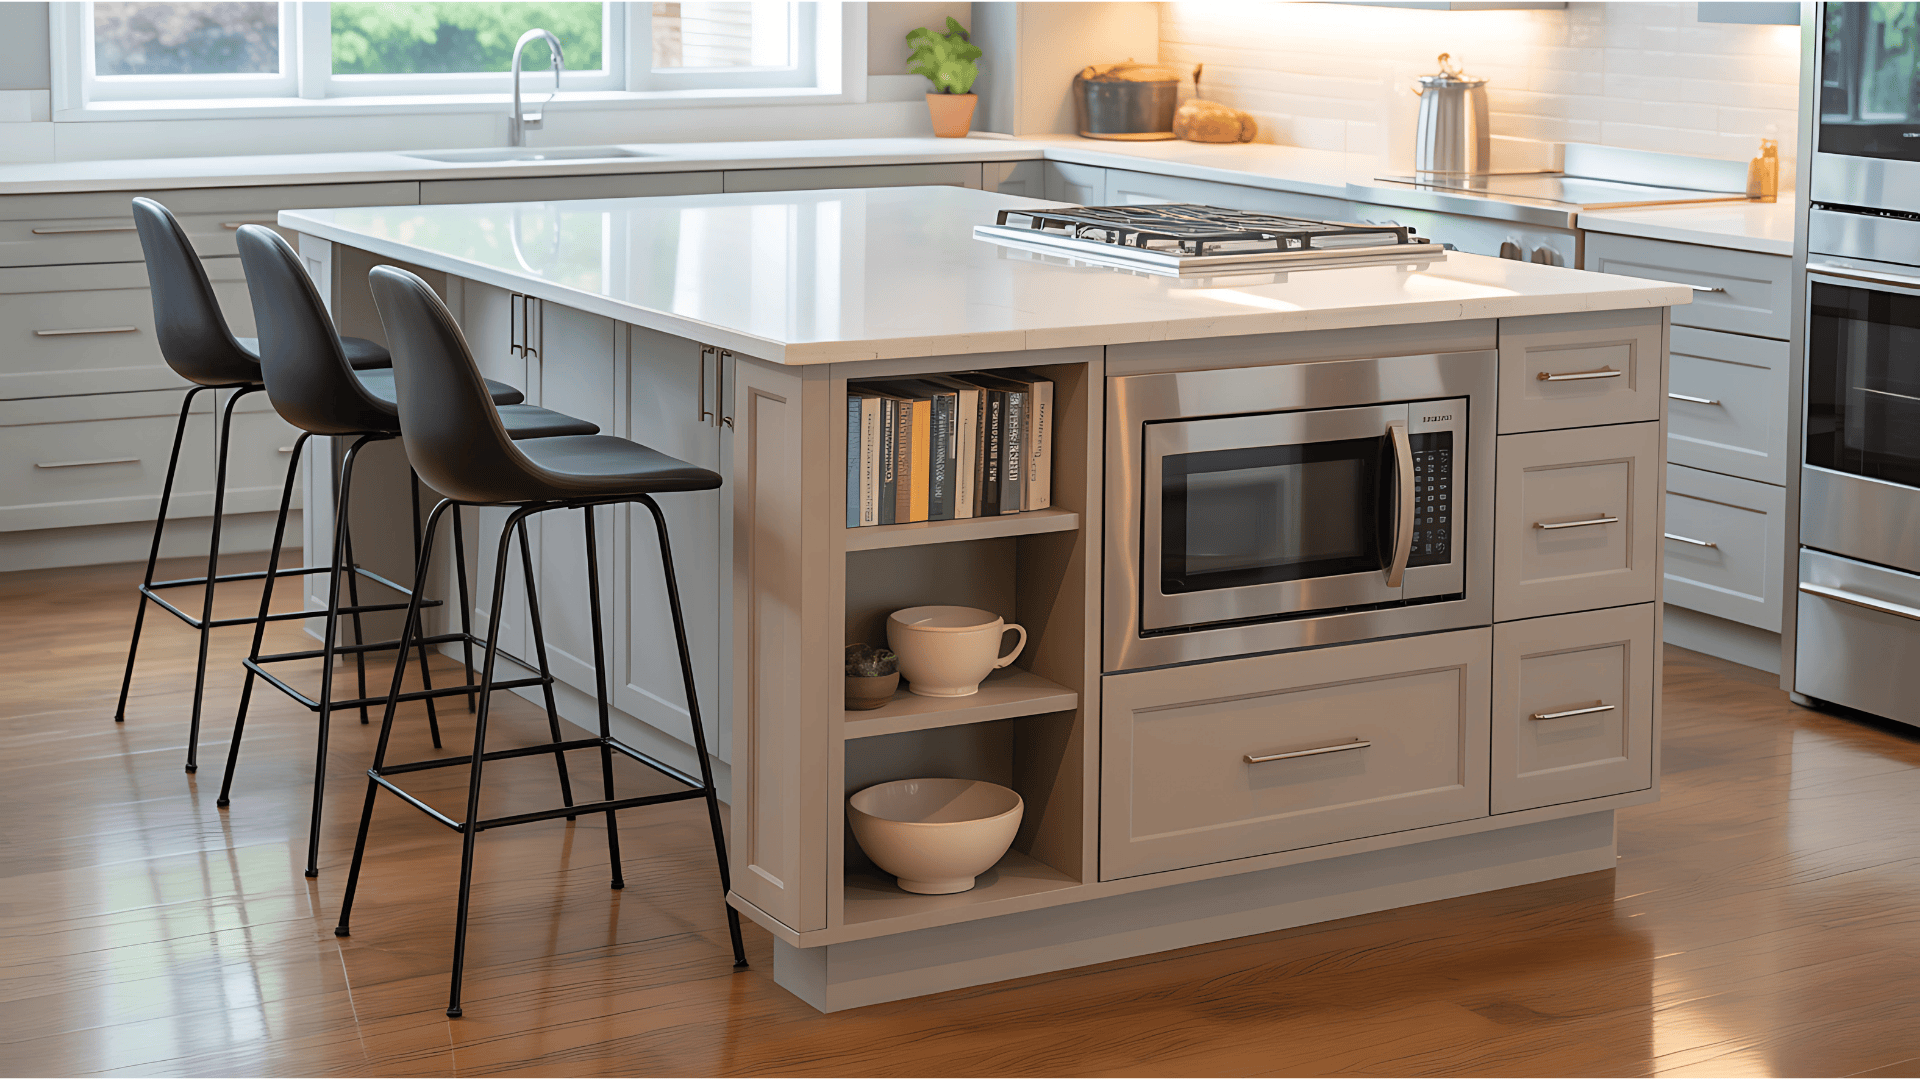
Credit: ahouseinthehills.com
Gathering Materials And Tools
Gather essential materials like wood, screws, and paint for a sturdy kitchen island. Equip yourself with tools such as a saw, drill, and measuring tape to ensure precision and quality craftsmanship. Proper preparation enhances efficiency and effectiveness in creating your ideal kitchen centerpiece.
Building a kitchen island can transform your cooking space, making it more functional and stylish. Before diving into the construction, gathering the right materials and tools is crucial. This step ensures you’re prepared to execute your vision seamlessly and efficiently. Imagine reaching for a tool only to find it’s missing—frustrating, right? Let’s ensure you have everything you need before you start.Essential Materials
- Countertop Material:Depending on your style, you might choose wood, granite, or laminate. Consider durability and maintenance. If you cook a lot, a sturdy surface like granite might be best.
- Base Cabinets:These provide storage and support. Opt for quality wood that matches your kitchen theme.
- Hardware:Include hinges, handles, and drawer slides. A touch of brushed nickel or matte black can add a modern flair.
- Primer and Paint or Stain:These finish your island, protecting it from wear and adding aesthetic appeal. Choose colors that complement your kitchen.
- Fasteners:Bolts, screws, and nails are vital for assembly. Make sure they are the correct size and material for your cabinetry.
Must-have Tools
- Drill and Screwdriver:Essential for assembling the cabinets and attaching hardware. A cordless drill can save time and effort.
- Saw:Whether it’s a circular saw for large cuts or a jigsaw for details, a saw is indispensable for adjusting materials to fit your space.
- Measuring Tape and Level:Precision tools that ensure every piece fits perfectly and the island stands evenly. Double-check every measurement to avoid costly mistakes.
- Sanding Block or Electric Sander:Smooths out rough edges on wood, creating a polished look and ensuring safety.
- Clamps:These hold pieces together securely during assembly, allowing you to work with both hands freely.
Planning The Layout
Consider the size of your kitchen and the island’s purpose. Ensure enough space for movement and appliances. Choose materials that complement existing decor for a harmonious look.
Planning the layout of your kitchen island is a crucial step that sets the foundation for a functional and aesthetically pleasing centerpiece. This process involves more than just deciding where to place it; it’s about ensuring it aligns with your kitchen’s workflow and enhances the overall space. A well-thought-out layout can transform your kitchen into a hub of efficiency and style. Are you ready to create a kitchen island that meets your needs and complements your space?Creating A Blueprint
Start by sketching a blueprint of your kitchen. Measure the dimensions of your space accurately to avoid any surprises later. Consider using graph paper or digital tools to visualize your ideas. Think about the island’s proportions in relation to the rest of your kitchen. Will it be a compact addition or a spacious centerpiece? Your choice should reflect both the size of your kitchen and your personal style. Remember, the blueprint is your guide. It doesn’t have to be perfect, but it should include key elements like seating areas, storage options, and appliance placements.Considering Functionality
Functionality is the heart of a successful kitchen island. Reflect on how you use your kitchen daily. Do you need extra seating for family gatherings, or perhaps more storage for your culinary tools? List your priorities. If cooking is your passion, integrate a stovetop or prep sink into the island. For baking enthusiasts, consider extra counter space for rolling dough. Ask yourself: How can this island make your life easier? Design it to accommodate your specific needs, whether it’s having easy access to utensils or a spot for casual dining. Engage with these questions and insights as you plan your layout, ensuring your kitchen island becomes not just an addition, but an enhancement to your daily life.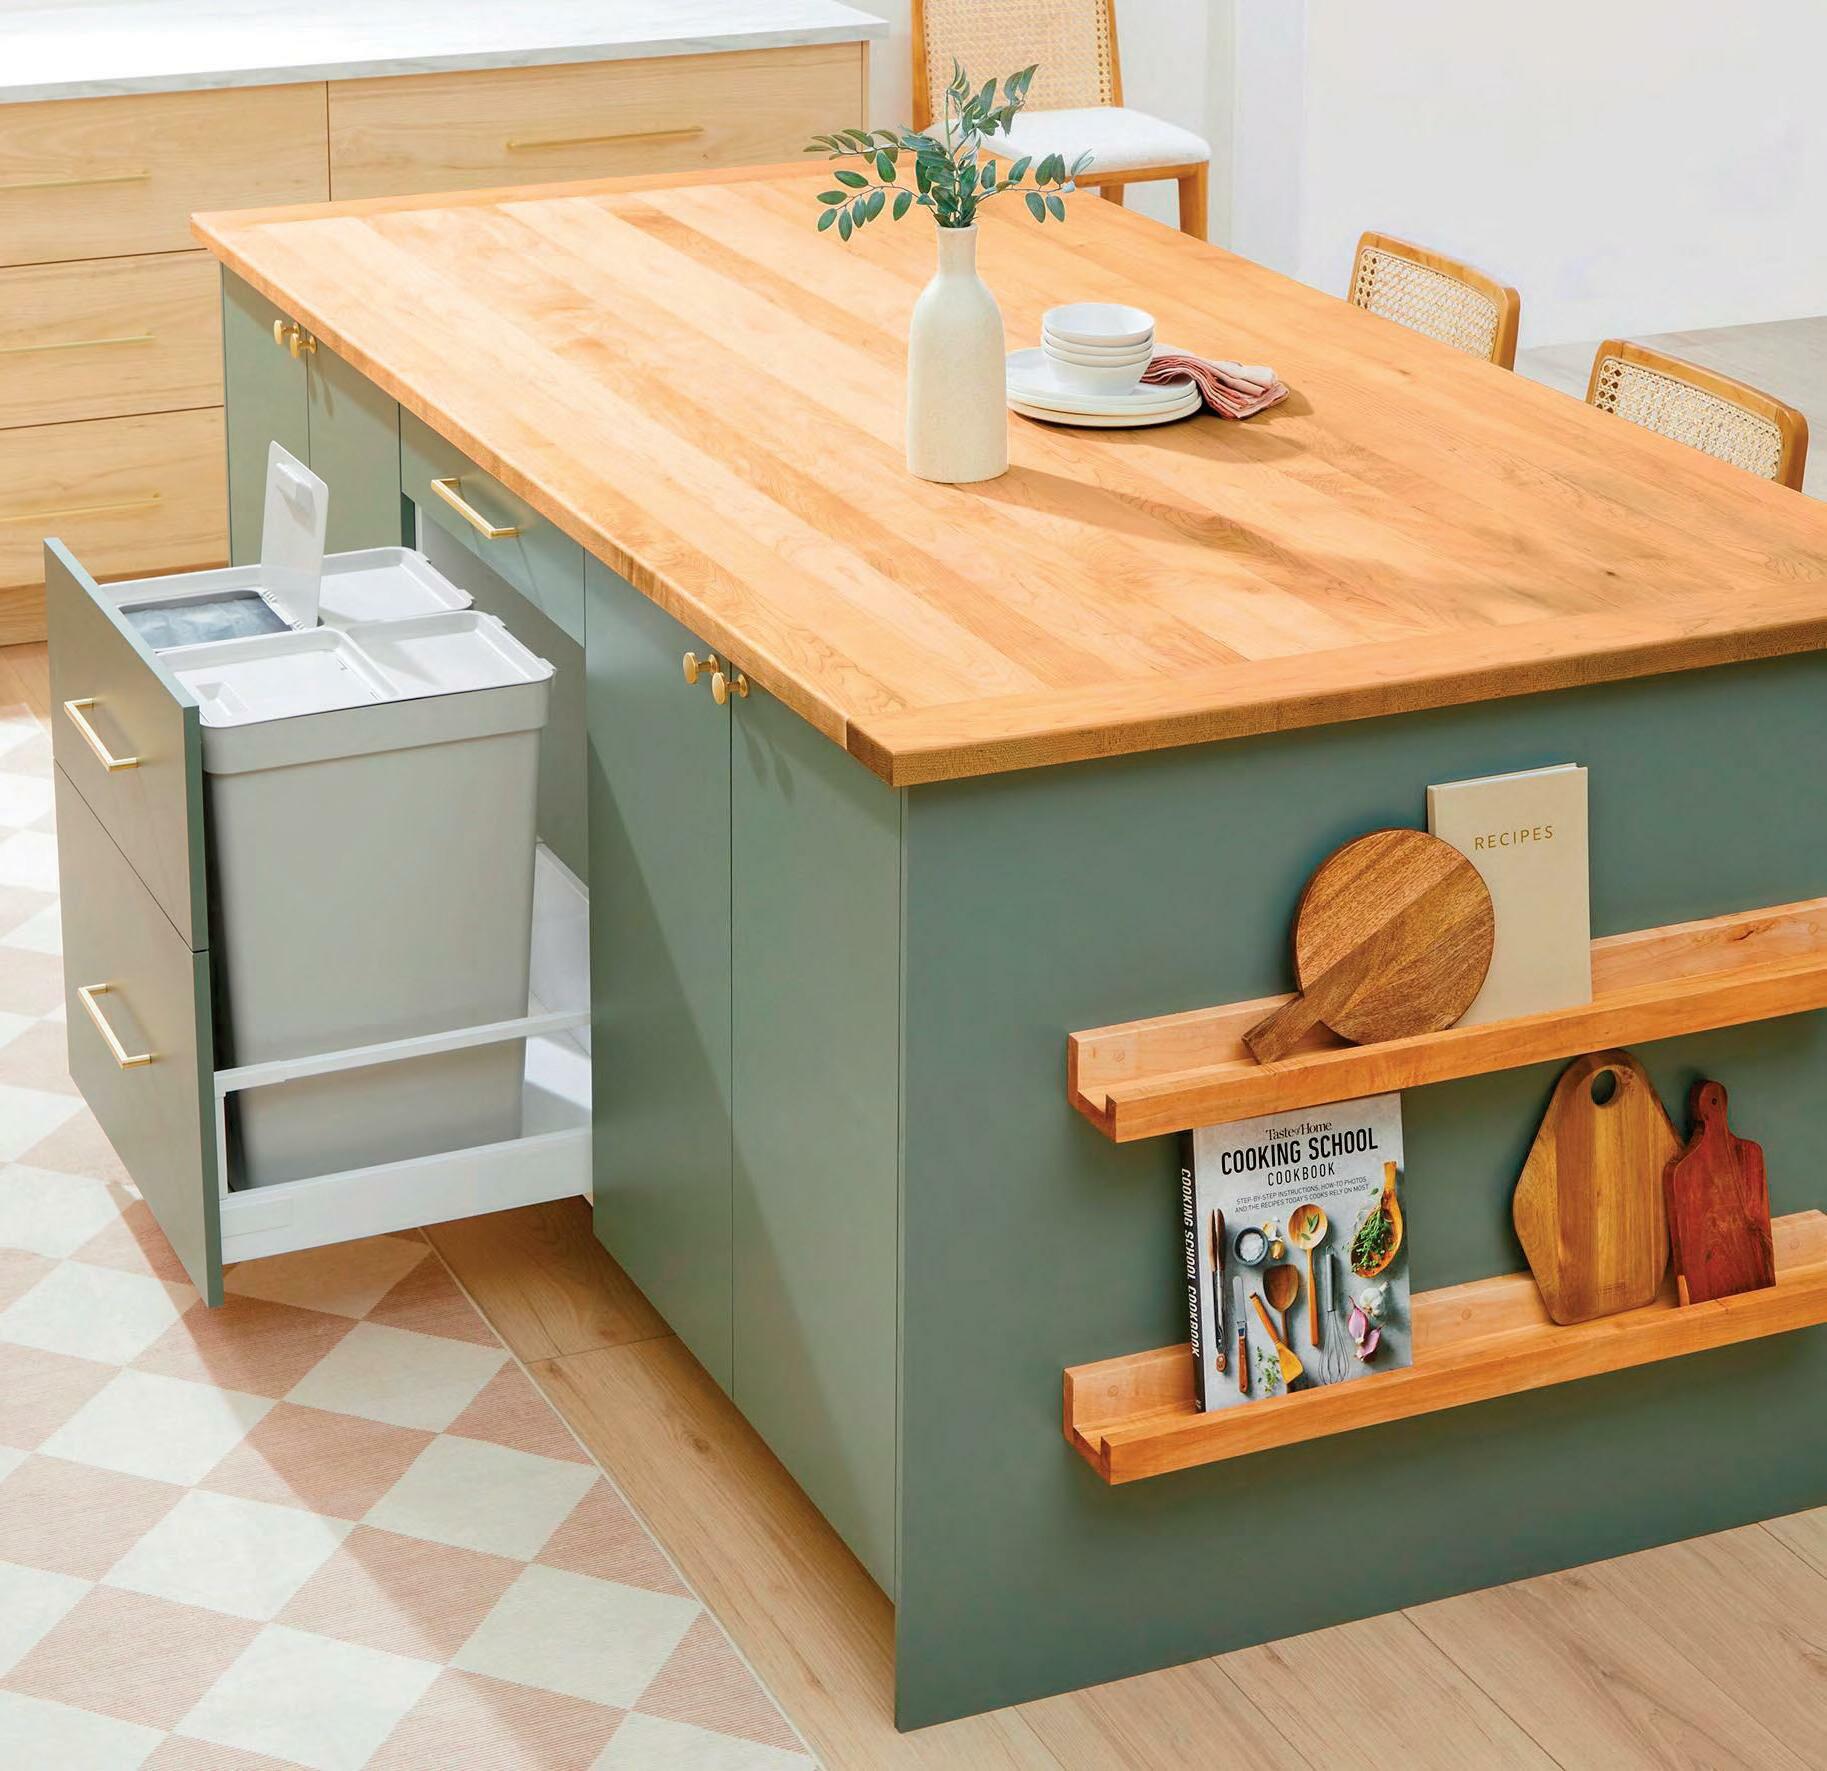
Credit: www.magzter.com
Building The Base
Choosing the right materials creates a sturdy foundation for your kitchen island. Ensure the base fits your space and complements the design. Secure connections and level surfaces enhance durability and functionality.
Building the base of a kitchen island is a critical step in ensuring the structure is solid and durable. Think of the base as the foundation on which your culinary dreams will stand. A robust base supports everything else, from countertops to cabinets, and affects the functionality of your island. Getting this right from the start saves you time and headaches later. Let’s dive into the details.Constructing The Frame
Start by measuring the area where you want to place your kitchen island. Make sure there’s enough space to move around comfortably. Grab some sturdy wooden boards for the frame. Cut the boards to match your measured dimensions. Keep everything square for stability. As you assemble, secure the corners with screws to ensure the frame holds together. A lesson learned from my own project: triple-check your measurements. It’s easy to assume they’re correct, but an inch off can lead to a wobbling island.Securing The Structure
Once the frame is ready, it’s time to secure it to the floor. This step is crucial for preventing any accidental movements. Depending on your floor type, choose the right fasteners. For wooden floors, wood screws will do the trick. If you have tiles, you might need to use anchors. Drill carefully to avoid cracking the tiles. Once secured, test the stability by giving it a gentle push. Feel the difference between a shaky start and a firm finish. Are you ready to see the progress? Building your kitchen island base is more than just construction; it’s the beginning of a space that will host countless meals and memories.Installing The Countertop
Installing the countertop is a crucial step when building a kitchen island. Ensure the surface is level and secure. Use appropriate adhesive and fasteners for stability.
Installing the countertop is a pivotal moment in building your kitchen island. It’s the crowning touch that can make your island both functional and beautiful. This stage requires precision and thoughtfulness, ensuring your workspace is both durable and aesthetically pleasing. Let’s dive into the critical steps involved.Choosing The Right Material
Selecting the ideal countertop material sets the tone for your kitchen island. Consider how you use your kitchen. If you love baking, a cool marble surface could be perfect. Granite is durable and scratch-resistant, ideal for bustling families. Budget is also a crucial factor. Laminate offers a cost-effective option with a range of styles. Remember, the right material enhances both the utility and the look of your island. What will best serve your kitchen needs?Cutting And Fitting
Once you’ve chosen your material, precise cutting and fitting are essential. Measure twice, cut once – it’s not just a saying, it’s your countertop mantra. Ensure your cuts align perfectly with your island base. Use a template for tricky shapes or corners. This ensures an exact fit and reduces room for error. Working with a partner can help manage larger pieces safely. A snug fit doesn’t just look good, it prolongs the life of your countertop. How confident are you in your cutting skills? Maybe practice on scrap material first. Installing your countertop with care and precision transforms your kitchen island into a masterpiece. These steps aren’t just technical; they’re the heart of your kitchen’s transformation.Adding Storage Options
Building a kitchen island offers a great chance to add extra storage. Include cabinets and shelves for easy access to cookware and utensils. Use drawers for organizing smaller items like cutlery or kitchen gadgets.
Adding storage options to your kitchen island enhances functionality. It transforms your kitchen into a more organized space. A well-planned kitchen island offers ample storage. This reduces clutter and increases efficiency. Integrating the right storage solutions is crucial. It ensures that your kitchen remains tidy and easy to navigate. Let’s explore some effective storage options for your kitchen island.Incorporating Cabinets
Cabinets provide excellent storage in a kitchen island. They keep items hidden, making the kitchen look neat. Choose cabinets that match your kitchen’s style. This creates a cohesive look. You can store pots, pans, and small appliances here. Use pull-out drawers for easy access. Adjustable shelves inside cabinets maximize storage space. This flexibility allows for organizing items of different sizes.Installing Shelving
Shelving is another great storage option. Open shelves display attractive dishware and cookbooks. They add a decorative touch to your kitchen. Use sturdy materials for durability. Ensure shelves are deep enough to hold items securely. Install shelves at reachable heights for convenience. Consider adding hooks underneath for hanging mugs or utensils. This increases storage without taking up extra space.Finishing Touches
Add stylish bar stools or decorative storage baskets to enhance your kitchen island’s functionality and visual appeal. Choose lighting fixtures that complement the island’s design, creating a cozy and inviting atmosphere. Select a durable countertop material, ensuring it harmonizes with your kitchen’s overall style.
Finishing touches can transform your kitchen island from just functional to fabulous. It’s the stage where personal style meets practicality. These final steps are your chance to infuse personality, ensuring your kitchen island not only serves a purpose but also stands out as a centerpiece in your kitchen.Painting And Staining
Choosing the right color or stain for your kitchen island can make a significant impact on the overall look of your kitchen. A fresh coat of paint can brighten up the space, while a deep stain can add warmth and sophistication. Consider your kitchen’s color scheme and decide whether you want your island to blend in or stand out as an accent piece. When painting, ensure you use high-quality, durable paint suited for kitchen environments. If you’re staining, test the stain on a small area to see how it interacts with the wood. Remember, the finish you choose should complement your kitchen’s existing style, whether that’s modern, rustic, or somewhere in between.Adding Hardware
Hardware is like jewelry for your kitchen island. It can be subtle or make a bold statement, depending on your style. Think about the functionality and aesthetic you want to achieve when selecting handles or knobs. Consider mixing metals or styles for a more eclectic look. For instance, sleek, brushed nickel handles can give a modern touch, while vintage brass knobs add a touch of nostalgia. Installing hardware is a simple DIY project that can be completed with just a drill and screwdriver, yet it can dramatically change the island’s appearance. When choosing hardware, think about how it feels in your hand. Does it fit comfortably? These small details can make a big difference in your daily kitchen experience. Would you prefer a minimalist style or something more ornate? The choice is yours, and it can set the tone for the rest of your kitchen design.
Credit: www.familyhandyman.com
Safety And Maintenance Tips
Ensuring a sturdy foundation is key to a safe kitchen island. Regularly inspect for loose screws and wobbly surfaces. Clean and polish with gentle, non-abrasive products to maintain its shine and durability.
Building a kitchen island can transform your cooking space into a functional and stylish hub. While it’s thrilling to add this centerpiece, focusing on safety and maintenance is crucial for long-term satisfaction. Understanding how to secure and care for your island ensures it remains a valuable part of your kitchen for years to come. Let’s dive into some practical tips that will keep your kitchen island safe and well-maintained.Ensuring Stability
Stability is the cornerstone of a safe kitchen island. A wobbly island can be a hazard, especially in a bustling kitchen. Secure your island by anchoring it to the floor or using heavy-duty brackets for support. When I built my own kitchen island, I realized the importance of using a level to ensure the surface was even, preventing any accidental spills. Consider the materials you’re using; heavier materials like granite require additional support, while lighter ones might need less. Are you confident that your island can withstand your daily kitchen activities?Regular Upkeep
Maintenance extends the life of your kitchen island. Regularly check for signs of wear and tear, such as scratches on the countertop or loose screws. Cleaning the surface with appropriate cleaners prevents buildup and keeps it looking fresh. In my experience, a quick wipe-down after meal prep goes a long way in maintaining the island’s appearance. Ensure your island’s finish is protected by using coasters and trivets, especially if it’s made of wood. Create a monthly checklist to inspect your island’s condition. What small changes can you make today to avoid bigger issues tomorrow?Frequently Asked Questions
Is It Cheaper To Buy Or Build A Kitchen Island?
Building a kitchen island is often cheaper if you have carpentry skills. Buying pre-made islands can be more expensive but saves time. Costs vary based on materials and customization. Evaluate your budget, skills, and time availability to decide the best option for you.
Can I Build My Own Kitchen Island?
Yes, you can build your own kitchen island. Plan the design, gather materials, and follow construction steps. Measure space accurately and ensure stability. Use quality materials for durability. Consider adding shelves or drawers for extra storage. Customize it to fit your kitchen style and needs.
Seek professional advice if necessary.
What Is The Rule Of Thumb For A Kitchen Island?
A kitchen island should have at least 36 inches of clearance on all sides for comfortable movement. Ideally, the island should be between 36 to 48 inches wide and 60 to 90 inches long. Ensure proper lighting and consider adding seating if space allows.
Can I Use Base Cabinets For An Island?
Yes, you can use base cabinets to create a kitchen island. Ensure proper support and consider adding a countertop. This setup offers storage and workspace, enhancing kitchen functionality. Plan carefully for electrical or plumbing needs if required. Customization options allow you to match your kitchen’s design.
Conclusion
Building a kitchen island adds value and style. It provides extra space for cooking and gathering. With the right tools and materials, anyone can do it. Follow each step carefully to ensure success. Customize the design to match your kitchen.
This project is rewarding and practical. Enjoy the new centerpiece in your home. Remember, patience and planning make the process smoother. Share the experience with family or friends. Start your project today and transform your kitchen. Happy building!