
Transforming your kitchen can be as simple as building your own kitchen counter. Imagine having a space that’s not only functional but also a reflection of your personal style.
This project isn’t just about adding a surface; it’s about creating a central hub for your home where meals, conversations, and memories happen. Feeling overwhelmed? Don’t worry. This guide will break down the process into easy-to-follow steps, turning what seems like a daunting task into a rewarding experience.
You’ll discover tips and tricks that streamline the construction, save you money, and add that professional touch. Ready to dive in? Let’s explore how you can craft a kitchen counter that not only serves your needs but also becomes a stunning focal point in your home. Stick with us, and you’ll soon be on your way to transforming your kitchen with confidence and style.
Planning Your Kitchen Counter
Planning your kitchen counter is an exciting step in home design. A well-thought-out plan can elevate your kitchen’s functionality. It also adds to its aesthetic appeal. Before diving into the construction phase, consider a few key aspects. These include space, materials, and budget.
Measuring The Space
Begin by measuring the space where the counter will go. Use a measuring tape for accurate dimensions. Measure the length, width, and height. This ensures a perfect fit. Consider the placement of appliances and cabinets. This helps in determining the counter’s size.
Choosing Materials
Choose materials that suit your lifestyle and budget. Popular options include granite, quartz, and laminate. Each material has its pros and cons. Granite is durable but costly. Laminate is affordable but less durable. Think about the look and feel you want.
Budget Considerations
Set a realistic budget for your kitchen counter. Costs vary based on materials and size. Consider installation fees and maintenance costs too. A well-planned budget prevents overspending. Prioritize what’s important for your kitchen’s needs.
Gathering Necessary Tools
Gather essential tools like a saw, measuring tape, and drill for building a kitchen counter. These items ensure precise cuts, secure fittings, and a smooth installation process. Proper preparation saves time and prevents costly mistakes.
Gathering the right tools is the first step to building your dream kitchen counter. Imagine reaching for a screwdriver only to realize it’s too small for the job. Frustrating, isn’t it? To avoid such setbacks, having a well-prepared toolkit is crucial. You want to equip yourself with tools that not only fit the task but also ensure efficiency and safety. By dedicating time to gather these essentials, you set yourself up for a smoother and more enjoyable DIY experience.Essential Tools List
To get started, make sure you have a comprehensive list of tools. Here’s a checklist to guide you:- Measuring Tape:Accurate measurements are the foundation of a precise fit.
- Level:Ensures your countertop is perfectly horizontal.
- Power Drill:Speeds up the process of securing your countertop.
- Screwdriver Set:Various sizes are needed for different screws.
- Saw:A circular saw can help with cutting the countertop to size.
- Clamps:Holds the pieces together while you work.
- Sandpaper:Smooths out edges and surfaces.
Safety Equipment
Safety should never be an afterthought. Protecting yourself while working on a project is just as important as the project itself.- Safety Glasses:Shields your eyes from dust and debris.
- Gloves:Protects your hands while handling tools and materials.
- Ear Protection:Essential if you’re using loud power tools.
- Dust Mask:Keeps harmful particles out of your lungs.
Preparing The Area
Clear the kitchen area by removing all items and debris. Measure and mark the counter dimensions using tape. Ensure the surface is level and sturdy before proceeding with installation.
Preparing the area is a crucial first step when building your kitchen counter. Ensuring that your workspace is clear and surrounding surfaces are protected sets the stage for a smooth and efficient building process. This preparation not only helps prevent damage but also allows you to work more comfortably and safely.Clearing The Workspace
Start by removing everything from the countertops. This includes small appliances, decorative items, and any clutter that might be in the way. A clear space helps you visualize the work ahead and prevents accidents. Think about your tools and materials. Ensure they are easily accessible but not in your immediate work area. This way, you avoid unnecessary trips across the kitchen, saving time and reducing the risk of accidents. Cleaning the area thoroughly is essential. Dust and debris can interfere with your work, so wipe down surfaces and sweep the floor. A clean workspace keeps you focused and motivated.Protecting Surrounding Surfaces
Use drop cloths or plastic sheeting to cover floors and nearby cabinets. This protects against spills, scratches, and any other potential damage during construction. Consider using painter’s tape to secure coverings. It’s easy to remove and won’t leave a sticky residue, keeping your kitchen looking pristine. If you have fragile items nearby, such as glassware or delicate decor, move them to a safe location. This small step can save you from unfortunate mishaps later on. As you prepare your area, think about how each action contributes to a smoother workflow. What other steps can you take to ensure everything goes off without a hitch?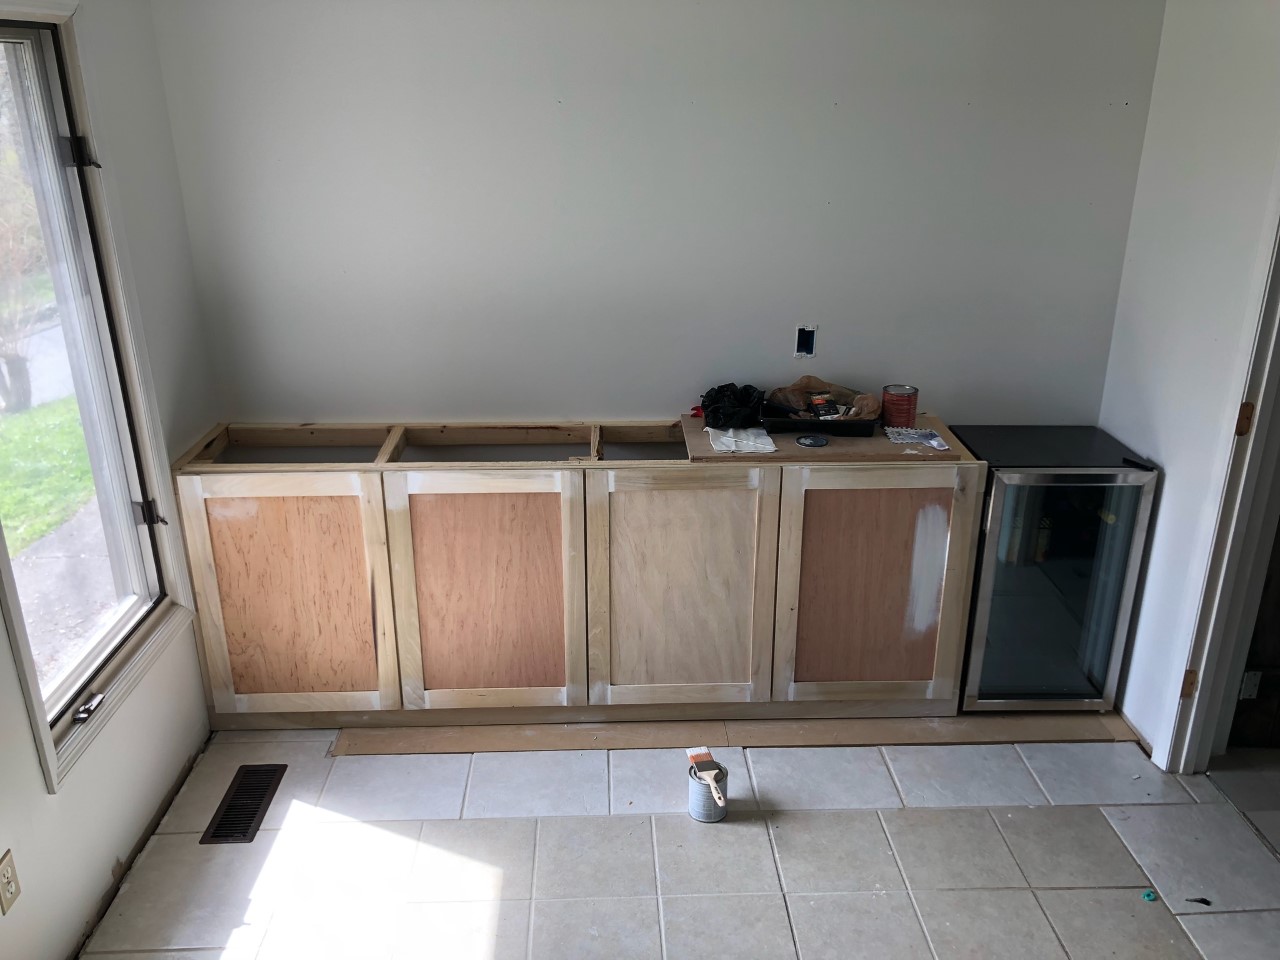
Credit: designingvibes.com
Cutting And Fitting The Countertop
Cutting and fitting the countertop involves careful measurement and precision. Ensure a snug fit by trimming edges and corners. Secure the countertop tightly to avoid any movement during use.
Cutting and fitting the countertop is a critical phase in building your kitchen counter. It’s where precision and patience pay off, ensuring a perfect fit and seamless look. Whether you’re using wood, laminate, or stone, this step requires careful planning and execution. Let’s dive into how you can master this task with confidence.Marking And Cutting The Material
Before you start cutting, ensure that your measurements are spot-on. Use a tape measure to double-check the dimensions of your cabinets and the counter space. It’s surprising how a small error can lead to a significant gap or misalignment. Once measurements are confirmed, mark the cut lines on your chosen material. A pencil works best for this, as it’s easy to adjust if needed. Remember, it’s always better to cut a little extra than not enough; you can trim down excess, but adding back is impossible. For the cutting process, a circular saw is often the tool of choice. Ensure the blade is suitable for your material to avoid chipping or cracking. Safety glasses and gloves are essential, as cutting can produce debris.Dry Fitting The Countertop
After cutting, it’s time to test the fit. Carefully place the countertop on the cabinets without any adhesive or fasteners. This dry fitting allows you to see if the pieces align perfectly with the walls and each other. Check for any gaps between the wall and the countertop. If there are any, consider using a scribe tool to mark these areas for further trimming. This step is crucial to ensure a snug fit and professional look. During the dry fit, also pay attention to how the countertop aligns with appliances and fixtures. This is your chance to make any necessary adjustments before permanent installation. It’s better to spend extra time here than to regret a rushed job later. Have you ever encountered a challenge while fitting a countertop? How did you resolve it? Engaging with these questions can help you anticipate and address potential issues before they arise.Securing The Countertop
Ensure the countertop is stable by fastening it securely to the cabinets. Use brackets or screws for added strength. This prevents any movement and guarantees a solid surface for daily kitchen tasks.
Securing the countertop is a crucial part of building a kitchen counter, ensuring not only stability but also durability. A well-secured countertop can withstand years of use without any issues. Whether you’re aiming for a DIY approach or seeking professional help, knowing how to properly secure the countertop is essential. Let’s dive into the practical steps involved.Applying Adhesive
To start, you’ll need to apply a strong adhesive to the top of the base cabinets. This step is often overlooked, yet it’s fundamental to prevent the countertop from shifting or vibrating over time. Choose an adhesive that is specifically designed for countertops, ensuring it provides a robust bond. Spread the adhesive evenly across the surface using a spatula or a similar tool. Pay attention to the corners and edges where movement tends to occur the most. Once applied, allow it to become tacky before placing the countertop. This ensures optimal adhesion and minimizes the risk of air bubbles forming.Fastening With Screws
Even with adhesive, fastening your countertop with screws adds an extra layer of security. Use screws that are designed for the material of your countertop—wood screws for wooden countertops, and masonry screws for stone surfaces. This prevents damage and ensures proper fastening. Position the screws at strategic points along the underside of the countertop. Typically, screws are placed at the corners and every 12 inches along the perimeter. As you secure them, ensure they’re not too tight to avoid cracking or damaging the surface. Have you ever wondered why some countertops feel more solid than others? It’s often due to the attention paid to securing them properly. By using both adhesive and screws, you’re building a kitchen counter that not only looks good but is also built to last.
Credit: www.youtube.com
Finishing Touches
Completing your kitchen counter project can be incredibly satisfying. After all the hard work, the finishing touches bring your creation to life. This stage is crucial for ensuring durability and achieving a polished look. Let’s dive into two essential steps: sealing the edges and sanding and smoothing.
Sealing The Edges
Edge sealing is essential for protecting your counter from moisture and wear. Begin by choosing a high-quality sealant suitable for your counter material. Applying sealant not only extends the lifespan but also enhances the appearance.
Use a clean, small brush for precise application. This helps avoid mess and ensures even coverage. Have you ever noticed how some counters look worn out prematurely? Proper sealing can prevent this.
Allow the sealant to dry completely before using the counter. Patience here pays off by ensuring a long-lasting finish. Does your counter need extra protection? Consider a second coat for added durability.
Sanding And Smoothing
Sanding and smoothing give your counter a sleek, professional look. Begin with coarse sandpaper to remove any rough spots or imperfections. It’s like prepping a canvas; you want your surface to be flawless.
Gradually switch to finer grit sandpaper for a smooth finish. If you’ve ever felt a countertop that feels rough, it’s likely due to inadequate sanding. The smoother the surface, the more visually appealing it is.
Remember to wipe away dust with a damp cloth after sanding. This step ensures a clean surface ready for use. Have you experienced the satisfaction of running your hand over a perfectly smooth surface? It’s a testament to careful sanding.
Installing Fixtures And Appliances
Installing fixtures and appliances brings functionality to your kitchen counter. Select durable materials and ensure proper spacing for optimal use. Efficient placement of sinks and stoves enhances the counter’s utility and aesthetics.
Installing fixtures and appliances is a crucial step in building your kitchen counter. This is where you breathe life into your kitchen space, ensuring that everything fits and functions perfectly. It’s more than just a technical process; it’s about creating a seamless blend of functionality and aesthetics. Attention to detail is key, as a single error can disrupt the harmony you’ve worked so hard to achieve. Your kitchen counter will host various fixtures like sinks and stovetops. Ensuring their proper installation is vital for both usability and safety. So, let’s roll up our sleeves and dive into the process.Cutting Openings For Sinks And Stovetops
Before you start cutting, ensure you have precise measurements for your sink and stovetop. A small mistake here can lead to costly fixes. Use a jigsaw to make clean cuts on the counter surface. Always cut from the underside of the counter to prevent chipping the laminate. Remember, it’s easier to cut a little more if needed, but impossible to add back material. Test fit your sink and stovetop before securing them. This ensures that your cuts are accurate and everything fits snugly.Securing Fixtures
Once your openings are cut, it’s time to secure the fixtures. Begin by applying a bead of silicone sealant around the edges. This not only secures the fixture but also prevents water from seeping underneath. Carefully place your sink or stovetop into the opening. Press down firmly to ensure a tight seal with the silicone. Use brackets and screws to secure the fixtures from underneath. This adds an additional layer of stability. Always double-check that everything is level and aligned correctly. Consider the placement of your appliances next. Where will your refrigerator, oven, and dishwasher go? Think about workflow and convenience. Engage your creative side. How can you make your kitchen counter functional yet beautiful? A well-installed fixture is like a well-tailored suit; it should fit perfectly and enhance the overall design. Reflect on the satisfaction of seeing your kitchen come together. Isn’t it exciting to watch your vision become a reality?Final Inspection And Cleanup
Ensure the counter is smooth and even. Check for any loose screws or nails. Clean all debris and dust. Polish the surface for a shine. Inspect the edges for safety. Confirm the alignment with other kitchen fixtures.
Building a kitchen counter is an exciting project. After all the hard work, it’s crucial to ensure everything is perfect. The final inspection and cleanup are essential steps. They ensure your counter looks great and functions well. These steps help catch any last-minute issues. They also give your kitchen a tidy finish. Attention to detail now pays off later.Checking For Stability
Examine the counter for stability. Ensure it doesn’t wobble or shift. Press down on different areas. Look for any movement or gaps. Check the screws and fasteners. Tighten them if needed. Ensure the counter sits flush with the cabinets. A stable counter stands the test of time. It also prevents future problems.Cleaning The Workspace
A clean workspace is essential. Remove all tools and materials. Sweep or vacuum the floor. Wipe the counter surface with a damp cloth. Use gentle cleaners to avoid damage. Check for any leftover debris. Dispose of any waste properly. A clean kitchen is ready for use. It also showcases your hard work beautifully.
Credit: www.diypete.com
Frequently Asked Questions
What Materials Are Best For Kitchen Counters?
When building kitchen counters, durable materials like granite, quartz, or butcher block are ideal. They offer longevity and resist damage. Granite and quartz are low-maintenance, while butcher block provides a warm aesthetic. Consider your budget and style preferences when choosing the best material.
How Do I Measure For A Kitchen Counter?
Start by measuring the length and width of the area. Include any overhangs or appliances. Use a tape measure for precision. Account for sink and stove placements. Double-check measurements to ensure accuracy. Accurate measurements are crucial for fitting and installation.
What Tools Are Needed For Counter Installation?
You’ll need a tape measure, level, saw, and drill. Safety gear like goggles and gloves are essential. A caulking gun and clamps are useful for securing the counter. Ensure all tools are in good condition before starting the installation process.
How Long Does Counter Installation Take?
Counter installation typically takes one to two days. Preparation might add extra time. Complexity and counter size can affect the duration. Professional installation is usually faster than DIY. Plan for potential delays due to unforeseen issues.
Conclusion
Building your kitchen counter can be a rewarding task. You gain skills. You save money. You customize your space to fit your style. Remember, careful planning is key. Measure accurately. Choose the right materials. Follow the steps closely. Safety first, always.
Wear protective gear. Use tools correctly. Patience helps. Take your time. Enjoy the process. The result? A beautiful, functional kitchen counter. Proudly made by you. Celebrate your hard work. Share with family and friends. Transform your kitchen with your creation.
Ready to start? Gather your tools. Begin your project today.