How to Replace a Kitchen Sink: Step-by-Step Guide
Executive Chef & Lead Commercial Kitchen Specialist at Daily Kitchup Test Lab
Are you staring at your old, leaky kitchen sink, dreaming of a fresh, new one? Replacing a kitchen sink might sound intimidating, but it’s more manageable than you might think.
Imagine transforming your kitchen’s look and functionality in just a few simple steps. With the right guidance, you can make it happen. You’ll discover a straightforward, step-by-step guide to replacing your kitchen sink. By the end, you’ll feel confident and ready to tackle this home improvement project yourself.
Keep reading to unlock the secrets to a kitchen upgrade that will make you wonder why you didn’t do it sooner.
Tools And Materials Needed
Replacing a kitchen sink requires basic tools and materials. Essentials include a wrench, plumber’s putty, and a new sink. A screwdriver and pipe sealant are also necessary for installation.
Replacing a kitchen sink might seem like a daunting task, but with the right tools and materials, you can handle it like a pro. Before diving into the process, it’s crucial to gather everything you’ll need. Imagine starting the job only to find you’re missing a key tool—frustrating, right? Avoid this by ensuring your workspace is well-equipped. Let’s break down the essentials so you can get started smoothly.Tools You’ll Need
- Adjustable Wrench:Perfect for loosening and tightening nuts and bolts.
- Pipe Wrench:Essential for gripping and turning pipes.
- Plumber’s Tape:Helps prevent leaks in threaded plumbing connections.
- Bucket:Useful for catching water when disconnecting pipes.
- Utility Knife:Handy for cutting sealant or caulking around the sink.
Materials You’ll Need
- Replacement Sink:Choose a sink that fits your existing countertop cutout or be prepared to adjust it.
- Faucet:If you’re updating the faucet, make sure it’s compatible with your new sink.
- Plumbing Fixtures:This includes drain assembly and supply lines if they’re due for an upgrade.
- Sealant or Caulk:Ensure a waterproof seal between the sink and countertop.
- Waste Kit:Includes necessary pipes and connectors for proper drainage.
Organizing Your Workspace
Consider setting up a small table or a clean area to lay out your tools and materials. This prevents unnecessary searching and keeps everything within arm’s reach. Have you ever started a project only to spend half your time looking for misplaced items? Keeping organized saves time and minimizes frustration.Safety Gear
Don’t forget safety! Wear gloves to protect your hands from sharp edges and goggles to shield your eyes from debris. It’s easy to overlook safety gear, but prioritizing it ensures you can work confidently and without injury. Now that you know what you’ll need, are you ready to tackle the task? With your tools and materials prepared, you’ll find the process smoother and more satisfying.
Credit: www.youtube.com
Choosing The Right Sink
Selecting the perfect sink involves considering size, style, and materials. A well-fitted sink enhances kitchen functionality and aesthetics. Explore options like stainless steel or porcelain for durability and design appeal.
Choosing the right sink for your kitchen is a crucial step in the replacement process. It’s not just about aesthetics; functionality and fit are key. Whether you’re going for a modern update or a classic look, the sink you choose will set the tone for your kitchen.Material Matters
The material of your sink influences its durability and maintenance. Stainless steel sinks are popular due to their resilience and ease of cleaning. However, if you’re looking for something unique, consider a granite composite sink for its durability and elegant appearance.Size And Configuration
Before purchasing, measure your existing sink area to ensure the new one fits. Consider how many basins you need: a single basin for more space or a double basin for multitasking. Think about your kitchen habits—do you need space for large pots or do you often wash delicate items separately?Mounting Style
The mounting style impacts both installation and aesthetics. An undermount sink offers a seamless look and makes cleaning countertops easier. On the other hand, a drop-in sink is easier to install and can be a great choice for a DIY project.Additional Features
Consider additional features that could enhance your kitchen experience. Some sinks come with built-in cutting boards or colanders for added convenience. Do you value soundproofing? Look for models with sound-deadening pads to minimize noise.Budget Considerations
While it’s tempting to go for the fanciest option, keep your budget in mind. You can find quality options in every price range. Make a list of what features are essential to you and prioritize accordingly. Choosing the right sink is a blend of practicality and personal taste. What does your dream kitchen look like, and how can the right sink bring you closer to that vision?Preparing The Work Area
Replacing a kitchen sink might seem challenging. It’s important to prepare your work area well. An organized space ensures a smooth process. It reduces mess and confusion. Let’s dive into the steps needed for setting up your work area.
Clearing The Countertop
Start by removing all items from the countertop. This includes small appliances, dishes, and other objects. A clean surface provides enough space to work. It prevents any accidental damage. Use a soft cloth to wipe the countertop. This keeps it free from dust and debris.
Turning Off The Water Supply
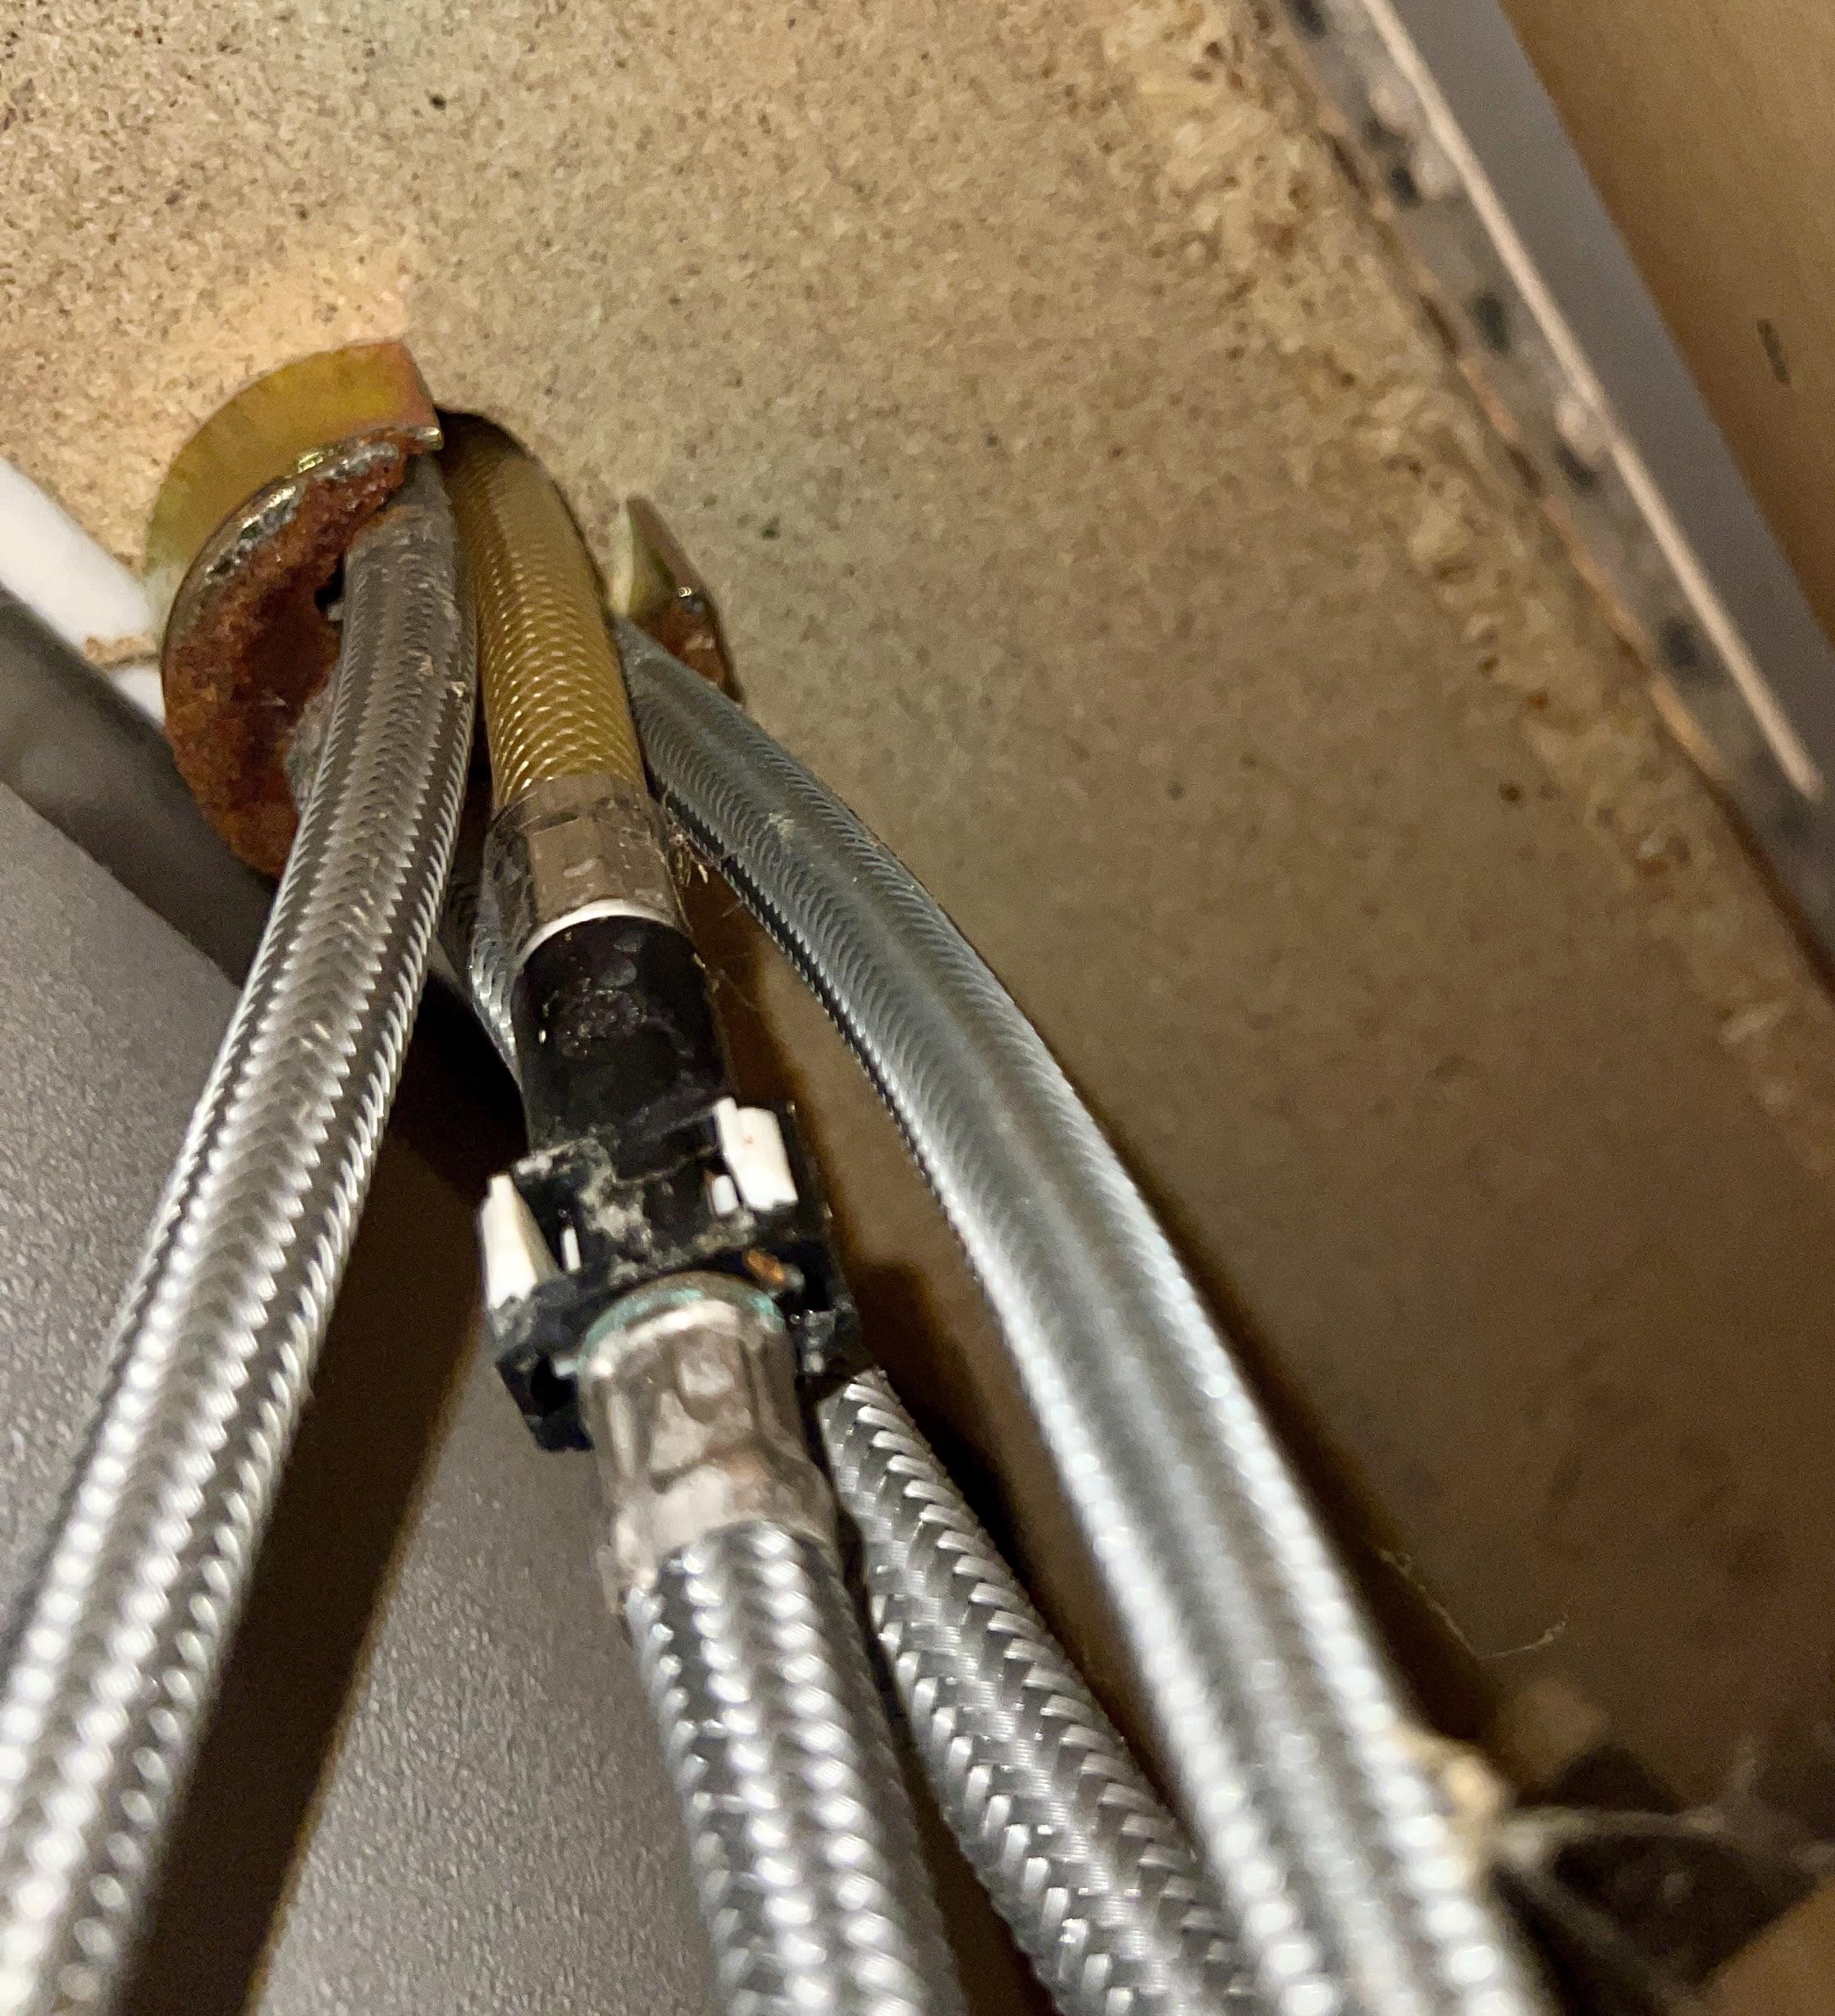
Locate the water valves under the sink. There are usually two valves, one for hot water and one for cold. Turn them clockwise to shut off the water. This prevents any leaks while working. Double-check by turning on the faucet. Ensure no water flows out.

Credit: www.youtube.com
Removing The Old Sink
Begin by shutting off the water supply and disconnecting plumbing connections. Carefully remove the old sink by loosening fasteners and lifting it out of the countertop.
Removing the old sink is an essential step in kitchen renovation. This task might seem daunting, but with the right guidance, it’s manageable. It involves disconnecting plumbing and freeing the sink from its hold. This process requires patience and careful handling. Safety should be your priority throughout.Disconnecting The Plumbing
Begin by turning off the water supply. This prevents any leaks or spills. Next, place a bucket under the pipes to catch any remaining water. Use a wrench to loosen the nuts on the pipes. Carefully disconnect the water lines and drain pipe. Ensure you remove any clips or brackets holding the pipes in place. This will make the removal process easier.Loosening And Lifting The Sink
Check for any caulk around the edge of the sink. Use a utility knife to cut through it. This will help in loosening the sink from the countertop. Look for any mounting brackets underneath. Use a screwdriver to remove these brackets. Once loose, carefully lift the sink from the countertop. You may need help to avoid damage or injury. Place the old sink aside and prepare the area for the new installation.Installing The New Sink
Replacing a kitchen sink involves disconnecting plumbing, removing the old sink, and fitting the new one. Ensure all connections are secure to prevent leaks.
Installing a new kitchen sink can be a rewarding project, transforming the heart of your home with a fresh look and improved functionality. Whether you’re upgrading to a modern design or simply replacing an old unit, installing the sink properly is crucial. This section will guide you through the essential steps of fitting and sealing your new sink, ensuring it sits perfectly and functions seamlessly.Fitting The Sink Into Place
The first step in fitting your new sink is to ensure it fits the cut-out on your countertop. Double-check the dimensions of your sink and the opening to avoid any surprises. If you find discrepancies, you may need to adjust the countertop opening using a jigsaw. Once the size is confirmed, place the sink gently into the countertop cut-out. You might need an extra pair of hands to help lower it steadily and avoid damaging the edges. Align the sink evenly with the countertop edges for a neat finish. Are you confident that the sink is level? Use a spirit level to check its alignment. A level sink ensures smooth water drainage and prevents pooling. If necessary, make small adjustments by shimming under the sink rim.Sealing The Edges
Sealing the edges of your sink is a critical step that prevents water leaks and potential damage to your countertop. Start by applying a bead of silicone sealant around the edges where the sink meets the countertop. Choose a high-quality, waterproof sealant for the best results. Smooth the sealant with a finger or a sealant tool to ensure it adheres well and creates a clean, even layer. It’s important to wipe away excess sealant immediately to prevent unsightly lumps and bumps. Allow the sealant to cure as per the manufacturer’s instructions before using the sink. This waiting period might feel like a lifetime, but it’s crucial for a watertight seal. Have you ever rushed this step and regretted it? Patience now will save you from future leaks and costly repairs. By taking the time to fit and seal your new sink properly, you ensure it not only looks great but also serves your kitchen effectively for years to come.Reconnecting The Plumbing
Reconnecting the plumbing requires careful alignment of pipes and fixtures. Ensure each connection is secure to prevent leaks. Use plumber’s tape for a tight seal.
Reconnecting the plumbing after installing a new kitchen sink is crucial. It ensures proper water flow and drainage. Attention to detail during this step can prevent leaks and water damage. Let’s dive into the key aspects of reconnecting the plumbing.Attaching The Drain Pipes
Start by aligning the drain pipes with the sink’s drain hole. Ensure the rubber gasket sits correctly between the sink and the drain. Tighten the drain flange with your hands initially. Then, use a wrench to secure it snugly. Do not overtighten to avoid cracking the sink. Next, connect the trap adapter to the drain pipe. Ensure all washers are in place for a tight seal. Hand-tighten the slip nuts, then use pliers for a firm fit. Check alignment by running water and observing for leaks.Connecting The Faucet
Position the faucet into the designated holes on the sink. Use a wrench to secure the mounting nuts underneath. Ensure the faucet is stable and straight before tightening fully. Attach the water supply lines to the faucet’s inlet pipes. Hand-tighten the nuts, then use a wrench for a secure fit. Turn on the water supply to check for leaks. Adjust connections if necessary to ensure a watertight seal. Finally, test the faucet to ensure both hot and cold water flow smoothly.Checking For Leaks
Check for leaks by turning the water on and inspecting the pipes and connections beneath the sink. Look for any drips or moisture around the joints and seals. Tighten any loose fittings to prevent water damage.
Replacing a kitchen sink involves more than just swapping out the old for the new. Ensuring everything works smoothly is key. Checking for leaks is a crucial step. Neglecting this can lead to water damage. This section guides you through important checks to prevent issues.Testing The Water Flow
Turn on the faucet and observe the flow. Check for steady water pressure. Any fluctuations can signal a problem. Listen for unusual noises. Gurgling sounds may indicate air in the pipes. Ensure hot and cold water mix correctly. Adjust the faucet handles to test this. Feel the water temperature change smoothly. If not, adjustments might be necessary.Inspecting The Seals
Examine the seals around the sink. Look closely for any gaps or cracks. Run your fingers along the edges. Moisture or wetness can indicate leaks. Tighten any loose screws or bolts. Use a flashlight to inspect hard-to-see areas. Check under the sink for water pooling. Use a dry cloth to touch around the seals. If the cloth becomes wet, resealing may be required.
Credit: www.familyhandyman.com
Final Touches
Install the faucet and drain, then apply sealant around the edges. Ensure everything is secure and connected properly. Test for leaks by running water through the sink and checking all connections. Adjust as needed to prevent any drips or spills.
The final touches of replacing a kitchen sink can make a world of difference, turning a simple installation into a seamless transformation. These steps are not just about aesthetics; they’re about ensuring functionality and longevity. As you wrap up your sink replacement project, pay attention to the details that will enhance both the look and efficiency of your new setup.Cleaning The Area
Before you step back and admire your handiwork, ensure the surrounding area is spotless. Use a gentle cleaner to wipe down the countertops, faucet, and the new sink basin. This not only highlights the shine of your new sink but also ensures no residue or debris is left behind.
Look for hidden spots where grime might accumulate. The edges of the sink and the faucet base are common culprits. A quick scrub can prevent future buildup and maintain that brand-new look for longer.
Organizing Under The Sink
With your sink installed, turn your attention below. The space under your sink often becomes a catch-all for cleaning supplies and miscellaneous items. This is the perfect opportunity to organize and declutter.
- Use stackable bins or containers to categorize items like sponges, brushes, and cleaners.
- Install a small rack or hooks on the cabinet door for hanging spray bottles or towels.
Think about how you use this space daily. Does everything you need have an accessible spot? This simple organization can save time and frustration in your daily routine.
As you finish these final touches, take a moment to appreciate your work. You’ve not only installed a new sink but also created a more functional and appealing kitchen space. How will these changes impact your cooking and cleaning experience?
Frequently Asked Questions
Can You Replace A Kitchen Sink Yourself?
Yes, you can replace a kitchen sink yourself. Ensure you have necessary tools and follow proper instructions. Disconnect plumbing and remove old sink carefully. Install new sink securely and reconnect plumbing. Check for leaks to ensure everything is properly fixed.
Consider professional help if unsure about any step.
Can I Replace My Kitchen Sink Without Replacing The Countertop?
Yes, you can replace your kitchen sink without replacing the countertop. Ensure the new sink fits the existing cutout. Consider hiring a professional for a seamless installation.
Do You Need A Plumber To Replace A Kitchen Sink?
Hiring a plumber to replace a kitchen sink is recommended for expertise. They ensure proper installation, preventing leaks and damages. Though DIY is possible, professional help guarantees efficiency and compliance with local codes. Consider a plumber for peace of mind and a long-lasting, problem-free sink installation.
How Much Do Plumbers Charge To Install A New Kitchen Sink?
Plumbers typically charge between $150 to $500 to install a new kitchen sink. Costs depend on sink type, labor complexity, and location. Comparing quotes from local plumbers can help find the best price. Always ensure the plumber is licensed and experienced for quality work.
Conclusion
Replacing a kitchen sink is simple with the right steps. Start by gathering tools and materials. Ensure water supply is off. Follow instructions carefully for installation. Double-check connections for leaks. Enjoy your new sink’s look and function. Troubleshooting is easier when prepared.
Share your experience with friends. Encourage them to try home improvements. Feel pride in your DIY efforts. It adds personal touch to your kitchen. Remember, patience is key. You learn as you go. Small tasks build confidence for bigger projects.
Happy renovating!

Similar Posts