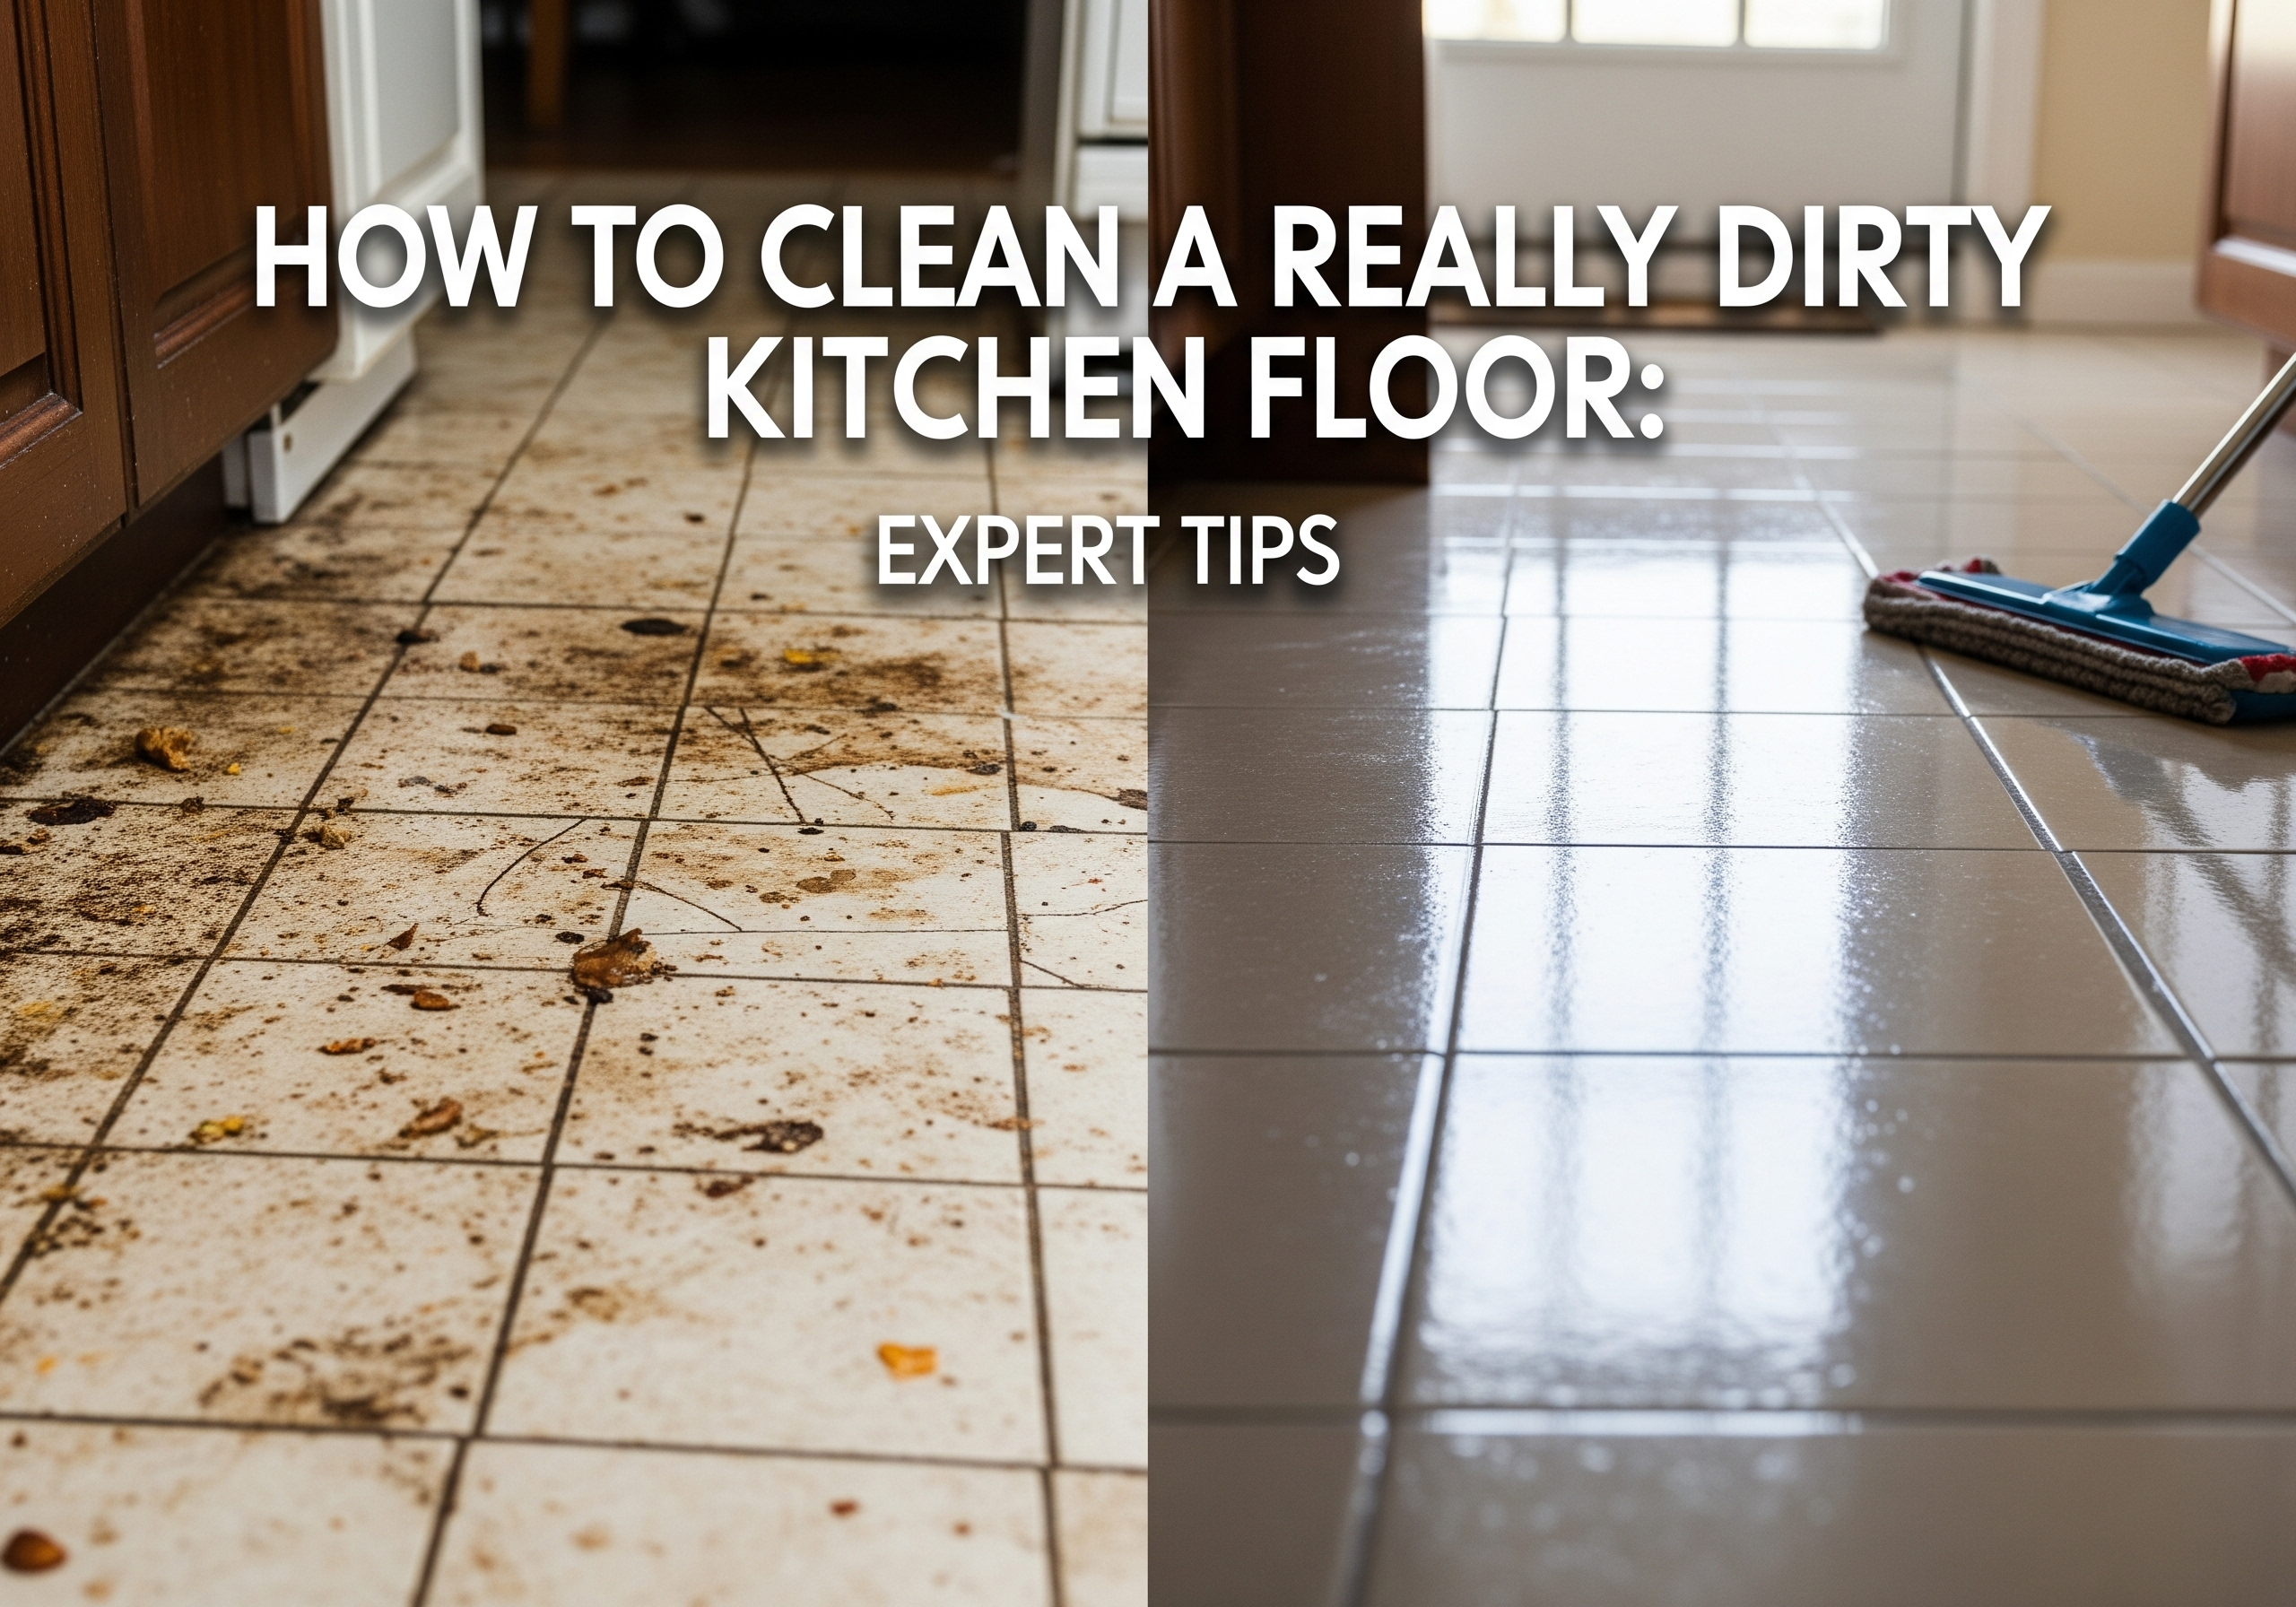
How to Clean a Really Dirty Kitchen Floor: Expert Tips
A sparkling kitchen floor can make your entire home feel cleaner and more inviting. But what do you do when your kitchen floor is really dirty?
You might feel overwhelmed just thinking about tackling the grime, spills, and sticky messes that have accumulated over time. Don’t worry—you’re not alone. Many people face this challenge, and the good news is that with the right approach, you can transform your floor from filthy to fabulous without breaking a sweat.
Imagine the satisfaction of walking into your kitchen and seeing a floor that shines and smells fresh. Ready to discover the simple yet effective steps that will make this daunting task a breeze? Keep reading, because the secret to a spotless kitchen floor is just a few paragraphs away.
Credit: www.tiktok.com
Choosing The Right Cleaning Supplies
Selecting the right cleaning supplies is crucial for tackling a dirty kitchen floor. Choose effective degreasers and durable scrub brushes. Ensure the products are safe for your flooring type to avoid damage.
Cleaning a kitchen floor that has seen better days can be quite the challenge. The key to success lies in choosing the right cleaning supplies. A clean kitchen starts from the ground up, and the products you choose can make all the difference. Let’s explore how you can equip yourself with the best tools and cleaning agents for an efficient and effective cleaning session.
Essential Tools
Having the right tools in your cleaning arsenal is crucial. A sturdy mop and bucket are your best friends when tackling a grimy floor. Consider a microfiber mop for its absorbency and ability to trap dirt effectively. A broom with stiff bristles can help loosen stubborn debris before mopping. Do you have a vacuum cleaner? If so, using it can save you time and effort by removing larger debris and dust. Don’t forget about scrubbing brushes. A hand-held scrubber is perfect for those sticky spots that just won’t budge.
Selecting Effective Cleaning Agents
Choosing the right cleaning agents is essential to make your kitchen floor sparkle. Look for a cleaner that matches your floor type; whether it’s tile, linoleum, or hardwood, each has its own needs. A multi-purpose cleaner can be a great choice for versatility. But sometimes, specific stains require specific solutions. For greasy spots, a degreaser can work wonders. Are you a fan of DIY solutions? Mixing vinegar and water is a natural alternative that is both effective and eco-friendly. However, make sure to test any new cleaner on a small area first to avoid damage. What works best for your kitchen floor? Maybe you’ve discovered a cleaning hack that surprised you with its effectiveness. Share your experiences and help others find their perfect solution.
Preparing The Kitchen Floor
Cleaning a really dirty kitchen floor requires proper preparation. This ensures the process is efficient and effective. Start by getting the area ready for a deep clean. A well-prepared floor makes the actual cleaning much easier. Follow these simple steps to prepare your kitchen floor.
Clearing The Area
Begin by removing all items from the floor. Move chairs, tables, and mats to another room. Clear the space of any obstacles. This gives you full access to every corner. Ensure nothing is left on the floor. Even small items can get in the way.
Dusting And Sweeping Debris
Use a broom or dust mop to sweep the floor. Remove loose dirt and debris. Start from one corner and work your way across. Pay attention to the edges and corners. Dust tends to collect in these areas.
If your kitchen floor has a lot of dust, consider using a vacuum. This can help pick up finer particles. Make sure to clean under appliances and cabinets. Dust and debris love to hide there.
Tackling Stubborn Stains
Scrubbing away stubborn kitchen floor stains begins with sweeping loose dirt. Mix warm water with vinegar or mild detergent. Mop the floor thoroughly, focusing on stained areas. Rinse with clean water and dry to reveal a sparkling floor.
Cleaning a really dirty kitchen floor can feel like a battle, especially when you’re staring down stubborn stains that refuse to budge. Tackling these stains requires a keen eye and a thoughtful approach. Are you ready to transform your kitchen floor from grimy to gleaming? Let’s dive into the practical steps that will help you conquer those pesky marks with ease.
Identifying Stain Types
Before you attack those stains, it’s crucial to know what you’re dealing with. Different stains demand different solutions, and identifying them correctly can save you time and effort. Look closely at the stain—does it have a greasy shimmer, or does it seem embedded in the tile? Grease stains often appear around cooking areas, while water stains might be lurking near your fridge or sink. Rust spots could be a clue that metal has been sitting on your floor for too long. Knowing the stain type will guide you to the right cleaning strategy.
Targeted Stain Removal Techniques
Once you’ve identified the stain, it’s time to choose the right cleaning technique. Not all stains are created equal, and attacking them with precision is key.
- Grease Stains:Mix equal parts of baking soda and water to form a paste. Apply it to the stain, let it sit for 10 minutes, then scrub gently with a brush.
- Water Stains:Vinegar is your friend here. Spray a bit of white vinegar on the stain and wipe it away with a clean cloth.
- Rust Spots:These might require a commercial rust remover. Apply according to the product instructions for best results.
Did you know that sometimes a simple homemade solution can outperform expensive cleaners? Trying these methods might surprise you with their effectiveness. Which technique will you test first?
Deep Cleaning Techniques
Scrub tough stains with a mixture of vinegar and baking soda for a spotless kitchen floor. Mop the floor with warm water and a gentle detergent to remove any remaining grime. Finish by drying the surface with a clean cloth to prevent streaks.
Deep cleaning techniques for kitchen floors are essential for maintaining a hygienic home. A dirty kitchen floor can harbor germs and grime, affecting the overall cleanliness. Two effective methods for deep cleaning are using steam cleaners and manual scrubbing. These techniques can transform even the dirtiest kitchen floors into spotless surfaces.
Using Steam Cleaners
Steam cleaners are effective for breaking down dirt and bacteria. They use hot steam to sanitize floors, killing germs without harsh chemicals. Begin by filling the steam cleaner with water. Allow it to heat up before use. Glide the steam cleaner slowly across the floor. Focus on areas with stubborn grime. The steam loosens dirt, making it easy to wipe away. Use a microfiber cloth for best results. This method is suitable for tile and sealed hardwood floors.
Manual Scrubbing Methods
Manual scrubbing requires basic tools and a bit of elbow grease. Gather a bucket, scrub brush, and cleaning solution. Start by removing loose debris. Mix the cleaning solution in the bucket. Dip the scrub brush into the solution. Scrub the floor in circular motions. Pay attention to corners and edges. Rinse with clean water after scrubbing. Dry the floor with a clean towel. This method is ideal for all floor types and ensures thorough cleaning.
Rinsing And Drying
Rinse the floor thoroughly with clean water to remove soap residue. Use a dry mop or towel to ensure the floor is completely dry, preventing streaks and slippery surfaces.
Cleaning a really dirty kitchen floor can feel like a daunting task, but with the right techniques, it becomes manageable. One of the critical steps in this process is rinsing and drying. Rinsing ensures all cleaning residues are removed, leaving your floor truly clean, while drying prevents water spots and potential damage. Both steps are crucial for achieving a spotless and safe kitchen floor.
Effective Rinsing Practices
Rinsing is about removing all traces of cleaning solutions. Use clean water and a fresh mop or cloth. This prevents dirt from being redeposited on your clean floor. Change the rinse water frequently. Dirty water can undo your cleaning efforts. Fresh water ensures each rinse is effective. Consider using warm water. It helps dissolve any remaining grime and cleaning solution more effectively than cold water.
Ensuring Thorough Drying
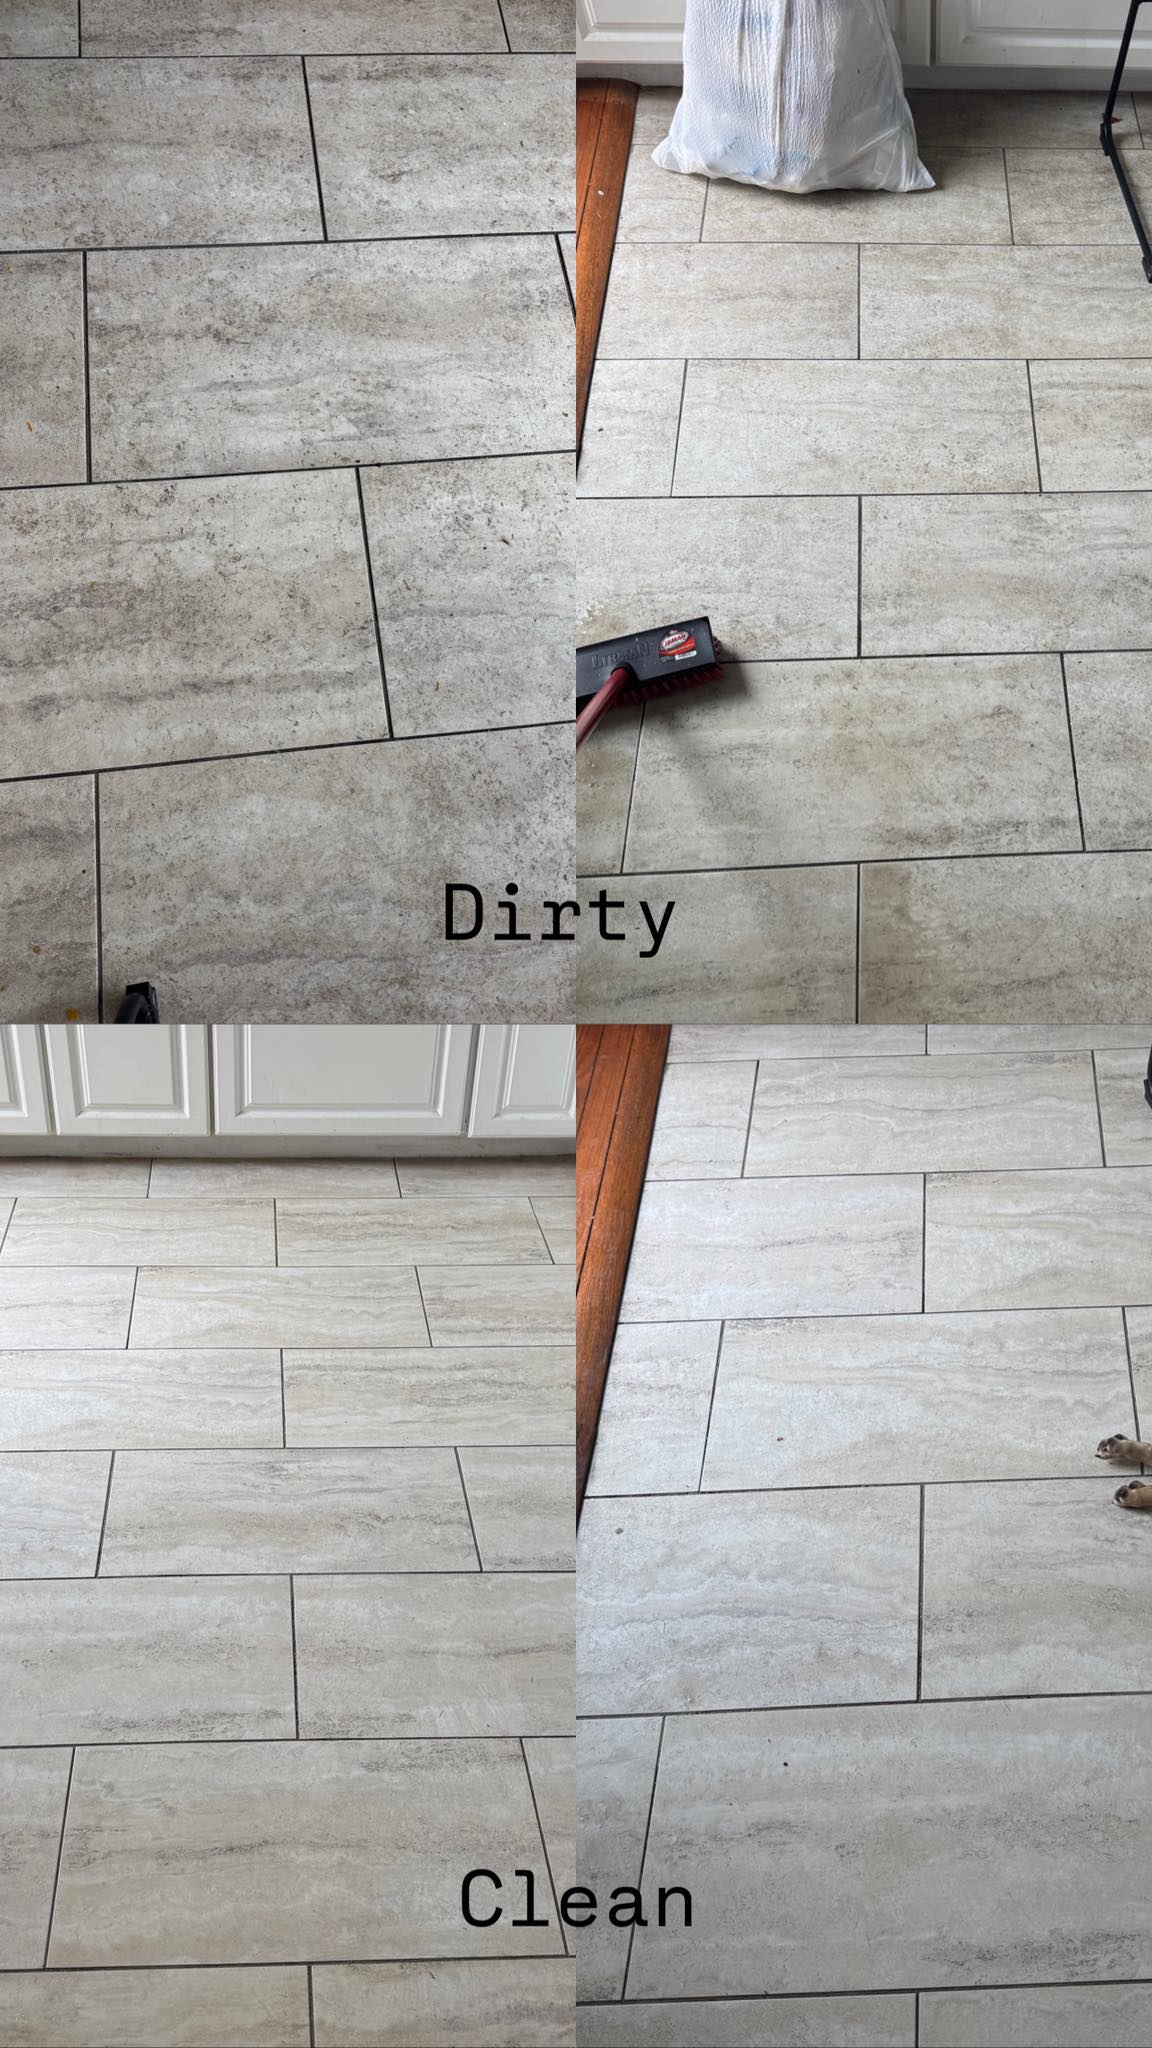
Once rinsed, drying is your next priority. Use a dry mop or towel to absorb excess water. This step helps avoid slippery floors and unsightly water spots. Open windows or use a fan to speed up drying. Good air circulation helps moisture evaporate quickly, leaving your floor dry and safe. Check for damp spots and address them immediately. A thorough drying process ensures your kitchen floor stays clean and ready for action. Is your kitchen floor ready for a test? Try walking barefoot to feel for any dampness. It’s a simple way to ensure you’ve done a thorough job.
Credit: www.facebook.com
Preventing Future Dirt Build-up
Regular cleaning and sealing can minimize future dirt build-up on kitchen floors. Using mats and rugs at entry points helps reduce the amount of dirt tracked in.
Preventing Future Dirt Build-Up Maintaining a sparkling kitchen floor is easier than you think! Once you’ve tackled the grime, the key is keeping it clean. Regular upkeep not only saves time but also enhances the longevity of your flooring. Imagine stepping into a kitchen where the floor is always inviting, reflecting your care and attention. Wouldn’t that be delightful?
Regular Maintenance Tips
Consistent cleaning habits can make all the difference. Start by sweeping or vacuuming daily. This prevents dirt and crumbs from embedding into the floor surface. Think of it as a quick reset, ensuring your kitchen is always ready for action. Mopping weekly with a gentle cleaner helps maintain shine. Use warm water mixed with vinegar or a mild floor cleaner. It’s quick, effective, and keeps your floor in top condition without harsh chemicals. Spot cleaning spills immediately is crucial. Whether it’s a splash of sauce or a drip of coffee, quick action stops stains and sticky residue from settling in. Your future self will thank you!
Using Protective Floor Coatings
Consider adding a protective layer to your kitchen floor. This might sound like a daunting task, but it’s surprisingly simple and effective. Floor sealants or waxes act as barriers against dirt and moisture. Apply them periodically for added protection. This not only reduces cleaning time but also preserves the floor’s appearance. Explore options like polyurethane coatings. They offer a durable shield, perfect for high-traffic areas. It’s an investment in convenience and aesthetics. Are you ready to transform your cleaning routine? These proactive steps offer peace of mind and more time to enjoy your kitchen. Your floor deserves it!
Safety Precautions
Wear protective gloves to shield your hands from harsh chemicals. Ensure proper ventilation by opening windows and doors. Use non-slip footwear to avoid accidents on wet surfaces.
Cleaning a dirty kitchen floor can be challenging. It’s crucial to follow safety precautions to avoid accidents or injuries. Protect yourself while ensuring the cleaning process is effective and safe.
Handling Chemicals Safely
Keep cleaning chemicals away from children and pets. Use gloves to protect your hands. Read labels carefully for proper usage. Ensure adequate ventilation in the kitchen. Open windows or use fans. Mixing chemicals can be dangerous. Never mix bleach with ammonia. Store chemicals in a cool, dry place. Dispose of containers responsibly. Follow local guidelines for disposal.
Preventing Slips And Falls
Wear non-slip shoes while cleaning. Clear clutter from the floor area. Mop small sections at a time. Avoid leaving wet spots unattended. Dry the floor thoroughly after mopping. Use warning signs if others are around. Keep a steady pace to maintain balance. Ensure good lighting in the kitchen. Inspect the floor for uneven surfaces. Repair any damages promptly.

Credit: limestone.tilecleaning.co.uk
Expert Advice And Common Mistakes
Expert tips for cleaning a really dirty kitchen floor include using the right tools and avoiding harsh chemicals. Common mistakes involve skipping sweeping and over-wetting the floor, which can cause damage.
Cleaning a really dirty kitchen floor can be a daunting task, but with expert advice, you can tackle it efficiently. Knowing the common mistakes can save you from unnecessary stress and ensure your floor shines like new. Let’s dive into some expert tips and common errors to watch out for.
Avoiding Overuse Of Water
One common mistake is using too much water. It may seem like more water would clean better, but it can actually cause damage. Excess water seeps into cracks and edges, potentially harming your floor’s finish or leading to mold growth. Instead, use a damp mop and wring it out thoroughly before use. This prevents water from pooling on the surface and ensures a safer, faster drying process. Remember, less is more when it comes to moisture.
Tips From Professional Cleaners
Professional cleaners often start by sweeping or vacuuming the floor. This removes loose debris that could scratch the surface when mopped. It’s a simple yet crucial step that many overlook. They also recommend using a dedicated floor cleaner suited to your specific flooring material. For instance, a cleaner designed for tile might not be suitable for wood floors. Always read the label to ensure compatibility with your flooring type. Professionals often use microfiber mops because they are efficient in picking up dirt without leaving streaks. Have you tried swapping your old mop for one of these? It could make a world of difference in your cleaning routine.
Frequently Asked Questions
How To Deep Clean A Dirty Kitchen Floor?
Sweep the floor to remove loose debris. Mix warm water with vinegar or baking soda. Scrub the floor using a mop or brush. Rinse with clean water and dry thoroughly. For stubborn stains, use a commercial cleaner designed for your floor type.
Regular maintenance prevents dirt buildup.
How To Clean A Floor That Won’t Come Clean?
Use a mixture of vinegar and water to scrub the floor. Rinse with clean water. For stubborn stains, apply baking soda paste. Gently scrub and rinse thoroughly. Dry the floor with a clean cloth.
How Do You Get Ingrained Dirt Out Of The Floor?
Use a mixture of vinegar and water to scrub the floor. Apply baking soda for tough spots. Rinse thoroughly with clean water. Dry the floor with a clean cloth to prevent moisture. Regular cleaning helps maintain the floor’s appearance.
Why Is My Kitchen Floor Still Dirty After Mopping?
Your kitchen floor might still be dirty due to using a dirty mop, wrong cleaning solution, or insufficient rinsing. Ensure the mop is clean, choose the right cleaner, and rinse thoroughly. Also, check if grime is stuck in corners or grout lines for a more detailed clean.
Conclusion
Cleaning a dirty kitchen floor doesn’t have to be hard. With patience and the right tools, your floor can shine again. Regular maintenance prevents grime buildup. This saves time and effort later. Wipe spills quickly to avoid stains. Use warm water and mild soap for daily cleaning.
Stronger solutions tackle tough spots. Always read labels on cleaning products. Keep in mind safety precautions. Ventilate the area and wear gloves. A clean kitchen floor feels great. It brightens the whole room. Enjoy your clean space and maintain it regularly for lasting results.
Happy cleaning!