Are you tired of your outdated kitchen cabinets but not ready to invest in a costly remodel? Painting your kitchen cabinets can be a game-changer, offering a fresh and modern look without breaking the bank.
Imagine transforming the heart of your home into a vibrant space that reflects your unique style. Whether you’re a DIY novice or a seasoned pro, this guide will show you the step-by-step process to achieve a flawless finish. You’ll discover tips and tricks that make the project easy and enjoyable.
Ready to give your kitchen the facelift it deserves? Dive in and unlock the secrets to painting your kitchen cabinets like a pro!
Choosing The Right Paint
Selecting the right paint ensures a smooth finish for kitchen cabinets. Opt for durable, easy-to-clean paint. Consider color and finish to match your kitchen’s style.
Choosing the right paint for your kitchen cabinets can be a daunting task. The paint you select will influence the durability and appearance of your cabinets. Consider the types and colors that best suit your kitchen.Types Of Paint For Cabinets
Different paints offer various finishes and durability. Oil-based paints are durable and resistant to chipping. They dry slowly, providing a smooth finish. Latex paints dry quickly and are easy to clean with soap and water. They are less durable than oil-based paints. Chalk paint gives a matte finish and is easy to apply. It requires a protective top coat. Enamel paints offer a glossy finish and are highly durable. They resist moisture and stains.Color Selection Tips
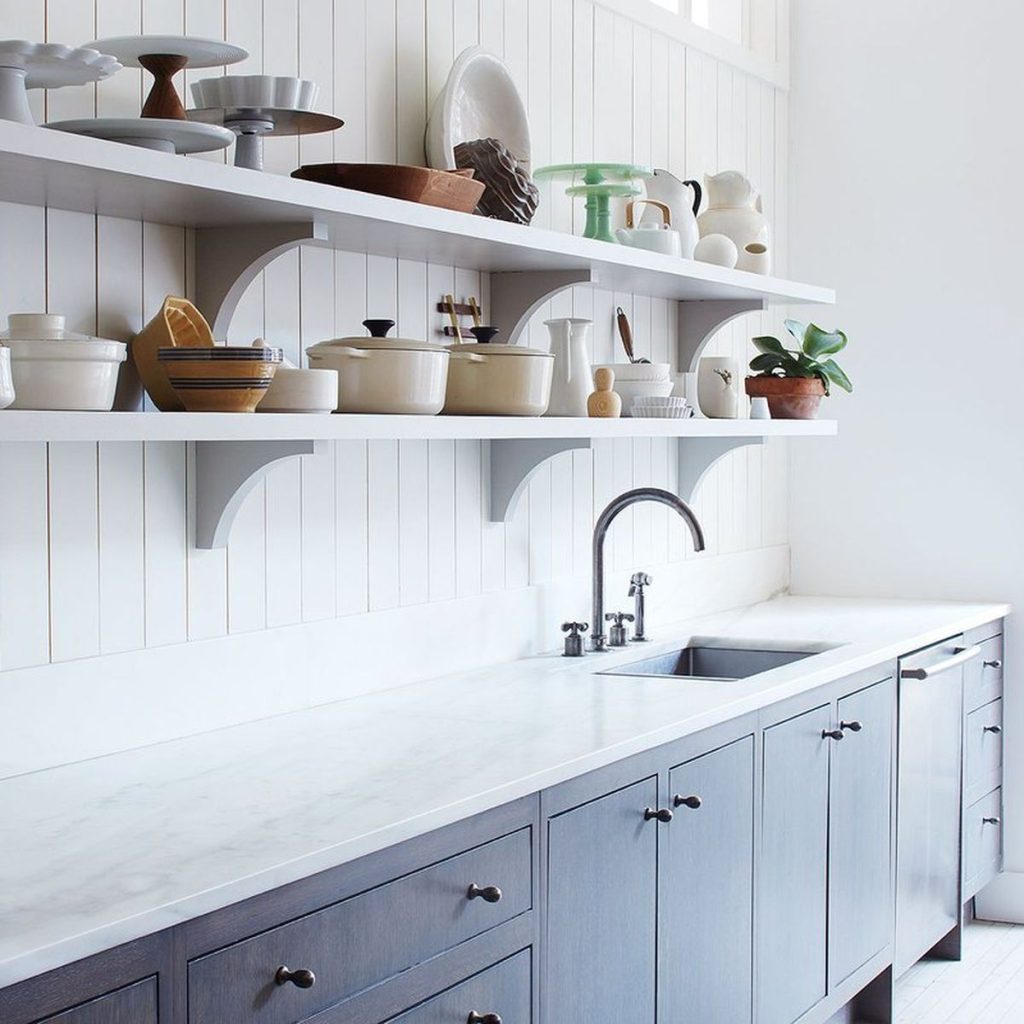
Color choice can transform your kitchen. Consider the size of your kitchen. Light colors make small spaces feel larger. Dark colors create a cozy and elegant look. Match the paint color with your kitchen’s existing decor. Use color swatches to test different shades. Consider the lighting in your kitchen. Natural light can change how colors appear.
Credit: food52.com
Gathering Materials And Tools
Preparing to paint your kitchen cabinets starts with gathering the right materials and tools. Having everything ready ensures a smooth workflow and a professional finish. This section will help you assemble the necessary items for your project.
Essential Tools
- Screwdriver:Useful for removing cabinet doors and hardware.
- Sandpaper:Ideal for smoothing surfaces. Choose 120-grit for initial sanding.
- Paintbrushes:Buy angled brushes for corners and detailed work.
- Paint Roller:Use a foam roller for larger, flat surfaces.
- Drop Cloths:Protect your floors and countertops from paint spills.
- Painter’s Tape:Ensure clean lines by taping off edges and handles.
Additional Supplies
- Primer:A must for covering old paint and enhancing adhesion.
- Paint:Choose a durable, kitchen-friendly paint with a semi-gloss finish.
- Paint Tray:Helps in even paint distribution for rollers.
- Cleaning Cloths:Wipe surfaces clean before painting.
- Degreaser:Removes grease and grime from cabinet surfaces.
Preparing The Cabinets
Clean the kitchen cabinets thoroughly to remove grease and dirt. Sand the surfaces lightly for better paint adhesion.
Preparing your kitchen cabinets for painting is crucial. This process ensures a smooth and lasting finish. Below are the key steps to get your cabinets ready for a fresh coat of paint.Cleaning And Degreasing
Dirt and grease can ruin your paint job. Start by wiping the cabinets with a damp cloth. Use a mild detergent to remove grease. Focus on corners and edges. For stubborn stains, use a degreaser. Rinse with clean water and let them dry completely. Proper cleaning ensures paint sticks well.Removing Doors And Hardware
Taking off doors and hardware makes painting easier. Unscrew the hinges and handles. Label each door and its corresponding hardware. This helps during reassembly. Store screws in a safe place. Removing these parts prevents paint from getting on them. It also allows you to paint every surface evenly.Sanding Techniques
Sanding is vital for a smooth finish. Start with medium-grit sandpaper. Sand all surfaces to remove the old finish. Follow with fine-grit sandpaper for a smooth surface. Wipe away dust with a damp cloth. This step prepares the surface for primer. Proper sanding helps paint adhere better.Priming The Surface
Priming the surface ensures paint adheres well to kitchen cabinets. It prevents peeling and provides a smooth finish. Use a good primer for the best results.
Priming the surface is a crucial step in painting kitchen cabinets. It prepares the wood for paint, ensuring a smooth finish. This process helps the paint adhere better, making it last longer. Proper priming can transform your kitchen with stunning results.Choosing The Right Primer
Select a primer based on the cabinet material. For wood cabinets, opt for an oil-based primer. It seals the wood and prevents stains. For laminate cabinets, use a bonding primer. This type sticks well to smooth surfaces. Consider the color of your paint. A white primer works best for light colors. For dark paints, choose a gray primer. It helps achieve deep colors with fewer coats.Application Methods
Start by cleaning the cabinets thoroughly. Dust and grease can affect primer adhesion. Use a brush or roller for applying the primer. Brushes work well on detailed areas. Rollers cover flat surfaces quickly. Apply a thin, even coat. Avoid drips and thick layers. Allow the primer to dry completely. Check the drying time on the label. Some primers dry faster than others. Sand the surface lightly after drying. This smooths any rough spots. Wipe away sanding dust before painting.Painting Techniques
Transform your kitchen with freshly painted cabinets. Begin by cleaning and sanding surfaces. Apply primer, then use a brush or roller for even paint coverage. Finish with a protective sealant for durability. Enjoy your refreshed space!
Painting your kitchen cabinets can refresh your space. Different techniques can affect the final look and feel. Understanding these methods will help you achieve the best results. Let’s explore some popular techniques.Brushing Vs. Spraying
Brushing is the traditional method. It requires a good quality brush. This technique gives you more control. It is ideal for small areas and detailed work. Brushing also means less mess. You don’t need to cover everything. But brush strokes can be visible. Practice helps to reduce them. Spraying offers a smooth, professional finish. It covers large areas quickly. It’s perfect for flat surfaces. But spraying requires more preparation. You need to mask off areas. The room must be well-ventilated. Equipment can be costly. Learning to handle a spray gun takes time.Achieving A Smooth Finish
Preparation is key for a smooth finish. Clean the cabinets first. Remove grease and dirt. Sand the surfaces lightly. This helps the paint stick better. Use a primer to cover any old color. It also smooths out imperfections. Choose the right paint. Semi-gloss or gloss finishes work best. They are durable and easy to clean. Apply thin, even coats of paint. Let each layer dry before adding more. Light sanding between coats can help. It removes any bumps or dust. Final touches make a difference. Inspect for missed spots. Touch up any areas carefully. Let the cabinets dry completely before reassembling. This ensures the best finish and longevity.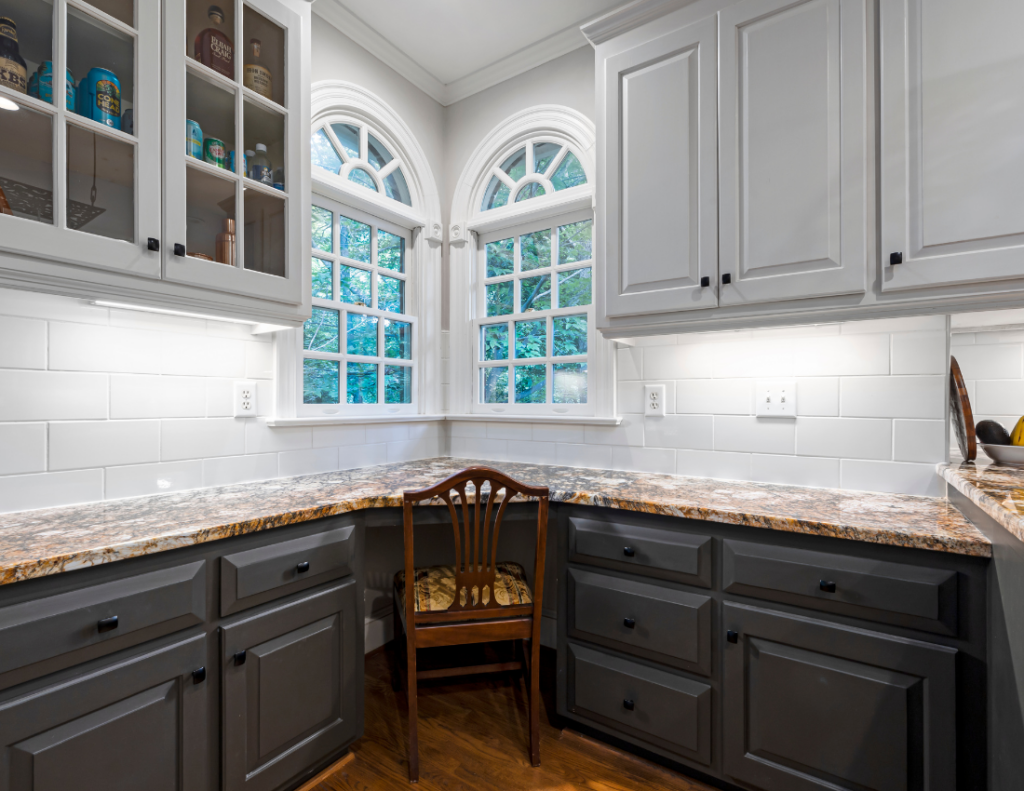
Credit: cabinetcoatingkings.com
Drying And Curing Process
Painting kitchen cabinets can transform your space instantly, but the drying and curing process is crucial to ensure a professional finish. This stage requires patience, attention to detail, and a few insider tips to get it right. Let’s dive into how you can master this process and avoid common pitfalls.
Time Considerations
How long should you wait before using your freshly painted cabinets? This is a question many DIY enthusiasts ponder. Typically, paint should dry to the touch within 24 hours. However, full curing can take up to a week, depending on the type of paint used.
During this period, ensure cabinets are in a ventilated space to speed up drying. Consider using fans or open windows to improve airflow. Remember, patience during this stage leads to a durable finish.
Avoiding Common Mistakes
A common mistake is touching or using cabinets too soon. Resist the urge to test the paint by touching it. Oils from your fingers can mar the surface and lead to uneven curing.
Another frequent error is poor ventilation. Without proper air circulation, paint can take longer to dry, and fumes may linger. Ensure your workspace is well-ventilated to avoid headaches and ensure a smooth finish.
Lastly, avoid stacking or leaning objects against cabinets during drying. They might stick to the paint and ruin your hard work. A clean, clutter-free space is your best friend during this process.
What strategies have you found effective in ensuring a flawless drying and curing process? Share your thoughts and experiences in the comments below!
Reassembling And Finishing Touches
Begin reassembling the kitchen cabinet carefully, ensuring all parts fit perfectly. Apply finishing touches, like new handles, for a polished look.
Reassembling and Finishing Touches Once your kitchen cabinets have been beautifully painted, the next step is to bring them back to life with reassembling and finishing touches. This phase is where your cabinets transform from mere painted objects into a stunning focal point in your kitchen. Every detail matters, so let’s dive into how you can perfect this process.Reinstalling Doors And Hardware
Reattaching the doors is like the grand reveal of your hard work. Begin by carefully aligning each door with its respective hinge. Ensure screws are tightened securely to prevent any wobbling. Adding hardware is where you can infuse personality. Pick knobs and handles that complement your color scheme. Imagine the satisfaction of opening your cabinet with a handle that feels just right.Adding Decorative Elements
Think about adding decorative elements that enhance the look of your cabinets. Consider crown molding to give a polished finish or under-cabinet lighting for a modern touch. Even small details like trim can make a significant difference. What decorative flair will make your kitchen uniquely yours?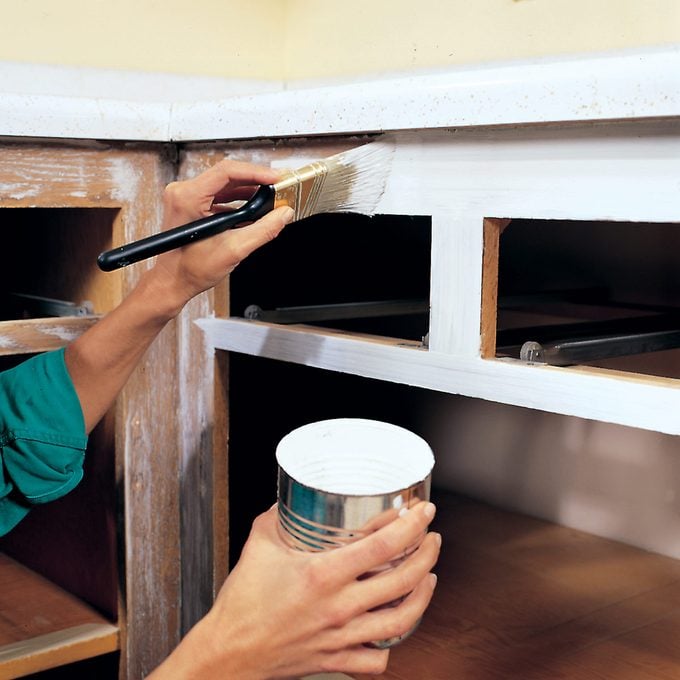
Credit: www.familyhandyman.com
Maintenance Tips
Maintaining your freshly painted kitchen cabinets is crucial. This keeps them looking vibrant and new for years. Regular care ensures longevity and a pristine appearance.
Cleaning And Care
Dust your cabinets weekly with a soft, dry cloth. This prevents grime buildup. For deeper cleaning, use a mild soap mixed with warm water. Avoid harsh chemicals as they can damage the paint. Gently wipe the surface with a damp cloth, then dry immediately with a towel. This prevents water spots and keeps the paint intact. Check hinges and handles regularly. Tighten any loose screws to maintain cabinet integrity.
Touch-up Tips
Keep leftover paint for touch-ups. This helps with small scratches or chips. Before applying, clean the area to ensure adhesion. Use a small brush or cotton swab for precise application. Lightly sand the area if the paint is peeling or flaking. Apply a thin layer of primer if needed. Then, paint over the area in thin layers. This ensures a smooth finish. Let each layer dry completely before adding more. This maintains a seamless look and extends the cabinet’s life.
Frequently Asked Questions
Can I Just Paint Over My Kitchen Cabinets?
Yes, you can paint over kitchen cabinets, but preparation is crucial. Clean, sand, and prime for lasting results. Use high-quality paint designed for cabinets to ensure durability. Proper preparation enhances appearance and longevity, giving your kitchen a fresh look.
How To Paint Kitchen Cabinets For Beginners?
Start by removing cabinet doors and hardware. Clean surfaces with a degreaser. Sand lightly to create a smooth surface. Apply primer to ensure paint adheres well. Use a brush or roller to paint evenly. Allow to dry completely before reattaching doors and hardware.
What Kind Of Paint Should You Use On Kitchen Cabinets?
Use high-quality acrylic or alkyd paint for kitchen cabinets. Acrylic paint offers easy cleanup and fast drying. Alkyd paint provides a durable, smooth finish. Both options resist moisture and stains, ideal for kitchen environments.
Can I Just Paint Over My Kitchen Cabinets Without Sanding?
Yes, you can paint without sanding. Use a deglosser or a bonding primer for better adhesion. Clean thoroughly to remove grease and grime. Choose high-quality paint for a smooth finish. Proper preparation ensures lasting results.
Conclusion
Painting kitchen cabinets is a rewarding DIY project. You can refresh the look easily. Just follow the steps carefully. Prepare the surface well. Choose the right paint. Take your time with each coat. Let it dry completely. Enjoy your new kitchen vibe.
It’s satisfying to see the transformation. A fresh coat makes a big difference. Anyone can do it with patience. Your kitchen will feel brand new. So, gather your supplies and start today. Your efforts will pay off with a stylish kitchen.
Happy painting!