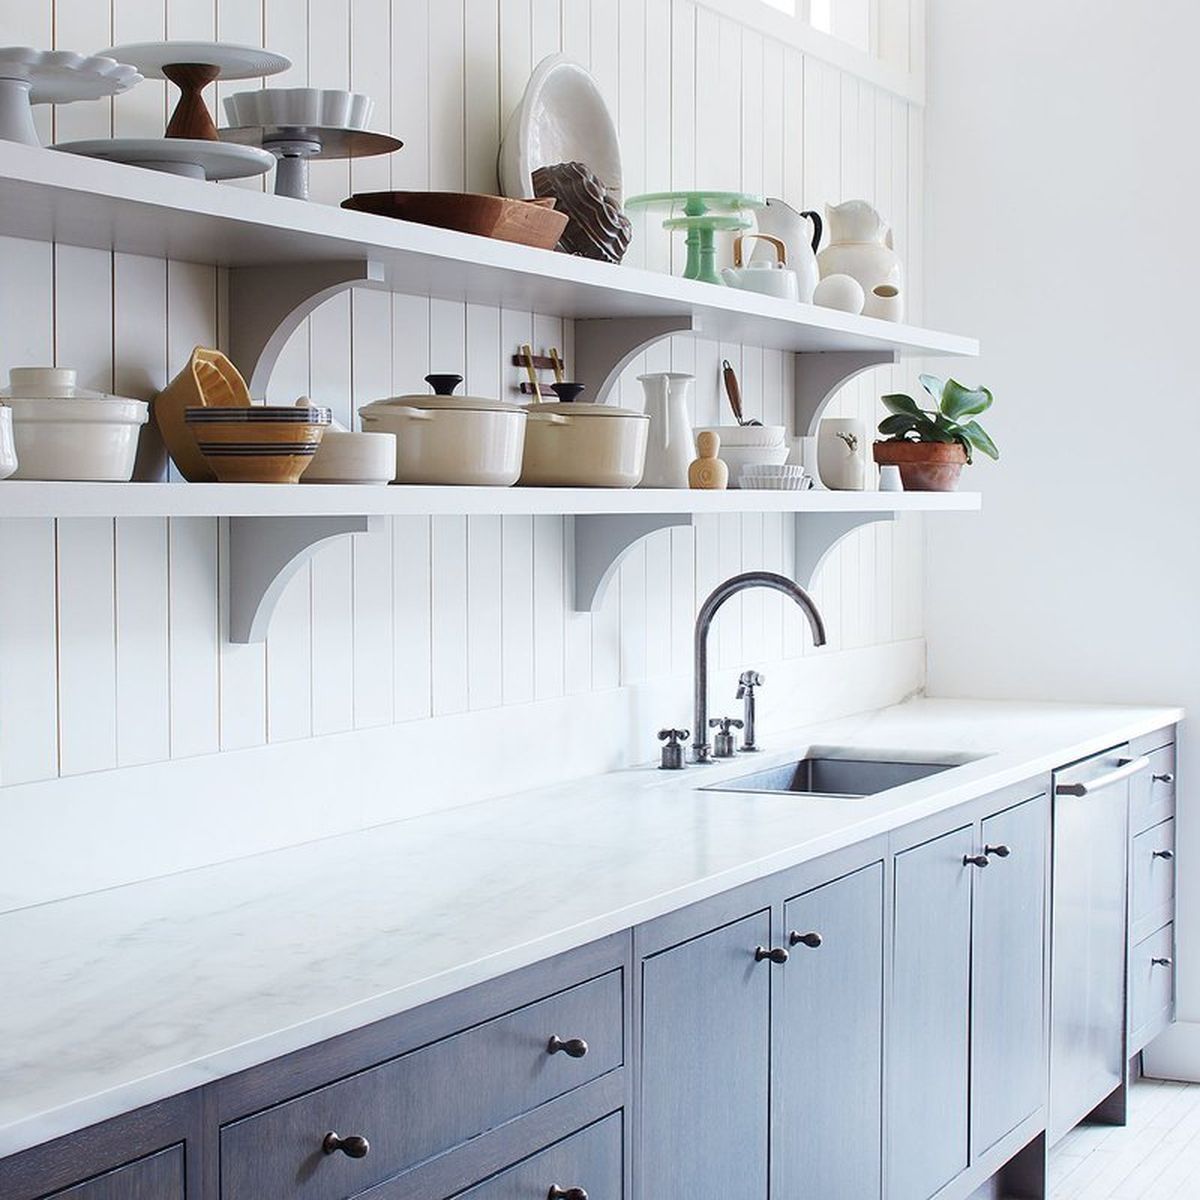
How Do I Paint Kitchen Cabinets White: Ultimate Guide
Are you dreaming of a fresh, bright kitchen without the hefty price tag of a full remodel? Painting your kitchen cabinets white could be the perfect solution.
Imagine stepping into a space that feels open, clean, and modern, all thanks to a simple yet effective color change. But here’s the catch: achieving a flawless finish requires more than just a brush and a can of paint. You might be wondering, how do you ensure that your cabinets not only look stunning but also withstand the test of time?
In this guide, you’ll discover the secrets to painting your kitchen cabinets white like a pro. Ready to transform your kitchen into a crisp, inviting haven? Let’s dive in and uncover the tips and tricks that will make your painting project a success.
Choosing The Right Paint
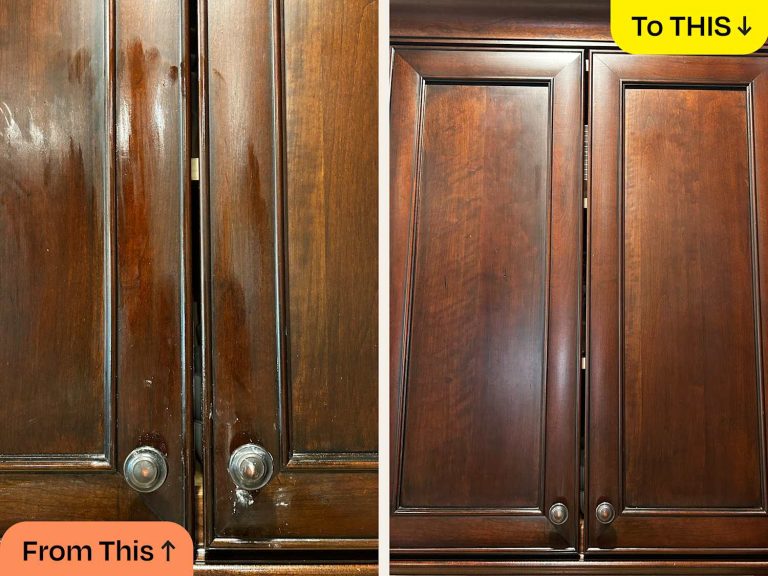
Transform your kitchen by painting cabinets white. Begin by choosing a durable, high-quality paint. Proper preparation and priming ensure a smooth finish.
Choosing the right paint for your kitchen cabinets is crucial to achieve a perfect finish. You want them to look fresh and elegant, but not every paint is suited for this task. The wrong choice can lead to peeling, fading, and an overall lackluster appearance. When I painted my kitchen cabinets white, I discovered how selecting the right paint dramatically influenced the final result. It was an eye-opener realizing that quality matters more than quantity. So, what exactly should you consider when picking paint for your cabinets?Types Of Paint
Understanding the different types of paint is essential for a successful project. There are primarily three types that you might consider: latex, oil-based, and chalk. – Latex Paint: Known for its ease of use and quick drying time, latex paint is water-based and generally less toxic. It’s a great choice if you’re looking for a smooth finish and easy cleanup. However, its durability can be questionable in high-traffic areas like kitchens. – Oil-Based Paint: This type offers a hard, durable finish that’s excellent for kitchen cabinets. Although it takes longer to dry and emits strong fumes, its longevity makes it worthwhile for a lasting shine and resistance to wear. – Chalk Paint: If you want a matte finish with a vintage feel, chalk paint is ideal. It’s forgiving for beginners but requires a sealant for protection against kitchen spills and stains. Which type resonates with your vision for your kitchen?Color Selection
Choosing the right shade of white can be surprisingly complex. Not all whites are created equal, and the undertones can dramatically affect the room’s ambiance. – Warm Whites: These shades often have yellow, pink, or peach undertones. They create a cozy, inviting atmosphere. If your kitchen receives ample natural light, a warm white can enhance the brightness without feeling sterile. – Cool Whites: Whites with blue or green undertones can give your kitchen a crisp, modern look. They work well in spaces with less natural light and can complement stainless steel appliances. – Neutral Whites: These are the go-to for a classic look. Neutral whites balance warm and cool tones, making them versatile for various design styles. When I picked a shade for my cabinets, I held up samples in different lighting conditions to see how they looked throughout the day. What mood do you want to set in your kitchen? Choosing the right paint is not just about aesthetics—it’s about functionality and longevity. Your kitchen is a bustling space, and the paint should withstand daily wear and tear while maintaining its appeal.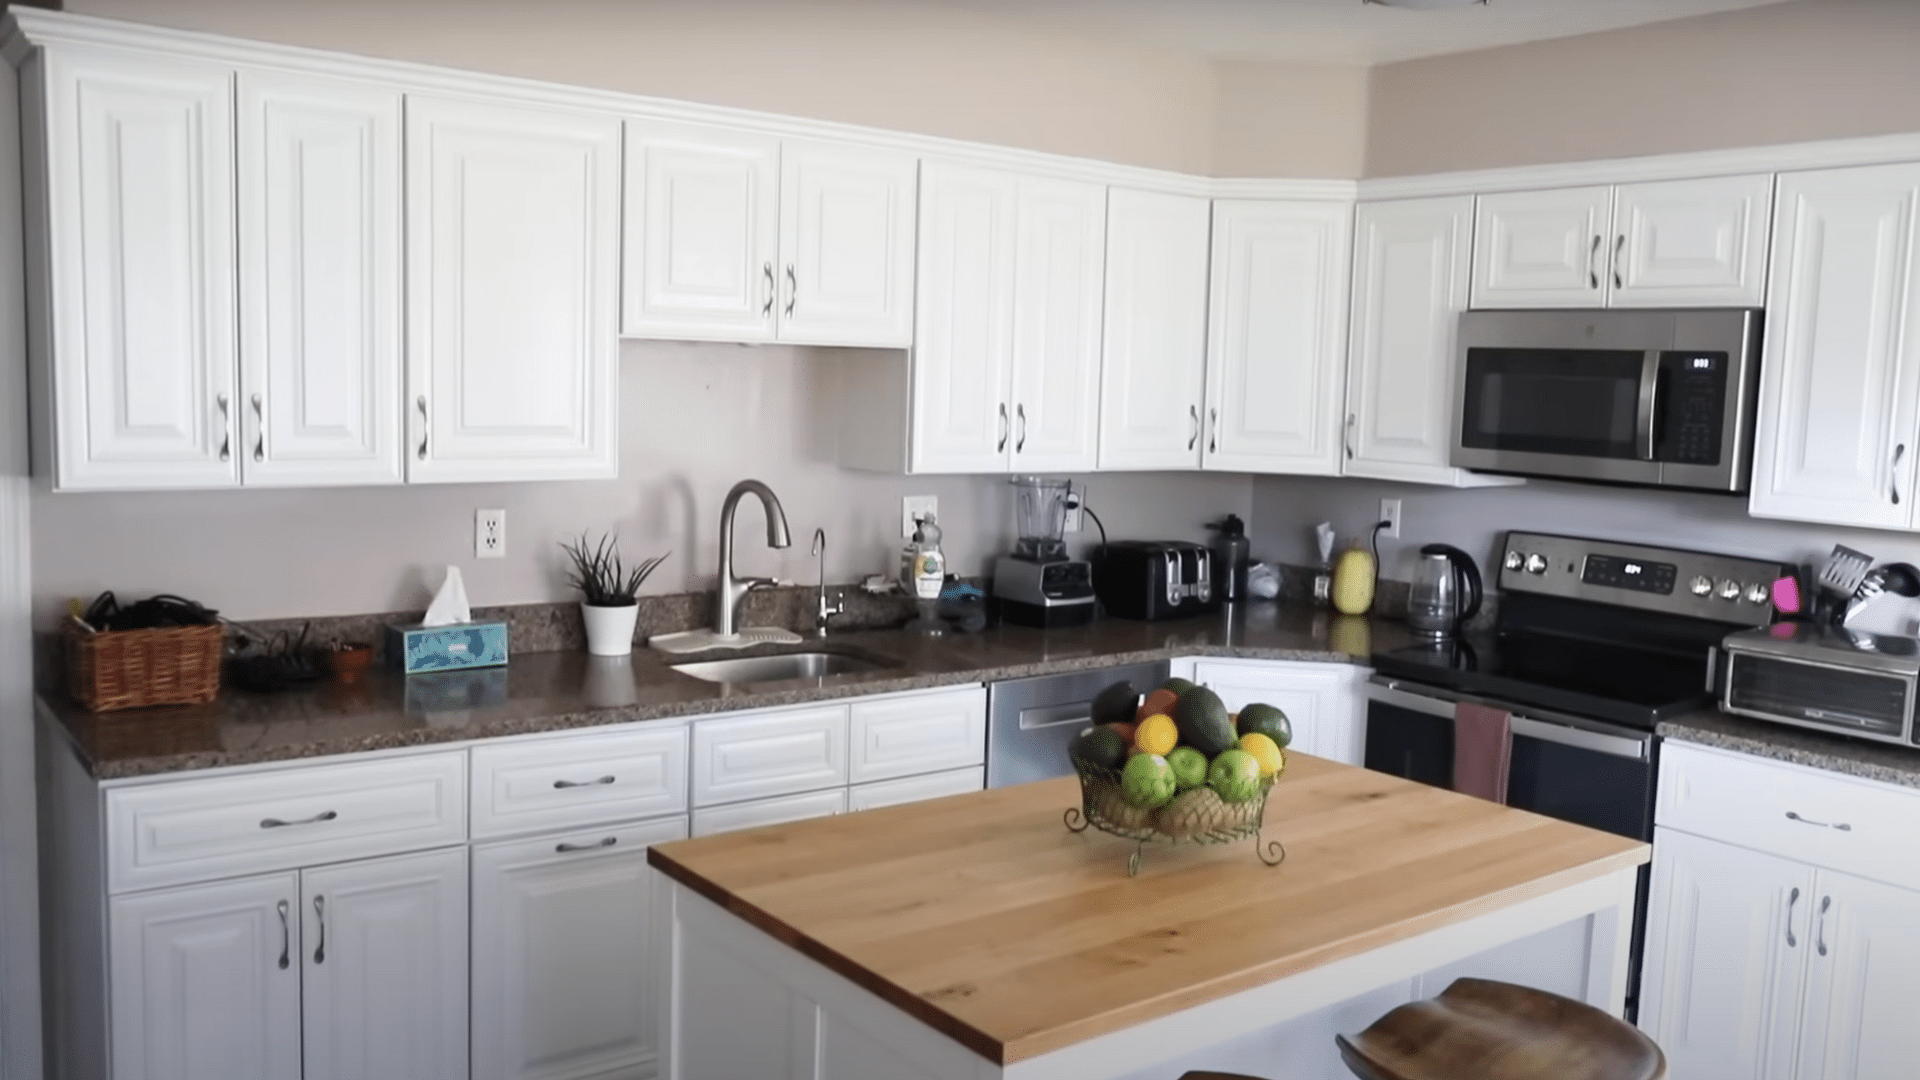
Credit: www.thepaintedhinge.com
Gathering Essential Tools And Materials
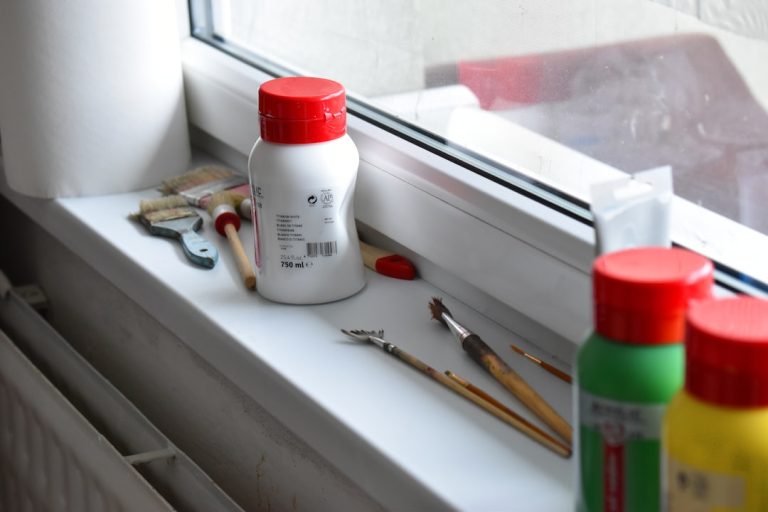
Before painting your kitchen cabinets white, gather essential tools and materials. Proper preparation ensures a smooth and efficient painting process. This guide highlights key tools and recommended materials for a successful project.
Must-have Tools
- Screwdriver: Remove cabinet doors and hardware.
- Sandpaper: Smoothen surfaces for better paint adhesion.
- Paintbrushes: Use for detailed work and edges.
- Roller: Perfect for large, flat surfaces.
- Drop cloths: Protect floors and counters from paint spills.
- Painter’s tape: Mask off areas you don’t want to paint.
- Putty knife: Fill in any dents or holes.
- Drill: Reattach doors and hardware easily.
- Vacuum: Clean dust after sanding.
Recommended Materials
- Primer: Ensures paint adheres well to the surface.
- White paint: Choose high-quality, durable paint for cabinets.
- Wood filler: Repair any damage before painting.
- Degreaser: Clean cabinets thoroughly before painting.
- Sealer: Protects paint and prolongs its life.
- Cleaning rags: Wipe surfaces clean during preparation.
Preparing The Cabinets
Preparing kitchen cabinets for painting starts with cleaning and sanding them thoroughly. Remove all handles and hinges to ensure a smooth finish. Use a primer to cover imperfections and create a perfect base for white paint.
Preparing your kitchen cabinets for a fresh coat of white paint is a critical step that sets the foundation for a flawless finish. It’s not just about slapping on paint; it’s about creating a surface that ensures durability and a pristine look. Let’s delve into the essential steps involved in getting your cabinets ready for their new look.Cleaning The Surface
Start by removing any grease, grime, or dust that has accumulated over time. A simple mixture of warm water and a mild detergent can work wonders. Use a soft cloth or sponge to scrub the surfaces thoroughly. Don’t forget the nooks and crannies where dirt loves to hide. Rinse with clean water and let the cabinets dry completely. A clean surface is crucial for the paint to adhere properly.Removing Doors And Hardware
Take the time to remove cabinet doors and hardware, including knobs, handles, and hinges. This step prevents paint from getting on these elements, ensuring a more professional finish. Label the doors and hardware as you remove them. This will make reassembly a breeze. Store screws and other small parts in a labeled container to avoid misplacing them. A little organization now will save you headaches later.Repairing And Sanding
Inspect your cabinets for any dents, scratches, or imperfections. Use wood filler to repair any damage and ensure a smooth surface. Once the filler dries, sand all surfaces with fine-grit sandpaper. Sanding not only smooths out repairs but also helps the primer and paint adhere better. Wipe down the cabinets with a damp cloth to remove any dust from sanding. Remember, a smooth surface is your best friend for a flawless paint job. By taking the time to properly prepare your cabinets, you’re setting yourself up for success. Have you ever tried painting cabinets without thorough prep? If so, you know how crucial these steps are to achieving that perfect white finish.
Credit: food52.com
Priming The Cabinets
Priming ensures a smooth surface for painting kitchen cabinets white. It helps the paint adhere better and last longer. Use a high-quality primer for best results.
Priming your kitchen cabinets is crucial for a lasting finish. It prepares the surface, ensuring your paint sticks well and looks smooth. White cabinets need special attention since flaws show more easily. Proper priming helps avoid these issues and keeps your cabinets looking fresh.Selecting The Primer
Choosing the right primer is key to success. Oil-based primers are durable and block stains well. They work best for cabinets in high-use areas. Latex primers dry fast and clean easily with water. They’re ideal for less busy kitchens. Consider using a bonding primer for slick surfaces. It improves paint adhesion, especially on glossy cabinets.Application Techniques
Start by cleaning the cabinet surfaces thoroughly. Remove any grease and dirt. Use a degreaser for stubborn spots. Once clean, lightly sand the cabinets. This helps the primer adhere better. Apply the primer with a brush for corners and edges. A roller is great for flat surfaces and saves time. Use even strokes to avoid drips and runs. Let the primer dry completely before painting. This ensures a smooth finish and lasting results.Painting Techniques
Painting kitchen cabinets white can brighten your space. Begin by removing the cabinet doors and cleaning them thoroughly. Sand the surface to ensure the paint adheres well. Apply a primer and let it dry completely before painting with a durable, high-quality white paint.
Painting kitchen cabinets white can completely transform your space, giving it a fresh and modern look. The right painting techniques can make all the difference in achieving a smooth, professional finish. Whether you’re a seasoned DIYer or a beginner, understanding the nuances of different methods will help you avoid common pitfalls and achieve the desired result. Let’s explore some key techniques to help you on your journey.Brush Vs. Spray
Choosing between a brush and a spray gun is crucial. A brush is more accessible and forgiving, allowing you to work at your own pace. It’s perfect for smaller kitchens or if you’re on a budget. However, brush strokes can be visible, especially if you’re not careful. Spray painting, on the other hand, offers a sleek, even finish that can look factory-made. It’s faster and ideal for larger areas, but requires more preparation. You’ll need to mask off areas to prevent overspray and ensure proper ventilation. Which method suits your needs better?Layering And Finishing
Layering is key to a durable, long-lasting finish. Start with a good primer to ensure paint adheres properly, especially if your cabinets are glossy or dark. Once the primer is dry, apply thin coats of paint, allowing each to dry completely before the next. This prevents drips and uneven surfaces. After the final coat, finishing touches are essential. A clear topcoat can protect your paint job from scratches and stains. It also adds a subtle sheen that enhances the aesthetic appeal. Are you ready to enjoy a kitchen that looks as good as new?Drying And Curing Process
Painting kitchen cabinets white can dramatically transform your space, offering a fresh and clean look. However, achieving that perfect finish depends heavily on the drying and curing process. This critical stage ensures your paint job lasts and looks flawless, avoiding any unwanted smudges or streaks. Let’s dive into some key factors that play a role in this process, focusing on time considerations and environmental factors.
Time Considerations
Patience is essential when waiting for paint to dry and cure. Drying typically takes a few hours, depending on the type of paint used. However, the curing process, which is when the paint hardens completely, can take several days. Rushing this stage might result in sticky cabinets or easily chipped surfaces.
Consider planning your painting project around a schedule where you can afford the wait. Can you set aside a weekend or a few days without using the kitchen? If not, you might end up with cabinets that are less durable and prone to damage.
Environmental Factors
The environment in which your cabinets dry can significantly affect the outcome. Humidity, temperature, and ventilation are crucial elements. High humidity can slow down the drying process, leaving you frustrated with longer waiting times.
Ensure your kitchen is well-ventilated, possibly using fans or opening windows to speed up drying. A mild temperature is ideal—extreme temperatures can either speed up drying too much or prevent it from occurring properly.
Have you considered how seasonal changes might impact your painting project? Painting in the spring or fall might offer the most balanced conditions for drying and curing.
Reassembling The Cabinets
Reassembling the cabinets after painting requires patience and precision. Ensure each piece is dry and free from dust. Carefully align hinges and screws to restore your kitchen’s fresh look.
Reassembling your kitchen cabinets is an exciting step. This part brings your vision to life. Once the paint dries, it’s time to reassemble. It involves attaching doors and hardware. Then, making final adjustments. Follow these steps for a perfect finish.Attaching Doors And Hardware
Start by reattaching the cabinet doors. Align each door with its hinges. Ensure they fit snugly. Use a screwdriver to secure the screws. Check if the doors open smoothly. Install the hardware next. Attach knobs and handles. This adds functionality and style. Choose designs that match your kitchen theme. Use a measuring tape for precise placement. Avoid uneven spacing. Tighten screws to keep hardware firm.Final Adjustments
Now, focus on final adjustments. Check door alignment. Make sure doors close properly. Adjust hinges if needed. Ensure the doors are level. Look for gaps between doors and frames. Correct any misalignments. Test each cabinet door. Open and close them several times. Ensure they don’t stick or squeak. Check the hardware. Make sure it’s secure. Tighten any loose screws. Your cabinets should look polished and function well. Reassembling is the last step. Make sure everything fits perfectly. Enjoy your fresh, white cabinets.
Credit: usacabinets.com
Maintenance Tips
Begin by cleaning cabinets thoroughly to remove grease and grime. Sand surfaces lightly to ensure paint adhesion. Apply primer and let it dry completely before painting. Use a high-quality paintbrush or roller for even coverage. Allow cabinets to dry fully before reattaching doors and hardware.
Painting your kitchen cabinets white can breathe new life into your space, making it look fresh and modern. However, maintaining that pristine look requires some effort. With the right care, your white cabinets can remain stunning for years. Here are some essential maintenance tips to keep them in top-notch condition.Cleaning Advice
Keeping your white kitchen cabinets clean is crucial to preserving their appeal. Start by wiping them down with a damp cloth regularly to prevent dust and grime buildup. Avoid using harsh chemicals; instead, opt for mild dish soap mixed with warm water. For stubborn stains, a paste made from baking soda and water can work wonders. Gently scrub the spot with a soft cloth, taking care not to damage the paint. Always dry the cabinets thoroughly after cleaning to prevent moisture damage.Long-term Care
Long-term care involves more than just cleaning. Consider using cabinet liners to protect the shelves from scratches and spills. This simple addition can make a significant difference in maintaining the interior of your cabinets. You might notice small chips or scratches over time. Touch-up paint can be your best friend in these situations. Keep a small supply of the original cabinet paint to tackle these minor imperfections swiftly. Have you considered the impact of sunlight on your cabinets? Direct sunlight can cause discoloration over time. Using blinds or curtains can help minimize this effect, keeping your white cabinets looking as good as new. By incorporating these maintenance tips into your routine, you can ensure your white kitchen cabinets remain a bright and beautiful feature of your home.Frequently Asked Questions
What Tools Do I Need To Paint Cabinets?
To paint kitchen cabinets, you’ll need a few essential tools. Gather sandpaper, primer, high-quality paint, brushes, and rollers. Consider using a paint sprayer for a smoother finish. A screwdriver is useful for removing cabinet doors. Drop cloths and painter’s tape help protect your kitchen surfaces.
How Do I Prep Cabinets For Painting?
Proper preparation is crucial for a smooth paint job. Start by removing cabinet doors and hardware. Clean surfaces with a degreaser to remove grime. Sand the cabinets to ensure paint adherence. Apply a primer to prevent stains and improve paint durability.
Should I Use Primer Before Painting?
Yes, using a primer is essential for painting cabinets. Primer helps paint adhere better and provides a smooth finish. It seals the surface, preventing stains from bleeding through. Choose a high-quality primer suitable for your cabinet material. This step ensures lasting results and enhances paint durability.
How Many Coats Of Paint Are Needed?
Typically, two coats of paint are sufficient for cabinets. First, apply a thin, even coat and let it dry. Then, apply a second coat for complete coverage. Ensure each coat dries fully before applying the next. Additional coats may be necessary for darker colors or uneven surfaces.
Conclusion
Painting kitchen cabinets white is a rewarding project. It brightens the room. Follow the steps carefully for best results. Clean the surfaces thoroughly. Sanding helps the paint stick better. Use a primer to ensure smooth coverage. Choose quality white paint for durability.
Apply thin coats and let each dry. Patience is key to a flawless finish. Keep your workspace organized and ventilated. Remember, practice makes perfect. Soon, your kitchen will look fresh and inviting. Enjoy your new, brighter kitchen space. Your efforts will surely pay off, adding value and charm to your home.