
Are you dreaming of a fresh, stylish kitchen that reflects your unique taste? One of the most impactful ways to transform your kitchen is by building your own countertop.
Imagine the satisfaction of crafting a surface where you’ll prepare countless meals and gather with loved ones. It’s not just about aesthetics—it’s about creating a space that feels truly yours. This guide will walk you through every step of the process, ensuring you have the confidence and knowledge to tackle this rewarding project.
Whether you’re a DIY enthusiast or just looking to save some money, you’ll find everything you need right here to get started. Are you ready to create a countertop that combines beauty with functionality? Let’s dive in!
Choosing The Right Material
Selecting the ideal material for kitchen countertops involves considering durability and style. Granite offers a timeless look, while quartz provides easy maintenance. For a budget-friendly option, laminate is versatile and affordable.
Choosing the right material for your kitchen countertop is crucial. It affects not just the look, but also the function and maintenance. Different materials offer unique benefits and challenges. It’s important to understand each option to make an informed decision. Here are some popular choices for kitchen countertops:Granite And Marble
Granite and marble are natural stones. They add elegance to any kitchen. Granite is known for its durability. It is heat and scratch-resistant. Marble offers a classic look. It requires more care due to its porous nature. Both options can increase property value.Quartz And Engineered Stone
Quartz countertops are made from engineered stone. They offer a sleek and modern look. Quartz is non-porous and easy to clean. It resists stains and scratches. Engineered stone provides a wide range of colors and patterns. It’s a great option for busy kitchens.Laminate Options
Laminate countertops are budget-friendly. They come in various designs and colors. Laminate is easy to install and maintain. It’s a practical choice for many homeowners. Though less durable than stone, it’s perfect for low-traffic areas. Laminate can mimic the look of wood or stone.Wood And Butcher Block
Wood countertops add warmth to the kitchen. They offer a rustic feel. Butcher block is a popular wood option. It’s ideal for food preparation. Wood requires regular sealing to prevent damage. It can be sanded and refinished to look new. Wood adds charm and character to any kitchen.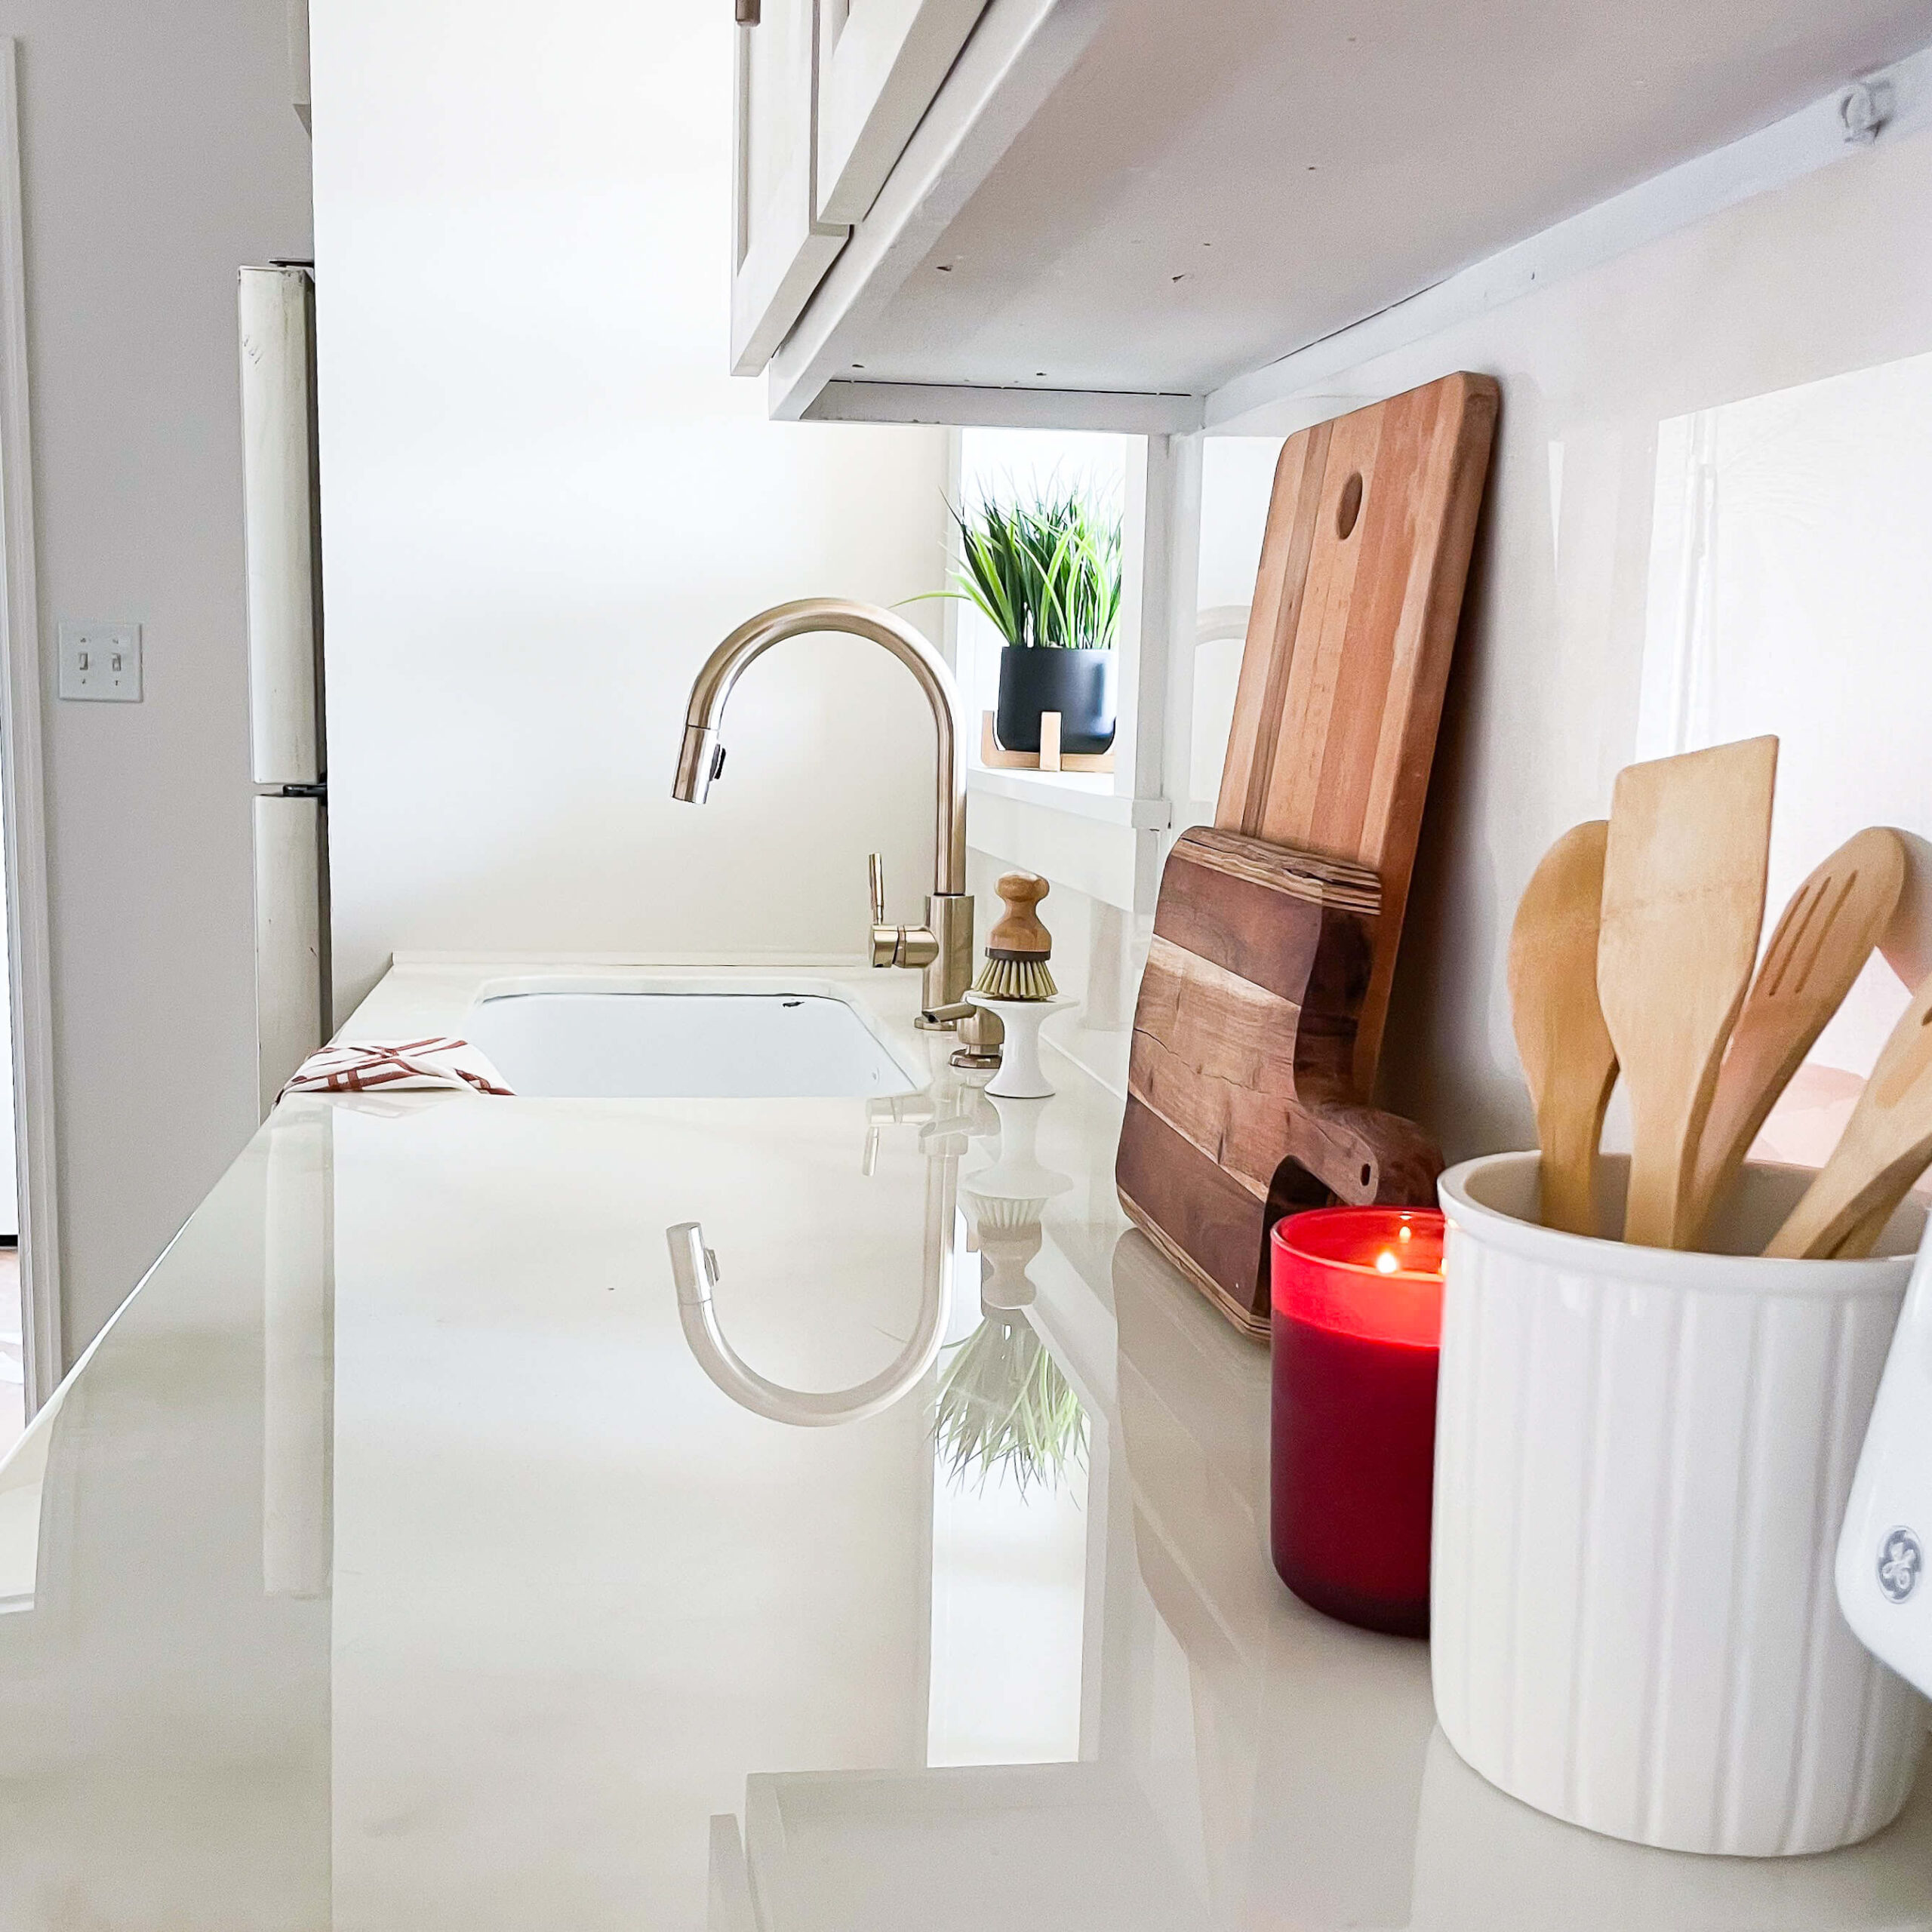
Credit: crystelmontenegrohome.com
Tools And Materials Needed
Gather essential tools like a tape measure, saw, and drill. Select materials such as wood, laminate, or stone. Ensure adhesive and finishing supplies are on hand.
Building a kitchen countertop can be a rewarding DIY project, but success hinges on having the right tools and materials at your disposal. Whether you’re a seasoned handyman or a first-time renovator, gathering what you need before diving in is crucial. Let’s take a closer look at the essentials that will set you up for a smooth and efficient process.Essential Tools
Having the right tools is half the battle. A sturdy tape measure will help you ensure precise dimensions. You’ll need a circular saw to cut materials to the exact size. A jigsaw comes in handy for more intricate cuts, particularly around sinks or corners. Don’t forget a drill for securing the countertop in place, and a level to check that everything sits evenly. Lastly, have some sandpaper or a sander ready for finishing touches and smoothing edges.Safety Equipment
Safety should always be your priority. Equip yourself with safety goggles to protect your eyes from dust and debris. Wearing a dust mask is wise to avoid inhaling particles, especially when cutting or sanding. Gloves will protect your hands from sharp edges and provide a better grip on tools. Ear protection is also advisable when using loud equipment like saws. Remember, taking precautions can prevent accidents and ensure a smooth workflow.Material Checklist
To build a durable countertop, you’ll need high-quality materials. Choose your countertop surface wisely—granite, laminate, or wood are popular options, each offering unique benefits. Make sure to have plywood for the base, as it provides solid support. You’ll need adhesive or caulking to secure the countertop surface to the base. Don’t forget screws and brackets for additional stability. Lastly, select a finish that suits your kitchen’s style, whether it’s a varnish for wood or a sealant for stone. Are you ready to embark on your countertop project with confidence? Gathering these tools and materials beforehand will make your task not just doable, but enjoyable. What will you build today that transforms your kitchen into a masterpiece?Measuring And Planning
Careful measurement of your kitchen space ensures a well-fitted countertop. Consider layout, appliances, and cabinet height for planning. Accurate dimensions prevent installation issues and enhance kitchen functionality.
Measuring and planning are crucial steps in building a kitchen countertop. Getting this part right sets the stage for a successful project. You’ll avoid costly mistakes and ensure a perfect fit. Let’s dive into the essentials of accurate measurements, design considerations, and layout planning.Accurate Measurements
Start with a tape measure and a notepad. Measure the length and width of the area. Write down every number clearly. Check twice to avoid errors. Use a level to check the flatness of the surfaces. Consider the thickness of the material. Each detail matters for a precise fit.Design Considerations
Think about the style you want. Will it match the rest of your kitchen? Consider the color and texture of the countertop. It should complement your cabinets and floor. Also, think about the material. Granite, quartz, or laminate? Each has its pros and cons. Choose one that suits your lifestyle and budget.Layout Planning
Sketch a simple layout on paper. Include all appliances and fixtures. Consider the space needed for a sink and stove. Plan for any overhangs or edges. Check the placement of seams if using multiple pieces. Ensure easy movement and accessibility. A well-planned layout enhances both function and style.
Credit: www.youtube.com
Preparing The Workspace
Creating a workspace is crucial for building a kitchen countertop. Clear clutter and organize tools for easy access. Ensure adequate lighting to enhance visibility and precision during the installation process.
Creating the perfect kitchen countertop starts with a well-prepared workspace. Without a doubt, the preparation phase is crucial to ensure smooth installation and avoid hiccups along the way. Imagine diving headfirst into a project only to realize you haven’t cleared enough space or your tools are scattered. To avoid such pitfalls, let’s focus on how you can best prepare your workspace for building a kitchen countertop.Clearing The Area
Before lifting a finger, ensure the area where the countertop will be installed is completely cleared. Remove all items from the countertop space, including appliances, decorative pieces, and any stray objects. Consider it a fresh start; a clean slate where creativity can flourish. Have you ever tried cooking in a cluttered kitchen? It’s the same principle. A clear area will help you visualize the end result better and make the process more efficient.Protecting Surroundings
Once the area is clear, think about protecting the surroundings. Cover nearby appliances, flooring, and cabinetry with plastic sheets or drop cloths. This step is vital to prevent scratches, paint splatters, or adhesive spills. Isn’t it frustrating when you finish a project only to find a new problem? Protecting your surroundings saves you from the hassle of unforeseen cleaning or repairs later. It’s like wearing a raincoat on a stormy day; it just makes sense.Assembling Tools
Now, let’s gather your tools. Make a list of essential items like measuring tape, saw, adhesive, and screws, then ensure they are within easy reach. You don’t want to be halfway through measuring only to realize you left your saw in the garage. Think about when you cook; having all the ingredients ready makes the process smoother and more enjoyable. The same goes for building a countertop. Having everything assembled and at hand will keep your momentum going and your spirits high. In this phase, preparation is key. Are you ready to embark on this journey of transforming your kitchen space?Cutting And Shaping
Crafting the perfect kitchen countertop begins with cutting and shaping. Measure the space precisely for accuracy. Use a saw to trim the material to fit your kitchen design.
Cutting and shaping your kitchen countertop is an art that requires precision and attention to detail. It’s where your plan starts taking tangible form, setting the stage for a functional and beautiful kitchen. With the right tools and techniques, you can achieve professional-level results even if you’re a DIY enthusiast. Let’s dive into the essentials of cutting and shaping your countertop.Using The Right Saw
Choosing the right saw is critical for clean, accurate cuts. Circular saws are often recommended for straight cuts, while jigsaws are perfect for more intricate shapes. Before you start, ensure your saw blade is sharp and appropriate for the material you’re working with. A diamond-tipped blade works wonders on stone or quartz, while a carbide blade suits wood and laminate. Remember to secure the countertop firmly to prevent any movement. This not only ensures straight cuts but also keeps you safe.Smoothing Edges
After cutting, the edges of your countertop will need smoothing for a polished look. Sanding is your best friend here. Start with a coarse-grit sandpaper to remove major imperfections. Gradually move to finer grits for a smooth finish. Using a sanding block or an orbital sander can make this task easier and more uniform. Pay special attention to rounded edges, as they often require more effort to perfect.Creating Cutouts
Creating cutouts for sinks or stovetops requires precision. Begin by marking the area you need to remove with a pencil or masking tape. Drill a pilot hole within the marked area to insert your jigsaw blade. This allows you to cut the shape accurately. Take your time and follow the marked lines closely. Cutting too fast can lead to mistakes or damage to the countertop. Always double-check your measurements before making the final cut. In your kitchen renovation journey, what other customizations are you considering to make your space truly yours?Installing The Countertop
Installing the countertop is a crucial phase in kitchen remodeling. This step ensures your countertop is secure and ready for daily use. Precision and attention to detail are essential. Let’s explore the process of installing your countertop seamlessly.
Positioning The Countertop
Start by placing the countertop on the cabinets. Ensure it fits perfectly and aligns with the edges. Check for gaps or uneven surfaces. Use a level tool to confirm it is balanced. Adjust as needed for a snug fit.
Securing In Place
Once positioned correctly, it’s time to secure it. Use screws to attach the countertop to the cabinets. Drill through the brackets underneath for a firm hold. Ensure the screws are tight for stability. Double-check each section for security.
Sealing Joints
Sealing the joints is essential to prevent leaks. Apply silicone sealant along the seams. Smooth it with a spatula for an even finish. Ensure all gaps are covered properly. Allow the sealant to dry for maximum effectiveness.
Finishing Touches
You’ve put in a lot of effort to build your kitchen countertop, and now it’s time for the exciting finishing touches. These final steps transform your countertop from functional to fabulous. They ensure not only a polished appearance but also durability and long-term satisfaction. Let’s delve into the specifics of these crucial finishing tasks.
Polishing The Surface
Polishing gives your countertop a smooth and shiny finish. Use a high-quality polish that suits your countertop material. Apply it evenly using a soft cloth or buffer. This step not only enhances the aesthetic appeal but also adds a protective layer.
Think about the satisfaction of seeing your reflection in a perfectly polished surface. It’s worth the effort and adds a touch of elegance to your kitchen.
Have you ever noticed how a well-polished surface can lift your mood? It’s like the countertop is smiling back at you.
Adding Edge Details
Edge details can dramatically change the look of your countertop. You might choose a simple beveled edge or something more intricate. Adding edge details requires precision, so take your time.
Consider how the edge complements your kitchen’s overall design. A well-chosen edge can be a subtle yet impactful way to personalize your space.
Do you know how a simple edge can make your countertop look custom-made? It’s these little details that make a big difference.
Final Inspection
Conducting a final inspection ensures everything is perfect before you start using your countertop. Check for any imperfections or areas that need extra attention. This is your chance to ensure that your hard work has paid off.
Walk around the countertop, look at it from different angles, and make sure it meets your expectations. This attention to detail is what differentiates a good job from an excellent one.
Are there any spots that catch your eye? Address them now, and you’ll thank yourself later.
With these finishing touches, your kitchen countertop is ready to shine. Each step is an opportunity to infuse your personality into your kitchen, making it a space you truly enjoy. So, what unique touches will you add to your countertop? Let your creativity flow!
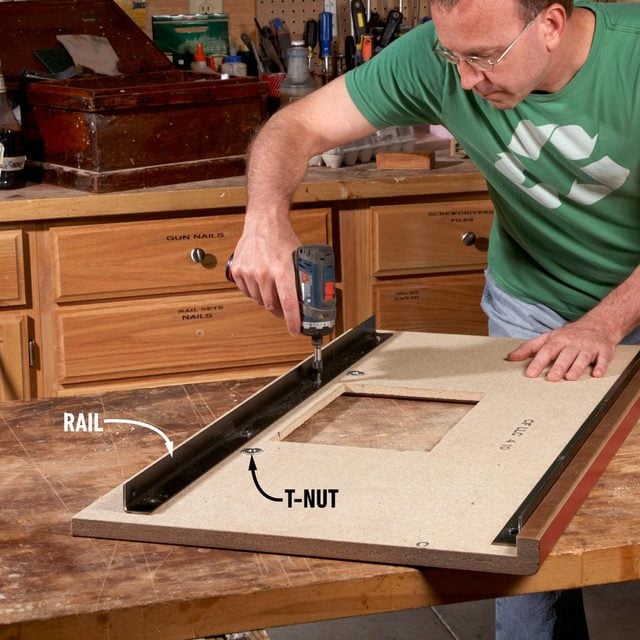
Credit: www.familyhandyman.com
Maintenance And Care
Maintaining a kitchen countertop involves regular cleaning with mild soap and water. Avoid harsh chemicals to prevent damage. Periodically seal the surface to protect against stains and scratches.
Maintaining your kitchen countertop keeps it looking great and lasting longer. Proper care prevents stains, scratches, and other damage. Here’s how you can maintain and care for your kitchen countertop effectively.Cleaning Tips
Use mild soap and warm water for daily cleaning. Avoid harsh chemicals that can damage the surface. A soft cloth or sponge works best for wiping down counters. For stubborn stains, use a mixture of baking soda and water. Apply, let it sit, then gently scrub. Always dry the countertop after cleaning to prevent water spots.Preventing Damage
Use cutting boards to avoid scratches on the surface. Place hot pans on trivets or heat pads. This prevents heat damage. Avoid dropping heavy objects on the countertop to prevent cracks or chips. Use coasters under glasses to prevent ring marks. Keep acidic foods like lemon juice away from natural stone surfaces.Routine Maintenance
Regularly check for any signs of damage. Repair minor scratches or chips promptly. Reseal natural stone countertops every year for protection. Keep countertops dry to prevent mold or mildew. Inspect seams and edges for any wear or damage. Keep an eye on any changes to the surface texture or color. Regular maintenance extends the life of your countertop significantly.Frequently Asked Questions
Can I Make My Own Kitchen Countertops?
Yes, you can create your own kitchen countertops. Choose materials like wood, concrete, or laminate. Gather tools and follow tutorials. Ensure precise measurements and take safety precautions. Save money and customize to your style.
What Kind Of Wood Do You Use For Kitchen Countertops?
Popular woods for kitchen countertops include maple, cherry, walnut, and oak. Each offers durability and unique grain patterns. Choose hardwoods for longevity and aesthetic appeal. Proper sealing and maintenance enhance their lifespan. Consider your kitchen’s style and budget when selecting the wood type.
How Much Does It Cost To Fabricate A Countertop?
The cost to fabricate a countertop ranges from $25 to $120 per square foot. Material choice and complexity affect price. Popular options include granite, quartz, and marble. Installation fees are typically additional. Get quotes from local professionals for accurate pricing.
What Type Of Rock Would You Use To Build Countertops?
For countertops, use granite, quartz, or marble. Granite offers durability and elegance. Quartz provides low maintenance and versatility. Marble adds timeless beauty but requires sealing. Choose based on your preference for durability, maintenance, and aesthetics.
Conclusion
Building your kitchen countertop can be a rewarding project. It adds a personal touch. You save money and learn new skills. Start with the right materials. Follow the steps carefully. Measure twice, cut once. Consider the style that fits your kitchen.
Choose durable and easy-to-clean materials. Take your time. Enjoy the process. You’ll have a beautiful countertop. One that enhances your kitchen space. A countertop that reflects your taste. Remember to maintain it well. Your kitchen will be both functional and stylish.
Happy building!