How to Change Kitchen Cabinet Color: Transform Your Space
Executive Chef & Lead Commercial Kitchen Specialist at Daily Kitchup Test Lab
Are you tired of your kitchen’s current look? Do you feel like the heart of your home needs a refreshing change?
You’re not alone. Many homeowners dream of a stylish, modern kitchen but worry about the cost and effort involved. What if you could transform your kitchen with just a stroke of a brush? Yes, it’s possible! Changing the color of your kitchen cabinets is a game-changer that can breathe new life into your space without breaking the bank.
Imagine walking into a kitchen that feels brand new, where every meal feels like a treat and every morning coffee sets the perfect tone for your day. In this guide, we’ll unveil the secrets to easily and effectively changing your kitchen cabinet color. Stick with us, and you’ll discover how to achieve a stunning transformation that you’ll love every time you step into your kitchen. Ready to get started? Let’s dive in!
Choosing The Right Color
Changing the color of your kitchen cabinets is an exciting way to refresh the look of your kitchen without a full renovation. Selecting the perfect color can significantly impact the mood and aesthetics of your space. It’s essential to make a thoughtful choice that complements your kitchen style, enhances lighting, and resonates with current trends.
Assessing Your Kitchen Style
Your kitchen style plays a critical role in choosing the right cabinet color. Are you leaning towards a modern, minimalist look, or does your heart belong to a rustic, farmhouse vibe? Each style calls for a different palette. For example, sleek grays and whites often suit contemporary kitchens, while warm creams and earthy tones align with traditional styles.
Consider the materials and finishes already present in your kitchen. Are your countertops granite or butcher block? Is your backsplash a bold statement piece or a subtle accent? Matching or contrasting these elements with your cabinet color can create harmony or add a striking focal point.
Considering Lighting Effects
Lighting can dramatically alter the appearance of your chosen cabinet color. Natural light tends to enhance lighter hues, making them appear airy and spacious. On the other hand, darker shades can add depth and coziness, especially in well-lit kitchens.
Observe how light interacts with your kitchen throughout the day. Does morning sunlight pour in, or is artificial lighting more prevalent? Sometimes, what looks stunning under bright daylight might seem dull under evening lights. Test color samples in different lighting conditions to ensure your choice remains appealing around the clock.
Popular Color Trends
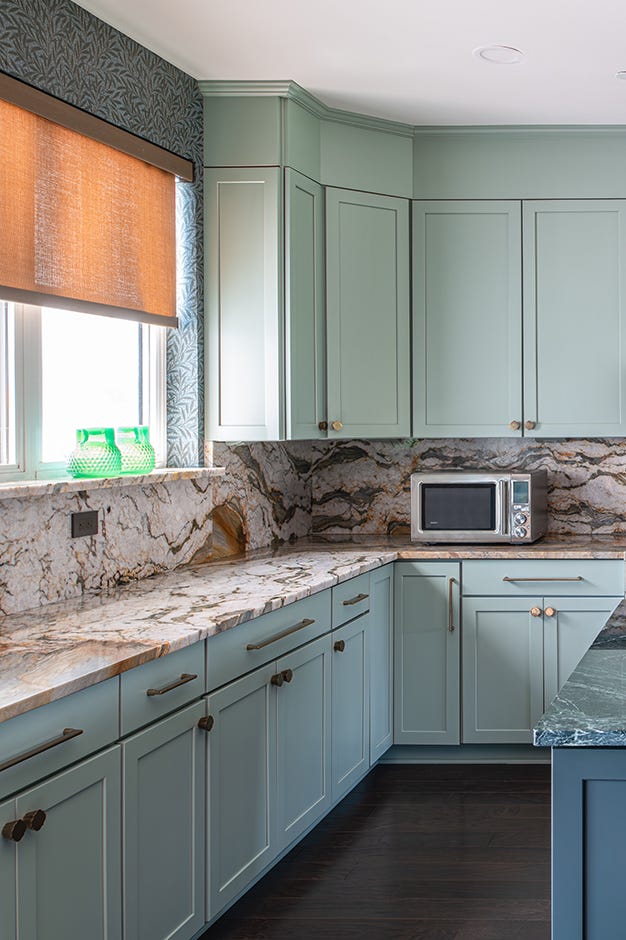
Staying abreast of color trends can inspire your cabinet color decision. Currently, deep navy, sage green, and bold black are making waves in kitchen design. These colors add sophistication and are surprisingly versatile, pairing well with various countertop and appliance finishes.
Neutral palettes remain timeless, with whites, creams, and grays offering a clean and classic backdrop. However, injecting a splash of color can personalize your space and reflect your unique taste. Would a daring red or sunny yellow ignite joy every time you step into your kitchen?
Ultimately, the best cabinet color for your kitchen is one that resonates with your style and enhances the overall ambiance of your home. Make it a reflection of your personality and enjoy the transformation it brings to your daily cooking experience.
Preparing Cabinets For Painting
Changing the color of your kitchen cabinets is a fantastic way to breathe new life into your cooking space. But before you reach for that paintbrush, preparing your cabinets properly is crucial. This preparation ensures your new cabinet color will look stunning and last longer. Let’s dive into the key steps that will help you achieve a professional finish.
Cleaning And Degreasing
Your kitchen cabinets endure a lot of grease and grime over time. Start by giving them a thorough cleaning. Use a mixture of warm water and a mild dish soap to wipe down the surfaces. Pay special attention to areas around handles and edges where grease tends to accumulate.
For stubborn stains, a degreaser can work wonders. Spray on the degreaser, let it sit for a few minutes, and then wipe it off with a clean cloth. You want your cabinets completely free of residue to ensure paint adheres smoothly.
Sanding For Smoothness
Sanding is your next step to achieving a smooth surface for painting. Use a fine-grit sandpaper to gently sand all cabinet surfaces. This helps remove any old paint or varnish and creates a slightly rough texture that allows new paint to stick better.
Remember to sand in the direction of the wood grain to avoid scratches. It might be tempting to rush through this part, but patience pays off with a flawless finish.
Repairing Imperfections
Before painting, inspect your cabinets for any dents, scratches, or holes. Use wood filler to patch up these imperfections. Apply the filler with a putty knife and smooth it out, letting it dry completely.
Once dried, sand the filled areas lightly to ensure they are level with the rest of the surface. This step ensures your cabinets look polished and professional, avoiding unsightly blemishes in the final paint job.
Are you ready to transform your kitchen with a fresh cabinet color? Proper preparation is the key to a stunning result. Roll up your sleeves and dive into these steps for a cabinet makeover you’ll love. What color will you choose to energize your kitchen space?
Selecting Paint And Tools
Changing the color of your kitchen cabinets can dramatically transform the look and feel of your cooking space. But before you dive into painting, selecting the right paint and tools is crucial. This process involves understanding the types of paints available, gathering essential painting tools, and ensuring you have the necessary safety equipment. Let’s explore how you can make informed choices that lead to a stunning kitchen makeover.
Types Of Paints
- Oil-based Paint:Known for its durability and smooth finish, oil-based paint is a great choice for cabinets. However, it requires longer drying times and proper ventilation.
- Acrylic Paint:This water-based option offers easy cleanup and quick drying. It’s less durable than oil-based paint but is more environmentally friendly.
- Chalk Paint:Ideal for a vintage or rustic look, chalk paint doesn’t require extensive prep work. It’s a great choice for DIY enthusiasts looking for a unique finish.
Essential Painting Tools
- Brushes and Rollers:Invest in high-quality brushes and rollers for a smooth application. Foam rollers are excellent for cabinet surfaces.
- Sandpaper:Using sandpaper to roughen the surface ensures better paint adherence. Consider multiple grits for different stages of prep.
- Primer:A primer is crucial for creating a base that helps paint stick better and last longer.
Safety Equipment
- Gloves:Protect your hands from paint chemicals and ensure a firm grip on tools.
- Face Mask:Use a mask to prevent inhalation of fumes, especially when working with oil-based paints.
- Eye Protection:Safety goggles are essential to shield your eyes from paint splashes and dust.
Have you ever found yourself halfway through a project only to realize you’re missing a key tool? Ensuring you have all the necessary items before starting can save you time and frustration. Consider making a checklist based on the above points to streamline your process. Remember, the right paint and tools not only enhance your cabinets but also make the painting process smoother and more enjoyable. What color will you choose to breathe new life into your kitchen?
Painting Techniques
Transform kitchen cabinets with fresh paint. Choose a suitable primer, then apply two coats of your chosen color. Finish with a sealant for durability and shine.
Changing the color of your kitchen cabinets can breathe new life into your space without the need for a full renovation. One of the most effective ways to achieve a fresh look is by using the right painting techniques. Whether you’re a DIY enthusiast or a novice, understanding these techniques will help ensure a smooth, professional-looking finish.Brush Vs. Spray Methods
Choosing between a brush and a spray can significantly impact the final appearance of your cabinets. A brush offers more control, especially in tight corners and intricate details. However, it can leave visible brush strokes if not applied carefully. On the other hand, spraying provides a smooth, even finish that’s hard to replicate with a brush. It might require more preparation, such as masking off areas to prevent overspray. Consider your skill level and the finish you desire before deciding on the method.Applying Primer
Primer is your best friend when it comes to painting cabinets. It creates a smooth base and helps the paint adhere better, ensuring durability. Always choose a primer that matches your paint type—oil-based primer for oil-based paint, and water-based for latex. Apply the primer in thin, even coats. This prevents drips and ensures a smooth surface for your paint. Remember to let it dry completely before moving on to the next step.Layering Paint Coats
When applying paint, patience is key. Thin, even layers work best, reducing the risk of drips and achieving a consistent color. Start with a light first coat and let it dry completely. Apply at least two to three coats, allowing ample drying time between each. This layering technique not only enhances the color depth but also improves durability. Have you ever considered how a simple change in color can transform your entire kitchen’s ambiance? By mastering these techniques, you can achieve a stunning cabinet makeover that reflects your style.Drying And Curing Process
Drying and curing are key steps to change kitchen cabinet color. They ensure a smooth, long-lasting finish. Proper drying prevents smudges, while curing hardens the paint for durability.
The drying and curing process is crucial for a flawless finish. It ensures the paint adheres well and lasts longer. This stage can make or break your kitchen cabinet transformation. Let’s dive into the best practices for drying and curing your newly painted cabinets.Optimal Drying Conditions
Ensure a dust-free environment for drying. Dust can ruin the paint’s finish. Maintain a consistent temperature between 65°F and 75°F. This range helps the paint dry evenly. Good ventilation is essential. Open windows or use fans to circulate air. This speeds up the drying process.Avoiding Common Mistakes
Don’t rush the drying process. Allow each coat to dry fully before adding another. Touching wet paint can leave fingerprints or smudges. Keep pets and children away from the drying area. Their presence can lead to accidental damage. Avoid applying thick coats. They take longer to dry and may not cure properly.Credit: www.facebook.com
Reassembly And Final Touches
Reassemble the kitchen cabinets carefully, ensuring each part fits perfectly. Apply final touches by checking for smooth finishes and clean lines. Adjust hinges and handles to enhance functionality and style.
Changing the color of your kitchen cabinets is a transformative project, breathing new life into your space without the hefty price tag of a complete renovation. Once your cabinets are painted and dried, the excitement of seeing your vision come together is palpable. However, the final steps of reassembly and adding those finishing touches are crucial to ensuring a professional and polished appearance. Let’s dive into the essential elements of this final phase.Reattaching Hardware
The moment your cabinets are painted, it’s time to reattach the hardware. Consider this an opportunity to refresh your style by either upgrading to new handles or simply polishing the existing ones. Ensure each screw is tightened properly, but avoid over-tightening to prevent damage. Remember, the hardware is like jewelry for your cabinets; it’s the detail that completes the look.Inspecting For Flaws
Before you declare the job done, take a moment to inspect your work. Look for any paint drips, uneven surfaces, or missed spots. This step is all about quality control. If you find any flaws, make quick touch-ups with a small brush. It’s the meticulous attention to detail that separates a good job from a great one. Are you satisfied with the finish?Adding Protective Coatings
To ensure your cabinets withstand daily wear and tear, adding a protective coating is essential. A clear polyurethane or wax sealant can provide the durability your cabinets need. Apply in thin layers, allowing ample drying time between coats. This not only enhances longevity but also adds a subtle sheen that elevates the overall appearance. Remember, the goal is to protect your hard work and keep your kitchen looking vibrant for years.Maintenance And Care Tips
Changing the color of your kitchen cabinets can dramatically transform your space, giving it a fresh, new look. However, maintaining that newly painted beauty requires a bit of attention and care. Understanding the right maintenance and care tips will help you keep your cabinets looking pristine for years to come. Let’s dive into some practical advice that will keep your kitchen cabinets in top condition.
Cleaning Painted Cabinets
Regular cleaning is crucial to preserve the finish of painted cabinets. Use a mild detergent mixed with warm water to wipe down the surfaces. Avoid abrasive cleaners that can scratch or dull the paint.
Consistency is key. Make it a habit to clean spills and stains promptly to prevent permanent marks. Consider using a microfiber cloth to gently clean without damaging the paint.
Preventing Damage
Preventing damage is easier than repairing it. Be mindful of how you use your cabinets. Avoid slamming doors or placing heavy objects on them.
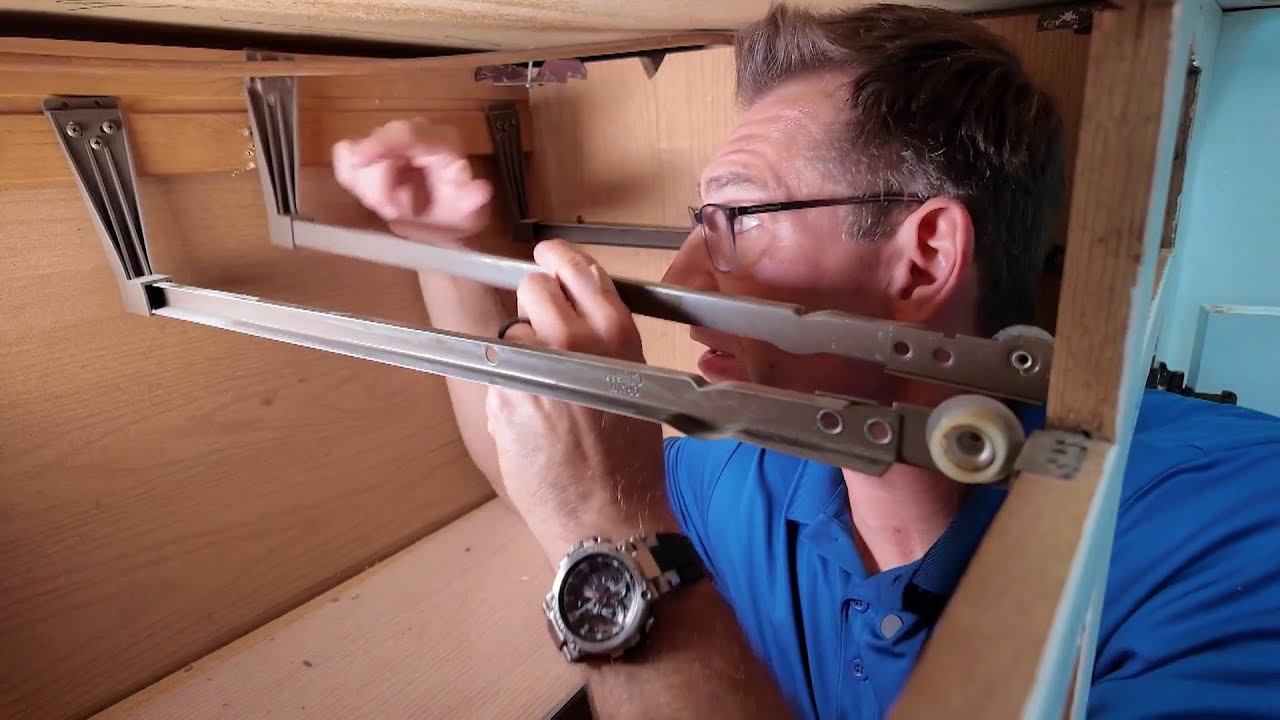
Consider installing bumpers or soft-close mechanisms to minimize impact damage. Protect your cabinets from prolonged exposure to heat sources, like ovens and stoves, which can warp or discolor the paint.
Touch-up Strategies
Even with the best care, chips and scratches can happen. It’s wise to keep a small amount of your cabinet paint for touch-ups. Store it in a cool, dry place, and label it for easy identification.
Use a small brush or cotton swab to apply paint to chipped areas. This keeps your cabinets looking flawless. If you’re unsure about color matching, test a small area first to ensure it blends seamlessly.
How do you ensure your cabinets continue to shine? Share your tips and tricks for maintaining painted cabinets. Your experience could be the perfect solution for someone else facing a similar challenge.
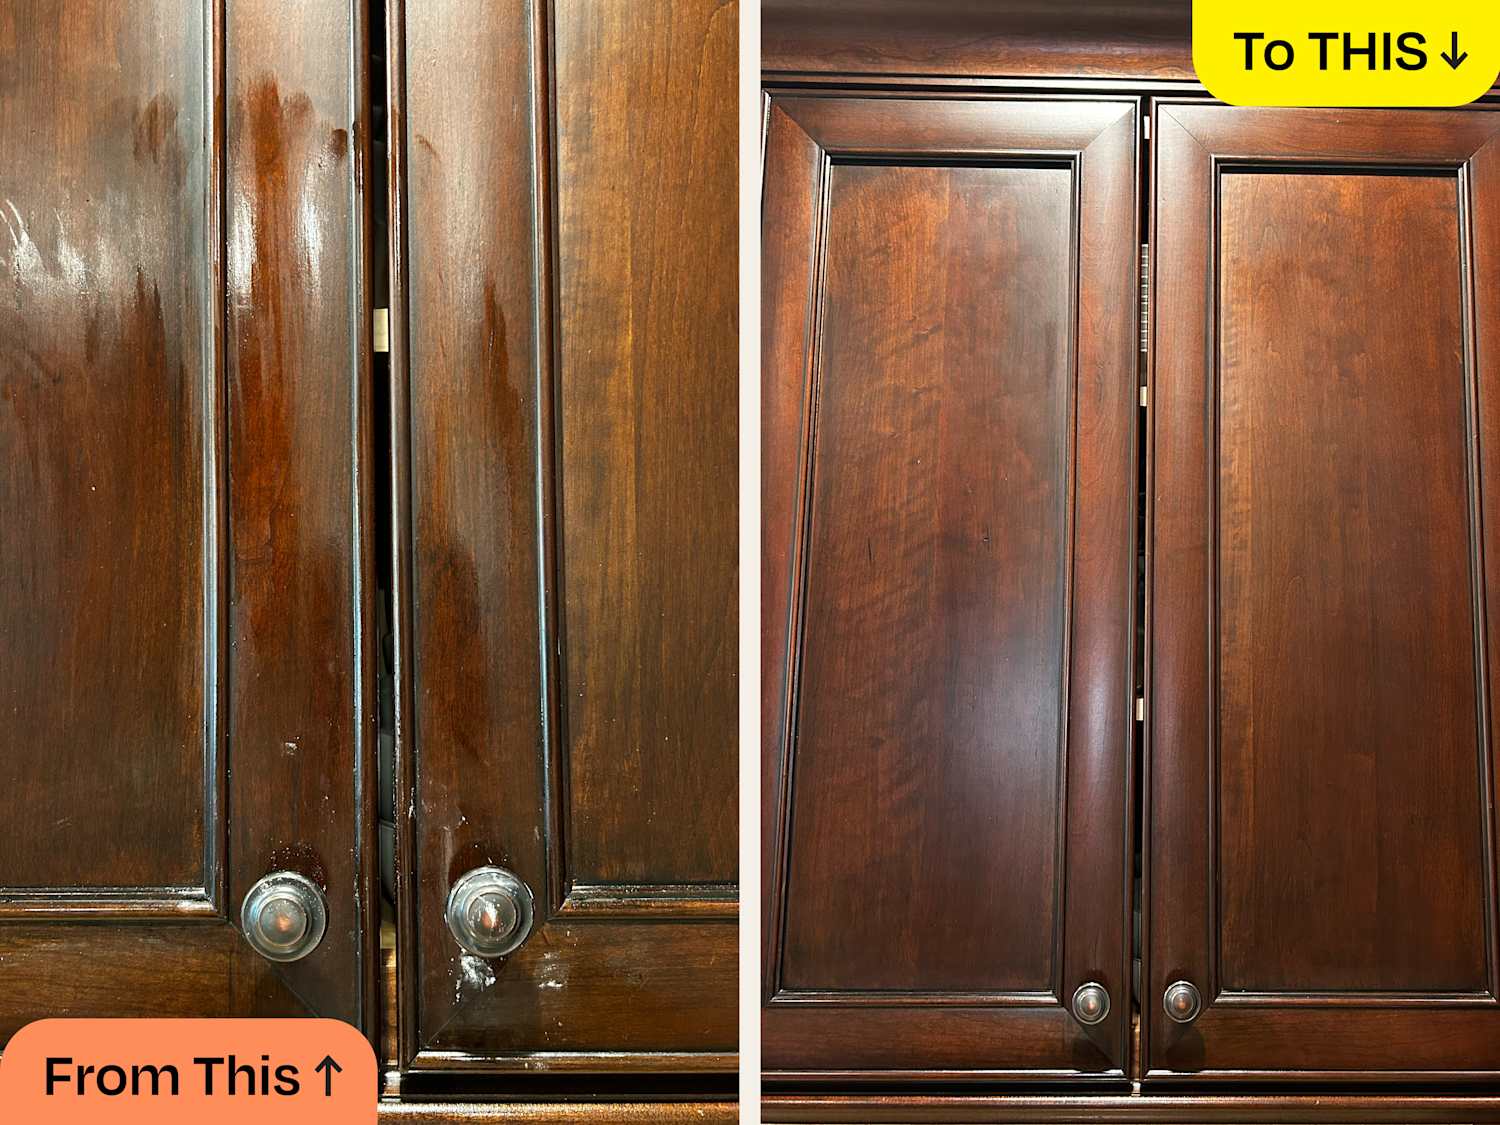
Credit: nelsonkb.com

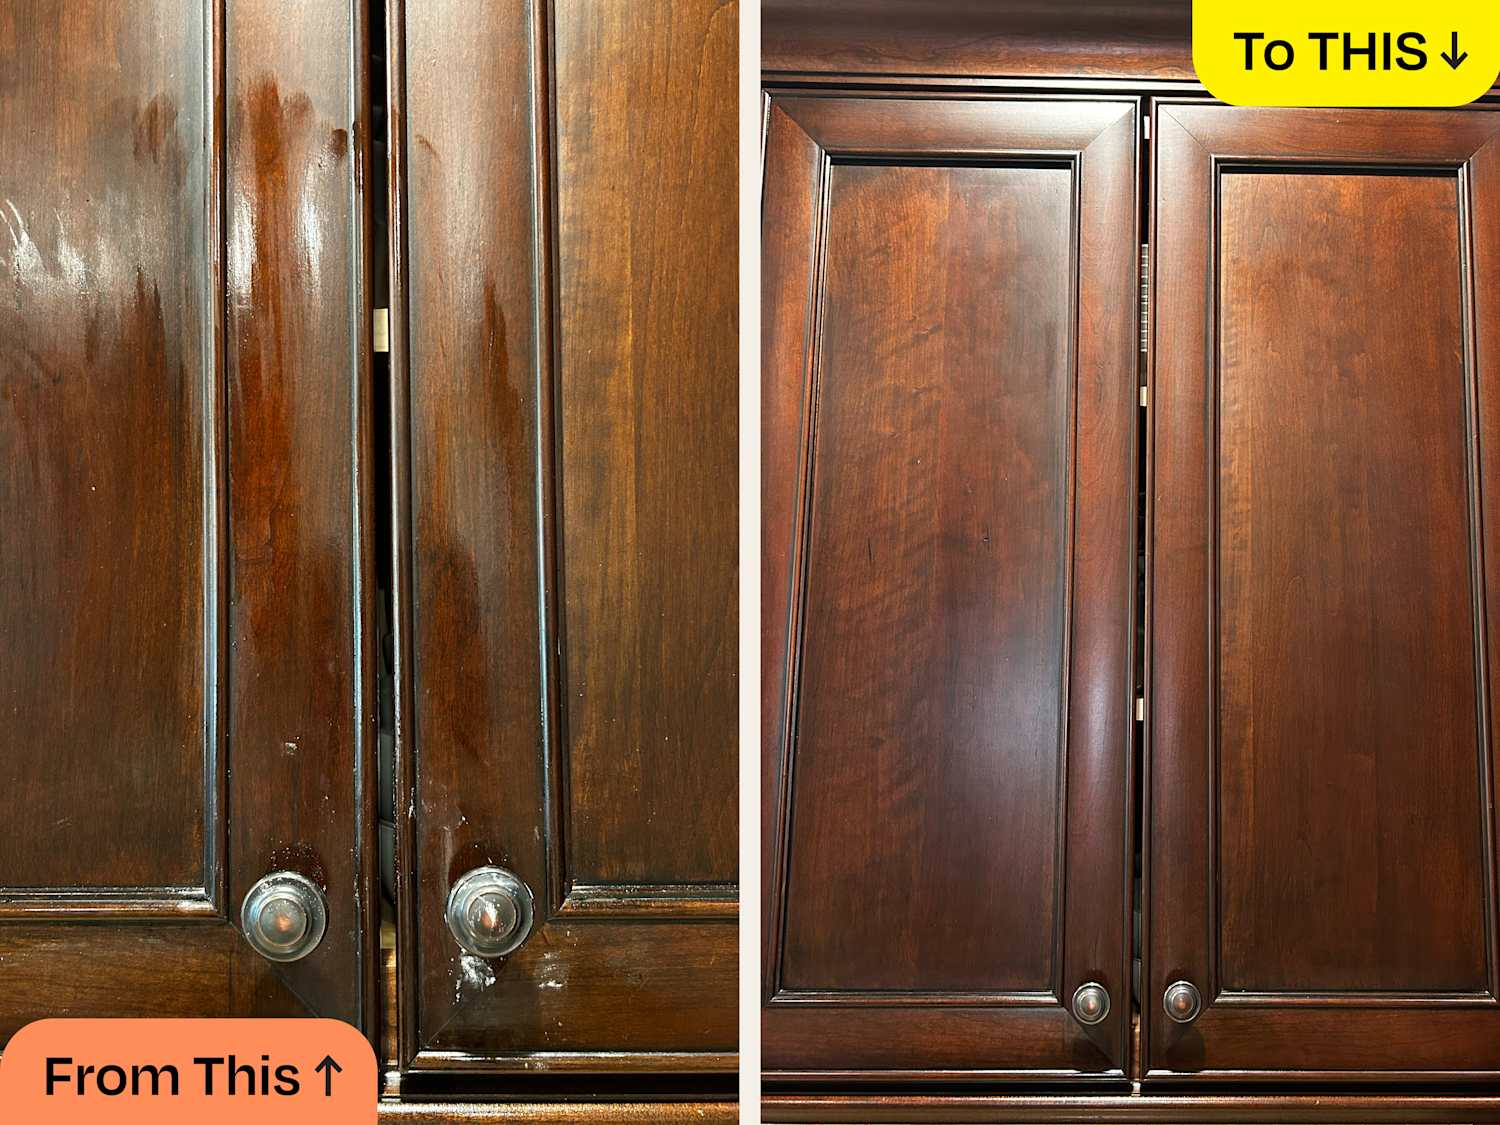
Credit: www.reddit.com
Frequently Asked Questions
What Is The Cheapest Way To Change The Color Of Kitchen Cabinets?
Painting is the cheapest way to change kitchen cabinet color. Use high-quality paint for durability. Clean and sand cabinets before applying primer and paint. Choose a color that complements your kitchen’s overall design. This DIY approach is cost-effective and can easily transform your kitchen’s look.
Can I Change The Color Of My Kitchen Cabinets?
Yes, you can change your kitchen cabinets’ color. Paint them with durable, high-quality paint for a fresh look. Ensure proper surface preparation and use appropriate primers for best results. Choose colors that complement your kitchen style and decor. Consider hiring a professional for a flawless finish.
Can I Paint Over Already Painted Kitchen Cabinets?
Yes, you can paint over already painted kitchen cabinets. Clean, sand, and prime the surface for best results. Choose high-quality paint for durability. Ensure proper ventilation during the process. Allow sufficient drying time between coats to achieve a smooth finish.
How To Change The Color Of Kitchen Cabinets Without Sanding?
Use a deglosser to prepare cabinet surfaces. Apply an adhesive primer for better paint adherence. Choose high-quality paint for a smooth finish. Use a paintbrush or roller for even application. Seal with a clear topcoat for durability. Avoid sanding by following these steps carefully.
Conclusion
Changing your kitchen cabinet color can refresh your space. Simple steps make a big difference. Pick a color that suits your style. Prepare surfaces well before painting. Use quality paint for lasting results. Consider professional help if unsure. Enjoy the transformation process.
Share your new kitchen look with friends. Feel proud of your DIY success. Your updated kitchen will feel new and inviting. A fresh cabinet color boosts your home’s appeal. Get started today and see the change. Your kitchen deserves a fresh vibe.
Happy painting!

Similar Posts