How to Change the Colour of Kitchen Cabinets: Easy Guide
Executive Chef & Lead Commercial Kitchen Specialist at Daily Kitchup Test Lab
Are you tired of your kitchen’s outdated look? Changing the color of your kitchen cabinets might just be the transformative touch you need.
Imagine walking into a kitchen that feels fresh, vibrant, and uniquely yours. Whether you’re aiming for a sleek modern vibe or a cozy rustic charm, the right color can make all the difference. The best part? You don’t need to break the bank to achieve this stunning change.
In this guide, you’ll discover simple steps to revamp your cabinets, making your kitchen the envy of all your friends. Ready to unlock the secret to a more inviting space? Let’s dive in and see how you can easily change the color of your kitchen cabinets!
Choosing The Right Color
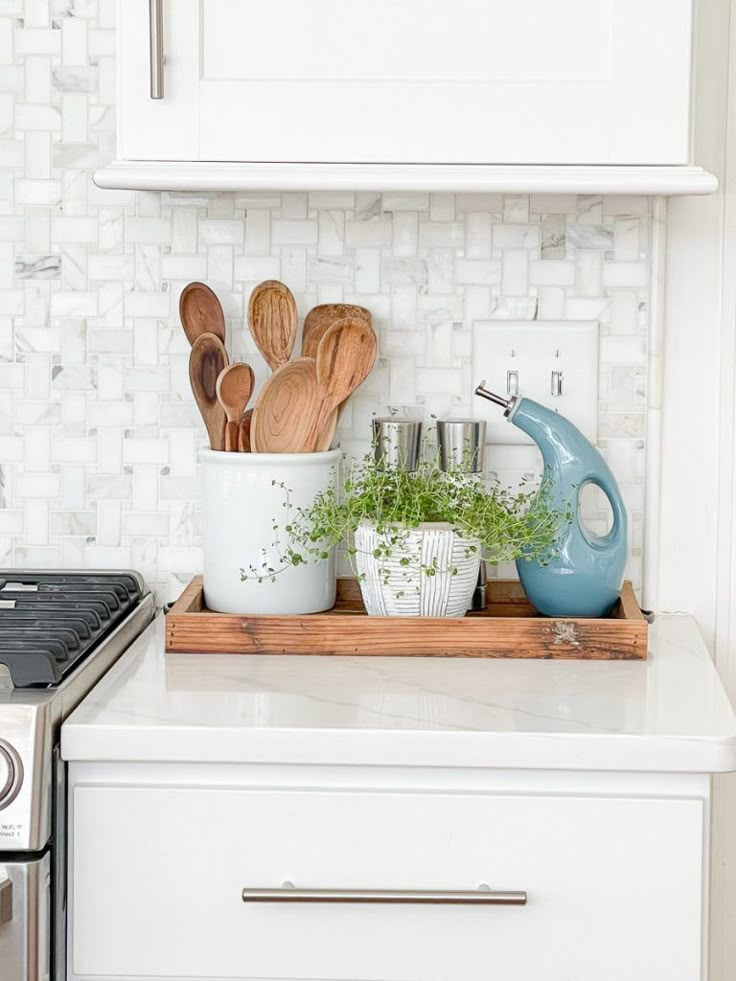
Choosing the right color for kitchen cabinets can transform your space. The perfect hue adds character and complements the overall design. To find the ideal shade, consider your kitchen style, current trends, and existing decor. This ensures a harmonious look that you’ll enjoy for years.
Assessing Kitchen Style
Start by identifying your kitchen’s style. Is it modern, rustic, or traditional? Each style has colors that enhance its features. Modern kitchens often suit sleek, neutral shades. Rustic spaces might benefit from warm, earthy tones. Traditional kitchens often embrace rich, classic colors. Knowing your style guides your color choices.
Color Trends And Timeless Choices
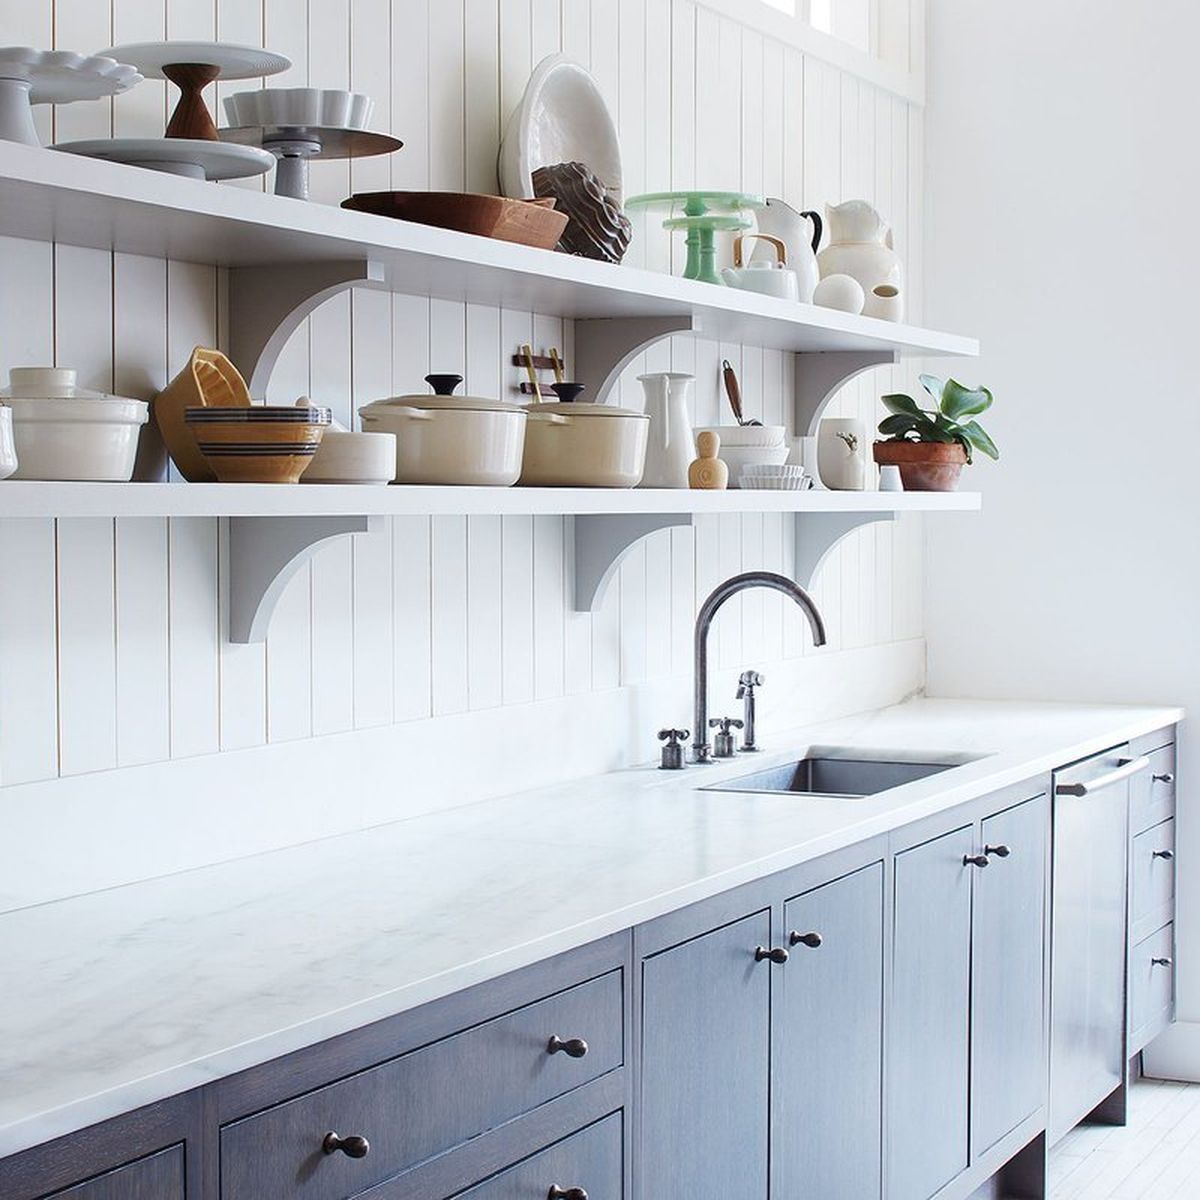
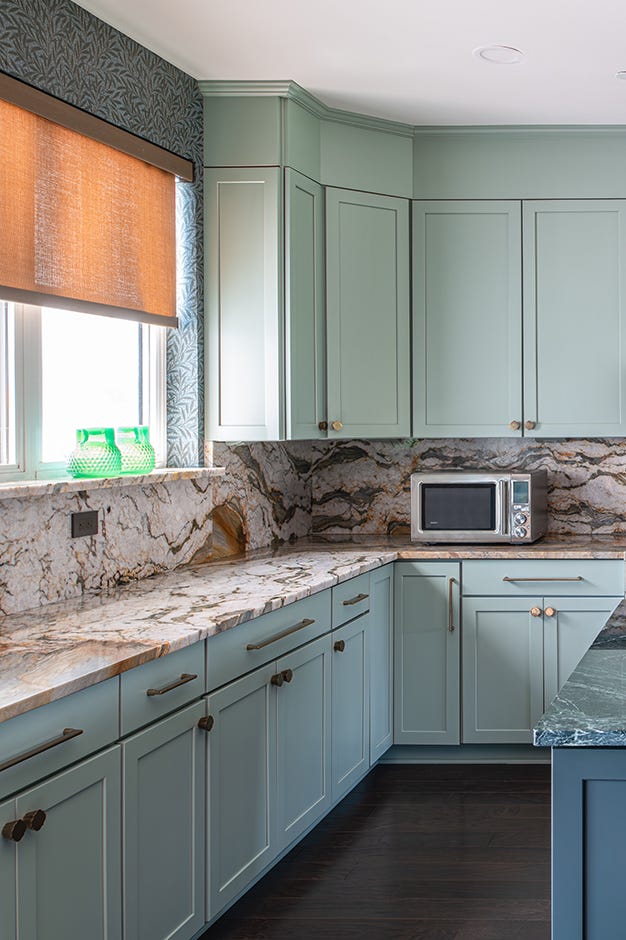
Explore current color trends to keep your kitchen updated. Soft pastels are gaining popularity for a fresh look. Bold, deep colors can add drama and elegance. Timeless choices like white, gray, or navy never go out of style. These colors offer flexibility and adaptability over time.
Coordinating With Appliances And Decor
Your appliances and decor play a significant role in color selection. Stainless steel appliances pair well with cool shades. Black or white appliances suit a variety of colors. Consider your decor elements, like curtains and tiles, for a cohesive look. Match or contrast them for a balanced appearance.
Credit: www.tiktok.com
Materials And Tools Needed
Gather sandpaper, primer, and paint suitable for cabinets. Essential tools include brushes, rollers, and a screwdriver. Use a drop cloth to protect surfaces, and keep a mask handy for safety.
Changing the color of kitchen cabinets can refresh your space without a major renovation. To ensure success, gather the right materials and tools before starting. The right supplies will make the process smoother and more efficient.Essential Supplies
- Sandpaper or sanding block:Prepare cabinet surfaces for painting.
- Primer:Helps paint adhere better and lasts longer.
- Paint:Choose durable cabinet paint for a lasting finish.
- Paintbrushes and rollers:Use for smooth application on various surfaces.
- Painter’s tape:Protect areas you don’t want painted.
- Drop cloths:Keep your floors and countertops clean.
- Cleaning solution:Ensure cabinets are free from grease and dust.
- Screwdriver:Remove cabinet doors and hardware easily.
Optional Enhancements
- Decorative knobs and handles:Update the look with new hardware.
- Stencils or decals:Add unique designs to your cabinets.
- Polyurethane sealant:Protect the paint and extend its life.
- Under-cabinet lighting:Highlight your new cabinet color.
- Cabinet liner:Keep shelves clean and add color inside.
Preparation Steps
Start by removing cabinet doors and hardware. Clean surfaces thoroughly to ensure paint adheres well. Sand cabinets lightly for a smooth finish, then apply primer. Once dry, paint with your chosen color, using even strokes. Reattach hardware and doors once paint is fully dry.
Enjoy your refreshed kitchen look!
Changing the color of your kitchen cabinets can breathe new life into your space, but before you dive into painting, preparation is key. Proper preparation ensures the new color adheres well and looks smooth, giving your cabinets a professional finish. Let’s walk through the essential preparation steps that will set you up for success.Cleaning The Cabinets
Start by giving your cabinets a thorough cleaning. Grease and grime can accumulate over time, making it difficult for paint to stick. Use a gentle degreaser or a mixture of warm water and dish soap. Scrub all surfaces, including corners and edges, where residue tends to hide. A clean surface is crucial for a flawless finish.Removing Doors And Hardware
Removing doors and hardware is a game-changer for painting ease. Take off the cabinet doors and set them aside. Remove knobs, handles, and hinges, and keep them organized in labeled bags or containers. This step allows for smooth painting without obstacles and ensures even coverage. Plus, it’s a great opportunity to upgrade hardware if you’re in the mood for a fresh look.Sanding And Priming Surfaces
Sanding is your secret weapon to a perfect finish. Lightly sand the surfaces with fine-grit sandpaper to remove any gloss and create a slightly rough texture for better paint adhesion. Don’t skip this step; it’s pivotal for avoiding peeling paint later on. Once sanded, apply a coat of primer designed for the material of your cabinets. Primer creates a uniform base and can block stains or colors from bleeding through your paint. Do you have any tips or tricks for preparing cabinets before painting? Share your thoughts in the comments!Painting Techniques
Transform kitchen cabinets with vibrant painting techniques. Sand surfaces for smooth finish, then apply primer to prepare. Choose bold colors or subtle shades for a fresh look.
Painting your kitchen cabinets can completely transform your space, making it feel fresh and updated. Understanding the right painting techniques is crucial for achieving a professional look. Whether you’re a DIY enthusiast or a first-timer, these tips will guide you through the process for a flawless finish.Brush Vs. Spray
Choosing between a brush and a spray gun can significantly affect your results. Using a brush is often more accessible for beginners and can offer better control over the paint application. However, it might leave brush strokes unless you use a high-quality brush. On the other hand, spray painting can give you a more uniform and smooth finish, ideal for modern, sleek kitchen aesthetics. It’s faster, but requires more setup and safety precautions due to fumes and overspray. Consider your budget, skill level, and desired outcome when making this choice.Applying Base Coats
The base coat is the foundation of your paint job. It’s essential to apply a primer first, especially if you’re covering a darker color or dealing with surfaces prone to stain bleed-through. A good primer will ensure the paint adheres properly and lasts longer. Apply the primer evenly and let it dry completely before adding the base coat. Use even strokes and maintain a wet edge to avoid lap marks. This step sets the stage for a vibrant and lasting finish.Achieving A Smooth Finish
Achieving a smooth finish can feel like an art form, but with the right approach, it’s entirely doable. Sanding between coats is a game-changer. Use fine-grit sandpaper to smooth out any imperfections and dust particles before applying the next layer. Remember to clean the surface thoroughly to remove any dust from sanding. Consider using a tack cloth for best results. This attention to detail pays off, leaving you with a cabinet finish that feels luxurious to the touch. Ask yourself, what kind of finish do you envision for your kitchen? Taking the time to focus on these techniques can make the difference between a good paint job and a great one.Drying And Curing Process
The drying and curing process is crucial in changing kitchen cabinet colors. Proper drying and curing ensure the paint lasts longer and looks great. It prevents chips and maintains a smooth finish. Understanding the right drying times and curing methods is essential for a perfect outcome.
Recommended Drying Times
Drying times vary based on paint type. Oil-based paints typically dry in 6 to 8 hours. Water-based paints may dry faster, often within 4 to 6 hours. Environmental factors like humidity affect drying. Ensure cabinets are left undisturbed during this period.
Ensuring Proper Curing
Curing is the hardening process that follows drying. It can take days or weeks for paint to cure completely. During curing, avoid heavy use of cabinets. This prevents damage to the fresh paint. Ensuring proper ventilation helps speed up curing.

Credit: www.reddit.com
Reassembly And Final Touches
Reassembly and final touches breathe new life into kitchen cabinets. Carefully attach doors and hardware, ensuring everything is aligned. A gentle polish adds a fresh finish, completing the transformation seamlessly.
Reassembly and final touches are the moments when your kitchen transformation comes to life. After putting in the hard work of painting your cabinets, it’s time to reattach everything and ensure a polished finish. This stage is about precision and care, as you don’t want to rush through and risk damaging your newly colored cabinets.Reattaching Doors And Hardware
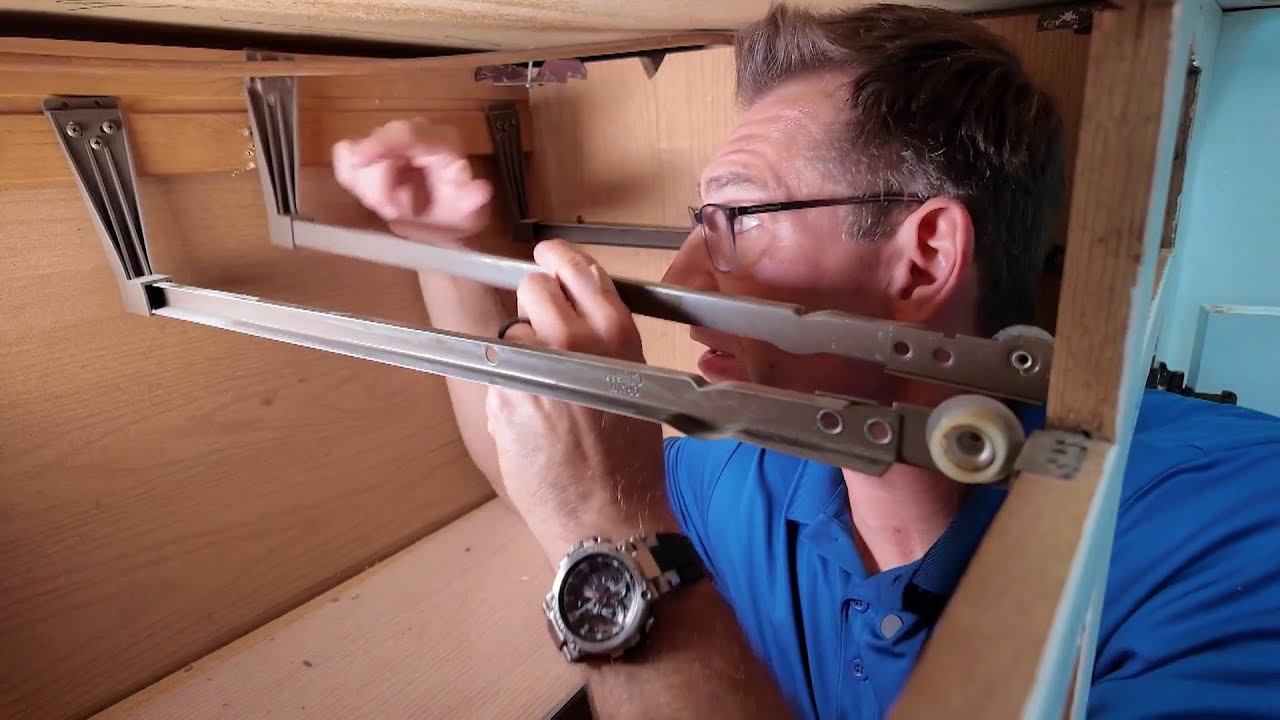
Begin by carefully reattaching the cabinet doors. Ensure that each door aligns perfectly with its frame. Use a screwdriver to fasten the hinges securely, checking that they open and close smoothly. Loose screws can lead to misaligned doors and an uneven look, so double-check everything. Next, attach the hardware. Whether you opted for new knobs or kept the old ones, make sure they are tightly secured. This is your chance to add a touch of personality to your kitchen. Consider using a small level to make sure everything is straight; nothing ruins a clean look like crooked hardware.Inspecting And Touching Up
Once everything is back in place, take a step back and inspect your work. Look for any spots where the paint might have chipped during reassembly. Keep a small brush and a bit of paint handy for touch-ups. This ensures that any minor imperfections are quickly fixed, leaving your cabinets looking flawless. Pay attention to the cabinet edges and corners. These areas can often be overlooked but are crucial for a complete look. Ask yourself: does everything look uniform and fresh? If not, now’s the time to make it right. Reassembly and final touches are not just about putting things back together, but about perfecting your work. Are you satisfied with the transformation? If so, then it’s time to enjoy your refreshed kitchen space.Maintenance Tips
Transform kitchen cabinets with a new color by first cleaning them thoroughly. Sand the surfaces to ensure paint sticks well. Apply a primer before painting to achieve a smooth finish. Use a paintbrush or roller for even coverage and let them dry completely.
Changing the color of your kitchen cabinets can breathe new life into your cooking space, turning it from ordinary to extraordinary. But once you’ve achieved that fresh look, maintaining it can be a bit tricky. Proper maintenance ensures your cabinets continue to shine and remain in top-notch condition. Here are some essential tips to help you keep your newly colored kitchen cabinets looking their best.Cleaning And Care Advice
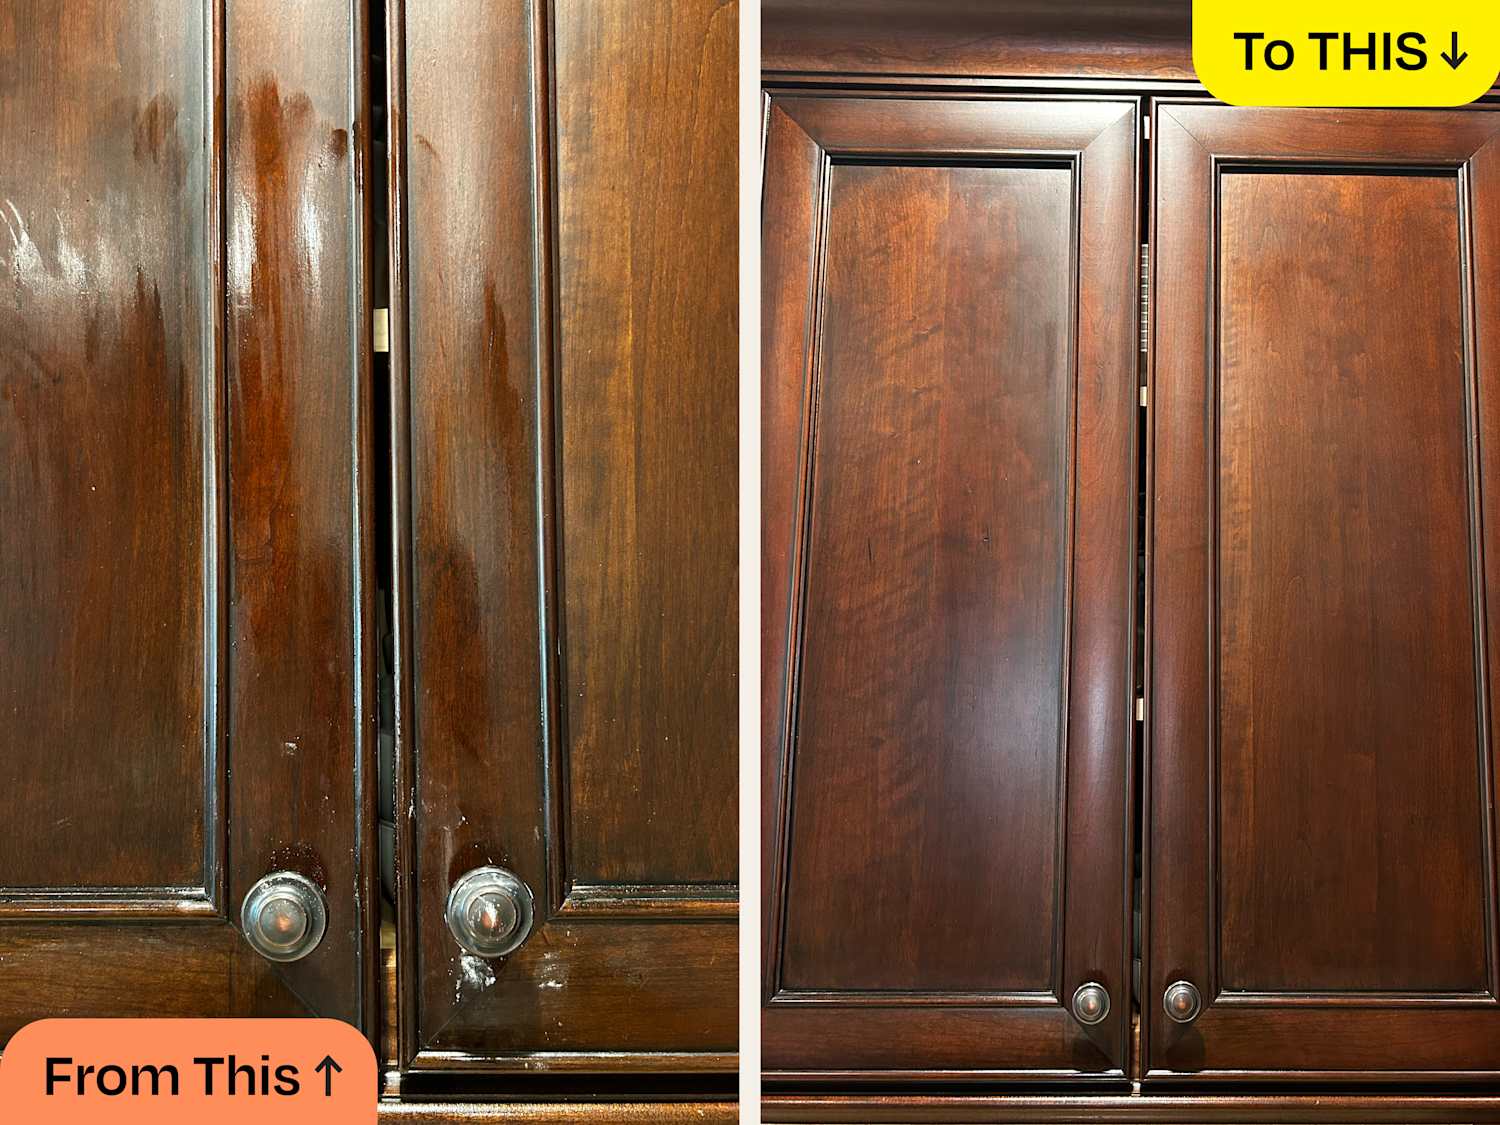
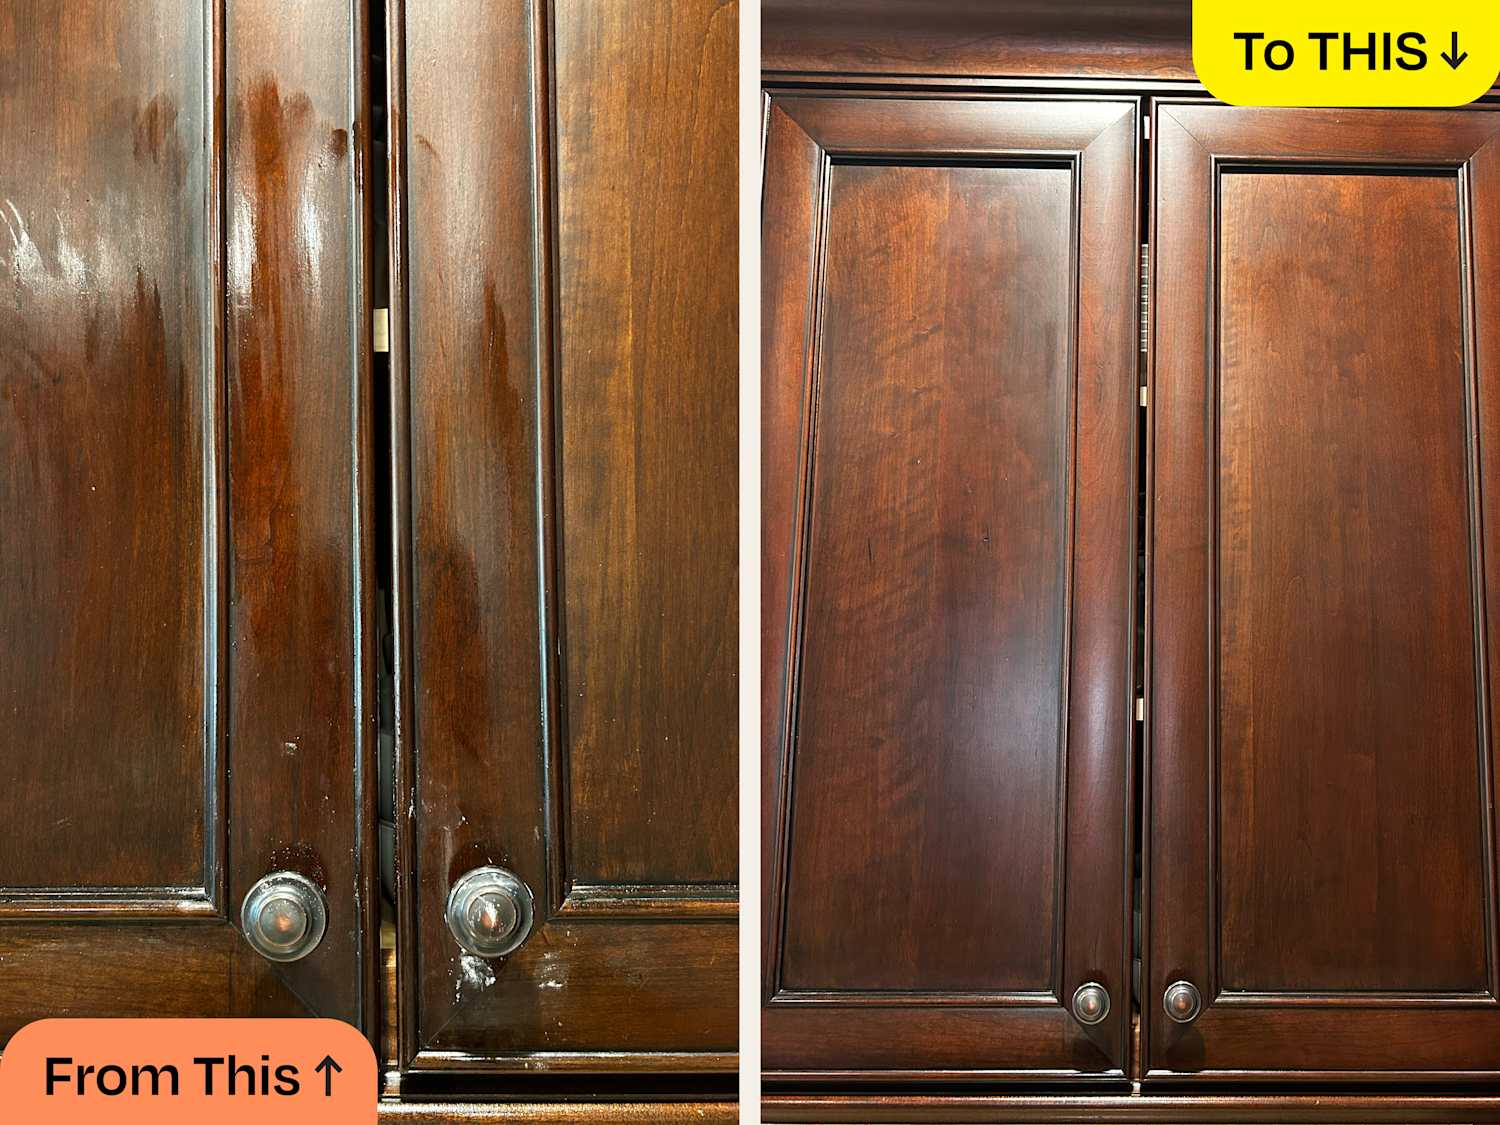
Regular cleaning is crucial for maintaining the beauty of your cabinets. Use a soft cloth and a mild detergent to wipe them down weekly. Avoid abrasive cleaners that could damage the finish. If you notice any stains or spills, act quickly to clean them up. Letting them sit can lead to stubborn marks that mar the appearance. Consider using protective wax or polish designed for kitchen cabinets. This adds an extra layer of protection and enhances the color.Preventing Wear And Tear
To prevent wear and tear, ensure your cabinet doors and drawers are used gently. Slamming them can lead to chips and cracks over time. Think about installing soft-close hinges. They not only protect the cabinets but also lend a touch of luxury to your kitchen experience. Regularly check for any signs of damage, like scratches or dents. Address these issues promptly to prevent them from worsening. Do you have a trick up your sleeve for keeping your cabinets pristine? Share it in the comments, and let’s keep our kitchens looking fabulous together!
Credit: www.reddit.com
Frequently Asked Questions
What Is The Cheapest Way To Change The Color Of Kitchen Cabinets?
Paint the cabinets using high-quality paint for an affordable color change. Sand, prime, and apply paint with a brush or roller. Consider using a paint sprayer for a smoother finish. Choose budget-friendly materials from local hardware stores. This DIY approach is cost-effective and provides a fresh look.
Can I Paint Over Already Painted Kitchen Cabinets?
Yes, you can paint over painted kitchen cabinets. Clean and sand them first for better adhesion. Use a high-quality primer and paint. Choose durable, moisture-resistant paint for lasting results. Proper preparation ensures a smooth, professional finish. Ensure adequate drying time between coats for optimal results.
How To Change The Color Of Kitchen Cabinets Without Sanding?
Use a deglosser to clean and prep the cabinet surface. Apply a bonding primer to ensure paint adhesion. Choose high-quality paint, and apply with a brush or roller. Allow each coat to dry thoroughly before adding another. Finish with a protective topcoat for durability and sheen.
Can You Paint Kitchen Cabinets Instead Of Replacing Them?
Yes, you can paint kitchen cabinets instead of replacing them. Painting is cost-effective and refreshes your kitchen’s look. Use high-quality paint and proper preparation for durable results. This simple update can transform your kitchen space beautifully.
Conclusion
Changing kitchen cabinet colors transforms the entire space. It’s a straightforward process that adds character. Choose a color that matches your kitchen style. Gather the right tools and materials for a smooth job. Clean cabinets thoroughly before painting. This ensures a clean surface.
Apply primer to help paint stick better. Paint evenly with a brush or roller. Let them dry completely before reattaching doors. Enjoy your refreshed kitchen look. Feel proud of your handiwork. Simple changes make a big impact. With patience and care, your kitchen becomes a cozy haven.
Experiment with colors and enjoy the transformation.

Similar Posts