How to Clean Kitchen Cabinet Hardware: Expert Tips
Executive Chef & Lead Commercial Kitchen Specialist at Daily Kitchup Test Lab
Are you tired of seeing your kitchen cabinet hardware looking dull and grimy? You might not realize it, but the knobs, handles, and hinges in your kitchen are often overlooked during cleaning.
Yet, they’re touched multiple times a day, gathering dirt, oil, and residue over time. Imagine opening your cabinets and being greeted by sparkling hardware that enhances the beauty of your kitchen space. Sounds appealing, right? This guide will show you simple, effective methods to restore the shine to your kitchen cabinet hardware.
With just a few basic supplies and a little bit of time, you can transform your kitchen’s appearance and enjoy a fresher, cleaner space. Keep reading, and discover how easy it is to achieve a polished look in your kitchen!
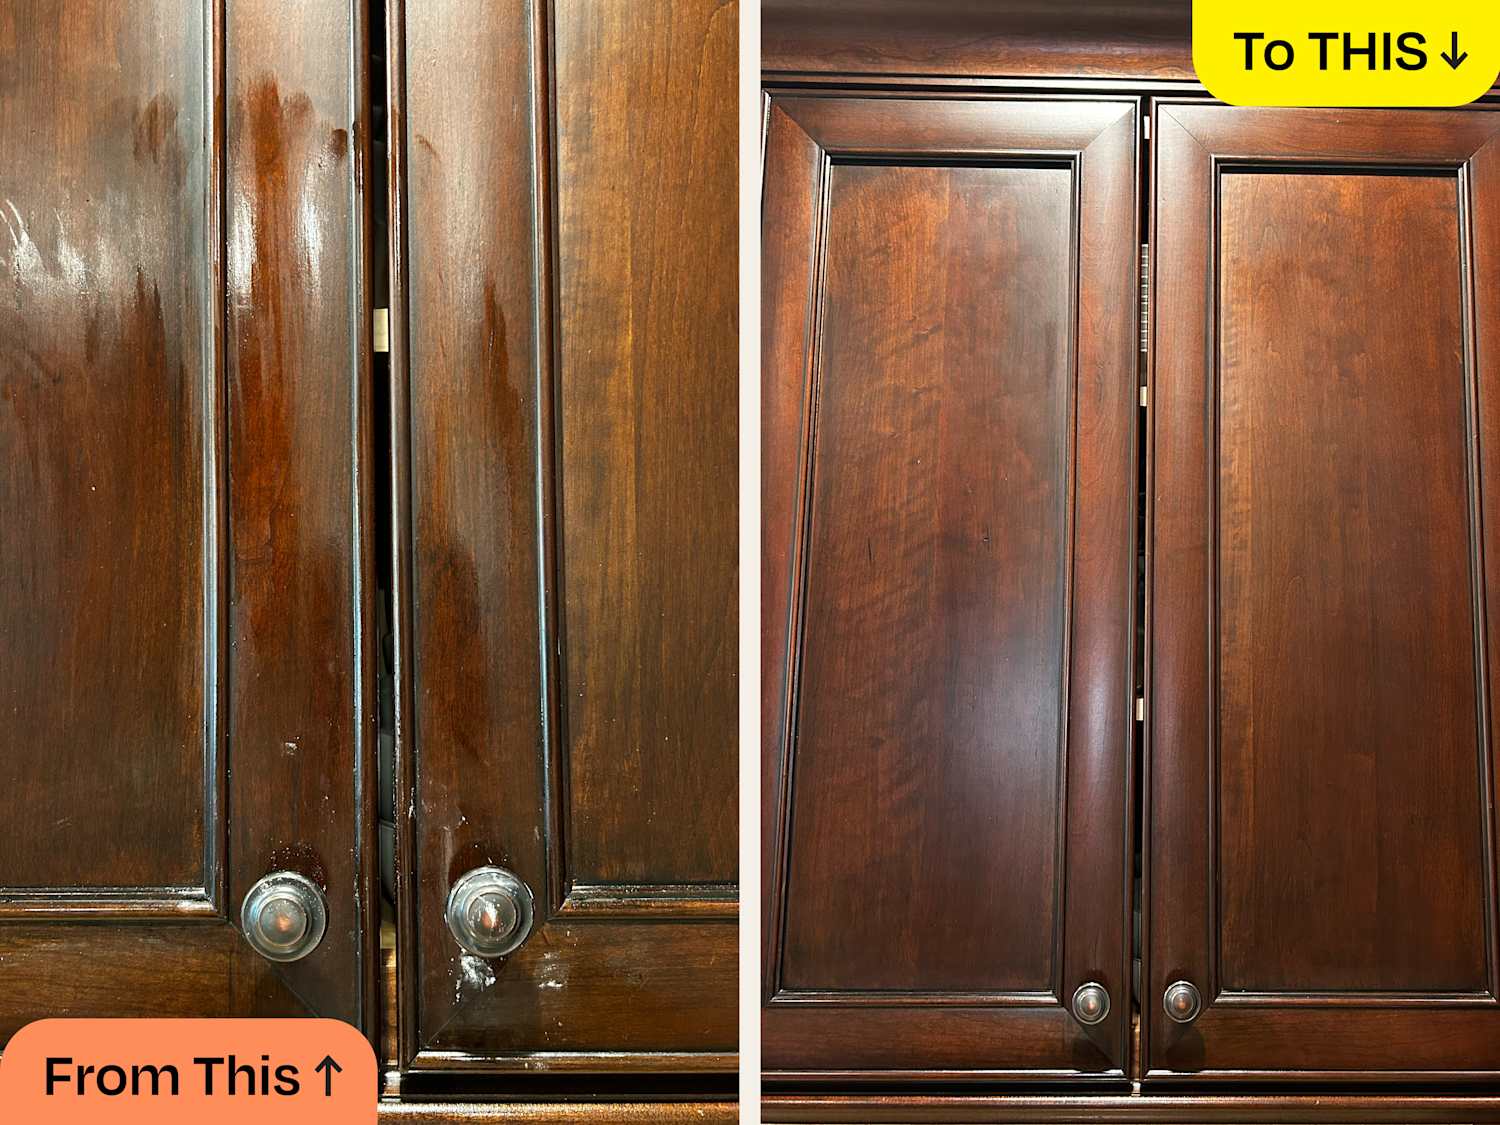
Credit: m.facebook.com
Choosing The Right Cleaning Supplies
Selecting the best cleaning supplies ensures kitchen cabinet hardware shines. Opt for gentle solutions to avoid damage. Regular cleaning keeps hardware looking new and prevents buildup.
Choosing the right cleaning supplies for your kitchen cabinet hardware can make a huge difference in both ease and effectiveness. Imagine spending hours scrubbing, only to find out that your supplies are leaving scratches or not removing grime properly. It’s essential to match the cleaning agents with the material of the hardware to avoid damage and achieve a sparkling finish. You wouldn’t use a harsh chemical on delicate brass or an abrasive scrubber on polished chrome. So, what should you use?Understanding Hardware Material
Firstly, identify the material of your cabinet hardware. Is it stainless steel, brass, or perhaps nickel? Each material has its quirks and requires specific care. Stainless steel is durable but can show water spots if not dried properly. Brass can tarnish over time, needing gentle cleaning agents to preserve its shine. Nickel is sleek but should be protected from abrasive cleaners that could dull its finish.Essential Cleaning Supplies
Once you know the material, gather your supplies. For a basic cleaning kit, consider having mild dish soap, a microfiber cloth, and white vinegar handy. Mild dish soap mixed with warm water creates an effective solution for most hardware types. A microfiber cloth is perfect for gentle wiping without scratching surfaces. White vinegar can help in removing stubborn spots, especially on stainless steel.Avoiding Common Mistakes
Be cautious with harsh chemicals and abrasive scrubbers. They can damage the finish and reduce the lifespan of your hardware. Always test a small, inconspicuous area first. Also, remember not to soak hardware for long periods, especially if it’s wood or has delicate finishes. Quick, gentle cleaning is more effective and less risky.Diy Natural Solutions
Consider creating your own natural cleaning solutions. A mixture of baking soda and water can tackle grime effectively. Lemon juice mixed with vinegar can give brass a new shine. These solutions are eco-friendly and often found right in your pantry.Reader Engagement
Have you ever cleaned your cabinet hardware only to find it looking worse than before? What supplies did you use, and what would you try differently next time? Share your experiences and insights in the comments below. Your tips might be exactly what someone else needs to keep their kitchen looking pristine.Preparing The Area
Preparing the Area Clear the countertop and remove any items near the cabinets. Lay down protective coverings to catch debris or cleaning agents. Ensure good lighting to see all areas that need cleaning.
Preparing your kitchen for cleaning hardware is crucial. This step ensures safety and efficiency. A clean area prevents spreading dirt or damage. Start by organizing your space. Remove any unnecessary items.Clear The Workspace
First, remove all items from your kitchen countertops. This includes appliances, utensils, and decor. Clearing the space allows for easy access to cabinets. It also prevents accidental spills or damage.Protect Surfaces
Cover countertops and floors with old towels or sheets. This protection catches any drips or spills. Use materials you don’t mind getting dirty. They should be easy to wash or discard.Gather Cleaning Supplies
Assemble the necessary cleaning tools. You will need a mild detergent, a soft cloth, and a bucket of warm water. Consider using a soft toothbrush for detailed areas. Keep all supplies within reach.Ensure Proper Ventilation
Open windows or doors to allow fresh air. Proper ventilation helps disperse cleaning fumes. It also aids in drying any moisture quickly. Good airflow keeps your workspace comfortable.Disconnect Power Sources
Unplug any nearby electrical appliances. This prevents electrical hazards during cleaning. Safety should always be a priority in the kitchen. Ensure all devices are safely stored away from water.Removing Cabinet Hardware
Cleaning kitchen cabinet hardware involves removing the pieces and soaking them in soapy water. Gently scrub with a soft brush to remove grime. Rinse and dry thoroughly to avoid rust.
Cleaning your kitchen cabinet hardware can breathe new life into your cooking space, but first, you need to remove it. This step is crucial, as it allows you to clean each piece thoroughly without missing any hidden grime. Removing hardware is like finding a secret passage to a cleaner, more organized kitchen. It might seem daunting, but with the right approach, it can be a quick and rewarding task.Gather Your Tools
Before you start, collect the necessary tools. You’ll need a screwdriver, a soft cloth, and a container to hold the screws and hardware. This preparation saves you time and prevents misplaced pieces.Identify The Type Of Screws
Not all screws are the same. Check whether your hardware uses Phillips or flathead screws. Using the correct screwdriver will prevent damage and make the removal process smoother.Remove The Screws Carefully
Gently unscrew each piece of hardware. Apply steady pressure to avoid stripping the screws. This ensures they can be reused and that your cabinets remain in good condition.Label And Store Hardware
Once removed, label each piece and its corresponding screws. Use a small ziplock bag for each set. This organization makes reinstallation a breeze, saving you from any future guesswork.Inspect The Hardware
Take a moment to examine each piece of hardware. Look for any damage or wear that might require replacement. This proactive step ensures your kitchen remains functional and stylish.Reflect On The Process
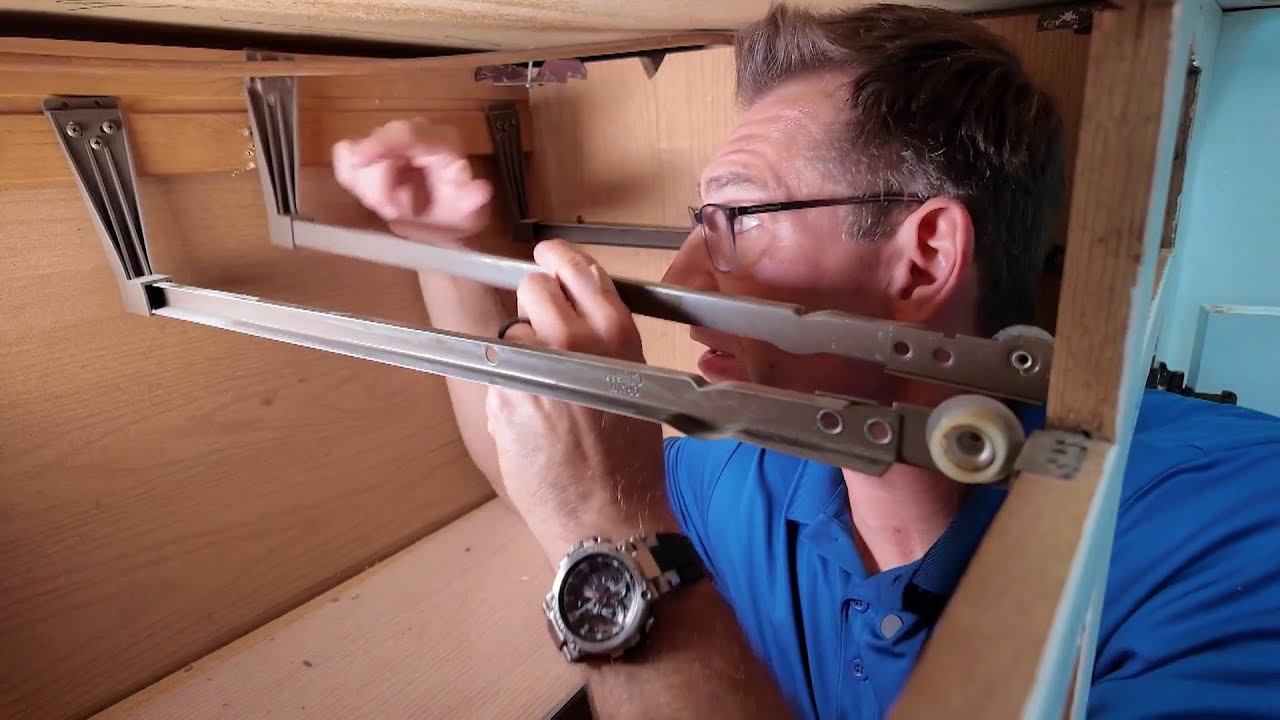
As you handle each piece, think about how often you use your cabinets. Could this be an opportunity to rearrange or declutter? Sometimes, a simple cleaning task can inspire a larger transformation in your kitchen. Removing your cabinet hardware is more than just a cleaning step; it’s an opportunity to refresh your kitchen space. By investing a little time in this process, you set the stage for a cleaner, more efficient kitchen. What insights or improvements could this simple task reveal for you?Credit: www.housework.com
Cleaning Metal Hardware
Gently remove dirt from kitchen cabinet hardware using a soft cloth and mild soap solution. Rinse and dry thoroughly to prevent water spots. Regular cleaning keeps hardware shiny and maintains its appearance.
Cleaning kitchen cabinet hardware can instantly refresh your space. Metal hardware, though durable, requires special care. Proper cleaning ensures longevity and a polished appearance. Whether it’s stainless steel, brass, or chrome, each metal needs specific attention. Following the right techniques preserves the finish and prevents damage.Using Soap And Water
Start with mild soap and warm water. Mix a few drops of dish soap with water in a bowl. Use a soft cloth or sponge, dip it in the soapy water, and gently wipe the hardware. For stubborn spots, let the solution sit for a few minutes. Rinse with clean water to remove soap residue. Dry thoroughly with a clean towel to prevent water marks.Polishing For Shine
Once clean, polish the metal for a bright finish. Choose a polish suitable for your metal type. Apply a small amount onto a soft cloth. Rub the polish onto the hardware in circular motions. This method enhances the shine and protects the surface. Buff with a clean cloth to remove excess polish and reveal a gleaming finish. Regular polishing maintains the luster and extends the life of your hardware.Cleaning Wooden Hardware
Clean kitchen cabinet hardware with a damp cloth and mild soap to remove dirt. Dry with a soft towel to prevent moisture damage. Regular maintenance keeps the hardware looking fresh and prolongs its lifespan.
Cleaning wooden kitchen cabinet hardware requires special care. Wood is a natural material. It can get damaged if not handled properly. Keep your cabinet hardware looking great. Use the right cleaning methods. Here are some tips to guide you.Gentle Cleaning Solutions
Use mild soap and water for cleaning. Mix a small amount of dish soap in warm water. Dip a soft cloth into the soapy solution. Gently wipe the wooden hardware. Avoid using harsh chemicals. They can strip the wood’s finish. Natural cleaners like vinegar can also work. Mix equal parts of vinegar and water. Use a soft cloth to apply it.Avoiding Water Damage
Wood is sensitive to moisture. Too much water can lead to damage. After cleaning, dry the hardware immediately. Use a dry, soft cloth to remove moisture. Don’t let water sit on the surface. Always make sure hardware is completely dry. This prevents warping and other issues. Drying is as important as cleaning. Keep your wooden hardware in top shape with these tips.Dealing With Stubborn Stains
Stubborn stains on kitchen cabinet hardware can be quite challenging. These marks often accumulate over time, making cleaning difficult. Fortunately, there are effective methods to remove these stains. Let’s explore some practical solutions that can help restore the shine to your cabinet hardware.
Using Baking Soda Paste
Baking soda is a powerful cleaning agent. Make a paste using baking soda and water. Mix until you achieve a thick consistency. Apply the paste to the stained areas. Use a soft brush to scrub gently. Baking soda helps lift grime without scratching the surface. Rinse with warm water and dry thoroughly.
Employing Vinegar Solutions
Vinegar is another excellent cleaning solution. Mix equal parts of vinegar and water in a spray bottle. Spray the mixture onto the hardware. Let it sit for a few minutes. Vinegar breaks down stubborn stains effortlessly. Wipe clean with a damp cloth. Ensure all residue is removed before drying.
Reinstalling Hardware
Refresh kitchen cabinet hardware by removing it gently. Use mild soap and water to clean, then dry thoroughly. Reinstall carefully, ensuring screws are tight for secure fitting.
Reinstalling kitchen cabinet hardware requires attention to detail and patience. Once you’ve cleaned and polished your cabinet knobs and handles, it’s time to put everything back in place. Proper reinstallation ensures that your cabinets function smoothly and look great. You will need a screwdriver and the hardware you removed earlier.Organize Your Hardware
Organize the cleaned hardware pieces before starting. Keep screws and handles together. This avoids confusion and speeds up the reinstallation process. You can place each set in a small bowl or tray.Align Screws And Holes
Align the screws with the holes on the cabinet doors. This step is crucial for a secure fit. Make sure the screws are straight and not at an angle. Double-check the alignment before proceeding.Tighten Carefully
Use a screwdriver to tighten the screws. Do not over-tighten, as this can damage the wood. Turn the screws until they are snug and secure. Test the handle or knob by pulling gently.Check Alignment
After reinstalling, check the alignment of the hardware. Ensure everything is straight and level. Adjust if necessary to maintain visual appeal. Misaligned hardware can affect the cabinet’s appearance.Test Functionality
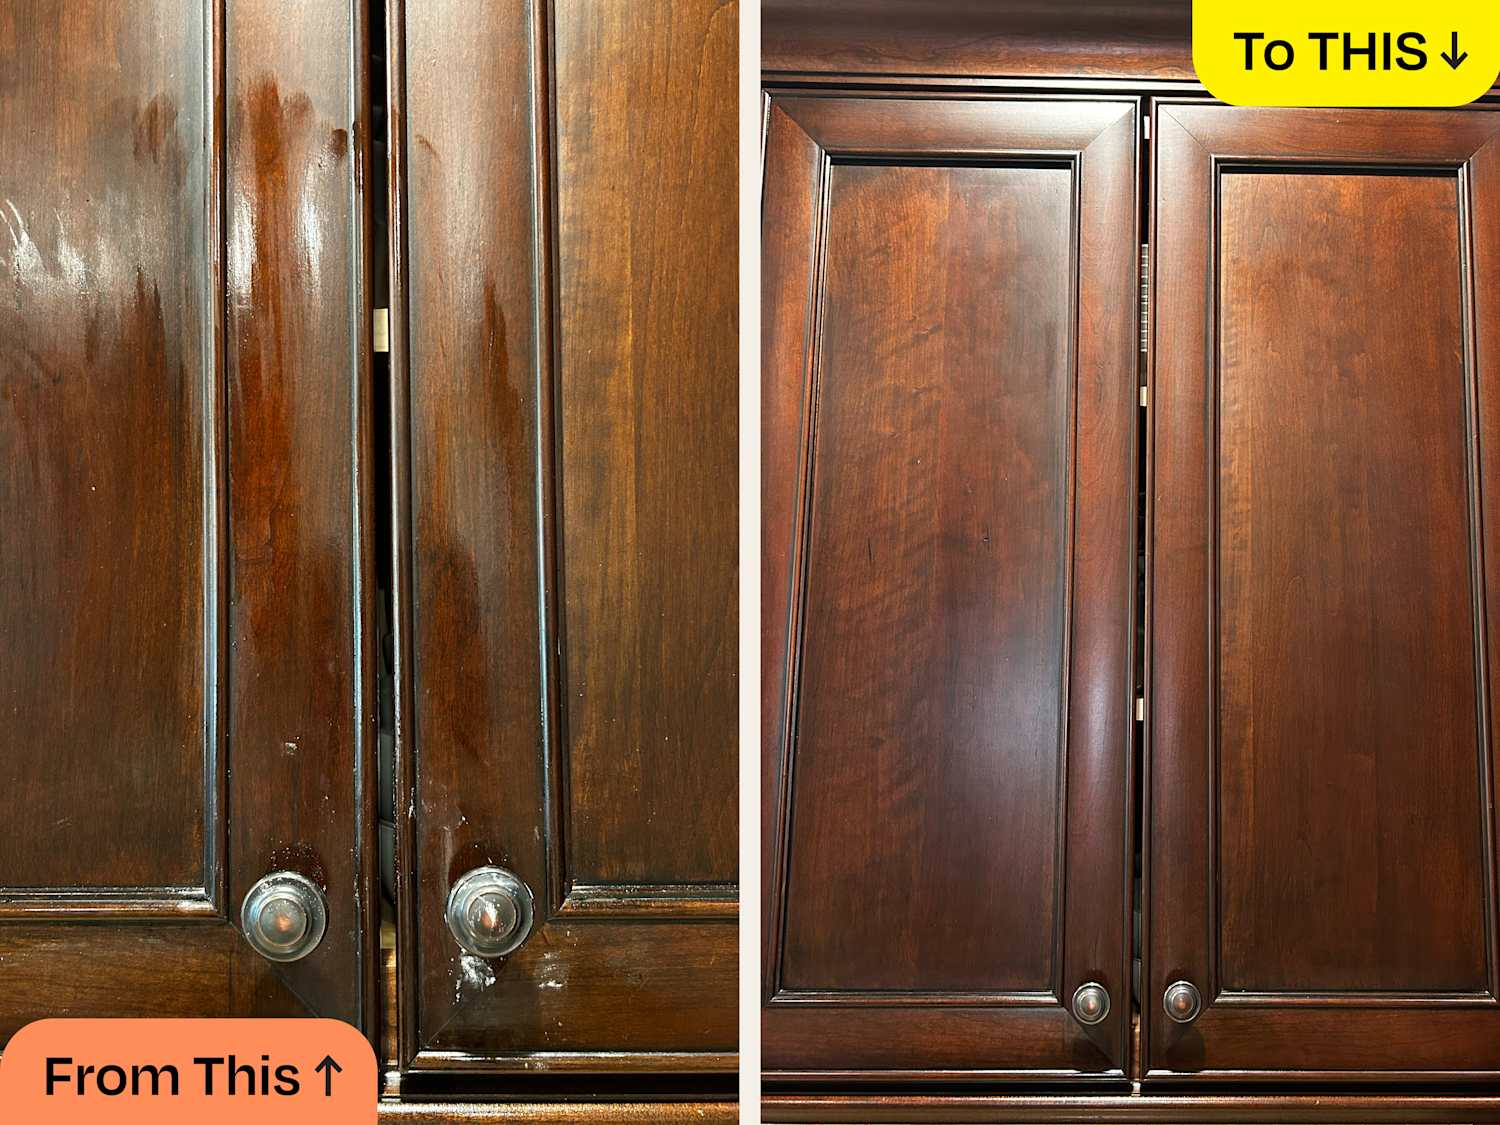
Open and close the cabinet doors to test functionality. Make sure they operate smoothly without sticking. If there’s resistance, adjust the screws or realign the hardware. Proper functionality is essential for everyday use.Credit: www.reddit.com
Regular Maintenance Tips
Regularly clean kitchen cabinet hardware to prevent grime buildup. Use a gentle soap solution and a soft cloth. Avoid abrasive cleaners to protect finishes.
Keeping your kitchen cabinet hardware in top condition not only enhances the look of your kitchen but also extends its life. Regular maintenance is key to ensuring that knobs, handles, and hinges remain functional and appealing. You might wonder how often you should care for these small yet significant components. The answer is simple: with a little regular attention, you’ll avoid large cleaning jobs later on.Dust And Wipe Weekly
A quick weekly wipe can prevent grime buildup. Use a soft, damp cloth to gently clean the surface of your hardware. This prevents dust and grease from settling in.Use Mild Soapy Water
For tougher grime, mild soapy water can be your best friend. Mix a few drops of dish soap in warm water. Dip your cloth, wring it out, and clean the hardware.Avoid Harsh Chemicals
Harsh chemicals can damage finishes over time. Stick to gentle cleaning solutions. Vinegar mixed with water can be a great natural alternative for shiny results.Polish For Shine
Polishing your hardware can maintain its original luster. After cleaning, use a microfiber cloth to buff the hardware. This keeps it looking new and vibrant.Check For Loose Screws
Loose screws can lead to wobbly handles. Regularly check and tighten any that need it. This small step can prevent bigger issues down the line.Lubricate Hinges
Squeaky hinges can be annoying. Use a small amount of lubricant, like WD-40, to keep them working smoothly. Apply it sparingly to avoid dripping.Inspect For Rust
Rust can creep up unexpectedly. Regularly inspecting for signs of rust can save your hardware. Catching it early means you can treat it before it spreads.Consider Your Climate
If you live in a humid area, your hardware might need extra attention. Moisture can lead to rust, so regular checks are essential. Adjust your cleaning routine to your environment. By incorporating these simple habits into your routine, you’ll ensure your kitchen hardware remains as stylish and functional as the day you installed it. What small changes can you make today for a sparkling kitchen tomorrow?Frequently Asked Questions
How Often Should I Clean Cabinet Hardware?
Regular cleaning every few months is ideal for kitchen cabinet hardware. Frequent cleaning prevents grime buildup and maintains shine. Use mild soap and water for routine care to ensure longevity and pristine appearance.
What Tools Are Needed For Cleaning Cabinet Hardware?
You’ll need mild soap, water, a soft cloth, and a toothbrush. These tools help effectively clean hardware without causing scratches. Avoid harsh chemicals to preserve the finish and longevity of your hardware.
Can Vinegar Damage Cabinet Hardware Finish?
Vinegar is generally safe but can damage some finishes. Test a small area before full application. Dilute vinegar with water for safer use. This method helps preserve the finish while effectively cleaning the hardware.
Are Commercial Cleaners Safe For Cabinet Hardware?
Not all commercial cleaners are safe for cabinet hardware. Always check labels for compatibility with your hardware material. Use gentle, non-abrasive cleaners to avoid damage and ensure your hardware remains in top condition.
Conclusion
Cleaning kitchen cabinet hardware can be quick and simple. Regular maintenance keeps them shiny and functional. Use mild soap and warm water for basic cleaning. For tough stains, try vinegar or baking soda solutions. Dry thoroughly to prevent rust or damage.
Consider polishing for added shine. Handle your hardware with care during cleaning. This approach ensures longevity and beauty. Clean hardware boosts kitchen appeal. Keep your kitchen fresh and inviting with clean cabinet handles. Make it a regular part of your routine.
Enjoy a neat and pleasant kitchen space.

Similar Posts