How to Dismantle Kitchen Cabinets: Step-by-Step Guide
Executive Chef & Lead Commercial Kitchen Specialist at Daily Kitchup Test Lab
Tired of your outdated kitchen cabinets and eager for a fresh look? Dismantling kitchen cabinets might seem like a daunting task at first, but with the right guidance, you can tackle it like a pro.
Imagine the satisfaction of transforming your kitchen space with your own hands. In this guide, you’ll discover simple steps to safely and efficiently dismantle your kitchen cabinets without breaking a sweat. Whether you’re planning a complete kitchen makeover or simply want to update a section, understanding the dismantling process is crucial.
Ready to dive in and start your kitchen transformation journey? Let’s get started, and soon, you’ll be on your way to creating the kitchen of your dreams.
Tools And Materials Needed
Gather essential tools like a screwdriver, hammer, and utility knife. Use safety gear such as gloves and goggles. Ensure you have a sturdy ladder and a pry bar for removing cabinets safely.
Dismantling kitchen cabinets can be an exciting project, whether you’re renovating or simply updating your space. The first step to a successful cabinet removal is gathering the right tools and materials. Having the right equipment not only makes the task easier but also ensures you don’t damage any parts you might want to reuse. Let’s dive into what you’ll need for this DIY endeavor.Essential Tools
- Drill:A cordless drill with various bits is crucial for unscrewing cabinet screws efficiently.
- Screwdriver Set:A set of Phillips and flat-head screwdrivers will help you tackle different screws.
- Hammer:Useful for gently tapping loose panels or removing nails.
- Pry Bar:Perfect for loosening cabinets from walls without causing damage.
Safety Gear
- Safety Glasses:Protect your eyes from flying debris or dust.
- Gloves:Ensure a firm grip on tools and protect your hands from splinters.
Materials Required
- Drop Cloths:Lay these down to protect your floor from scratches and debris.
- Storage Containers:Keep screws and small parts organized to prevent loss.
Optional Equipment
- Stud Finder:Locate studs behind the cabinets for safe removal and potential reuse.
- Utility Knife:Handy for cutting caulk or sealant around cabinet edges.
Preparation Steps
Ensure safety by turning off power and water. Empty cabinets and remove doors carefully. Unscrew and detach cabinets from walls.
Dismantling kitchen cabinets may seem daunting at first, but breaking down the task into manageable steps can make the process smooth and efficient. Preparation is key to ensuring everything goes off without a hitch. Before you pick up that screwdriver, let’s dive into the essential preparation steps that will set you up for success.Clear The Workspace
Begin by removing all items from your cabinets. Empty shelves make the process safer and help you keep track of your belongings. Store items in boxes or containers to keep them organized. A clutter-free workspace allows you to move freely and reduces the risk of accidents. It also prevents damage to your kitchenware. Imagine working in a tight spot with fragile dishes around – it’s a recipe for disaster.Protect The Surrounding Area
Cover your countertops and floors with drop cloths or old sheets. This step is crucial to safeguard surfaces from scratches or debris. If your kitchen has appliances near the cabinets, consider covering them as well. Wouldn’t it be frustrating to scratch your fridge while disassembling a cabinet? Using painter’s tape, mark the boundaries of your workspace. This visual aid helps you stay within a safe zone and minimize unintentional damage.Turn Off Utilities
Before removing cabinets, ensure utilities like water and electricity are turned off. This is vital if your cabinets are connected to plumbing or electrical fixtures. Locate and switch off the respective circuit breakers or water valves. A small oversight here could lead to unexpected repairs. Have you ever experienced a sudden water leak because of an overlooked step? Avoid such surprises by double-checking these utilities.Labeling And Organizing
Labeling and organizing are crucial steps in dismantling kitchen cabinets. This process helps you keep track of each component, making reassembly easier. Proper labeling prevents confusion and ensures that everything returns to its rightful place. Organizing hardware ensures you don’t lose essential parts during the dismantling process.
Label Cabinet Doors And Drawers
Start by labeling each cabinet door and drawer. Use masking tape and a permanent marker to write a number or name on each piece. This helps identify where each part belongs. Avoid writing directly on the surfaces to prevent damage. Consistent labeling makes the reassembly process smooth and stress-free.
Organize Hardware
Collect all screws, hinges, and handles in separate containers. Use small boxes or resealable bags for each type of hardware. Label each container with its contents and the corresponding cabinet. This prevents hardware from getting mixed up or lost. Keep these containers in a safe place, ensuring easy access during reassembly.
Removing Cabinet Doors
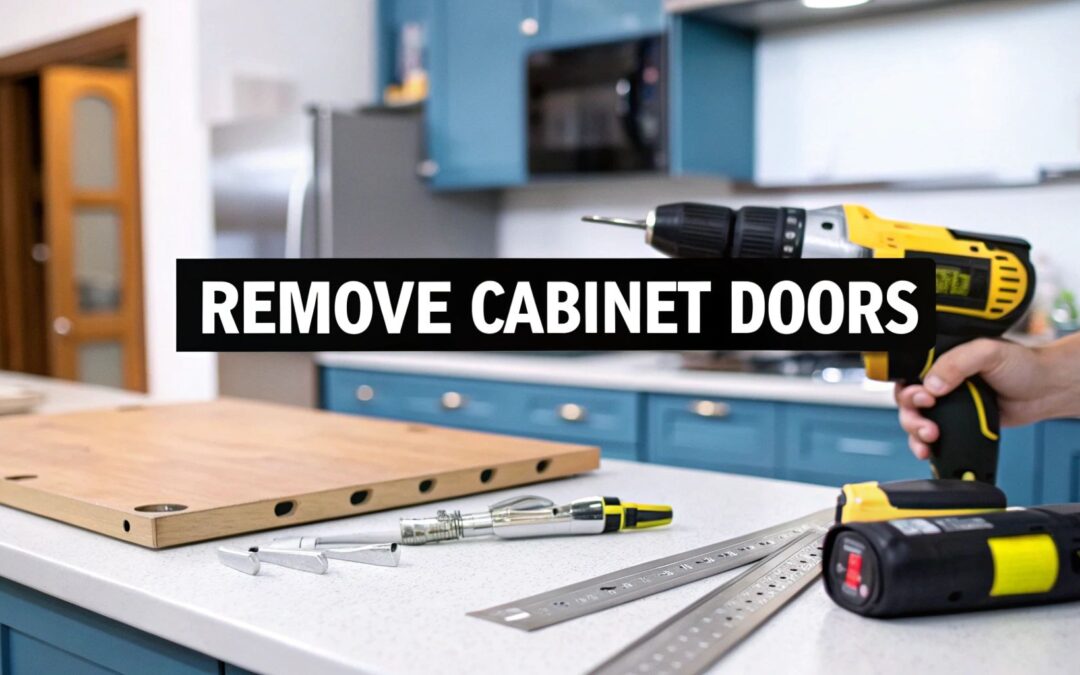
Taking off cabinet doors requires basic tools and patience. First, locate and remove screws from the hinges. Carefully lift the door away from the cabinet frame.
Removing cabinet doors is the first step in dismantling kitchen cabinets. This task requires patience and care to avoid damage. With the right tools, it’s straightforward. Follow these steps to remove your cabinet doors safely.Unscrew Hinges
Begin by locating the hinges on your cabinet doors. Use a screwdriver to remove the screws. Start at the bottom hinge and work upwards. This prevents unnecessary strain on the top hinge. Keep the screws in a small container for safekeeping. This ensures you won’t lose any parts.Detach Doors Carefully
After unscrewing, support the door with one hand. Gently pull the door away from the cabinet. Avoid using excessive force to prevent damage. If the door is stuck, check for remaining screws. Once detached, place the doors in a safe area. Ensure they are positioned to prevent scratches or dents.Taking Out Shelves
Dismantling kitchen cabinets requires careful removal of shelves. First, unscrew any brackets or clips holding them in place. Gently slide out the shelves to prevent damage.
Taking out shelves from kitchen cabinets is an essential step when you’re dismantling them. It’s not just about freeing up space; it’s about doing it efficiently without causing damage. You might think it’s straightforward, but it requires a bit of finesse. Are you ready to tackle this task and make your kitchen renovation a breeze?Remove Shelf Pins
To start, locate the shelf pins that hold the shelves in place. These tiny, often overlooked components are crucial for keeping your shelves stable. Use a flathead screwdriver or a similar tool to gently pry them out. Be patient; rushing might damage the pins or the cabinet. Once removed, store them safely. You never know when you might need them again, especially if you plan to reuse the cabinets elsewhere.Slide Out Shelves
With the pins out, sliding the shelves becomes much easier. Depending on your cabinet design, you might need to angle them slightly to pull them out smoothly. Remember, it’s not a race. Taking your time will ensure you don’t scratch or damage the shelves. As you remove each shelf, think about how you can repurpose them. Could they serve as storage in another part of your home?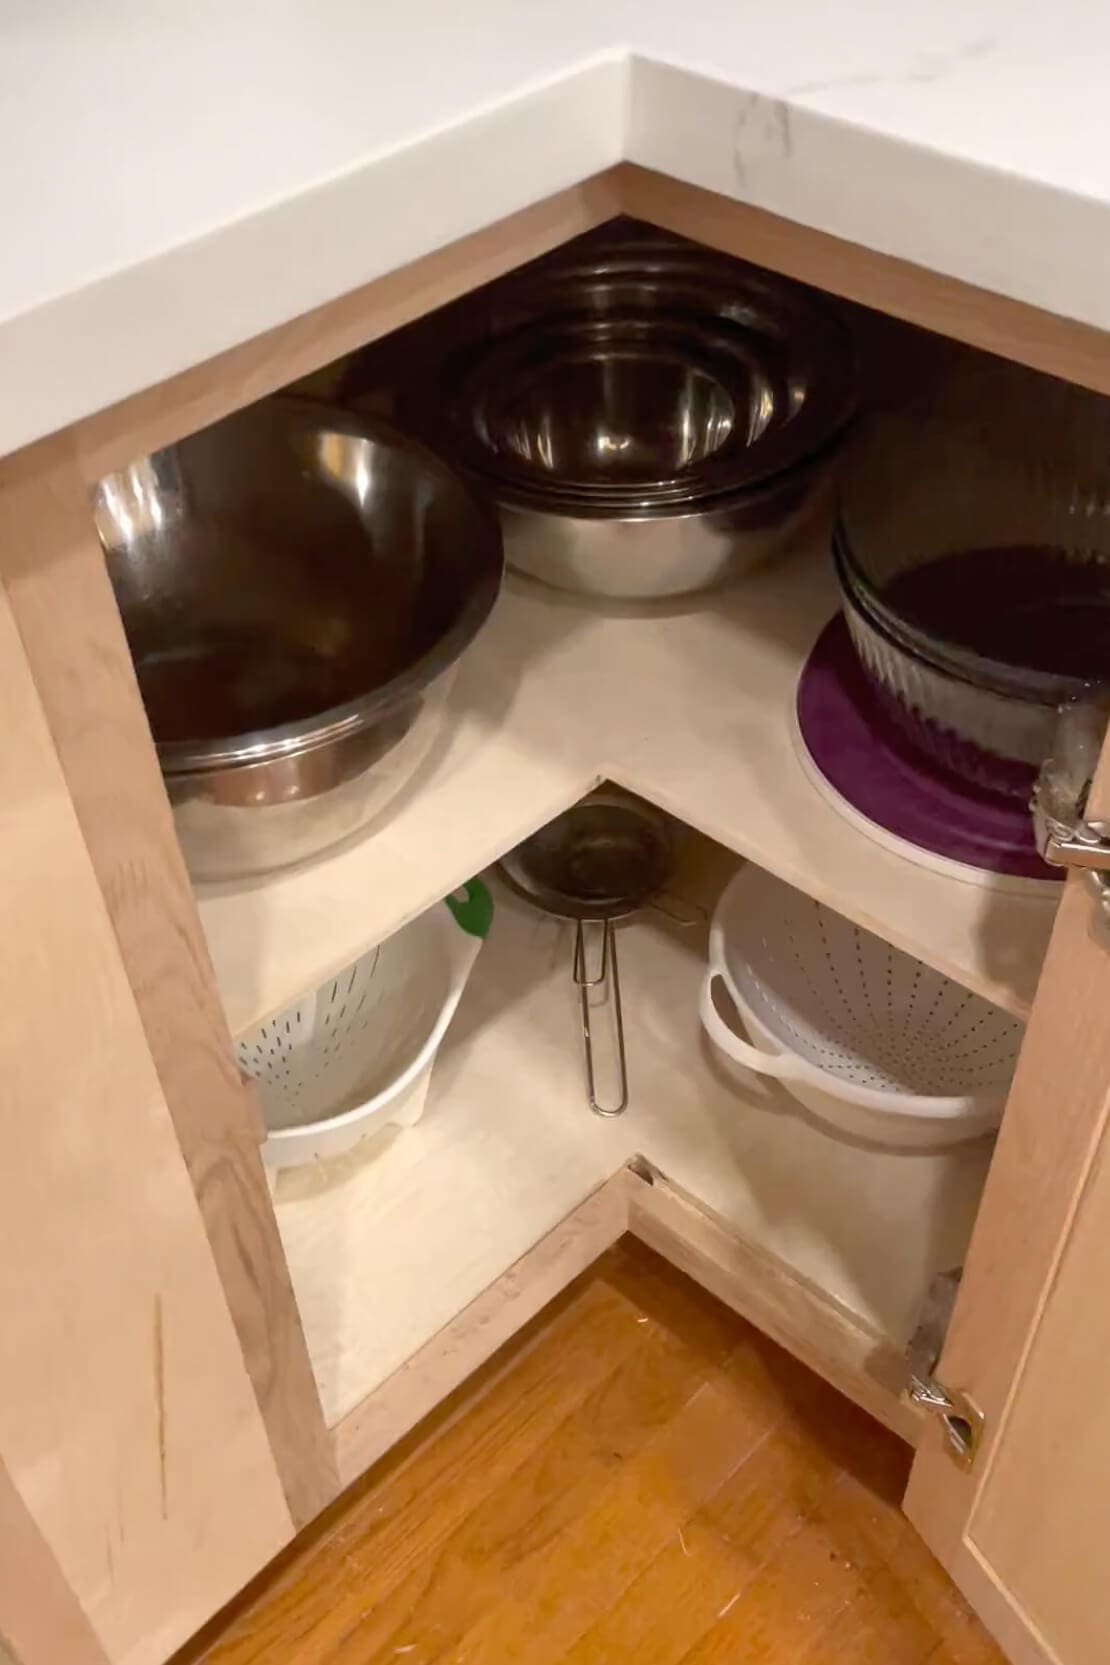
Credit: crystelmontenegrohome.com
Detaching Base Cabinets
Removing base cabinets involves loosening screws, disconnecting plumbing, and carefully lifting the units. Ensure all fixtures are detached first. Keep an eye on electrical connections to prevent damage.
Detaching base cabinets is a crucial step in kitchen renovation. Removing these cabinets requires patience and precision. Following the right steps ensures a smooth process. Understanding the structure helps in efficient dismantling. Let’s dive into the key steps involved.Locate And Remove Fasteners
Begin by identifying all fasteners. These hold the cabinets securely in place. Use a flashlight to spot screws and bolts. Check inside the cabinets and underneath. Once located, use a screwdriver to loosen them. Ensure all fasteners are removed before proceeding. This prevents damage to the cabinets.Separate Cabinets From Wall
With fasteners removed, focus on detaching cabinets from the wall. Gently push the cabinet away from the wall. Use a pry bar if necessary. Be careful to avoid damaging the wall. Work slowly and steadily for best results. Once free, carefully move the cabinet away. Repeat for each cabinet section.Removing Wall Cabinets
Dismantling kitchen cabinets requires careful planning. First, clear out all items and unscrew the doors. Then, detach the cabinets from the wall by removing screws and brackets, ensuring safety throughout the process.
Removing wall cabinets can be a bit tricky. With the right steps, it becomes manageable. It’s important to ensure safety and prevent damage. Let’s explore how to remove wall cabinets efficiently.Support Cabinet Weight
Before unscrewing, support the cabinet’s weight. Use a sturdy ladder or a friend for help. This prevents the cabinet from falling and causing injury. Holding the cabinet firmly is crucial. You might want to use a wooden brace or a strong rope. This ensures the cabinet stays stable. Safety should always be the priority during this process.Unscrew From Wall
Begin by locating the screws holding the cabinet. They are usually inside, near the top or bottom. Use a screwdriver or a power drill for ease. Unscrew each one carefully. Keep track of screws and washers as they come out. Once all screws are removed, the cabinet should be free. Lower it slowly to avoid any sudden drops. This step completes the cabinet removal process.Handling Countertops
Removing countertops requires care and precision. Disconnect plumbing and appliances, then unscrew cabinet supports. Lift countertops gently to avoid damage.
Handling countertops during cabinet dismantling requires care. Countertops can be heavy and fragile. Proper handling ensures safety and avoids damage. Follow these steps for a smooth removal.Disconnect Plumbing
First, turn off the water supply. This prevents leaks and water damage. Use a wrench to disconnect pipes from the sink. Have a bucket ready to catch any water. Carefully remove the faucet and any other fixtures. Label parts for easy reinstallation later.Loosen Countertop Attachments
Check for screws or brackets under the countertop. Use a screwdriver to remove them. Pry bars can help lift the countertop gently. Work slowly to avoid cracks. For glued countertops, use a utility knife to cut the seal. Have a helper for lifting heavy sections. Place removed countertops on a soft surface to prevent scratches.Cleaning Up
Removing kitchen cabinets involves a few simple steps. First, empty the cabinets completely. Then, unscrew the doors and hinges carefully. Finally, detach the cabinet boxes from the wall using a drill or screwdriver.
Cleaning up after dismantling kitchen cabinets can be quite satisfying. Picture this: you’ve successfully removed the cabinets, and now it’s time to tidy up and make way for new beginnings. A clean workspace sets the tone for the next steps in your kitchen makeover. You might even find hidden treasures tucked away in the corners. Let’s dive into the practical steps to ensure your space is spotless and organized.Dispose Of Debris
Begin by sorting through the debris. Separate items that can be recycled, such as metal hinges or screws, from those that need to be thrown away. Use a sturdy trash bag to collect splintered wood, broken tiles, and any other unusable materials. Consider renting a small dumpster if the debris is more than you can handle with regular trash bags. Think about the environment as you dispose of waste. Are there local recycling programs that accept construction materials? You might be surprised by what can be recycled. Your efforts in responsible disposal can contribute to a cleaner planet.Store Salvaged Items
As you clean, set aside any items that can be reused or repurposed. Shelves, drawer handles, and cabinet doors might be useful in other projects or might even add a unique touch to your new kitchen. Use labeled boxes to store these items, ensuring easy access later. Could those salvaged items be sold or donated? There’s always someone on the lookout for vintage or spare parts. You might even make a few extra bucks or help someone else in their DIY adventure. Keeping your salvaged items organized also prevents clutter, making your renovation journey smoother.
Credit: www.reddit.com
Credit: sinclaircabinets.com
Frequently Asked Questions
How To Disassemble Kitchen Cabinets?
Remove cabinet doors and drawers with a screwdriver. Unscrew and detach hinges and brackets. Carefully lift cabinets off wall mounts. Pry apart panels and frames using a crowbar. Label components for easier reassembly. Ensure safety by wearing gloves and goggles.
How Hard Is It To Pull Out Kitchen Cabinets?
Removing kitchen cabinets requires moderate DIY skills. Disconnect plumbing and appliances first. Unscrew cabinets from walls and counter. Use a pry bar carefully to avoid damage. Ensure proper safety measures are taken. It’s manageable with patience and the right tools.
Seek professional help if unsure about electrical and plumbing work.
How To Remove Kitchen Cabinets Without Damaging The Wall?
First, empty the cabinets. Unscrew the doors and shelves. Remove screws from the cabinet frame. Gently pry cabinets away using a pry bar. Support the cabinets to prevent sudden drops.
Are Kitchen Cabinets Glued To Each Other?
Kitchen cabinets are usually screwed together, not glued. Screws provide stability and allow easy adjustments. Glue may be used for added strength in some cases but is not standard practice. Proper installation ensures durability and functionality.
Conclusion
Removing kitchen cabinets can be straightforward. First, gather your tools. Next, empty the cabinets completely. Unscrew the hinges carefully. Remember to label parts for easy reassembly. Check for hidden screws or nails. Support the cabinets while removing them. Stay safe by wearing gloves and goggles.
Ask a friend to help with lifting. Dispose or recycle old materials responsibly. You’ll make space for a fresh look. Enjoy the transformation. It’s an achievable task with patience. Now, your kitchen is ready for a new design. Good luck with your next project!

Similar Posts