How to Paint Inside of Kitchen Cabinets: Expert Tips
Executive Chef & Lead Commercial Kitchen Specialist at Daily Kitchup Test Lab
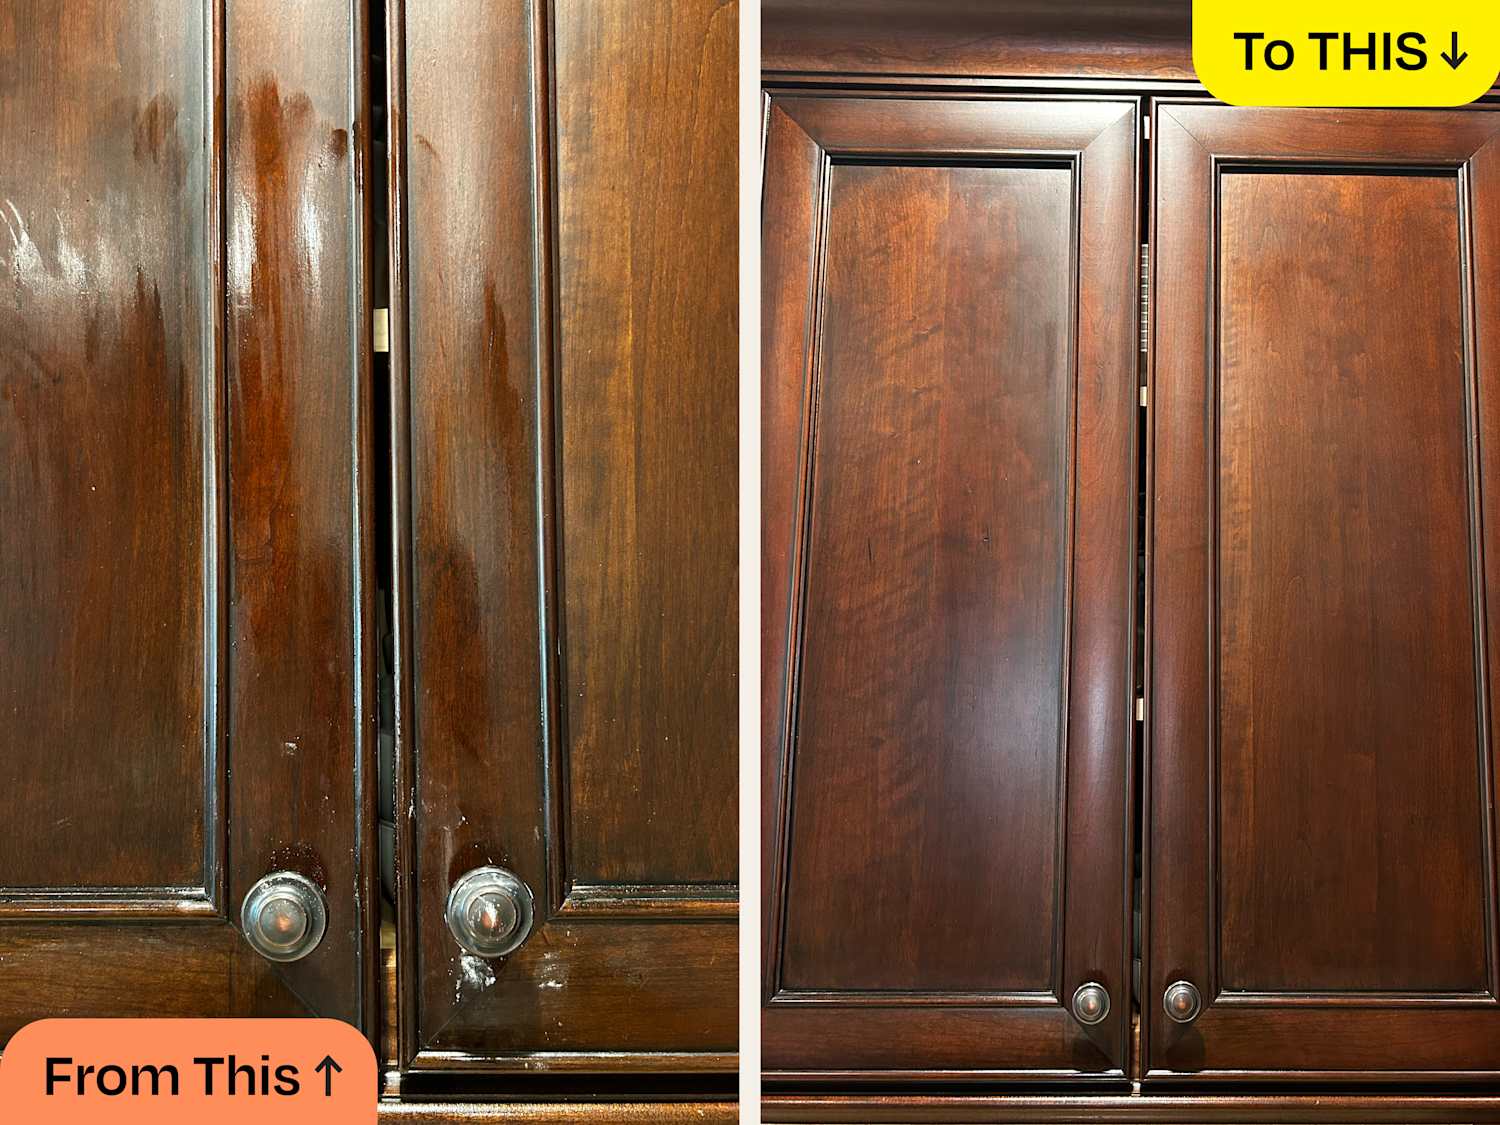
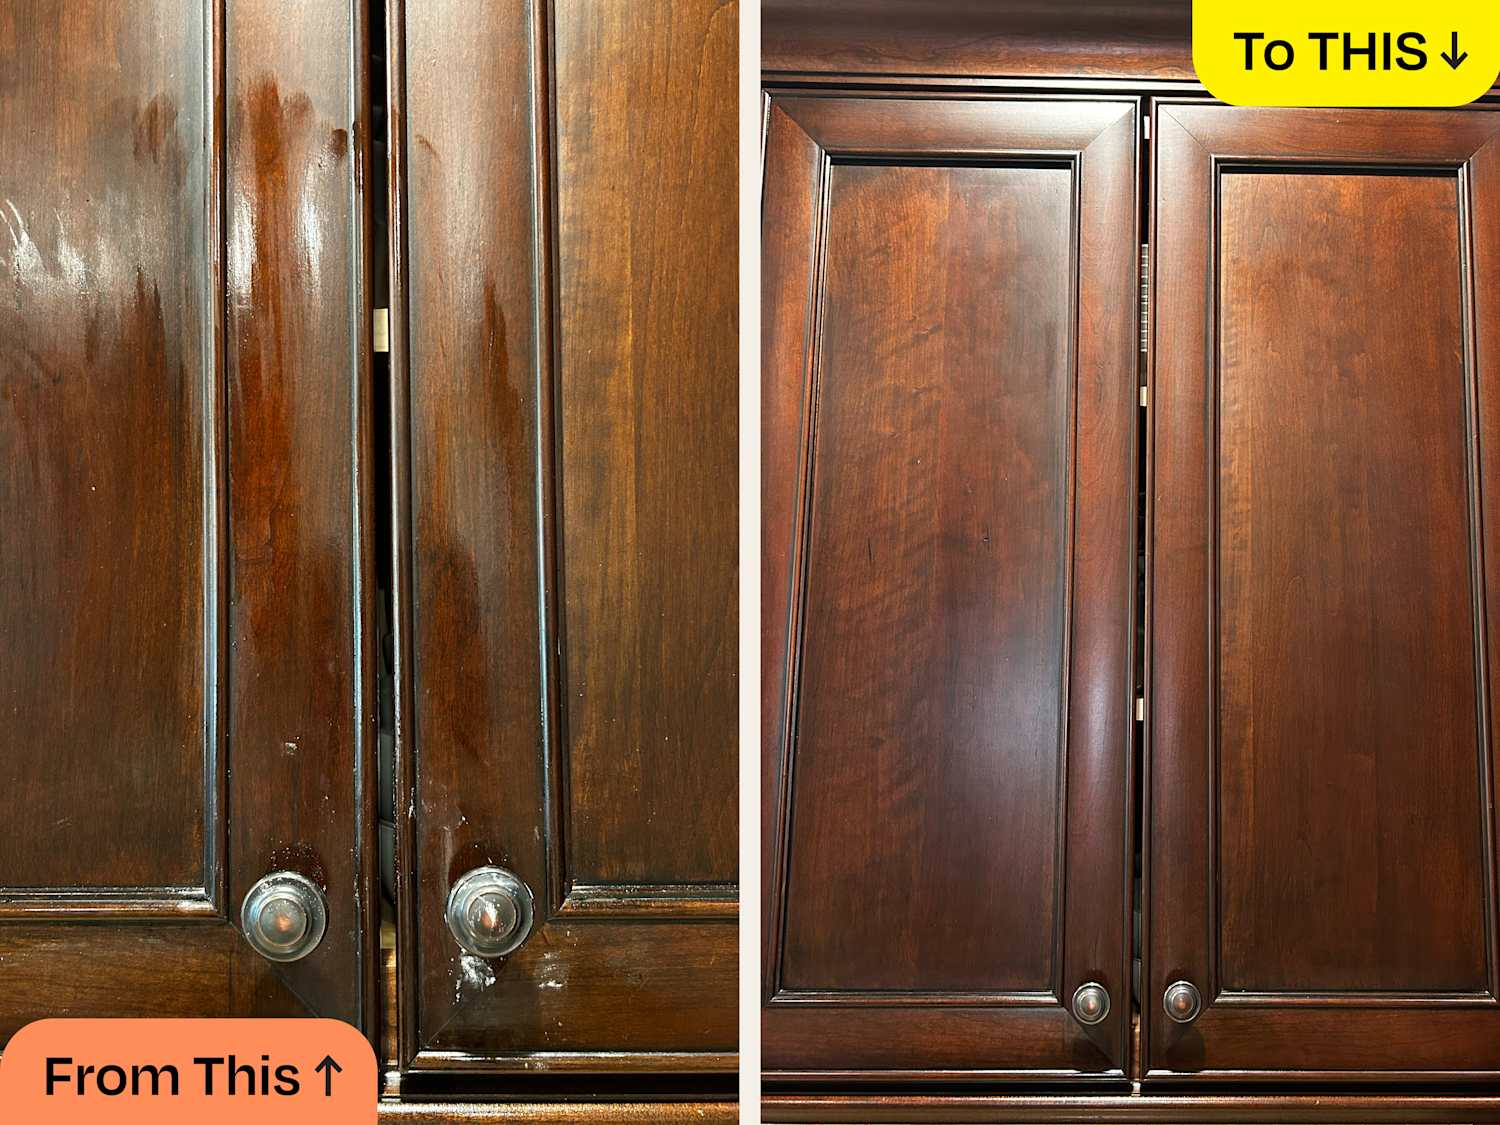
Are your kitchen cabinets looking a bit tired and outdated? You might be surprised at how a fresh coat of paint can transform them.
Painting the inside of your kitchen cabinets isn’t just a quick fix; it’s a game-changer for your kitchen’s overall appeal. Imagine opening your cabinets to find a clean, bright space that makes cooking and organizing a joy. The process might sound daunting, but with the right guidance, you can easily tackle this project and achieve professional-looking results.
This article will walk you through the step-by-step process of painting inside your kitchen cabinets, ensuring that you avoid common pitfalls and end up with a stunning result. Get ready to breathe new life into your kitchen and discover the satisfaction of a job well done.
Choosing The Right Paint
Painting the inside of kitchen cabinets can transform your kitchen’s appearance and enhance its functionality. But before you dive into this project, choosing the right paint is crucial. The wrong choice can lead to peeling, chipping, and a less-than-perfect finish. Let’s explore how to make the best paint choices to ensure your cabinets look stunning and stand the test of time.
Types Of Paint For Cabinets
When selecting paint for your kitchen cabinets, consider opting for latex or oil-based paints. Latex paints are popular due to their easy application and quick drying times. They also emit fewer fumes, making them a safer choice for indoor projects. Oil-based paints, on the other hand, offer a hard, durable finish ideal for cabinets that face a lot of wear and tear. Take into account the environment in your kitchen and how much use your cabinets get.
If you’ve ever painted a room, you might have noticed how different types of paint can affect the final look. Cabinet-specific paints are available and often have enhanced durability and smoother finishes. This kind of paint might be a bit pricier but can save you time and effort in the long run. Would you rather spend a bit more now and save on future repairs?
Best Finishes For Durability
The finish you choose can greatly impact the longevity of your cabinet paint job. Semi-gloss and high-gloss finishes are excellent for kitchen cabinets. They are easy to clean and resist stains and moisture, common issues in a kitchen environment. These finishes reflect light, which can brighten up your kitchen space and make it feel larger.
Flat or matte finishes, while beautiful, are less durable for kitchen settings. They can be challenging to clean and often require more frequent touch-ups. If you’ve ever tried scrubbing a matte surface, you’ll know how stubborn stains can be. Consider your lifestyle and how often you’re willing to repaint or touch-up.
Color Selection Tips
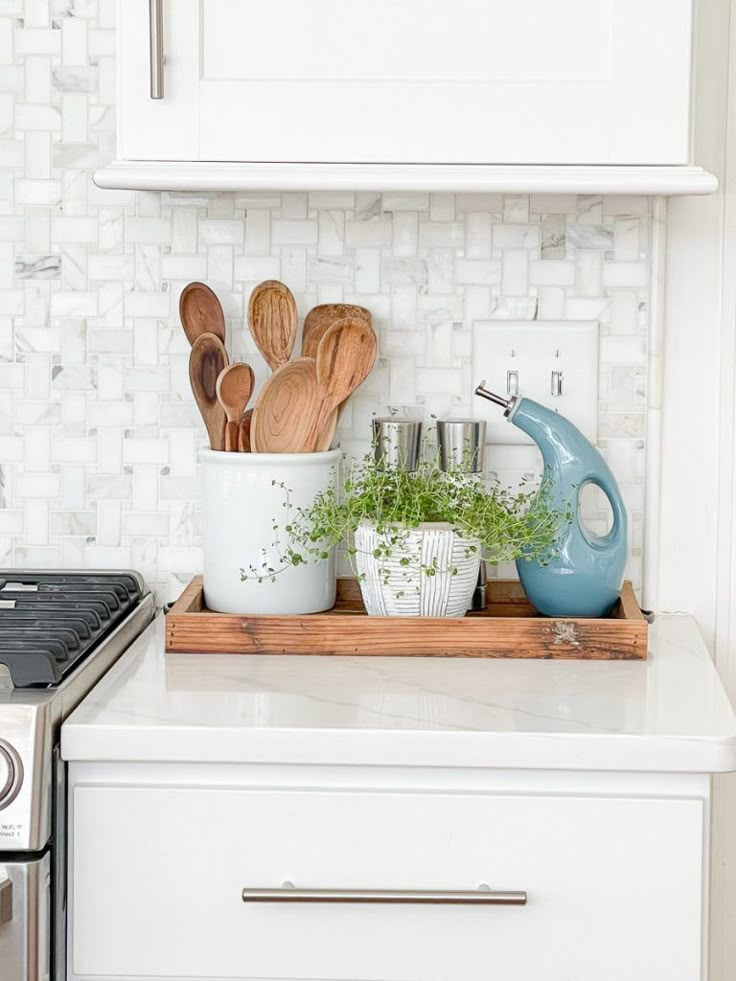
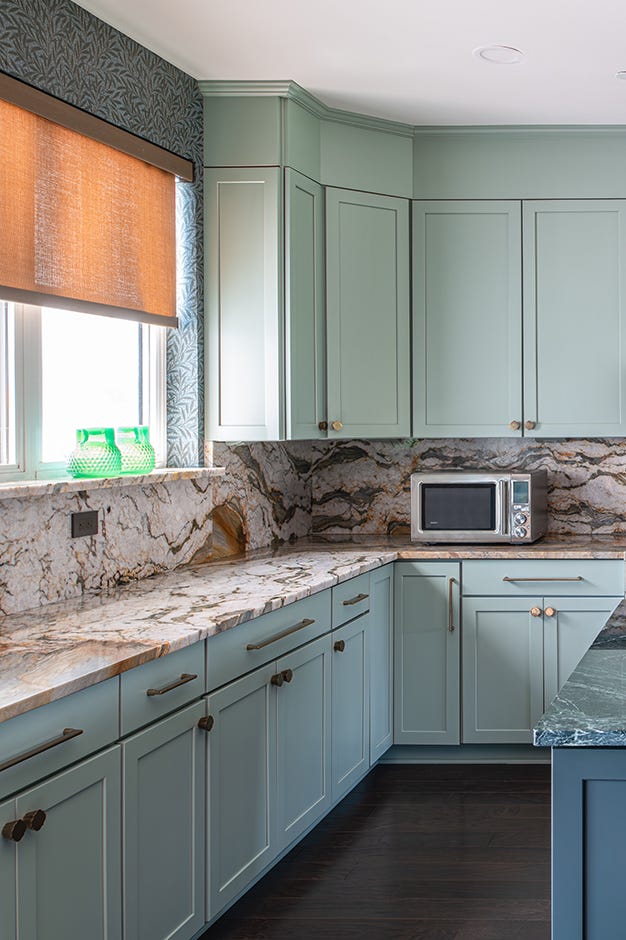
Color choice can dramatically alter the mood and style of your kitchen. Light colors like white or cream can make a small kitchen feel airy and spacious. If you prefer a cozy atmosphere, consider warm tones like taupe or soft gray. These colors can also add a touch of elegance to your cabinets.
If you’re feeling bold, rich colors like navy or forest green can add depth and character. However, balance is key. You might want to complement bold cabinet colors with neutral walls and counters. Think about your kitchen’s overall theme and how the colors will interact with your appliances and décor.
Choosing the right paint involves balancing aesthetics with practicality. Will your chosen color and finish withstand the daily hustle of a busy kitchen? With thoughtful selection, your painted cabinets will be both a beautiful focal point and a durable fixture in your home.
Gathering Essential Supplies
Gather essential supplies like paint, brushes, and painter’s tape to transform your kitchen cabinets. Sandpaper and primer ensure a smooth finish. Drop cloths protect surfaces from spills and splatters.
Gathering essential supplies is a crucial step before painting your kitchen cabinets. Having the right tools ensures a smooth painting process. Proper preparation can save time and reduce stress. Let’s explore the tools and safety gear needed for this task.Tools And Equipment Needed
Start with a list of tools for painting. You’ll need paintbrushes and rollers. Choose small brushes for corners and edges. Rollers work best for flat surfaces. Get sandpaper to smooth cabinet surfaces. A sanding block can help with grip. Use a paint tray to hold your paint. Make sure to have painter’s tape. This protects areas you don’t want to paint. A drop cloth keeps your floor clean. It’s helpful to have a screwdriver. This helps to remove cabinet doors and hardware.Safety Gear And Precautions
Safety is important when painting. Wear safety goggles to protect your eyes. Paint can irritate skin, so use gloves. A mask is essential when working with paint fumes. Open windows for fresh air. Ventilation is key for safety. Keep a first-aid kit nearby. Accidents can happen anytime. Read labels on paint cans. Some paints may have harmful chemicals. Store paint and tools out of children’s reach. Prioritize safety for a successful project.Preparing Cabinets For Painting
Clean and organize the cabinets. Remove all items and wipe surfaces. Sand lightly for better paint adhesion. Apply primer to ensure smooth coverage. Use a small brush for corners and edges. Finish with a coat of paint, allowing it to dry completely.
Preparing your kitchen cabinets for painting is crucial. It ensures a smooth and long-lasting finish. Follow these steps to get your cabinets ready for a fresh coat of paint.Cleaning And Degreasing
Start with a thorough cleaning. Use a mild detergent and warm water. Focus on removing grease and grime. Pay special attention to corners and edges. Rinse the surfaces with clean water. Allow them to dry completely before proceeding. This step ensures paint adheres well.Removing Hardware And Doors
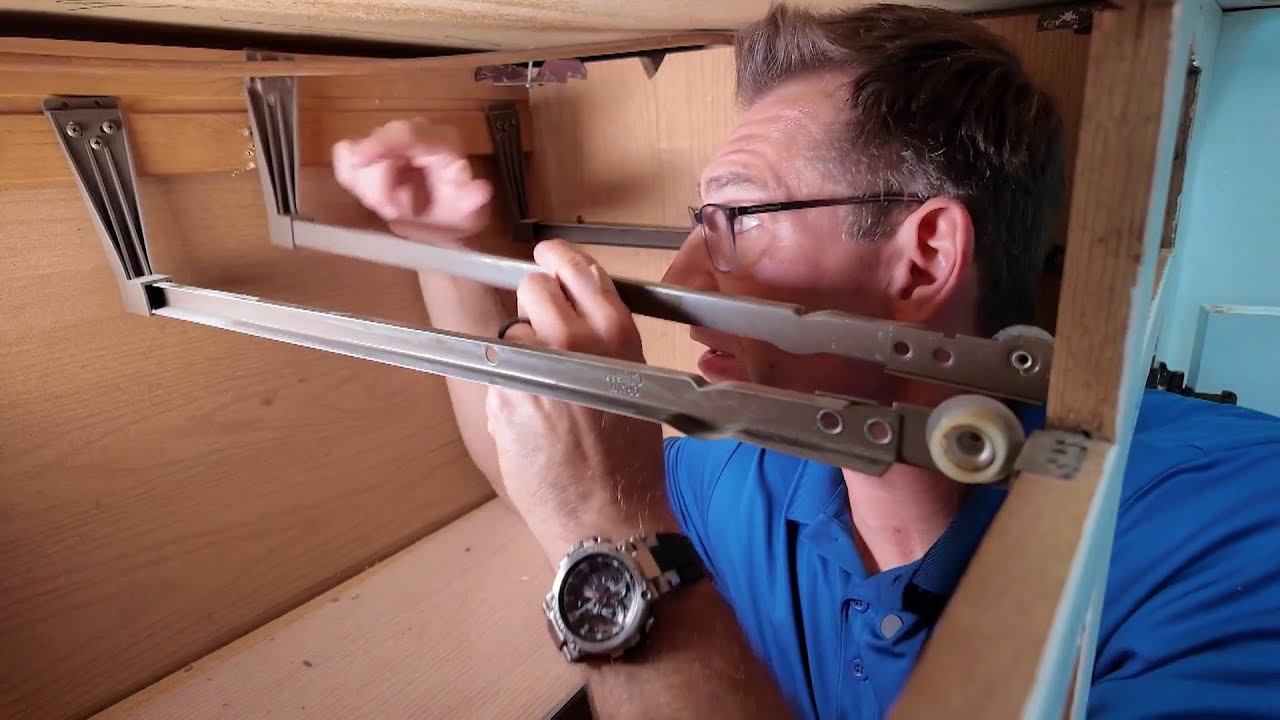
Take off cabinet doors and hardware. Use a screwdriver for knobs and handles. Store the hardware in labeled bags. This makes reinstallation easier later. Keep screws and hinges together. Labeling doors helps with organization. It prevents confusion during reassembly.Sanding Surfaces
Sand all surfaces to be painted. Use medium-grit sandpaper for this task. Focus on creating a smooth surface. Remove any glossy finish. This helps the primer stick better. After sanding, wipe away dust with a damp cloth. Make sure surfaces are dust-free before painting.Credit: www.instagram.com
Reassembling Cabinets
Freshen up kitchen cabinets by painting the interior. Clear shelves and clean surfaces thoroughly. Apply primer, then paint with a brush or roller for a smooth finish. Use light colors to brighten the space. Let dry completely before reassembling shelves and organizing items.
Reassembling kitchen cabinets after painting can feel like putting together a complex puzzle, but with the right approach, it can be a rewarding part of your DIY project. You’ve spent time and effort painting the inside of your cabinets, and now it’s time to bring everything back together. This step is crucial to ensure the beauty and functionality of your kitchen are restored to perfection.Reattaching Doors And Hardware
Begin by gathering all the hardware you removed. This includes hinges, screws, and handles. Having everything in one place will save you time. Before reattaching, give the hardware a quick wipe to remove any dust. Clean hardware will look better and function smoothly. Start with the hinges. Attach them to the doors first, then align them with the cabinet frames. Secure the screws tightly but avoid over-tightening to prevent damage.Ensuring Proper Alignment
When reattaching the doors, focus on alignment. Misaligned doors can affect the overall look and function of your cabinets. Use a level to check that each door hangs straight. Adjust the hinges slightly if needed to correct any misalignment. Close each door to test its fit. It should close smoothly without rubbing or sticking. If it doesn’t, minor adjustments to the hinges can make a big difference. Do you remember the satisfaction of seeing a perfectly aligned picture frame? Achieving that same precision with your cabinet doors can be just as rewarding. Taking the time to reassemble your cabinets correctly ensures they not only look great but function well for years to come.Maintenance And Care
Maintaining and caring for painted kitchen cabinets extends their lifespan. Proper care keeps them looking fresh and vibrant. Regular maintenance can prevent chipping and fading, ensuring the cabinets remain beautiful.
Cleaning Painted Surfaces
Clean your painted cabinets gently to avoid damage. Use a soft cloth and mild detergent. Avoid abrasive scrubbers that can scratch the surface. Rinse with clean water and dry with a towel.
Perform cleaning monthly to maintain shine. Dust can accumulate and dull the paint. Regular wiping prevents this buildup, keeping the cabinets pristine.
Touch-up Tips For Longevity
Accidents happen, and chips may appear. Touching up these areas extends the paint’s life. Use leftover paint from the original job. Match the color for a seamless repair.
Apply paint with a small brush for precision. Allow it to dry before using the cabinets again. This ensures the paint sets correctly.

Credit: www.youtube.com
Frequently Asked Questions
What Type Of Paint Is Best For Cabinets?
Acrylic latex paint is ideal for kitchen cabinets. It offers durability and a smooth finish. Choose semi-gloss or satin for a washable surface. These finishes resist stains and are easy to clean. Proper preparation and priming ensure long-lasting results.
How Do I Prepare Cabinets Before Painting?
Start by removing cabinet doors and hardware. Clean surfaces with a degreaser to remove dirt and grease. Sand lightly to create a smooth surface. Apply a primer to ensure paint adhesion. Proper preparation is crucial for a professional finish.
Can I Paint Cabinets Without Sanding?
Yes, you can use a deglosser instead of sanding. It helps remove the glossy finish and enhances paint adhesion. Apply the deglosser according to the manufacturer’s instructions. Ensure surfaces are clean and dry before painting for optimal results.
How Long Does Cabinet Paint Take To Dry?
Cabinet paint generally dries in 24 hours. However, curing for full hardness takes up to 7 days. Allow proper ventilation and avoid heavy usage during this period. Drying times may vary based on humidity and temperature.
Conclusion
Painting kitchen cabinets can refresh your space. It’s a simple DIY project. Follow the steps carefully for the best results. Choose the right paint for durability. Clean and sand cabinets first. Apply primer for a smooth finish. Use even brush strokes for consistency.
Let each coat dry completely. Enjoy your newly painted cabinets. They’ll add charm and value to your kitchen. Plus, you’ll feel proud of your handiwork. Painting inside cabinets is a rewarding task. You’ll love the transformation. Happy painting!

Similar Posts