How to Put Handles on Kitchen Drawers: Easy DIY Guide
Executive Chef & Lead Commercial Kitchen Specialist at Daily Kitchup Test Lab
Are you tired of struggling with your kitchen drawers, wishing for an easier way to open them? Adding handles can transform your kitchen’s functionality and style in just a few simple steps.
Imagine the satisfaction of effortlessly pulling open your drawers, all while enhancing the look of your kitchen. This guide will walk you through everything you need to know about putting handles on your kitchen drawers. You’ll discover how this small change can make a big difference in your daily life.
Let’s dive into the details so you can enjoy the perfect blend of convenience and aesthetics in your kitchen!
Tools And Materials Needed
Gather a screwdriver, a drill, and a measuring tape for installing kitchen drawer handles. Handle screws and a level ensure proper alignment.
Putting handles on kitchen drawers is a straightforward task. It requires specific tools and materials for precision. Gathering the right items ensures a smooth installation process. This section outlines what you’ll need.Tools You’ll Need
- Drill: Essential for making holes.
- Screwdriver: Tightens screws securely.
- Measuring Tape: Ensures accurate placement.
- Pencil: Marks drilling spots.
- Level: Checks handle alignment.
Materials Required
- Handles: Choose your preferred style.
- Screws: Usually come with handles.
- Template: Guides placement.

Credit: plankhardware.com
Choosing The Right Handles
Selecting suitable handles for kitchen drawers enhances style and functionality. Ensure handles match your kitchen’s design theme. Proper installation requires measuring and aligning for a seamless look.
Choosing the right handles for your kitchen drawers is more than just a finishing touch—it’s an opportunity to infuse your personal style into your kitchen space. Handles not only enhance the aesthetic appeal but also play a crucial role in functionality. The perfect handles can elevate your kitchen from ordinary to extraordinary, while poor choices can stick out like a sore thumb.Material Matters
Different materials offer distinct advantages. Stainless steel, for example, is durable and easy to clean, making it ideal for a busy kitchen. If you prefer a more rustic feel, consider wooden handles, which add warmth and character. Glass or ceramic handles can bring a touch of elegance and are perfect for vintage or shabby-chic designs. Think about your lifestyle and the amount of maintenance you’re willing to commit to when choosing materials.Style And Design
Your kitchen’s style should guide your choice of handles. Sleek, minimalist handles work well in modern kitchens, while ornate designs suit traditional settings. Consider the existing elements in your kitchen, such as your cabinet finishes and appliances. Mixing and matching styles can create a unique look, but ensure there’s a cohesive theme.Size And Proportion
The size of your handles should be in harmony with your drawer sizes. Large drawers benefit from longer handles for ease of use, while small drawers look best with shorter, more discreet handles. Try to visualize how the handles will look installed. You can even tape templates to your drawers to see what works best visually.Comfort And Grip
Handles need to be comfortable to use, especially if you cook often. Test different styles to see how they feel in your hand. Consider whether they might snag on clothing or if they are easy to grip for people with limited hand strength. A handle that looks good but isn’t functional can quickly become a daily annoyance.Budget Considerations
Finally, keep your budget in mind. Handles come in a wide range of prices, from a few dollars to high-end designer pieces. Decide how much you’re willing to spend and try to find a balance between cost and quality. Investing in high-quality handles can be worthwhile as they tend to last longer and withstand wear and tear better. Choosing the right handles can make a significant impact on your kitchen’s look and feel. Have you considered how different choices might change the vibe of your space?Measuring For Handle Placement
Getting the right measurements for handle placement is key. It ensures functionality and aesthetics for your kitchen drawers. Accurate measuring prevents uneven or awkward positioning. This guide will help you achieve precise handle placement.
Determining Handle Position
Start by considering the drawer’s width and height. Handles should be centered for balance. Measure the drawer front to find the midpoint. Use a ruler for precise measurements. Mark the spot lightly with a pencil.
Using A Template For Accuracy
Templates simplify handle placement. Find a template that matches your handle size. Position it on the drawer and align it with your pencil mark. Secure the template in place using tape. Mark the screw holes through the template.
Double-check the alignment before drilling. This ensures each handle sits correctly. Templates help avoid measuring errors. They are especially useful for multiple drawers.

Credit: plankhardware.com
Marking The Drill Holes
Accurate marking of drill holes ensures proper alignment when attaching handles to kitchen drawers. Use a template or measuring tape for precise placement.
Marking drill holes is crucial in attaching handles to kitchen drawers. Precise markings ensure handles are level and aligned. This step requires attention and patience. With the right approach, you can achieve professional results.Ensuring Symmetry
Start by measuring the drawer’s width. Find the center point and mark it with a pencil. This will act as your guide. Symmetry is key for an appealing look. Use a ruler to draw a vertical line through the center. This helps in aligning both handles and ensures they are evenly spaced.Double-checking Measurements
Check your measurements before drilling. Mistakes can lead to misaligned handles. Use a tape measure to confirm distances. Measure twice to be sure. Also, consider using a template. It provides a guide for consistent hole placement. Templates are especially useful for multiple drawers.Drilling The Holes
Begin by marking the spots for the holes. Use a template or measure to ensure accuracy. Once marked, carefully drill the holes using the correct drill bit size for your screws. Keep the drill steady to avoid mistakes.
Drilling holes for kitchen drawer handles is a crucial task. It requires precision and care for a perfect fit. This process involves using tools like a drill. Proper preparation ensures your handles align correctly and securely. Let’s explore the key aspects of drilling holes.Safety Precautions
Always prioritize safety before starting. Wear safety glasses to protect your eyes. Ensure your workspace is well-lit and clutter-free. Keep your hands steady while drilling. Use clamps to hold the drawer in place. This prevents movement and mistakes. Double-check the drill is in good condition. A faulty drill can cause accidents.Using The Correct Drill Bit
Choose the right drill bit for your drawer material. For wood, use a standard wood drill bit. For metal, select a bit designed for metal surfaces. Ensure the drill bit matches the handle screws. Too large or small can cause fitting issues. Mark the exact spot where you need to drill. This ensures precision and proper alignment. Pre-drill with a smaller bit to guide the main drill. This technique prevents splitting or cracking.Attaching The Handles
Attaching handles to kitchen drawers can refresh your space. Measure and mark the desired position carefully. Use a drill to make holes, then secure the handles with screws. Ensure they are aligned for a polished look.
Attaching handles to your kitchen drawers might seem like a daunting task, but it can be an incredibly satisfying DIY project that transforms your space. You just need a few tools and a little patience. The process involves careful alignment and secure fastening, ensuring your drawers not only look great but function smoothly. Ready to give your kitchen a stylish upgrade?Aligning The Handles
When aligning the handles, precision is key. Start by measuring the center point of the drawer front. This is where your handle should be placed for a balanced look. Use a pencil to mark the spot lightly. If you’re installing more than one handle, a small template can help keep things consistent. Just think of the satisfaction of seeing every handle perfectly aligned—it’s worth the extra effort!Tightening Screws Securely
Tightening the screws securely ensures that your handles stay in place even with frequent use. Begin by inserting the screws through the pre-drilled holes from the inside of the drawer. Attach the handle on the outside and tighten the screws using a screwdriver. Be careful not to overtighten, as this can damage the wood or strip the screw. Double-check the tightness after a few days of use. Have you ever opened a drawer only to find a loose handle? A quick check can save you the hassle later on. Remember, attention to detail is crucial for a professional finish. Isn’t it amazing how such small adjustments can make a big difference in your kitchen’s look?Finishing Touches
After installing handles on your kitchen drawers, the final steps are crucial to ensure a polished and professional finish. These finishing touches not only enhance the aesthetics but also ensure longevity and functionality. Let’s dive into the essential steps to ensure your handles are ready for daily use.
Checking Handle Stability
Once your handles are in place, give them a gentle tug. Do they feel secure, or is there a slight wiggle? A stable handle ensures your drawer operates smoothly and safely. Tighten any loose screws, but be cautious not to over-tighten, which can damage both the handle and the drawer.
Consider the material of your handles. Metal may expand or contract with temperature changes, so periodic checks could save you from unexpected issues. If you notice persistent instability, consider using a drop of wood glue or thread lock on the screws for additional security. Wouldn’t it be frustrating to have a handle come off during a busy cooking session?
Cleaning The Surface
With handles securely fastened, it’s time to clean the surrounding surface. Dust, fingerprints, and smudges can detract from the clean lines of your new handles. Use a gentle cleaner suitable for your drawer material.
For wooden surfaces, a mild detergent or wood polish can enhance the grain and shine. Meanwhile, stainless steel or chrome handles benefit from a vinegar solution or specialized cleaner to keep them gleaming. Why not make a habit of cleaning handles regularly to maintain their sparkle?
Remember, the cleaner you use should not damage the finish of your drawers. Test on a small area first, especially if you’re trying a new product. Would you risk a cleaner that might strip the paint or varnish?
- Ensure screws are tightened but not overdone.
- Use appropriate cleaning solutions for each material.
- Regularly check for handle stability.
By focusing on these finishing touches, you guarantee a successful installation that stands the test of time. With both stability and cleanliness, your kitchen drawer handles will not only look great but also function perfectly.
Troubleshooting Common Issues
When installing kitchen drawer handles, issues can arise. Common problems include misaligned handles and loose screws. Addressing these issues ensures smooth and functional drawer use. Let’s explore solutions for these common challenges.
Fixing Misaligned Handles
Misaligned handles can disrupt the look of your kitchen. Start by measuring the distance between the handle holes. Ensure they match the handle’s screw holes. If they’re off, realign them using a drill. Mark the correct positions with a pencil. Drill new holes as needed.
Use a level to check alignment. Adjust the handle until it’s straight. Tighten the screws, securing the handle in place. This ensures a neat and aligned appearance.
Dealing With Loose Screws
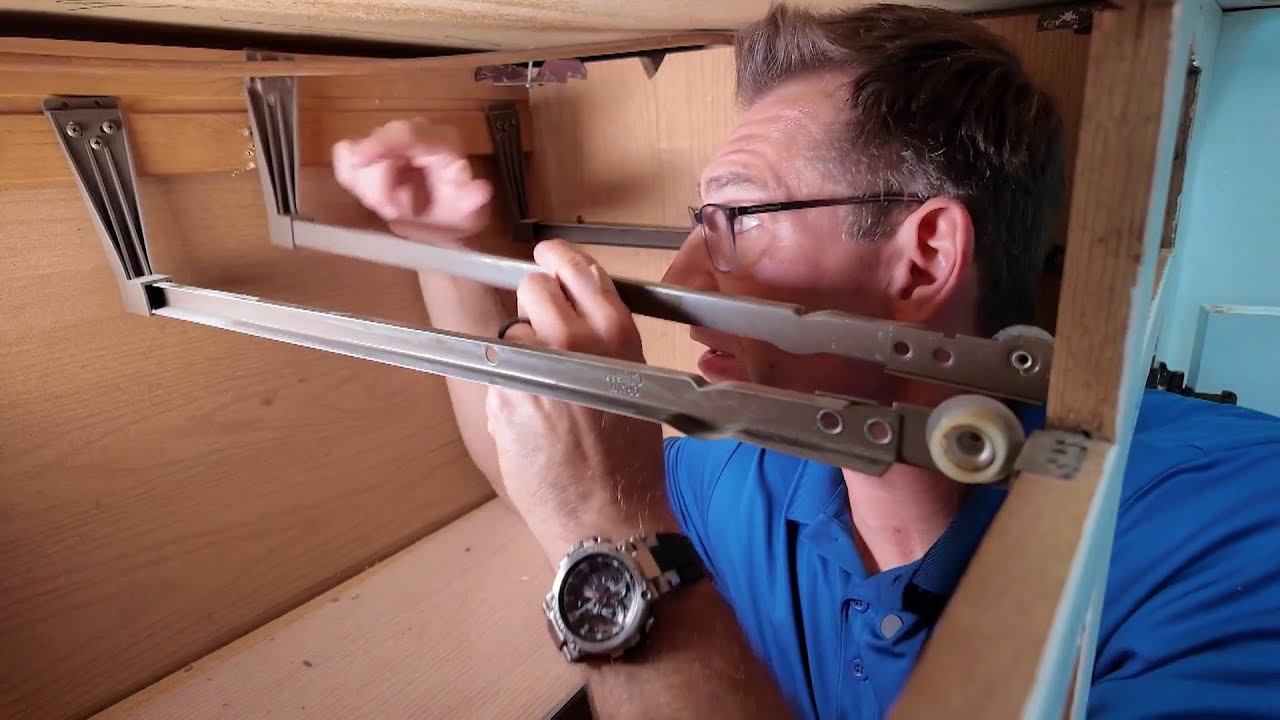
Loose screws can make handles wobbly. Start by tightening each screw with a screwdriver. Ensure they’re snug but not overly tight. If screws remain loose, consider using longer screws. They provide a better grip in the wood.
If holes are too large, use wooden toothpicks. Insert them into the hole, then break off the excess. This fills the gap, allowing screws to hold firmly. Tighten the screws once more for a secure fit.

Credit: www.youtube.com
Frequently Asked Questions
How To Place Handles On Kitchen Drawers?
First, measure and mark the drawer for handle placement. Drill pilot holes at marked spots. Align the handle with holes. Insert screws through the drawer into handle holes. Tighten screws until secure. Ensure handles are straight and evenly placed. Repeat process for other drawers.
What Is The 1/3 Rule For Drawer Pulls?
The 1/3 rule for drawer pulls suggests the pull should be one-third the width of the drawer. This ensures balanced aesthetics and functionality, enhancing the overall appearance of furniture. Following this rule helps achieve a harmonious design.
How To Add Handles To Dresser Drawers?
Mark handle positions on the drawer. Drill holes with a suitable bit. Align handles with holes and insert screws. Tighten screws securely using a screwdriver. Ensure handles are firmly attached. Repeat for all drawers. Enjoy your updated dresser with new handles.
Can You Put Knobs On Kitchen Drawers?
Yes, you can put knobs on kitchen drawers. They enhance aesthetics and offer easy access. Choose knobs that complement your kitchen design for a cohesive look. Ensure correct placement and secure installation for functionality and durability.
Conclusion
Putting handles on kitchen drawers is a simple task. You can enhance your kitchen’s look quickly. Begin with choosing the right handles. Measure accurately to avoid mistakes. Mark the spots carefully on each drawer. Drill holes with precision. Attach handles securely with screws.
Check stability after installation. Now, your drawers have a fresh appearance. A small change makes a big impact. Feel proud of your handy work. Enjoy the functional and stylish upgrade. You did it! Your kitchen drawers are now more accessible and appealing.
Keep exploring more DIY projects for your home.

Similar Posts