How to Repaint a Kitchen Cabinet: Transform Your Space
Executive Chef & Lead Commercial Kitchen Specialist at Daily Kitchup Test Lab
Imagine stepping into your kitchen and feeling a burst of joy every time you see your cabinets. Sounds delightful, right?
Repainting your kitchen cabinets can transform your space from mundane to magnificent, and you don’t need to be a professional to do it. You might be wondering how to start, what supplies you’ll need, and how to ensure a flawless finish.
This guide is your ticket to unlocking those secrets. You’ll discover easy techniques, clever tips, and tricks to make your cabinets look brand new. Don’t let those outdated cabinets hold your kitchen back. You deserve a space that reflects your style and personality. Ready to learn how to repaint your kitchen cabinets and make your dream kitchen a reality? Let’s dive in!
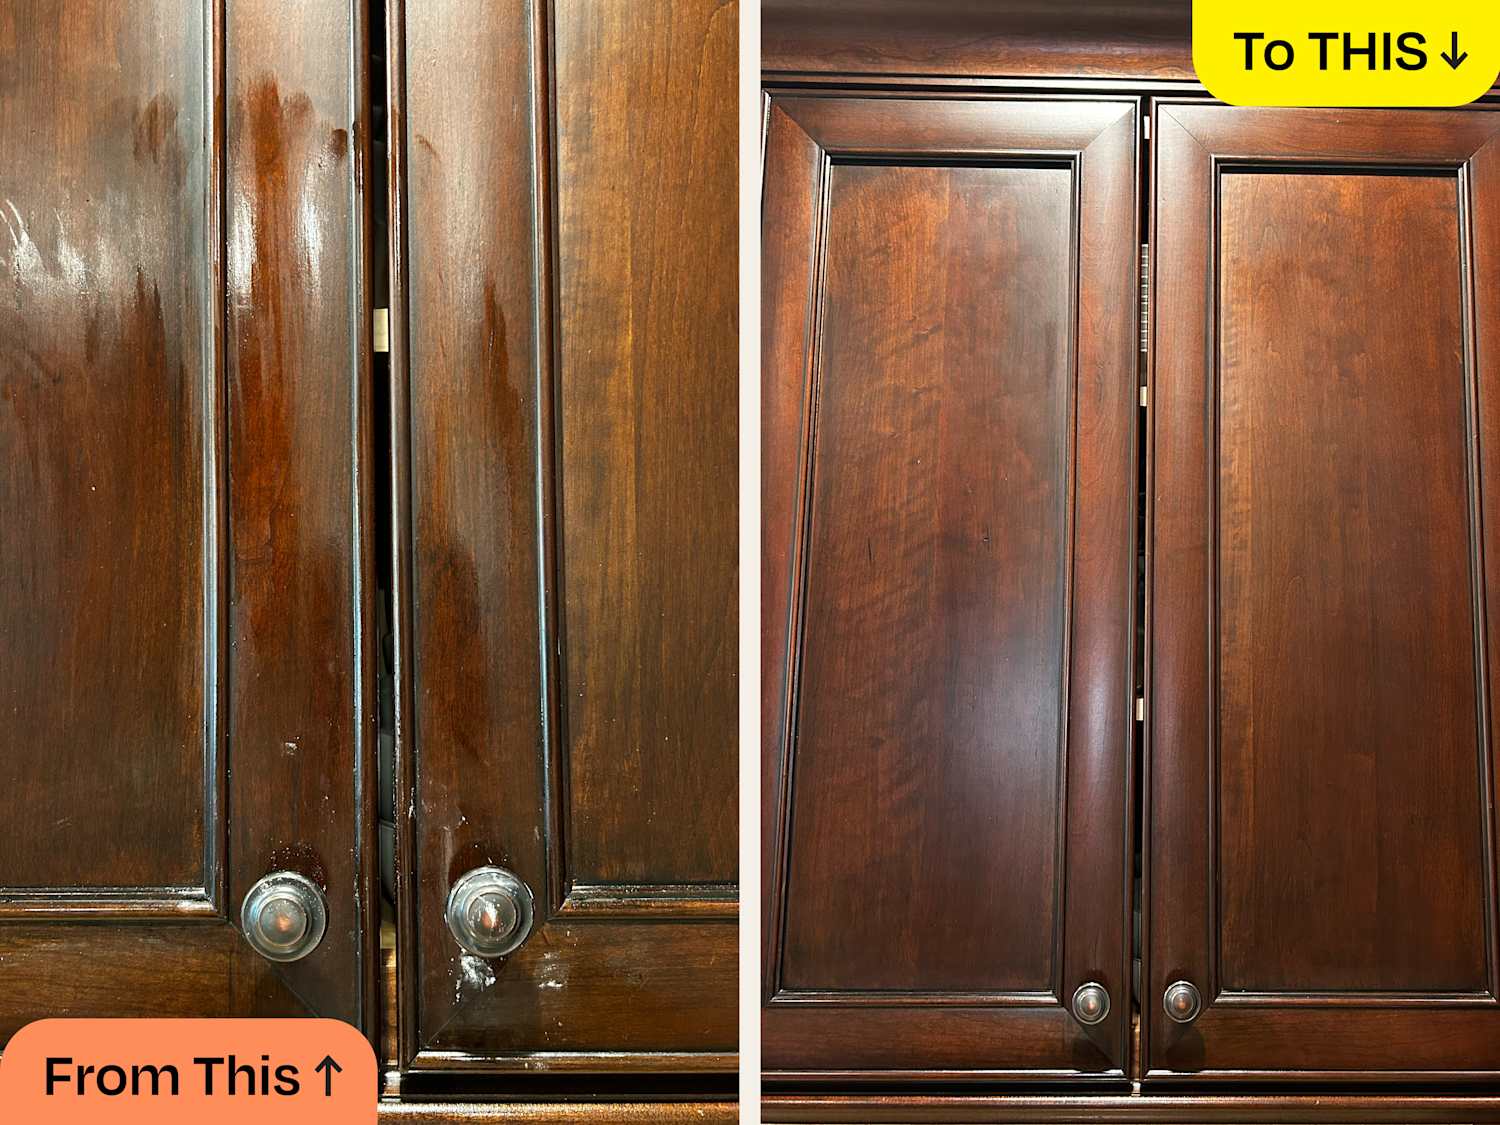
Credit: www.familyhandyman.com
Choosing The Right Paint
Selecting the right paint ensures a smooth finish for kitchen cabinets. Choose a durable, high-quality paint that resists stains. Consider the color and finish to match your kitchen style.
Choosing the right paint for your kitchen cabinets is a crucial step in achieving a professional-looking finish. The paint you select can determine both the durability and the aesthetic appeal of your cabinets. With so many options available, how do you make the right choice? Let’s break it down into easy-to-understand sections.Types Of Paint For Cabinets
When repainting kitchen cabinets, you have several types of paint to consider. Acrylic latex paint is a popular choice due to its easy application and quick drying time. It’s water-based, making cleanup a breeze, and it emits fewer fumes than oil-based paints. Oil-based paints offer a durable finish that’s resistant to stains and scratches. However, they take longer to dry and have a stronger odor. Some professionals swear by them for their smooth finish, but you’ll need proper ventilation when applying. Chalk paint offers a matte, vintage look and requires minimal prep work. While it may not be as durable as other types, it can be sealed with a wax or a clear coat for added protection.Color Selection Tips
Choosing the perfect color for your cabinets can transform the entire kitchen. Start by considering the overall color scheme of your kitchen. Do you want your cabinets to stand out or blend in? Neutral colors like white, gray, and beige are timeless and can make a small kitchen feel larger. If you’re feeling adventurous, bold colors like navy blue or forest green can add a modern touch. Test paint samples on your cabinets before committing. Lighting can change the way a color looks, so observe the samples at different times of the day. Remember, the goal is to enhance the space, not overwhelm it.Paint Finishes
The finish you choose for your cabinet paint can greatly influence the final look and functionality. Satin and semi-gloss finishes are popular for cabinets because they are easy to clean and slightly reflective, adding a bit of shine to your kitchen. Gloss finishes are the most reflective and offer a sleek, modern look. However, they can highlight imperfections, so ensure your cabinet surfaces are well-prepared. Matte finishes provide a soft, contemporary look but can be harder to clean and might not be suitable for high-traffic kitchens. Consider how much wear and tear your cabinets will endure before settling on a finish. Selecting the right paint can feel overwhelming, but by understanding your options, you can make an informed decision that enhances your kitchen’s beauty and functionality. So, which paint will you choose to transform your kitchen?Gathering Supplies
Gather essential tools and materials for repainting kitchen cabinets. Include sandpaper, primer, paint, brushes, and protective gear. Ensure all supplies are ready before starting the project for a smooth workflow.
Repainting your kitchen cabinet is an exciting project that can breathe new life into your space. But before you dive into this transformation, gathering the right supplies is crucial for a smooth process. Do you have everything you need to ensure a seamless experience?Essential Tools
You’ll want to start with the basics. Your toolkit should include a screwdriver, paintbrushes, and a roller. A high-quality screwdriver is essential for removing cabinet doors and hardware without damage. Paintbrushes and rollers come in various sizes, so choose ones that suit the cabinet’s surface area. A foam roller is perfect for achieving a smooth finish on larger surfaces.Safety Equipment
Safety is paramount. Equip yourself with protective gear such as gloves and goggles to prevent irritation from paint or dust. A mask is also recommended to avoid inhaling fumes from the paint or primer. This precaution can make a significant difference in your comfort and health during the project.Cleaning Materials
Cleaning your cabinets thoroughly before painting is non-negotiable. Use a gentle degreaser to wipe down surfaces, removing grease and grime. A lint-free cloth ensures no residue is left behind. A clean surface is crucial for paint adhesion. Have you ever painted over a dirty surface? You’ll appreciate the difference a simple clean can make. Gathering these supplies not only prepares you for the task ahead but also sets the stage for success. Are you ready to transform your kitchen with confidence?Preparing The Cabinets
Begin by removing cabinet doors and hardware. Clean surfaces thoroughly to eliminate grease and grime. Sand cabinets lightly for a smooth finish.
Preparing the cabinets is a crucial step in repainting kitchen cabinets. A well-prepared surface ensures the new paint adheres properly and looks great. Start with a clean slate by removing any obstacles. This includes doors and hardware, which might hinder a smooth finish. Follow up with cleaning and sanding to strip away dirt and grease. Address any surface imperfections for a polished look.Removing Doors And Hardware
Taking off cabinet doors and hardware simplifies the painting process. Use a screwdriver to remove hinges and handles. Store all pieces in a labeled container. This prevents mix-ups during reassembly. Label each door and its corresponding position. Masking tape works well for this. This step helps maintain the cabinet’s original layout.Cleaning And Sanding
Cleaning is essential to remove grease and grime. Use a mild detergent mixed with warm water. Scrub all surfaces thoroughly. Rinse with clean water and let them dry. Sanding creates a smooth surface for paint to stick. Use medium-grit sandpaper to gently sand all areas. Pay extra attention to edges and corners. Wipe away dust with a damp cloth.Repairing Surface Imperfections
Inspect cabinets for dents, scratches, or holes. Use wood filler to repair these imperfections. Apply the filler with a putty knife. Smooth it out and let it dry completely. Sand the repaired areas once dry. Ensure they are flush with the surrounding surface. This creates a seamless finish after painting.
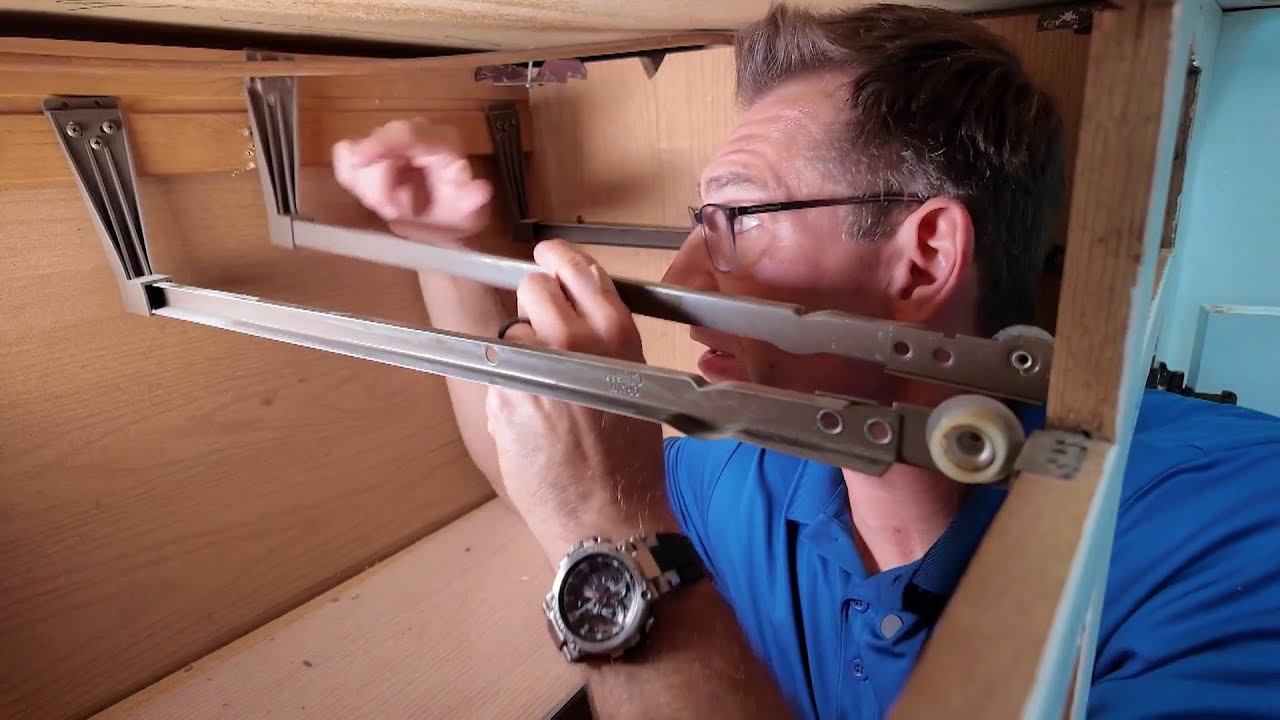
Credit: food52.com
Priming The Surface
Begin by cleaning the cabinet surface to remove dirt and grease. Sand it gently to ensure paint sticks well. Apply a primer to create a smooth base, enhancing paint adhesion and durability.
Priming the surface is a crucial step in repainting kitchen cabinets. It ensures the paint adheres well and provides a smooth finish. Without proper priming, the final look may disappoint. Let’s dive into how to prime the surface effectively.Selecting The Right Primer
Choosing the correct primer is essential. Consider the cabinet material first. Wood, laminate, and metal each need different primers. Oil-based primers work well for covering stains and sealing wood. They provide a strong base for paint. For laminate or metal, use bonding primers. They ensure paint sticks to the surface. Check the primer label for compatibility with your cabinet material.Application Techniques
Start by cleaning the cabinet surface. Remove any grease or dirt using a mild detergent. Let it dry completely. Use a brush or roller to apply the primer. Brushes are ideal for corners and detailed areas. Rollers cover large, flat surfaces quickly. Apply in thin, even coats to avoid drips. Allow the primer to dry as per the manufacturer’s instructions. Sand lightly between coats for a smoother finish. Repeat the priming process if needed to achieve full coverage.Applying Paint
Transform old kitchen cabinets with a fresh coat of paint. Begin by removing the cabinet doors and cleaning thoroughly. Sand surfaces for smoothness, apply primer, then paint with your chosen color.
Applying paint to your kitchen cabinets can transform their look. This step is crucial for achieving a smooth, professional finish. It’s important to choose the right tools and techniques. This section will guide you through the best practices for applying paint, ensuring a flawless result.Brushing Vs. Spraying
Brushing paint is ideal for small areas. It allows for precise application and control. Use quality brushes to avoid brush marks. Spraying is faster for larger surfaces. It offers a smooth, even finish. Ensure proper ventilation when spraying. Protect surrounding areas from overspray. Both methods have their benefits. Choose based on your project size and preference.Layering Techniques
Applying paint in thin layers is key. It ensures even coverage and reduces drips. Start with a light base coat. Allow it to dry before adding more layers. Use smooth, even strokes for each layer. Light sanding between coats can enhance smoothness. This technique helps the paint adhere better. Plan for at least two to three coats for durability.Drying Times
Patience is crucial for drying times. Allow each coat to dry completely. This prevents smudges and uneven finish. Check the paint can for specific drying times. Humidity and temperature can affect drying. Ensure the area is well-ventilated. Use fans to speed up the process if needed. Proper drying ensures a long-lasting, beautiful finish.Reassembling And Finishing Touches
Reassembling the kitchen cabinet requires careful attention to detail. Ensure all parts fit snugly and securely. Add finishing touches like new hardware for a polished look.
Reassembling and finishing touches bring your kitchen cabinet project to life. After painting, these steps ensure a polished and long-lasting result. Focus on precision and attention to detail to enhance the cabinet’s appearance and functionality.Reattaching Hardware
Reattach the hardware carefully. Use the same screws and fittings. This maintains the original integrity. Align hinges and handles precisely. Ensure doors open smoothly without obstruction. Check for loose screws.Adding Protective Coating
Apply a protective coating for durability. Use a clear varnish or sealant. This shields against moisture and wear. Choose a product suitable for kitchen environments. Follow the manufacturer’s instructions for application. Allow sufficient drying time.Final Inspection
Conduct a final inspection. Check for any missed spots or uneven paint. Ensure all hardware is securely attached. Look for any drips or imperfections. Make adjustments if necessary. This step ensures your cabinet looks flawless.Maintenance Tips
Maintaining your newly repainted kitchen cabinets is essential to preserve their fresh look and extend their lifespan. A little care can go a long way in keeping them pristine. So, what can you do to ensure your cabinets continue to shine?
Cleaning Recommendations
Regular cleaning is key to maintaining the beauty of your cabinets. Use a soft cloth or sponge with a mild detergent solution to wipe down surfaces. Avoid abrasive cleaners or scrubbing pads that can damage the paint.
Consider cleaning them weekly to prevent dust and grease build-up. Pay special attention to areas near the stove and sink, where grime tends to accumulate faster. A simple solution of water and vinegar can work wonders for stubborn stains.
Touch-up Techniques
Chips and scratches are inevitable, but they don’t have to ruin your cabinets’ look. Keep a small bottle of the same paint used for your cabinets handy. Use a fine brush to apply touch-ups to affected areas.
If you notice a larger area needing repair, lightly sand the spot before repainting. This ensures the new paint adheres properly and blends seamlessly with the surrounding surface. A few minutes of touch-up can save you from costly refinishing down the line.
What other maintenance tips have you tried to keep your kitchen cabinets looking their best? Share your thoughts and let’s keep those cabinets as stunning as the day they were repainted!
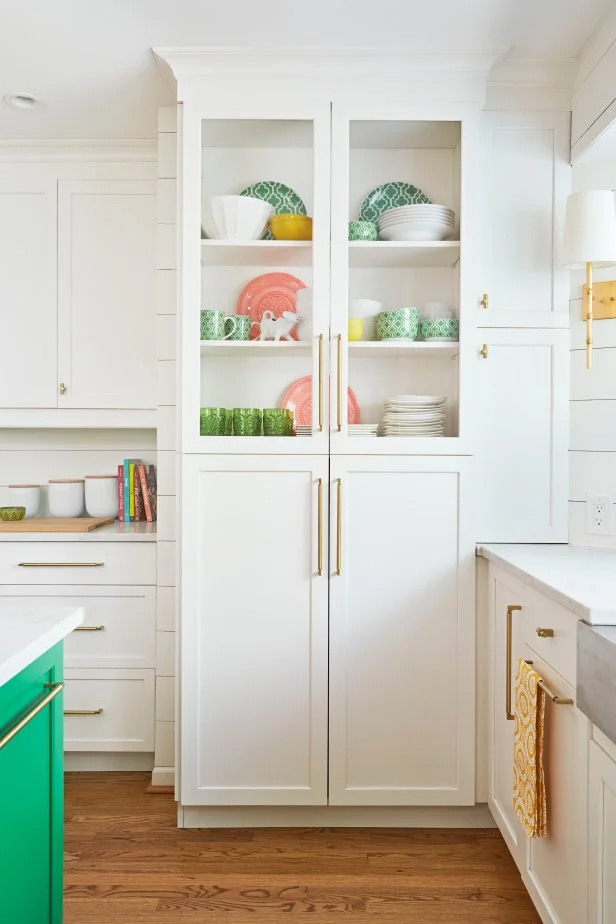
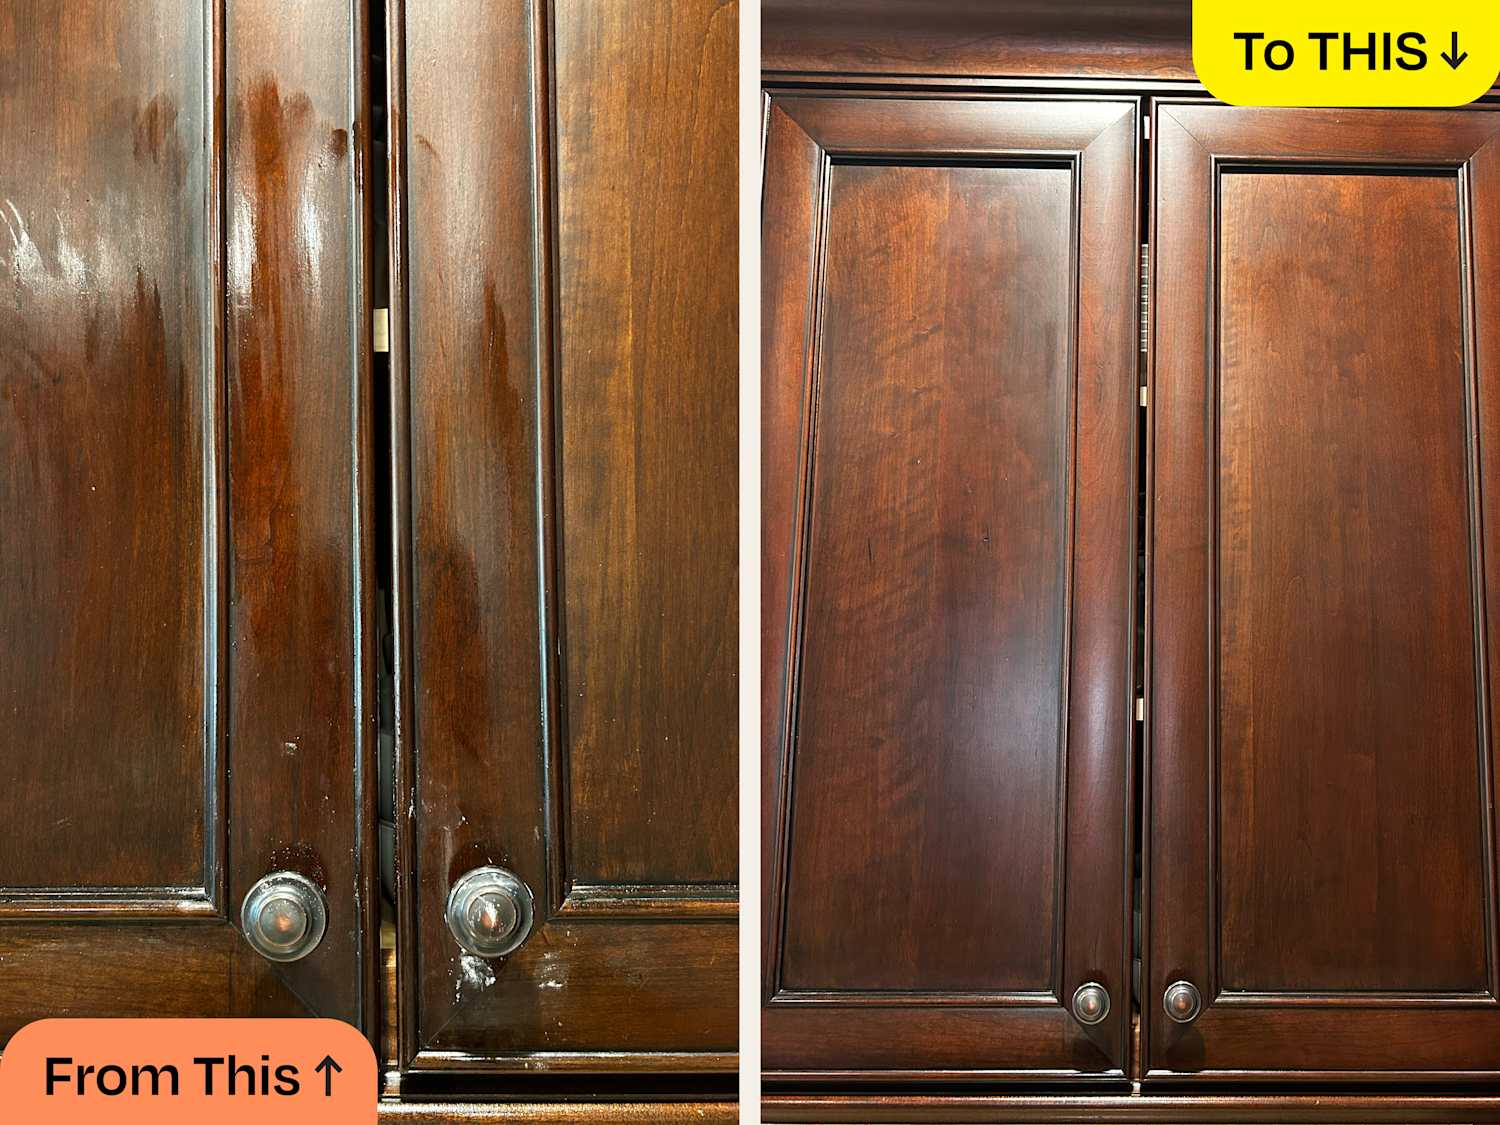
Credit: www.hgtv.com
Frequently Asked Questions
Can I Just Paint Over My Kitchen Cabinets?
Yes, you can paint over kitchen cabinets. Clean, sand, and prime them first for a smooth finish. Use high-quality paint suitable for cabinetry. This process enhances durability and appearance, ensuring your cabinets look refreshed and stylish. Regular maintenance will help maintain their new look.
Can You Repaint Already Painted Kitchen Cabinets?
Yes, you can repaint already painted kitchen cabinets. Clean and sand them first for better adhesion. Use a primer before applying new paint. Choose high-quality paint for durability. Ensure proper drying between coats. This process can refresh and modernize your kitchen’s look effectively.
Can I Just Paint Over My Kitchen Cabinets Without Sanding?
Yes, you can paint without sanding. Use a high-quality primer for better adhesion. Clean cabinets thoroughly before starting. This method saves time and effort. Ensure you choose the right paint for a lasting finish.
Do I Have To Sand My Cabinets Before Repainting?
Yes, sanding cabinets before repainting is essential. It helps the paint adhere better and ensures a smooth finish. Clean the surface after sanding to remove dust. Use fine-grit sandpaper for the best results. This step enhances durability and appearance.
Conclusion
Repainting kitchen cabinets transforms your space easily and affordably. With simple steps, anyone can achieve a fresh look. Preparation is key; clean and sand surfaces thoroughly. Choose quality paint that suits your style. Apply even coats for a smooth finish.
Allow ample drying time between layers. Patience ensures long-lasting results. Enjoy the satisfaction of a job well done. Your kitchen feels new and inviting. Celebrate your effort and creativity. Now, share your experience with friends. Inspire others to refresh their kitchens too.
Happy painting!

Similar Posts