How to Repair a Kitchen Drawer: Easy DIY Guide
Executive Chef & Lead Commercial Kitchen Specialist at Daily Kitchup Test Lab
Imagine reaching for your favorite spatula, only to have the kitchen drawer jam halfway open. Frustrating, right?
You’re not alone. Kitchen drawers endure a lot of wear and tear, and it’s common for them to need a little TLC now and then. But before you consider calling in a professional or buying a replacement, remember: you can fix it yourself with a few simple tools and steps.
This guide will walk you through the process of repairing your kitchen drawer, saving you time, money, and the hassle of a trip to the hardware store. Ready to restore functionality and peace to your kitchen? Let’s dive in.
Tools And Materials Needed
A screwdriver, wood glue, and replacement parts are essential for fixing kitchen drawers. Gather screws, nails, and sandpaper for smooth repairs. Ensure all tools are within easy reach before starting.
Repairing a kitchen drawer can seem like a daunting task, but with the right tools and materials, it becomes manageable and even enjoyable. Imagine the satisfaction of fixing it yourself, knowing you’ve saved time and money while learning a new skill. Before you dive into the repair process, gathering the appropriate tools and materials is crucial. Let’s explore what you need to ensure a smooth repair journey.Tools You’ll Need
- Screwdriver Set:A comprehensive set with various sizes and types ensures you can handle different screws effectively.
- Hammer:Useful for tapping parts into place or removing stubborn components.
- Drill:Often necessary for creating new holes or reinforcing existing ones.
- Measuring Tape:Precision is key. Measure twice, cut once!
Materials Required
- Replacement Drawer Slides:If your current slides are worn out, new slides can restore smooth operation.
- Wood Glue or Adhesive:Ideal for securing loose joints or reinforcing weak spots.
- Sandpaper:Smooth out any rough edges or surfaces for a refined finish.
- Wood Screws:Essential for securing parts together, ensuring stability and durability.
Optional Items
- Clamp:Holds parts in place while the glue dries, providing a secure fit.
- Paint or Varnish:Refresh the appearance of your drawer, giving it a new lease on life.
Credit: www.clickorlando.com
Fixing A Loose Handle
Tighten screws on the kitchen drawer handle with a screwdriver. Check for any stripped screws and replace them. Ensure the handle is aligned properly for smooth operation.
Fixing a loose handle on your kitchen drawer is a common issue that can be resolved with minimal tools and effort. A wobbly handle not only looks untidy but can also make accessing your drawer frustrating. With a few simple steps, you can secure your handle and restore the functionality of your kitchen drawer.Identify The Problem
First, examine the handle to determine why it’s loose. Is it the screws that have come undone, or is the handle itself damaged? By identifying the root cause, you can effectively address the issue. A quick inspection can save you time and ensure you use the right fix from the start.Tighten The Screws
Begin by checking the screws on the back of the drawer front. Use a screwdriver to tighten them securely. If the screws spin without tightening, they might be stripped or the hole may be too wide.Replace The Screws
If tightening doesn’t work, consider replacing the screws with slightly longer ones. This can help reach deeper into the drawer front for a more secure fit. Ensure the new screws are compatible with your handle to avoid any mismatch.Use A Thread Locker
For a more permanent solution, apply a thread locker on the screw threads before tightening. This will prevent them from loosening over time due to vibrations or frequent use. A small drop is usually sufficient and can make a significant difference.Fill And Re-drill
If the screw holes are too worn out, fill them with a wood filler and let it dry completely. Once dried, re-drill the holes and insert the screws again. This process restores the grip and ensures the handle remains sturdy.Consider Handle Replacement
In some cases, the handle itself may be the problem due to wear or damage. Replacing it with a new one can not only solve the issue but also refresh the look of your kitchen. Ensure the new handle matches the existing holes to avoid additional drilling.Regular Maintenance
To prevent future issues, regularly check and tighten the screws on all your kitchen drawer handles. Regular maintenance can save you time and extend the life of your drawer hardware. A small effort now can prevent bigger problems down the road. Fixing a loose handle doesn’t have to be a daunting task. Have you ever tackled a DIY project that ended up being easier than you thought? Taking on small repairs like this can build your confidence for future home improvement tasks.Repairing Broken Tracks
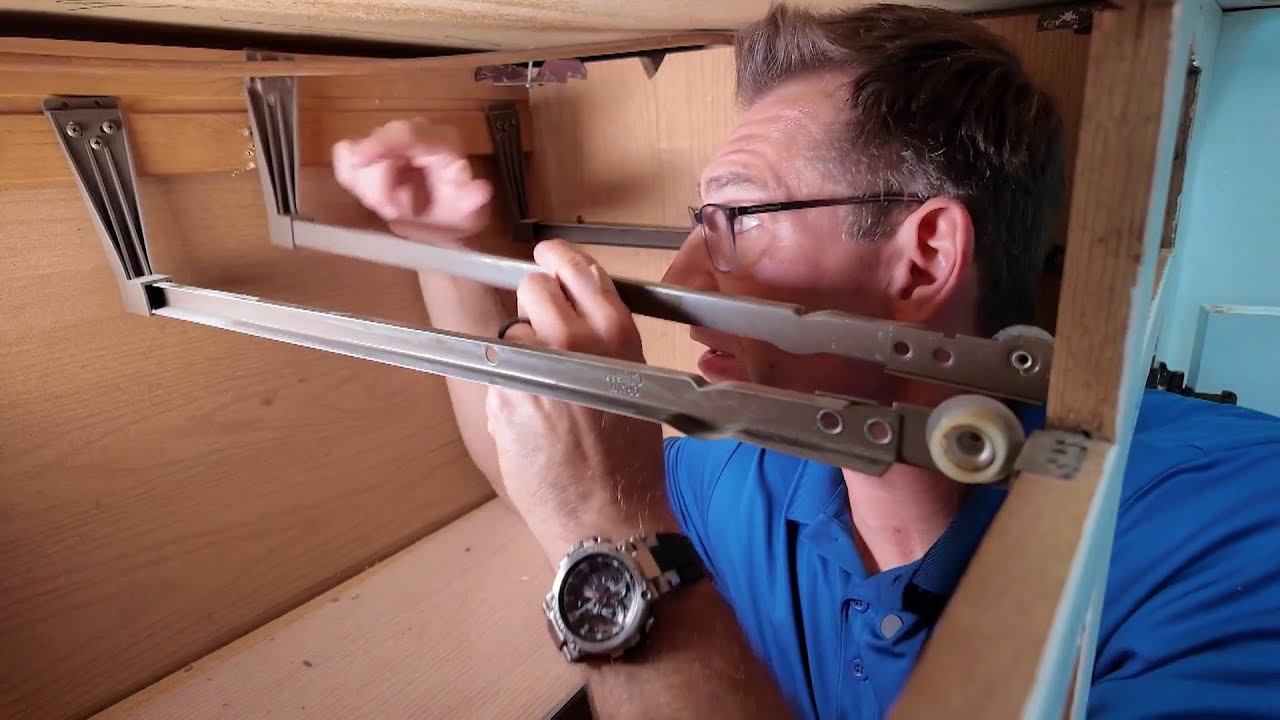
Repairing broken tracks in a kitchen drawer can restore its functionality. Tracks guide the drawer smoothly, allowing easy access to stored items. When these tracks get damaged, the drawer may jam or become difficult to open. Fixing track issues is essential to maintain your kitchen’s efficiency. Let’s explore how to identify and replace broken tracks.
Identifying Track Issues
First, inspect the drawer tracks closely. Check for bends, cracks, or loose screws. Listen for unusual noises when sliding the drawer. If the drawer tilts or shifts unevenly, there might be a track problem. Sometimes debris can block the track, causing friction. Use a flashlight to examine hidden parts and ensure nothing obstructs movement.
Replacing Damaged Tracks
Once you identify damage, removal is the next step. Unscrew the tracks from the drawer and cabinet. Measure the old track length and note its type. Purchase new tracks that match these specifications. Install the new tracks by aligning them properly. Secure with screws, ensuring they are tight. Test the drawer movement to confirm smooth operation.
Securing Loose Joints
Securing loose joints in a kitchen drawer involves tightening screws and replacing worn-out hardware. Check for damaged components and adjust or replace them as needed. This ensures smooth operation and extends the life of your drawer.
Securing Loose Joints A wobbly kitchen drawer can be quite frustrating. It’s often caused by loose joints, which can make the drawer feel unstable and unreliable. Securing these loose joints is essential for restoring the drawer’s functionality and ensuring it doesn’t fall apart at an inconvenient moment. Whether you’re an experienced DIY enthusiast or tackling your first repair project, fixing loose joints is a straightforward task. Let’s dive into some effective methods to make sure your kitchen drawer stays sturdy for years to come.Using Wood Glue
Wood glue is a simple yet powerful solution for securing loose joints. Start by removing the drawer from its slides and inspecting the joints to identify the loose areas. Apply a generous amount of wood glue to the loose joints. Ensure it seeps into every crevice for maximum hold. Press the parts together firmly and wipe away any excess glue with a damp cloth. Allow it to dry for the recommended time on the glue packaging, typically 24 hours. To make sure the glue sets properly, consider using clamps to hold the joints tightly together while drying. This step can greatly improve the bond strength. Once dry, test the drawer by sliding it back in place. Notice the difference in stability and enjoy the renewed functionality.Reinforcing With Brackets
Sometimes, glue alone might not be enough for particularly loose joints. In such cases, reinforcing with brackets is a smart choice. Measure the dimensions of the drawer and the joints to choose appropriate brackets. You can find various types at your local hardware store, but make sure they fit well with your drawer’s structure. Attach the brackets to the corners where the joints meet using screws. This provides extra support and prevents the joints from loosening over time. For added strength, consider using brackets on both the inside and outside of the drawer. This dual reinforcement can significantly increase the drawer’s durability. Think about your own kitchen routine. How often do you open and close those drawers? Reinforcing with brackets ensures your drawer withstands frequent use without giving way. By securing loose joints with these methods, you’re not just fixing a drawer; you’re investing in a smoother kitchen experience. What’s your next DIY project going to be?Addressing Warped Wood
Repairing a kitchen drawer with warped wood can seem daunting, but with the right approach, you can restore its functionality and beauty. Warped wood often results from changes in temperature and humidity, causing it to bend and twist out of shape. This can lead to misalignment and difficulty in opening and closing the drawer. Addressing warped wood is crucial to ensuring your kitchen drawer operates smoothly and looks pristine. Let’s dive into practical solutions for dealing with this common issue.
Sanding And Refinishing
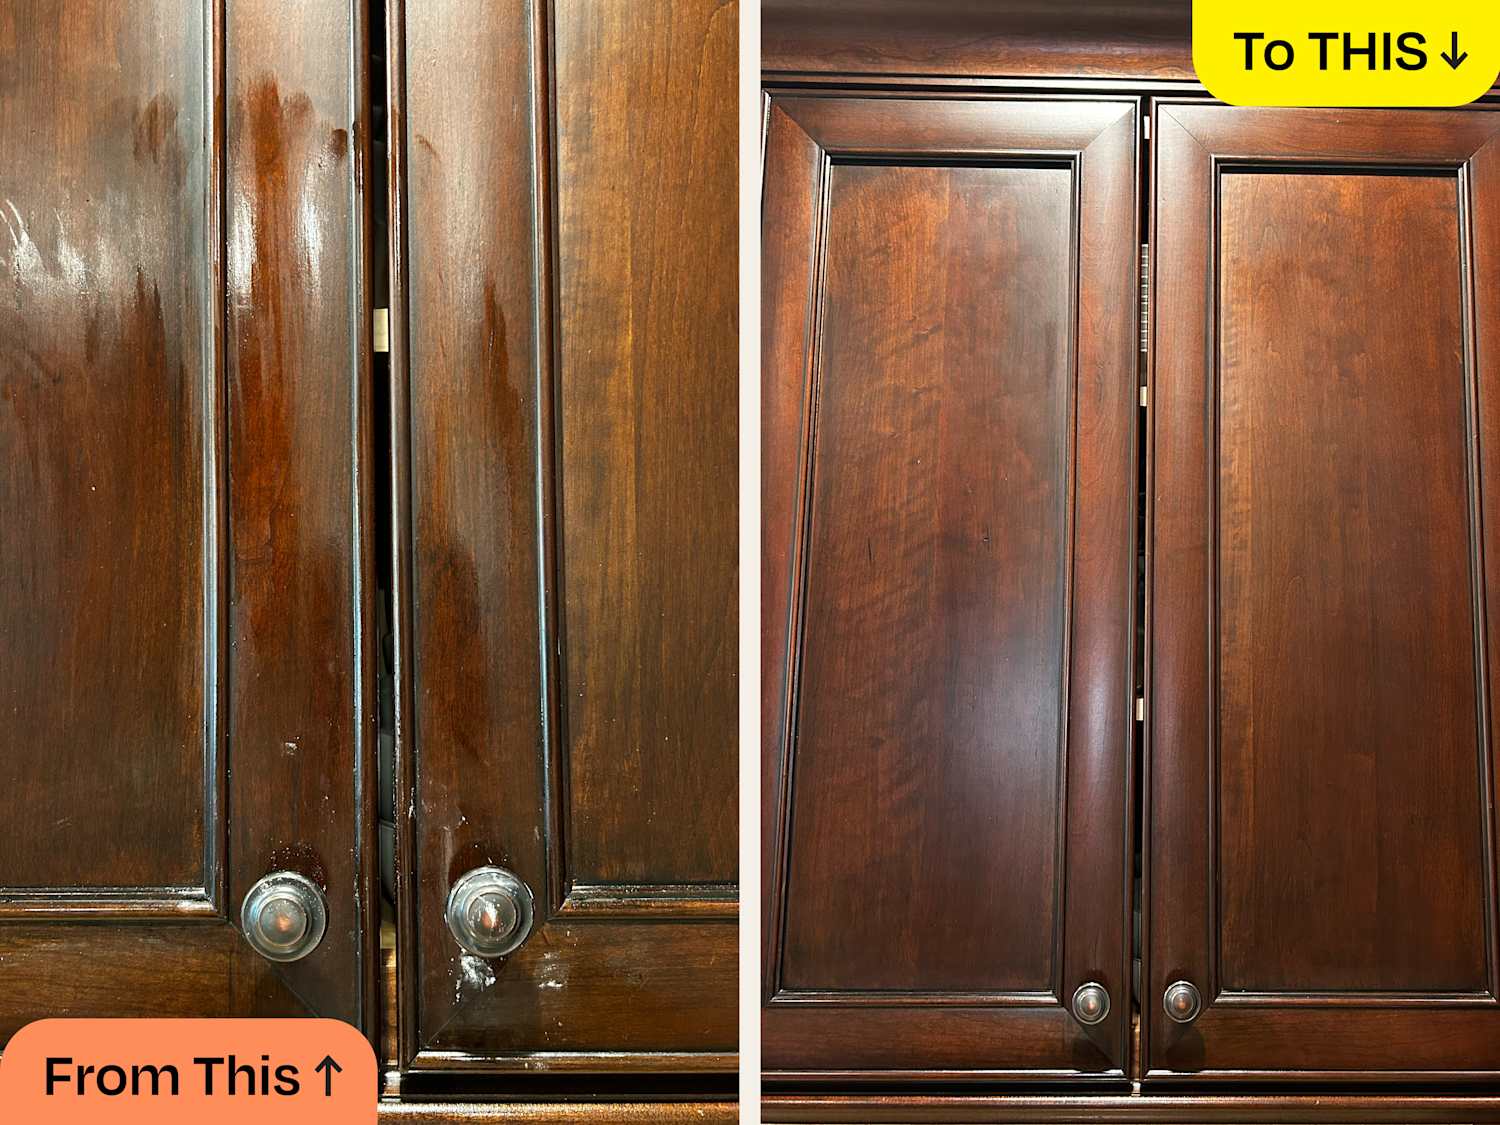
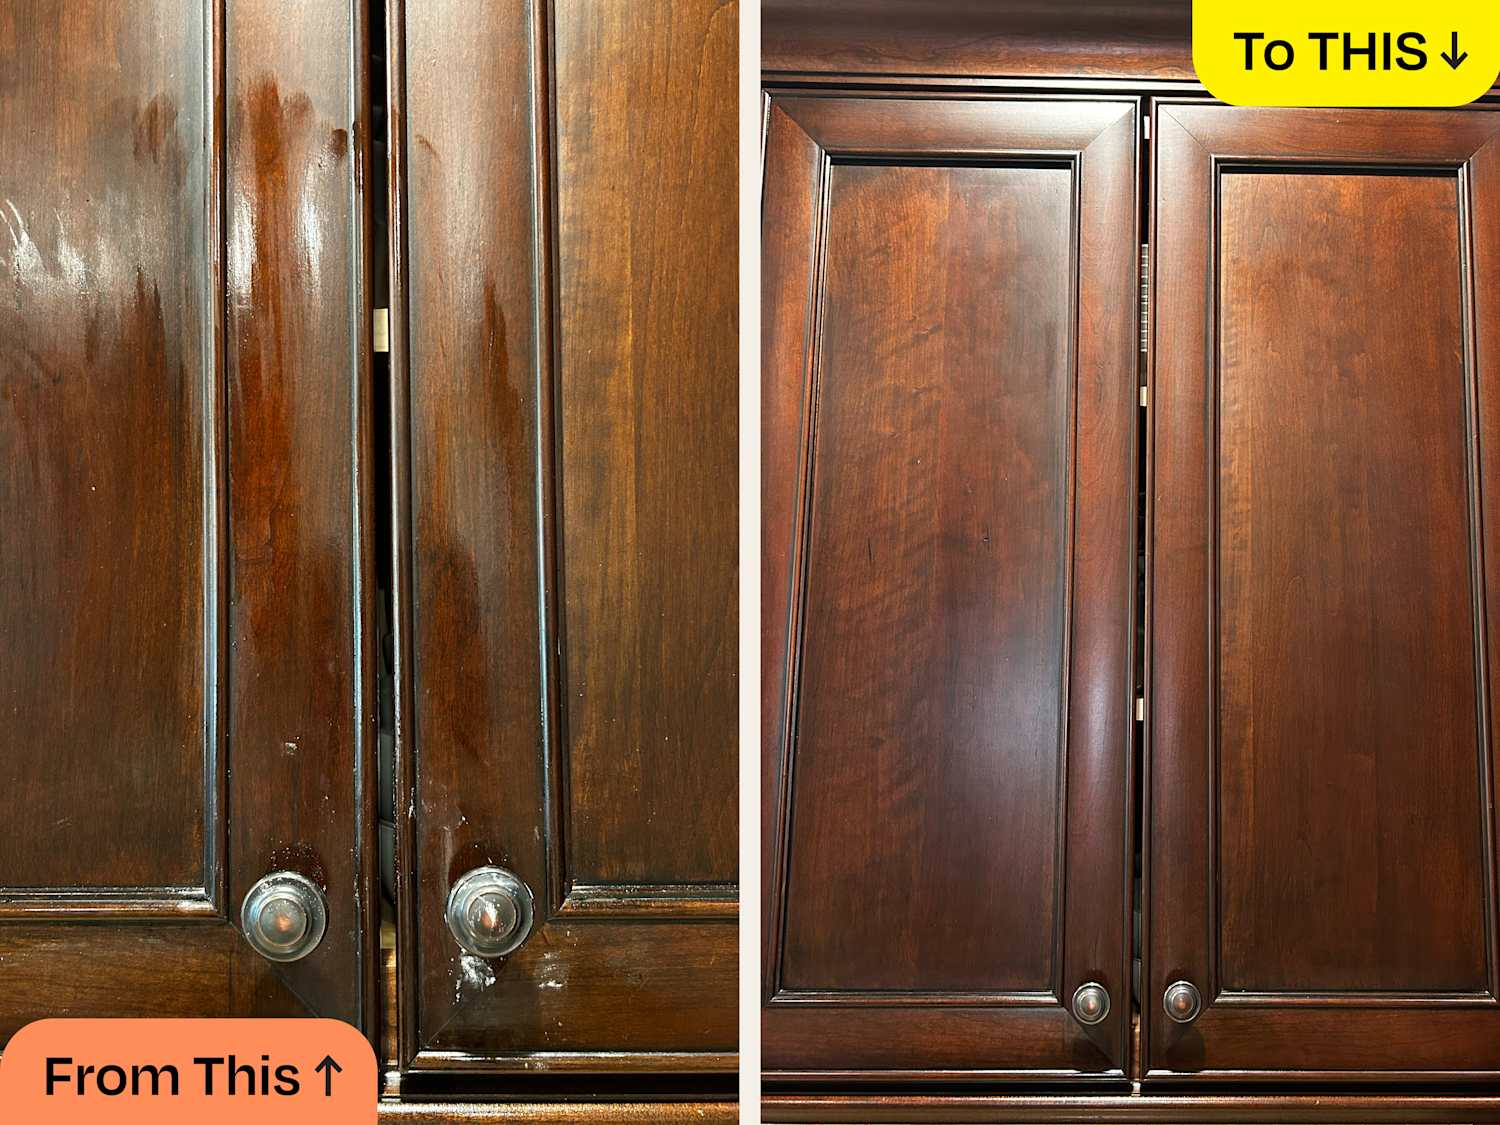
Sanding is your first line of defense against warped wood. Begin by removing the drawer from its cabinet. Use medium-grit sandpaper to sand down the affected areas evenly. This will help flatten any uneven surfaces caused by warping.
Once the surface is smooth, switch to fine-grit sandpaper for a polished finish. Sanding not only levels the wood but also prepares it for refinishing. Applying a fresh coat of finish will protect the wood and enhance its appearance.
Consider using a water-resistant sealant to prevent future warping. A simple polyurethane finish can provide long-term durability. Have you ever thought about the impact of humidity on your kitchen furniture?
Replacing Warped Sections
If the warping is severe, replacing the affected sections might be necessary. Identify the warped parts and measure them accurately. Purchase matching wood pieces from your local hardware store or online to ensure a seamless fit.
Carefully remove the damaged sections using a screwdriver or hammer. Attach the new pieces using wood glue and screws for added stability. Make sure to check the alignment before securing everything in place.
This process might seem extensive, but it ensures that your kitchen drawer remains functional and aesthetically pleasing. Have you considered how replacing parts can extend the life of your kitchen furniture?

Credit: www.reddit.com
Reassembling The Drawer
Repairing a kitchen drawer involves removing it from the cabinet and inspecting for damage. Tighten loose screws and replace broken parts. Reassemble carefully, ensuring smooth operation.
Reassembling your kitchen drawer might seem daunting, but it’s the final step that brings everything together. After diagnosing the problem and gathering the necessary tools, you’re now ready to make your drawer functional again. Imagine the satisfaction of sliding your drawer effortlessly, knowing you fixed it yourself.Reattach The Drawer Front
Start by aligning the drawer front with the sides of the drawer box. Ensure that any screw holes from the previous assembly are used to maintain balance. Tighten the screws but avoid over-tightening to prevent damage.Install The Drawer Slides
Secure the drawer slides to the sides of the drawer box. If they’re adjustable, set them to the correct position for smooth movement. Check if the slides are aligned properly to prevent the drawer from sticking.Insert The Drawer Box
Gently slide the drawer box into the cabinet’s framework. Listen for the click that indicates the drawer has settled into the slide mechanism. Test the drawer’s movement a few times to ensure it glides smoothly.Check The Alignment
Once everything is in place, close the drawer and observe the alignment. The drawer front should be flush with the cabinet. If it appears crooked, adjust the screws on the slides or the front panel until it sits evenly.Test The Functionality
Open and close the drawer several times to ensure everything is working correctly. Pay attention to any unusual noises or resistance. If something feels off, retrace your steps to find the issue. Feeling a sense of accomplishment yet? Tackling a kitchen drawer repair on your own not only saves money but also empowers you with new skills. What’s the next DIY project you’ll conquer?Testing The Repair
Testing the repaired kitchen drawer ensures its smooth operation. Slide it open and closed multiple times. Check for any sticking or misalignment. Adjust as needed to achieve optimal performance.
Repairing a kitchen drawer can feel like a triumph, but the real satisfaction comes when you test the repair. It’s the moment of truth—did all that effort pay off? Testing ensures that the drawer operates smoothly and can handle the wear and tear of daily use. This step is crucial to confirm the longevity of your fix and to see if any adjustments are needed.Ensure Smooth Operation
Begin by gently pulling the drawer open and closed several times. Listen for any unusual sounds or resistance. A well-repaired drawer should glide effortlessly without any wobbling or jamming. If it doesn’t, consider checking the alignment or tightening any loose screws.Check For Stability
Place a few items inside the drawer and test its stability. Does the drawer sag or feel unsteady? If it does, it might need reinforcement. A drawer that maintains its shape and holds items securely indicates a successful repair.Test With Everyday Use
Try using the drawer as you normally would. Load it with cutlery or kitchen gadgets, and see how it holds up over a few days. Pay attention to any developing issues. This real-life test often reveals minor tweaks that can make a big difference in performance.Consider Long-term Use
Reflect on the repair’s durability by imagining heavy holiday cooking sessions or busy family dinners. Will the drawer withstand the pressure? If you’re uncertain, it may be worth revisiting your repair to ensure it can handle more intense use. Repairing a drawer is one thing, but ensuring it functions well in the long run is another. Have you ever repaired something only to find it broke again soon after? Testing thoroughly can prevent that disappointment, making your efforts truly worthwhile.Preventive Maintenance Tips
Fixing a kitchen drawer involves checking the slides and ensuring they’re aligned. Tighten loose screws and lubricate the tracks for smooth operation. Regular maintenance prevents wear and ensures longevity.
Preventive maintenance is crucial for keeping your kitchen drawers running smoothly and extending their lifespan. Regular attention can save you from future headaches and costly repairs. Implementing these easy tips can make all the difference in your kitchen’s functionality.Inspect And Clean Regularly
Make it a habit to inspect your drawers every few months. Look for signs of wear and tear like loose screws or misaligned tracks. Clean out any crumbs or debris that could cause friction or block the drawer from closing properly.Lubricate Drawer Slides
Drawer slides can become sticky over time, making it hard to open and close them smoothly. Use a silicone-based lubricant to keep the slides moving effortlessly. A quick spray can transform a stubborn drawer into one that glides like new.Tighten Loose Screws
Over time, screws can become loose due to frequent use. Check all screws and tighten them to ensure your drawer remains sturdy. This simple step can prevent the drawer from sagging or becoming misaligned.Replace Worn-out Parts
If you notice any damaged parts, replace them promptly. A broken rail or cracked handle can compromise the drawer’s function. Investing in quality replacement parts can enhance durability and performance.Adjust Misaligned Tracks
Misaligned tracks can cause your drawer to jam or fall off completely. Adjust them to their proper position using a screwdriver. This minor adjustment can prevent major disruptions to your daily routine.Use Drawer Liners
Consider using drawer liners to protect the bottom from scratches and spills. Liners can also help keep items in place, reducing the chances of damage. Plus, they make cleaning much easier, adding an extra layer of convenience. Regular maintenance doesn’t have to be a chore. Have you ever skipped these simple checks only to regret it later? Taking a few minutes now can save you a lot of trouble down the line.Frequently Asked Questions
Can Kitchen Drawers Be Fixed?
Yes, kitchen drawers can be fixed. Common issues include misalignment, broken tracks, or loose handles. You can repair them by tightening screws, replacing tracks, or realigning the drawer. DIY solutions or professional help can restore functionality. Regular maintenance ensures long-lasting performance and smooth operation of your kitchen drawers.
How To Fix A Kitchen Drawer That Has Dropped?
Tighten screws on the drawer’s tracks and brackets. Replace damaged tracks if necessary. Adjust the drawer’s alignment by tightening or loosening screws. Check for warped wood and sand down if needed. Use a lubricant on tracks for smooth operation.
Can Drawer Slides Be Repaired?
Yes, drawer slides can be repaired. Check for loose screws or broken parts. Replace damaged components or lubricate slides. Regular maintenance ensures smooth operation and prolongs their lifespan. If repair seems difficult, consider seeking professional help for better results. Proper care prevents future issues and maintains functionality.
How To Fix A Drawer When The Bottom Falls Out?
Remove the drawer, clean the edges, and reinforce with wood glue. Use nails or screws for extra support. Consider replacing the bottom with sturdier plywood if damaged. Ensure a snug fit before reassembling. Regular maintenance can prevent future issues and ensure smooth operation of the drawer.
Conclusion
Fixing a kitchen drawer is simple with the right steps. Start by identifying the problem. Then, gather your tools. Follow each step carefully. Tighten loose screws and realign the drawer. Replace damaged parts if needed. Regular maintenance prevents future issues.
Keep your kitchen functional and tidy. With practice, repairs become easier. Enjoy the satisfaction of a job well done. Your kitchen will thank you for the care. Remember, patience and attention to detail matter. Happy repairing!

Similar Posts