How to Replace Kitchen Cabinet: Step-by-Step Guide
Executive Chef & Lead Commercial Kitchen Specialist at Daily Kitchup Test Lab
Are you tired of looking at your outdated kitchen cabinets every day? Do you dream of giving your kitchen a fresh, modern look without the hefty price tag of a complete renovation?
You’re in the right place. Replacing kitchen cabinets might seem like a daunting task, but with the right guidance, you can transform your space and add significant value to your home. Imagine the satisfaction of walking into a kitchen that feels brand new, where everything is organized just the way you want it.
You’ll discover simple, step-by-step instructions to replace your kitchen cabinets efficiently and effectively. Get ready to unlock the secret to a stunning kitchen makeover that you can proudly call your own. So, let’s dive in and explore how you can achieve the kitchen of your dreams!

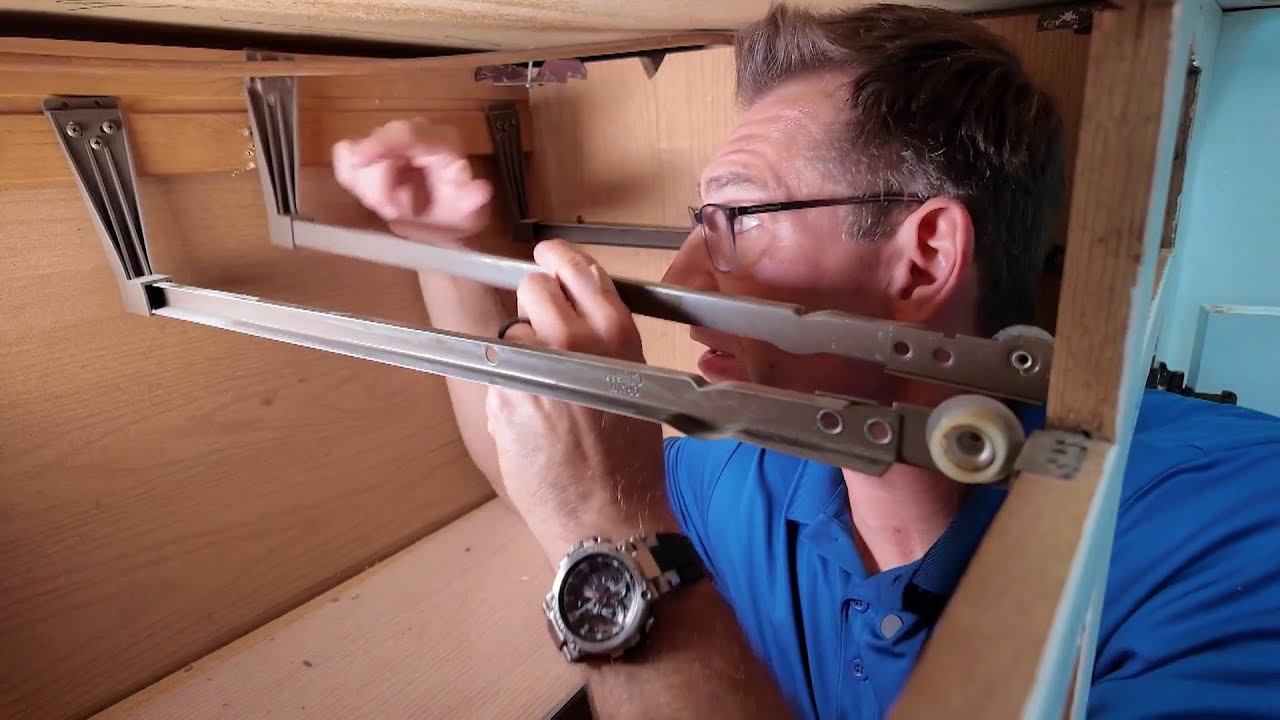
Credit: www.youtube.com
Planning The Project
Replacing kitchen cabinets can transform the look of your space. Planning helps ensure a smooth process and a result you’ll love. Start by understanding the current state of your cabinets and the space you have.
Assessing The Current Cabinets
Examine your existing cabinets for damage or wear. Check hinges, doors, and shelves for signs of use. This helps determine if repair or replacement is necessary. Consider the style of your current cabinets. Are they outdated or do they still match your kitchen’s look?
Measuring The Space
Accurate measurements are crucial for fitting new cabinets. Use a tape measure to record width, height, and depth of each cabinet area. Double-check measurements to avoid costly mistakes. Consider any obstructions like pipes or electrical outlets that might affect cabinet placement.
Choosing The Right Style And Material
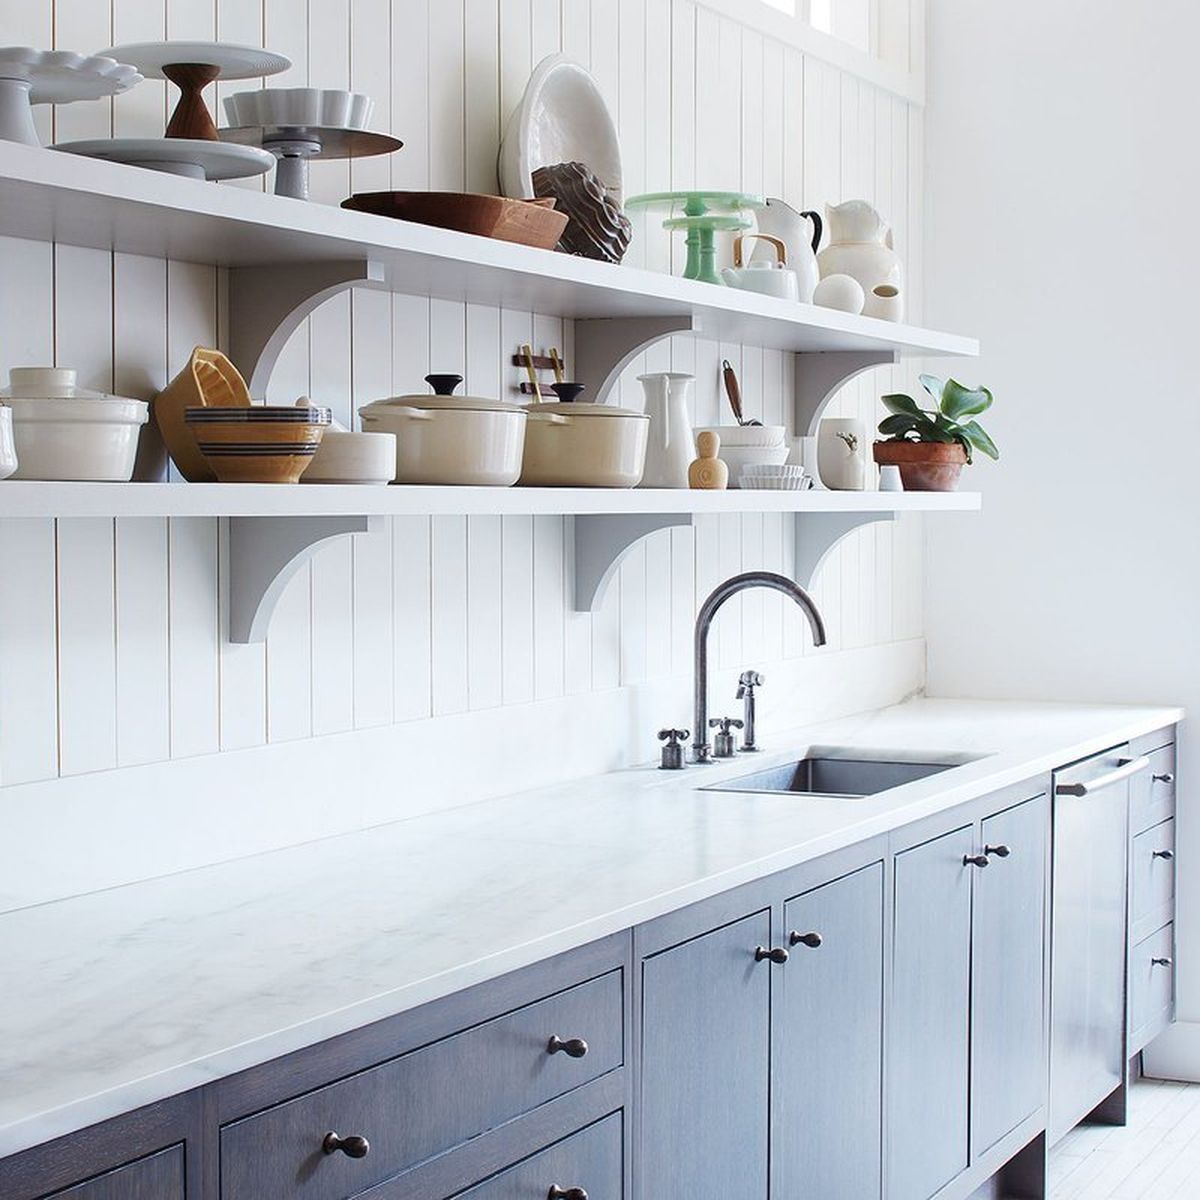
Select a style that complements your kitchen design. Popular options include traditional, modern, or rustic. Choose materials that fit your budget and needs. Wood offers a classic look, while laminate provides durability and easy maintenance. Consider colors that enhance your kitchen’s ambiance.

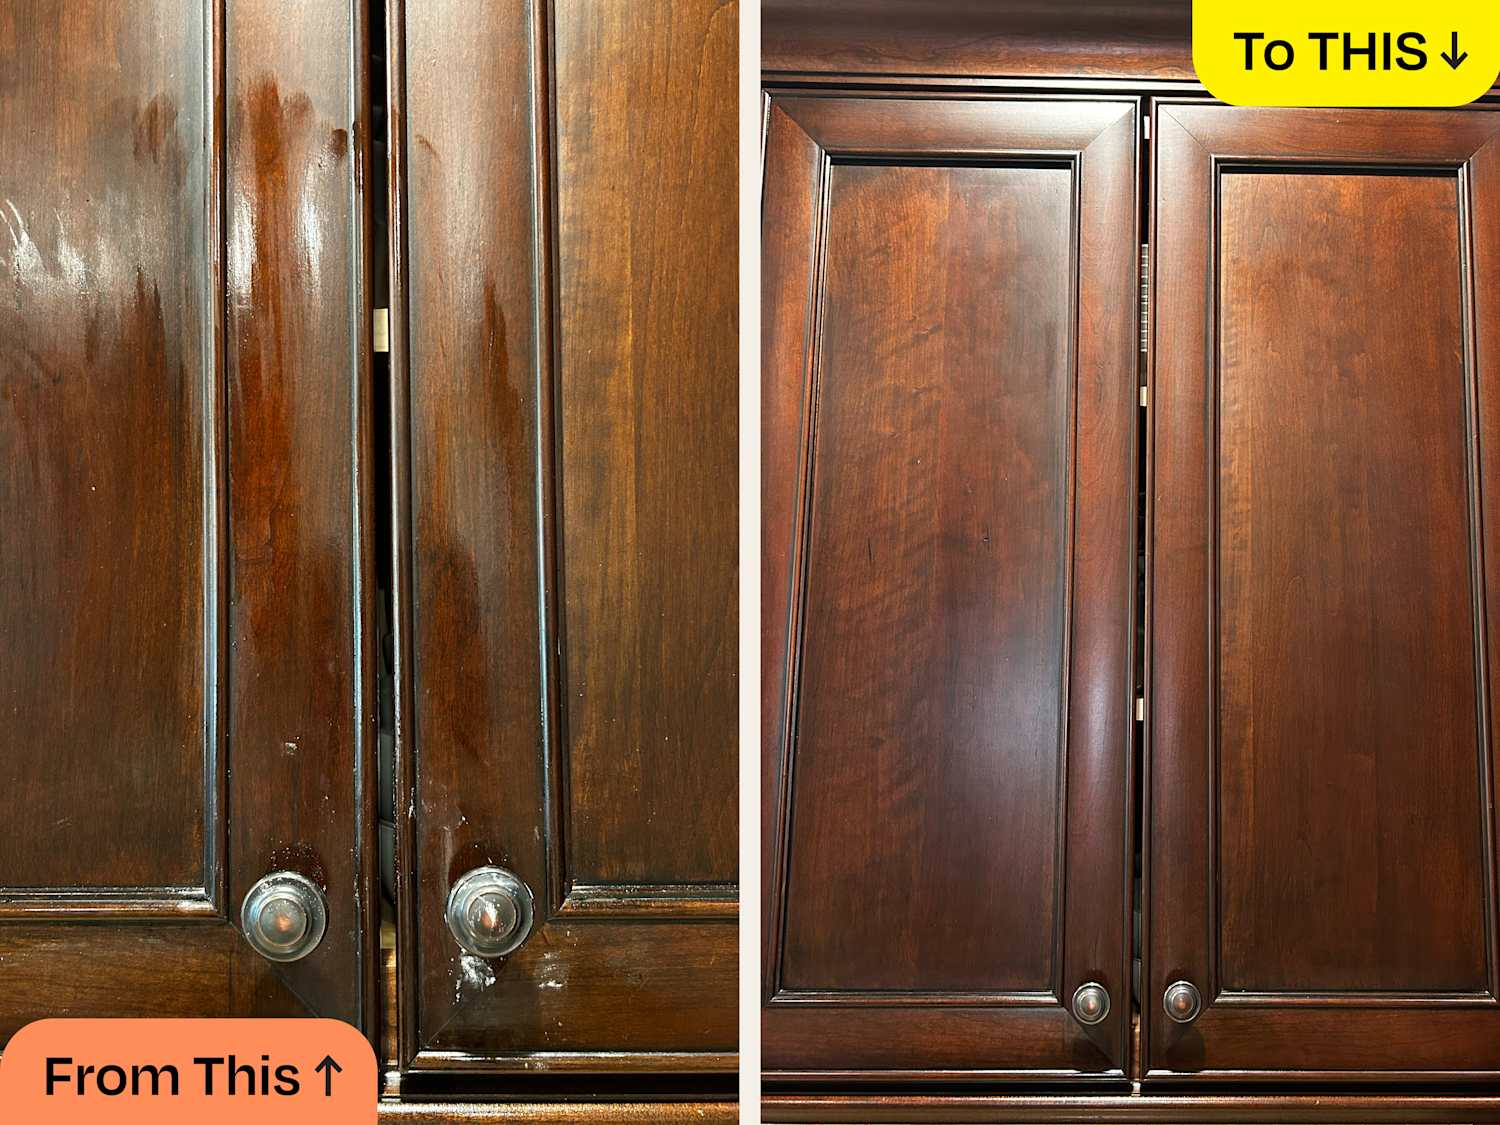
Credit: www.jsbhomesolutions.com
Gathering Materials And Tools
Gather essential materials and tools for replacing kitchen cabinets. Gather a screwdriver, measuring tape, level, and new cabinet hardware. Ensure you have matching screws, hinges, and brackets for a smooth installation process.
Replacing kitchen cabinets can transform your space and enhance functionality. Before you dive into the project, gathering the right materials and tools is crucial. A well-prepared toolkit ensures a smoother process and minimizes frustrations. As someone who once struggled with missing screws mid-project, I can assure you—preparation is key.Essential Tools For Cabinet Replacement
Start by assembling essential tools. A power drill is indispensable for quick and secure fastening. Ensure you have a level to keep your cabinets aligned perfectly. A tape measure will help you get precise measurements, avoiding any fitting issues later. Keep a screwdriver set handy for tight spaces. A stud finder is also vital to locate wall supports. These tools are foundational, saving you time and effort during installation.Selecting Quality Materials
Investing in quality materials can make all the difference. Choose durable wood or plywood for the cabinet body. Consider moisture-resistant options, especially for the kitchen environment. Opt for high-grade hinges and handles that can withstand frequent use. Your cabinets should not only look good but also endure daily wear and tear. Think about the longevity and aesthetic of your choices.Safety Equipment Needed
Safety should never be an afterthought. Equip yourself with safety goggles to protect your eyes from flying debris. Wear gloves to prevent splinters or cuts while handling wood. A dust mask is essential, especially if you’re dealing with old cabinets or sawdust. Consider using knee pads for comfort if you’re working on lower cabinets. Why compromise safety when a little preparation can prevent accidents?Removing Old Cabinets
Removing old cabinets from your kitchen is a crucial step in transforming your space. It’s a task that demands patience and precision but can be incredibly rewarding. Before diving in, consider the current layout and what you aim to achieve with your new cabinets. This process not only clears the way for your new design but also gives you a chance to inspect for any hidden issues like mold or pests. So roll up your sleeves, and let’s get started with the first steps in removing those old cabinets!
Disconnecting Appliances And Utilities
Before you start dismantling your kitchen cabinets, ensure all appliances and utilities are disconnected. Safety should be your top priority here. Turn off the water supply to your sink and any other connected appliances. It’s also wise to switch off the electricity to avoid any accidental shocks when working near outlets. Have you ever wondered how much easier a project becomes when you prep properly? This is one of those moments where careful preparation saves you a lot of hassle later.
Detaching Cabinet Doors And Drawers
The next step is to remove the cabinet doors and drawers. This makes the cabinets lighter and easier to handle. Use a screwdriver to unscrew the hinges and pull out the drawers carefully. Have you noticed how much space you suddenly have when the bulky doors are gone? It’s like a glimpse into the future layout of your kitchen. Don’t forget to save screws and hinges if you plan to reuse them.
Removing Cabinet Frames
Now comes the part where you remove the cabinet frames. This might require a bit of elbow grease. Start by unscrewing any screws holding the frames to the wall. If your cabinets are glued, a pry bar will come in handy to gently separate them from the wall. This step can be surprisingly therapeutic, a release of old, worn-out structures making way for fresh beginnings. Have you ever felt that satisfying crack as the frames finally come loose? It’s the sound of progress.
Each of these steps requires care and attention to detail. By following these guidelines, you ensure a smooth transition from old to new, paving the way for your dream kitchen. What’s the first thing you’ll cook once your new cabinets are installed?
Preparing The Space
Replacing kitchen cabinets is an exciting project that can transform your cooking space. But before you dive into installation, preparing the space is crucial. Think of it as setting the stage for a successful renovation. Proper preparation ensures smooth progress and helps avoid costly mistakes down the line. You’ll want to focus on repairing walls, ensuring level floors, and checking plumbing and electrical systems.
Repairing Walls And Surfaces
Start by examining the walls where your cabinets will be mounted. Are there any cracks or uneven surfaces? Address these issues first. Use spackle or joint compound to fill in any gaps. Sand the area once dried to create a smooth surface.
Consider applying a fresh coat of paint to the walls. A new color can brighten the kitchen, and it’s easier to paint before the cabinets are installed. Plus, you’ll avoid accidental splashes of paint on your new cabinets.
Ensuring Level Floors
Uneven floors can lead to lopsided cabinets, which is not only unsightly but can also cause functionality issues. Check the floor with a carpenter’s level. Identify any dips or high spots.
If you find discrepancies, consider using leveling compound to even out the surface. This step is crucial for ensuring your cabinets sit flush and doors hang properly.
Checking For Plumbing And Electrical Issues
Before installing new cabinets, inspect plumbing and electrical setups. Are there any leaks or outdated wiring? Address these issues now to avoid future headaches.
Moving cabinets might expose hidden piping or wiring that needs adjustment. Consult a professional if you’re unsure about making changes yourself. Are you confident that your kitchen is up to code?
Ultimately, thorough preparation of your space sets the foundation for a flawless cabinet installation. What steps will you take to ensure your kitchen is ready for its makeover?
Installing New Cabinets
Replacing kitchen cabinets involves removing old units and installing new ones. Begin by detaching the doors and unscrewing the cabinet boxes. Ensure new cabinets are securely anchored to the wall, aligning them properly for a seamless finish.
Installing new kitchen cabinets is an exciting opportunity to transform your kitchen space. The process requires precision and care, but with a bit of patience, you can achieve a stunning finish. This guide will walk you through the installation process, ensuring your cabinets are secure and perfectly aligned.Securing Upper Cabinets
Start by measuring and marking the wall where your upper cabinets will hang. Use a level to ensure your markings are straight. Enlist a friend to help hold the cabinet while you secure it to the wall studs using screws. This is crucial for safety and stability. Double-check the alignment after each cabinet is installed to maintain a seamless look.Aligning And Attaching Base Cabinets
Align your base cabinets with the floor using shims to level them. This step ensures your countertops will sit perfectly. Secure the cabinets to each other by screwing through the frames. This creates a unified structure. Attach the entire unit to the wall for added stability, ensuring it’s flush and aligned with your initial marks.Installing Doors And Drawers
Once your cabinets are securely in place, attach the doors and drawers. Start by aligning the hinges with the pre-drilled holes on the cabinet frame. Attach the doors, making sure they open smoothly and align evenly. Install the drawer slides, then fit the drawers, checking for smooth operation and proper alignment. Consider adding soft-close mechanisms for a touch of luxury. They prevent slamming and add longevity to your cabinetry. Reflect on the satisfaction of a job well done. Can you imagine the delight of opening that smooth, perfectly aligned cabinet every morning? By taking the time to install your cabinets with care, you’re not just enhancing your kitchen’s functionality—you’re creating a space that feels uniquely yours.
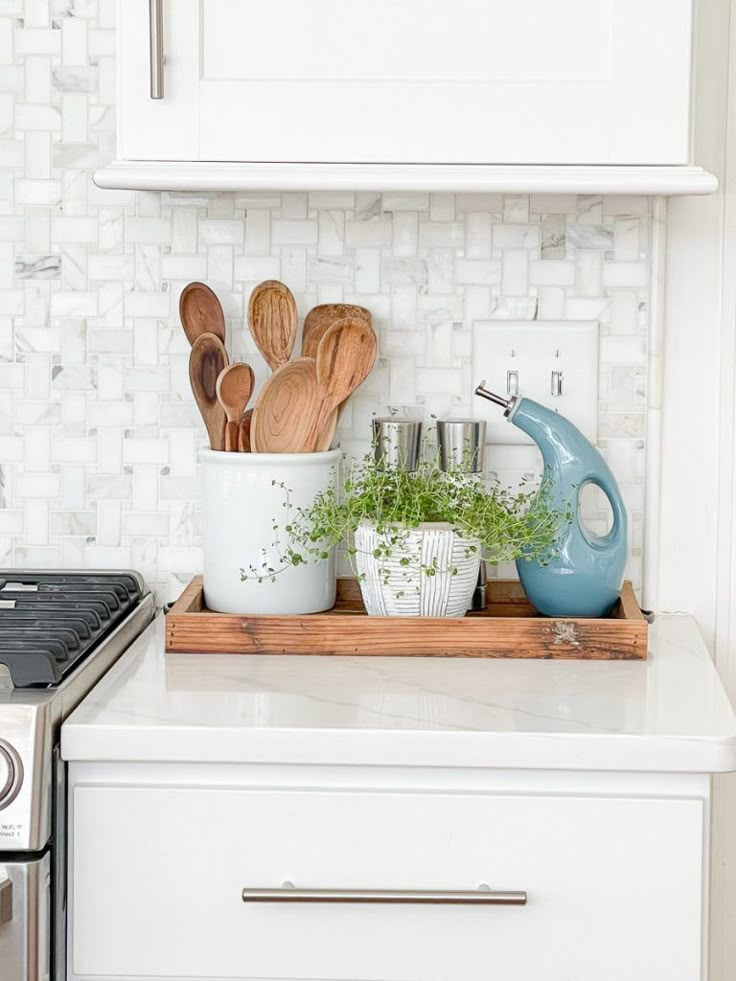
Credit: www.create-enjoy.com
Finishing Touches
In the journey of replacing kitchen cabinets, the finishing touches are key. They bring style and polish to your kitchen space. These final details can make a big difference in the look and feel of your cabinets. Let’s explore how to perfect your cabinets with hardware, paint, and more.
Adding Hardware And Accessories
Hardware adds charm and function to your cabinets. Choose knobs and pulls that match your kitchen style. Consider metal finishes like brass or chrome for a modern look. Wooden knobs can add warmth to traditional kitchens.
- Ensure the size fits the cabinet doors.
- Use a template for precise placement.
- Check for smooth operation before installation.
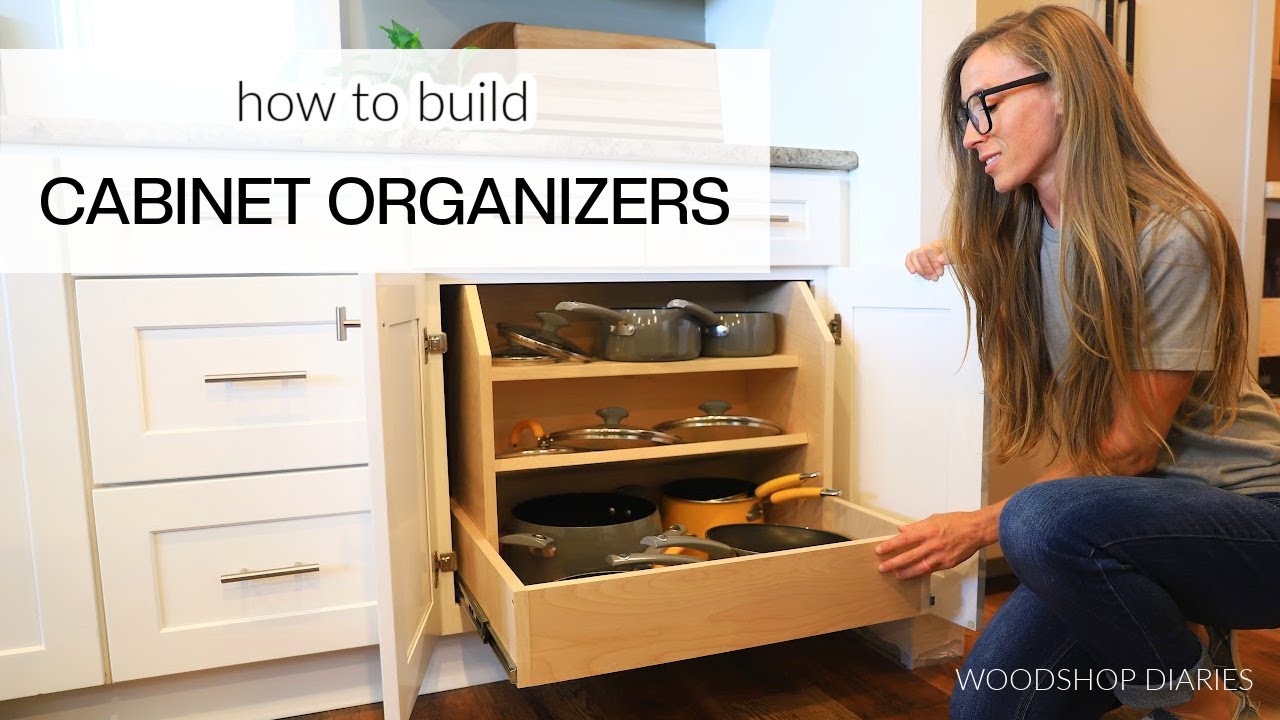
Accessories such as organizers and dividers enhance cabinet utility. They keep your kitchen tidy and efficient. Maximize space with pull-out shelves or lazy susans.
Applying Paint Or Stain
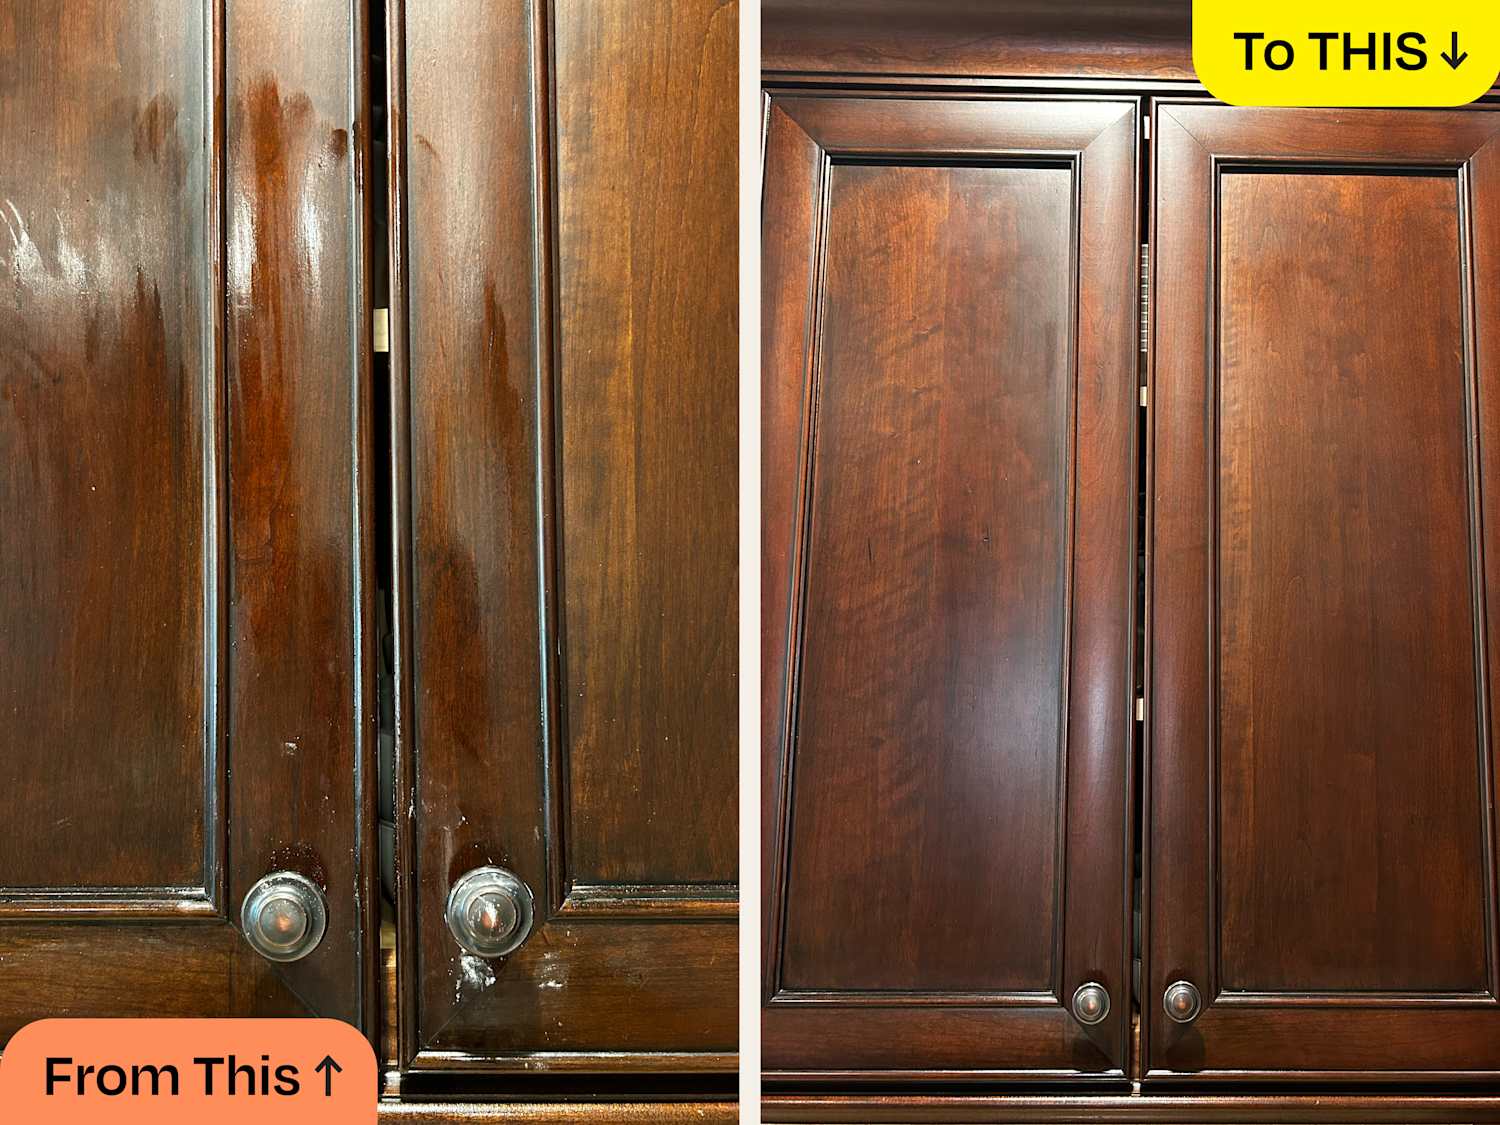
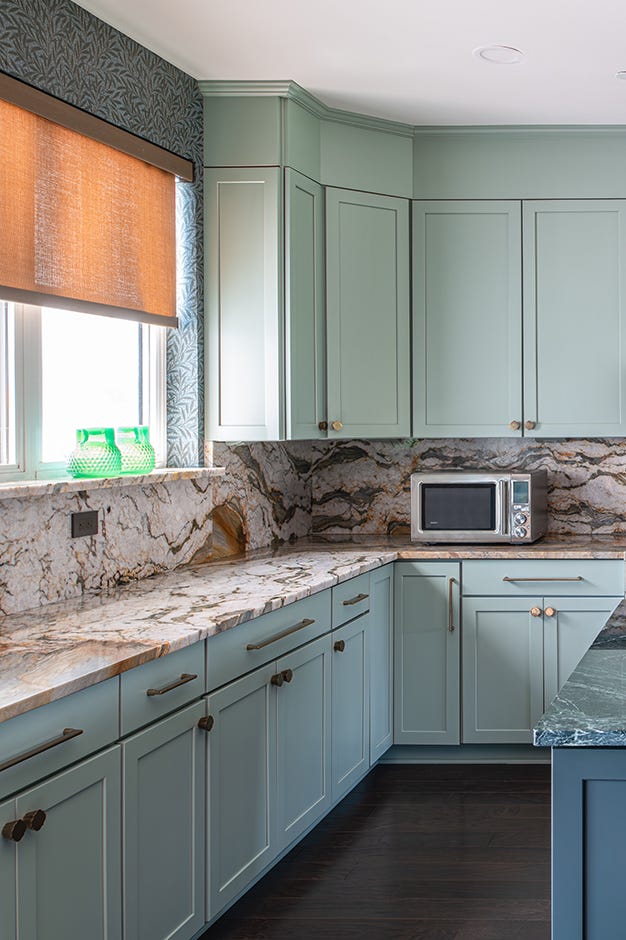
Paint or stain gives your cabinets a fresh appearance. Choose a color that complements your kitchen theme. Light colors make small kitchens feel bigger. Dark shades add depth to spacious areas.
- Sand the surface for a smooth finish.
- Use primer to enhance paint adhesion.
- Apply multiple coats for even coverage.
Staining highlights wood grains for a natural look. Consider clear or tinted stains based on your preference.
Sealing And Caulking
Sealing protects your cabinets from moisture and damage. Use a clear sealant for durability. It maintains the cabinet’s finish and prevents wear.
- Apply sealant evenly across surfaces.
- Check for gaps or cracks beforehand.
- Let sealant dry completely before use.
Caulking fills gaps between cabinets and walls. It ensures a smooth transition and prevents dirt buildup. Use a caulking gun for precise application.
Final Inspection
After all the hard work of replacing your kitchen cabinets, the final inspection is a crucial step to ensure everything is perfect. This step is your opportunity to verify that your new cabinets are not only aesthetically pleasing but also functional and reliable. You don’t want any surprises later on, right? Let’s delve into the key aspects of a successful final inspection.
Checking Alignment And Stability
Start by examining the alignment of your cabinet doors and drawers. Are they straight and even? Use a level tool to check for any misalignment. This ensures that everything looks polished and professional.
Next, give your cabinets a gentle shake. They should feel sturdy and secure. If you notice any wobbling, tighten any loose screws or bolts. A stable cabinet is essential for longevity and safety.
Ensuring Proper Functionality
Open and close each cabinet door and drawer several times. They should move smoothly without sticking or squeaking. Any resistance might indicate an issue that needs addressing.
Check the hinges and slides for any obstructions or misplacements. If you installed soft-close mechanisms, make sure they are functioning correctly. Proper functionality enhances your kitchen experience.
Completing Any Adjustments
Sometimes, minor tweaks are necessary for perfect results. Adjust the hinges if doors don’t close flush or make any necessary leveling adjustments. Small fixes can make a big difference.
Consider your personal experience with these adjustments. Did you find an unexpected trick or solution that worked wonders? Sharing insights can help others facing similar challenges.
As you wrap up, ask yourself: Are you satisfied with the final look and feel of your cabinets? This is your space, so make sure it meets your expectations and lifestyle needs.
Frequently Asked Questions
Can I Replace My Kitchen Cabinets Myself?
Yes, you can replace kitchen cabinets yourself. It requires basic carpentry skills, tools, and careful planning. Ensure you measure accurately and follow installation guidelines. This DIY project can save money but might be time-consuming. Consider professional help if you’re unsure or lack experience.
Can I Replace Kitchen Cabinets Without Replacing The Countertop?
Yes, you can replace kitchen cabinets without changing the countertop. Ensure precise measurements and careful removal to avoid damage. This option saves costs and updates your kitchen’s look efficiently. Consult a professional for best results and seamless integration.
What Is The Most Affordable Way To Replace Kitchen Cabinets?
Paint or refinish existing cabinets for an affordable transformation. Use budget-friendly hardware for a fresh look. Consider DIY installation of ready-to-assemble cabinets for cost savings. Explore second-hand options or discounts at local stores. Use peel-and-stick veneers or wraps for a quick, budget-friendly update.
How Much Will It Cost To Replace Cabinets In My Kitchen?
Replacing kitchen cabinets typically costs $3,000 to $12,000. Prices vary based on materials and labor. Custom cabinets increase costs. For a precise quote, consult local contractors. Budget adjustments may be necessary for design preferences and additional installations.
Conclusion
Replacing kitchen cabinets seems hard. It’s actually simple. Follow the steps. Gather your tools. Measure carefully. Remove old cabinets gently. Install new ones with precision. Secure everything tightly. Check alignment. Enjoy your refreshed kitchen space. You can do it. A fresh look is achievable.
Save money with DIY efforts. Improve your home value. It’s rewarding. Share your experience with friends. Inspire their renovations. Happy renovating! Your kitchen will shine. Feel proud of your work. Every effort counts. You’ve learned something new. Keep exploring home projects.
Your kitchen transformation awaits!

Similar Posts