How to Spray Paint Kitchen Cabinets: Transform Your Space
Executive Chef & Lead Commercial Kitchen Specialist at Daily Kitchup Test Lab
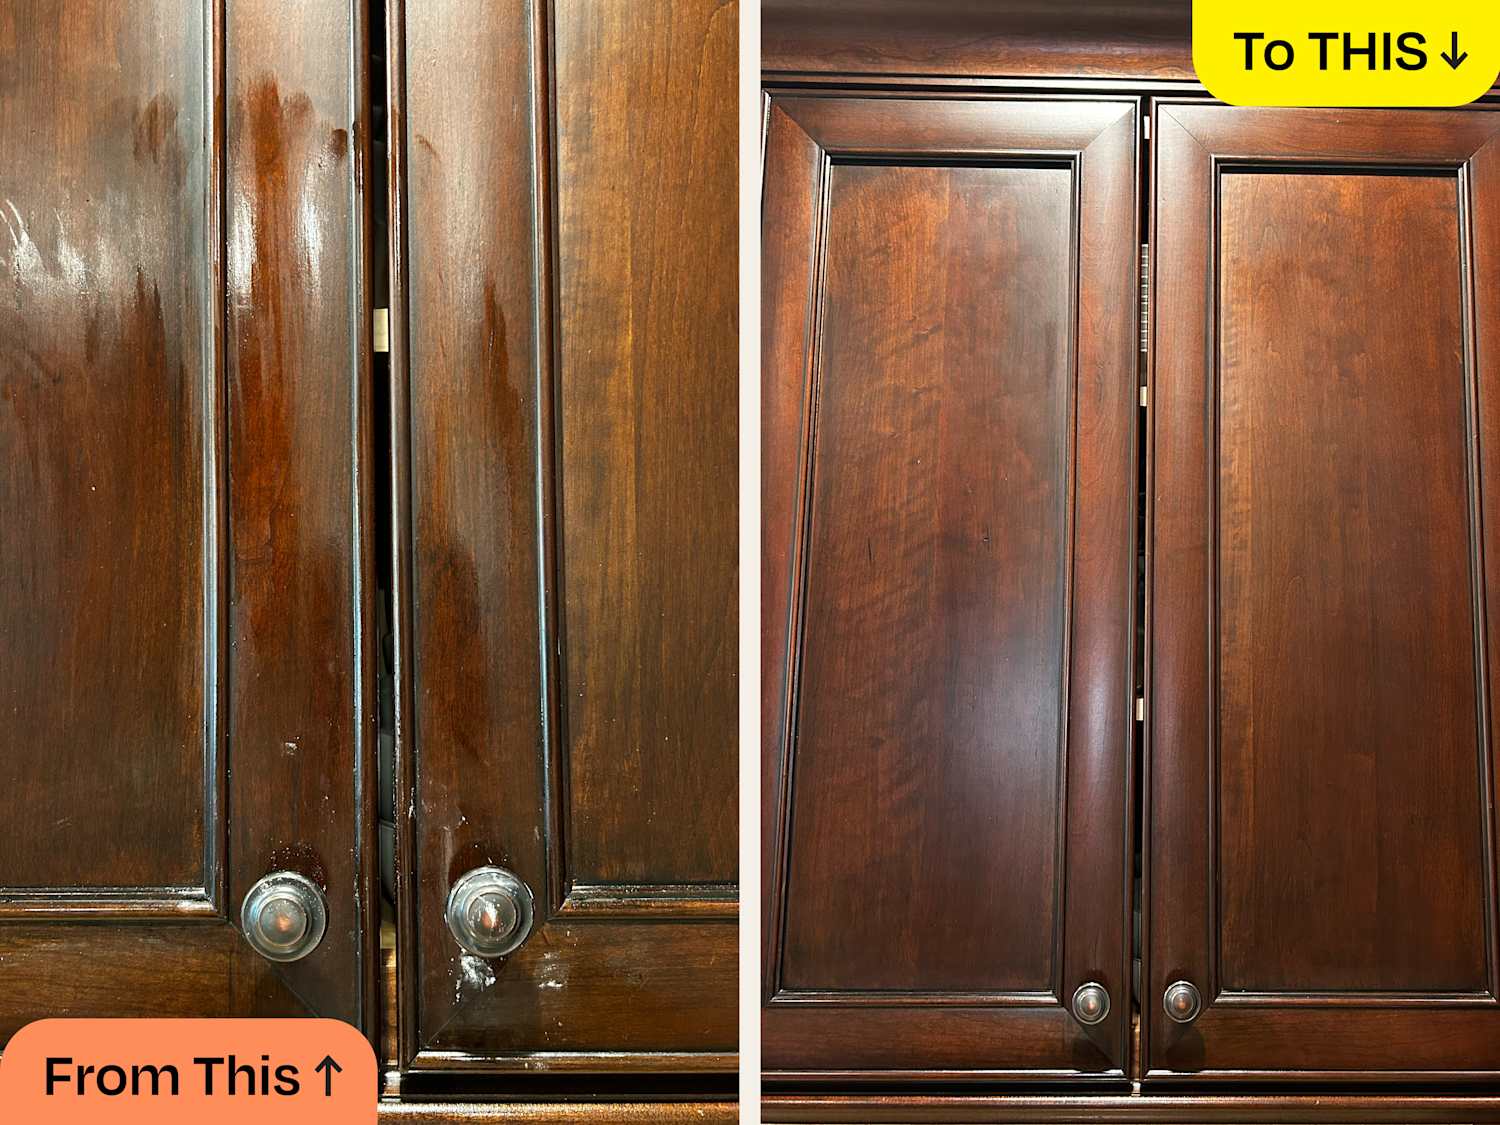
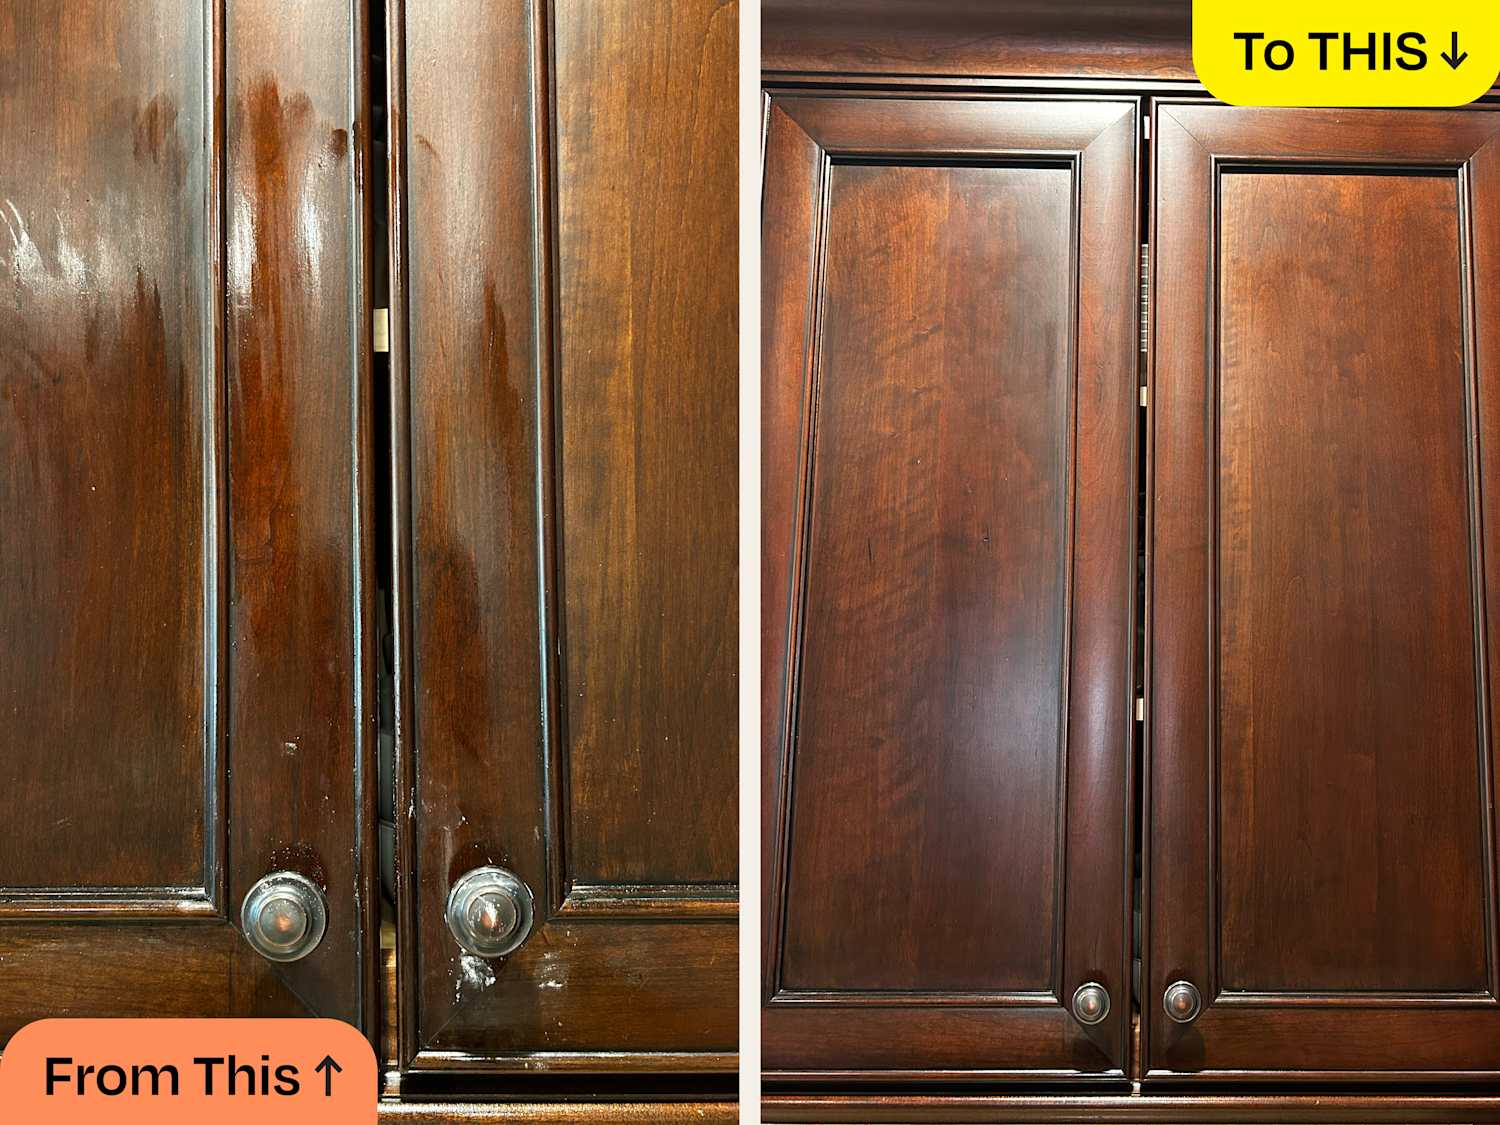
Are your kitchen cabinets looking a bit tired or outdated? Maybe you’re dreaming of a fresh, modern look but the thought of a costly renovation is holding you back.
What if you could transform them yourself with just a can of spray paint? Yes, you can achieve a stunning makeover without breaking the bank. Imagine walking into your kitchen and seeing cabinets that reflect your style and personality. Sounds exciting, right?
Spray painting your kitchen cabinets isn’t just a budget-friendly option; it’s also surprisingly simple once you know the secrets. This guide will show you how to do it right, ensuring a smooth finish and long-lasting results. You’ll learn all the tips and tricks to make the process easy and enjoyable. Get ready to roll up your sleeves and unleash your creativity. Your dream kitchen is just a spray away!

Credit: www.spray-net.com
Choosing The Right Paint
Choosing the right paint for your kitchen cabinets is crucial to achieving a stunning and long-lasting finish. It involves more than just picking a color; you need to consider the type of paint that will best suit your needs and the overall aesthetic of your kitchen. With the right choice, your cabinets can become the centerpiece of your kitchen, reflecting your personal style and enhancing the room’s functionality.
Types Of Paint For Cabinets
When selecting paint for kitchen cabinets, durability is key. You want a paint that can withstand the everyday wear and tear of a busy kitchen. Consider using:
- Oil-based paints:Known for their durability and smooth finish. They resist chipping and provide a hard surface, but may take longer to dry and emit strong odors.
- Latex paints:Easier to clean up and low in odor. They dry quickly, making them a popular choice for DIY projects. However, they may not be as durable as oil-based options.
- Acrylic paints:Offer a balance between oil and latex paints. They provide a durable finish and come in various sheens, perfect for customizing the look.
Consider what matters most to you — ease of application, durability, or low odor. Your choice should align with your kitchen’s needs and your personal preferences.
Selecting The Ideal Color
The color of your cabinets can dramatically impact the look and feel of your kitchen. Are you aiming for a modern vibe or a cozy, traditional feel? Your choice of color plays a significant role in setting the tone.
- Light colors:Such as whites and creams, can make a small kitchen feel larger and brighter. They are timeless and versatile, complementing various styles.
- Bold colors:Deep blues, greens, or even blacks can add a striking focal point, creating a sense of depth and sophistication.
- Neutral tones:Grays and taupes offer a balanced look, allowing other kitchen elements to shine.
Think about how your cabinet color will interact with other elements in your kitchen, like countertops and backsplashes. Do you want your cabinets to blend in or stand out?
Remember, the right paint choice can transform your kitchen and reflect your style. So, what’s your vision for your cabinets?
Gathering Essential Tools
Transforming your kitchen cabinets with spray paint is a rewarding task that can breathe new life into your cooking space. However, before you dive into the painting process, gathering the right tools is essential for a smooth and successful project. Having all necessary equipment and supplies at hand will save you time and ensure a professional finish.
Spray Painting Equipment
To achieve a sleek and even coat, invest in quality spray painting equipment. An HVLP (High Volume Low Pressure) spray gun is ideal for providing a smooth finish without excessive overspray. If you’re tackling smaller projects or prefer something more portable, consider a handheld electric sprayer. Make sure to have a few practice boards to test your spray pattern before working on your cabinets. Don’t forget to stock up on painter’s tape to protect areas you don’t want painted.
Protective Gear And Supplies
Your health and safety are paramount when spray painting. Ensure you have protective gear like safety goggles and a respirator mask to shield against fumes and paint particles. A pair of gloves will keep your hands clean and free from paint stains. Cover your floors and countertops with plastic sheeting or drop cloths to prevent accidental splashes. Lastly, keep a bucket of warm, soapy water nearby for quick clean-ups.
What tools do you find indispensable for DIY projects? Share your thoughts in the comments below!
Preparing Cabinets For Painting
Clean and sand cabinets for a smooth finish. Use a primer to ensure paint adheres well. Spray paint evenly, allowing each coat to dry before applying the next.
Preparing your kitchen cabinets for a fresh coat of spray paint is a crucial step in achieving a flawless finish. Whether you’re aiming for a bright new color or simply refreshing the look, getting the prep work right can make all the difference. Imagine the satisfaction of seeing your kitchen transform with beautifully painted cabinets that exude elegance. But first, let’s dive into the essential steps of preparation.Cleaning And Degreasing
Your kitchen cabinets have likely accumulated grease and grime over time. Begin by removing any dirt or food residue with a gentle cleaner. A mixture of warm water and mild dish soap can be very effective for this task. Use a soft cloth or sponge to wipe down all surfaces, including corners and edges, where grease tends to hide. Think of it as giving your cabinets a clean slate before painting. Are you ready to see them sparkle?Sanding And Smoothing Surfaces
Once the cabinets are clean, it’s time to tackle the surfaces. Sanding is essential to ensure the paint adheres properly. Grab a medium-grit sandpaper and gently sand all surfaces, focusing on areas with existing paint or finishes. Feel the difference as your cabinets become smooth and ready for transformation. It’s like preparing a canvas for a masterpiece. After sanding, wipe down the surfaces with a damp cloth to remove any dust. This step ensures a smooth, professional finish when you spray paint. Have you ever thought about the tactile satisfaction of a perfectly smooth surface?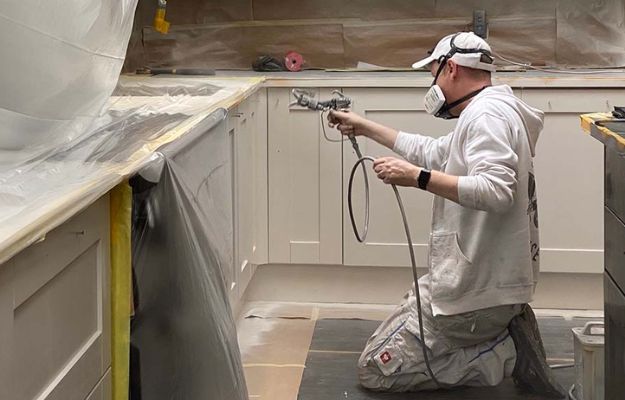
Credit: www.ultrimaxstore.com
Setting Up The Workspace
Ensure a well-ventilated area for spray painting kitchen cabinets. Protect surfaces with drop cloths or plastic sheeting. Arrange tools and materials within easy reach to streamline the process.
Setting up the workspace is the first crucial step in spray painting kitchen cabinets. A well-organized area ensures safety and a smooth painting process. Proper preparation can lead to a professional-looking finish. Here’s how to get your space ready.Creating A Ventilated Area
Ventilation is vital for safety and achieving a smooth finish. Open windows to let fresh air in. Use fans to direct fumes outside. Consider using a respirator mask for extra protection. Set up your workspace in a garage or a well-ventilated room. Ensure the area is free from dust and debris. A clean environment helps paint adhere better.Protecting Surrounding Surfaces
Cover floors and countertops with drop cloths or plastic sheets. This prevents paint splatter and stains. Use painter’s tape to secure edges of the protective coverings. Tape off areas that should not be painted, like walls and ceilings. Remove or cover appliances and fixtures nearby. This saves time in cleaning later. A well-protected workspace keeps your kitchen pristine.Priming The Cabinets
Priming the cabinets ensures a smooth surface for spray painting. It helps the paint adhere better and last longer. This step is crucial for achieving a professional finish.
Priming the cabinets is a crucial step in spray painting kitchen cabinets. It ensures a smooth and even surface for the paint to adhere. This process can greatly enhance the final finish and durability of your cabinets. Proper priming helps to cover stains and imperfections, creating a fresh canvas for your color choice. Let’s delve into the essential steps for successful priming.Applying The Primer
Start by selecting a high-quality primer suitable for kitchen cabinets. Use a spray gun for an even application. Hold the spray gun about 10 inches from the surface. Apply a thin, even coat over each cabinet. Make sure to cover all corners and edges. Thin layers prevent drips and help the primer adhere better.Allowing Proper Drying Time
After applying the primer, let it dry completely. Check the primer instructions for recommended drying time. This usually takes a few hours. Avoid touching the cabinets while drying. Proper drying ensures the primer bonds well. It also prepares the surface for the final paint layer. Patience during this step leads to a smoother finish.
Credit: www.youtube.com
Spray Painting Techniques
Transform your kitchen cabinets with spray painting techniques. Achieve a smooth, even finish by cleaning and sanding the surfaces first. Use light, even strokes for a professional look.
Spray painting your kitchen cabinets can transform your space with a fresh, modern look without the cost of replacing them. The key to a professional finish lies in mastering the right spray painting techniques. Whether you’re a seasoned DIY enthusiast or a first-timer, understanding these methods will ensure your cabinets look as good as new.Practicing On A Test Surface
Before you dive into spray painting your cabinets, it’s crucial to practice on a test surface. An old piece of cardboard or scrap wood can serve as your canvas. This practice helps you get a feel for the spray gun’s pressure and the paint’s flow. Adjust the spray nozzle and distance to avoid drips and uneven application. Experimenting with these settings will give you confidence and control. Remember, this stage is all about refining your technique, so don’t rush.Applying Even Coats
Achieving a smooth, professional finish requires applying even coats of paint. Start with a light mist, keeping the spray gun about 10-12 inches from the surface. Move in steady, overlapping strokes for uniform coverage. Patience is your best friend here. Allow each coat to dry completely before applying the next. This might seem time-consuming, but it prevents paint runs and ensures durability. Are you willing to invest a bit more time for a flawless finish? With these techniques, you can transform your kitchen cabinets and perhaps even discover a newfound love for DIY projects. Remember, practice and patience are key. What will your kitchen look like with a fresh new coat?Drying And Curing Process
Drying and curing are essential in spray painting kitchen cabinets. Proper drying prevents smudges, while curing ensures a durable finish. Allow sufficient time for both processes to achieve professional results.
The drying and curing process is crucial for a flawless finish on kitchen cabinets. After spray painting, the paint needs time to settle and harden properly. This step ensures the durability and sheen of the cabinets. It’s important to follow specific guidelines to avoid common pitfalls and achieve the best results.Ensuring Adequate Drying
Allow painted cabinets to dry in a dust-free environment. This prevents imperfections. Keep the room well-ventilated to speed up drying. Fans can help circulate air. Avoid touching the cabinets too soon. This could leave fingerprints or smudges. Check the manufacturer’s instructions for drying times. Different paint types require different drying durations. Use a timer to track the drying progress. This helps maintain consistency in the process.Avoiding Common Mistakes
Don’t rush the curing process. Hasty actions can compromise the finish. Avoid stacking or moving the cabinets prematurely. This can cause scratches or marks. Ensure that the paint has fully cured before reinstalling hardware. Premature handling can lead to damage. Be patient and allow ample time for each step. This guarantees a lasting and professional-looking finish. Keep an eye on temperature and humidity levels. These factors can affect drying time and quality.Reassembling And Finishing Touches
Reassemble the cabinets carefully, ensuring all parts fit snugly. Add finishing touches for a polished, professional look. Make sure to check for any uneven spots and adjust accordingly to enhance the final appearance.
Reassembling your kitchen cabinets marks the final step in your painting project. It’s crucial to ensure everything is put back together correctly. This not only enhances the appearance but also extends the life of your cabinets. Let’s dive into the essential steps to complete your kitchen cabinet transformation.Reattaching Hardware
Begin by gathering all the hardware, such as hinges and handles. Ensure each piece is clean and free of old paint or dirt. Use a screwdriver to attach the hinges to the cabinet doors. Align the doors with the cabinet frames and secure them in place. Next, attach handles or knobs. Make sure they’re straight and firmly in place. This prevents loose handles in the future.Inspecting For Final Touch-ups
Once the hardware is reattached, examine the cabinets for imperfections. Look for any spots where paint may have chipped or missed. Use a small brush for any necessary touch-ups. Ensure the paint is evenly applied and smooth. Check the edges and corners for consistency. This attention to detail ensures a professional finish. In summary, reassembling and finishing touches are crucial for a polished look. Properly reattaching hardware and inspecting for touch-ups elevate the final result. Enjoy your refreshed kitchen space!Frequently Asked Questions
Can You Spray Paint Your Kitchen Cabinets?
Yes, you can spray paint kitchen cabinets. Ensure proper cleaning, sanding, and priming for best results. Use high-quality paint and a steady hand. This method offers a smooth, professional finish, transforming your kitchen’s appearance. Always work in a well-ventilated area to ensure safety and proper drying.
Is It Better To Brush Or Spray Paint Kitchen Cabinets?
Spray painting kitchen cabinets offers a smooth, professional finish. It covers surfaces evenly and dries faster. Brush painting, while affordable, may leave visible strokes and require more time. For best results, choose spray painting if seeking a flawless look and efficient application.
Do I Need To Sand Cabinets Before Spraying?
Yes, sanding cabinets is essential before spraying to ensure paint adhesion and a smooth finish. Remove old paint, grease, and imperfections with fine-grit sandpaper. Clean thoroughly afterward to prevent dust contamination. Proper preparation enhances the durability and appearance of the sprayed finish.
What Kind Of Paint Is Used To Spray Kitchen Cabinets?
Use acrylic latex or alkyd paint for spraying kitchen cabinets. Acrylic latex is durable and easy to clean. Alkyd paint offers a smooth, hard finish. Both types adhere well to surfaces, ensuring long-lasting results. Choose a semi-gloss or satin finish for a sleek appearance.
Conclusion
Spray painting kitchen cabinets transforms your space beautifully. It’s a simple process. Follow steps carefully for best results. Choose the right paint. Prepare your workspace thoroughly. Clean cabinets well before painting. Proper technique ensures smooth finish. Patience is key. Let paint dry completely.
Consider safety; wear mask and goggles. Enjoy your refreshed kitchen look. Feel proud of your DIY accomplishment. Spraying cabinets saves money. Enhances home aesthetics. Start planning your project today. A fresh coat makes a big difference. Your kitchen awaits a new look.
Happy painting!

Similar Posts