How to Take down Kitchen Cabinets: Easy DIY Guide
Executive Chef & Lead Commercial Kitchen Specialist at Daily Kitchup Test Lab
Are you planning a kitchen makeover and find yourself puzzled over how to take down those old cabinets? You’re not alone.
Many homeowners face this daunting task, unsure of where to start. But here’s the good news: removing kitchen cabinets doesn’t have to be complicated. In fact, with the right guidance, you can transform this intimidating task into a straightforward, even satisfying project.
Imagine the thrill of revealing a blank canvas, ready for your creative touch. By the end of this article, you’ll know exactly how to take down kitchen cabinets with confidence and ease, avoiding common pitfalls and saving both time and money. Let’s dive in and unlock the secrets to a smooth and efficient cabinet removal process.

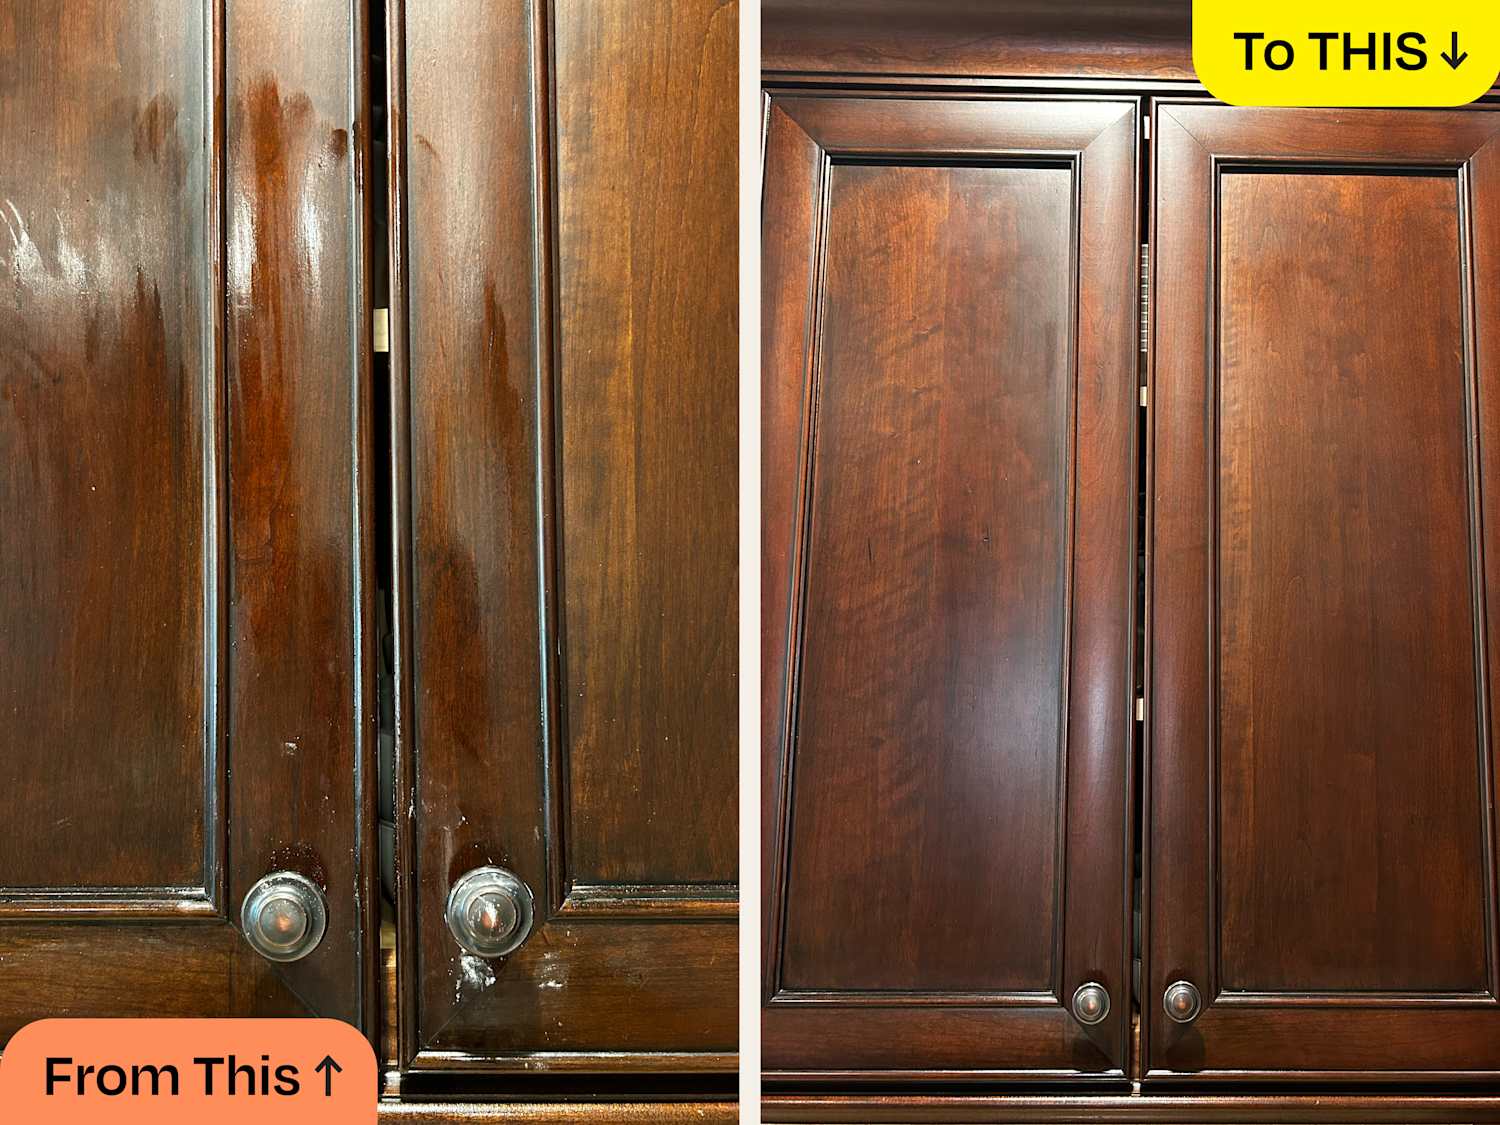
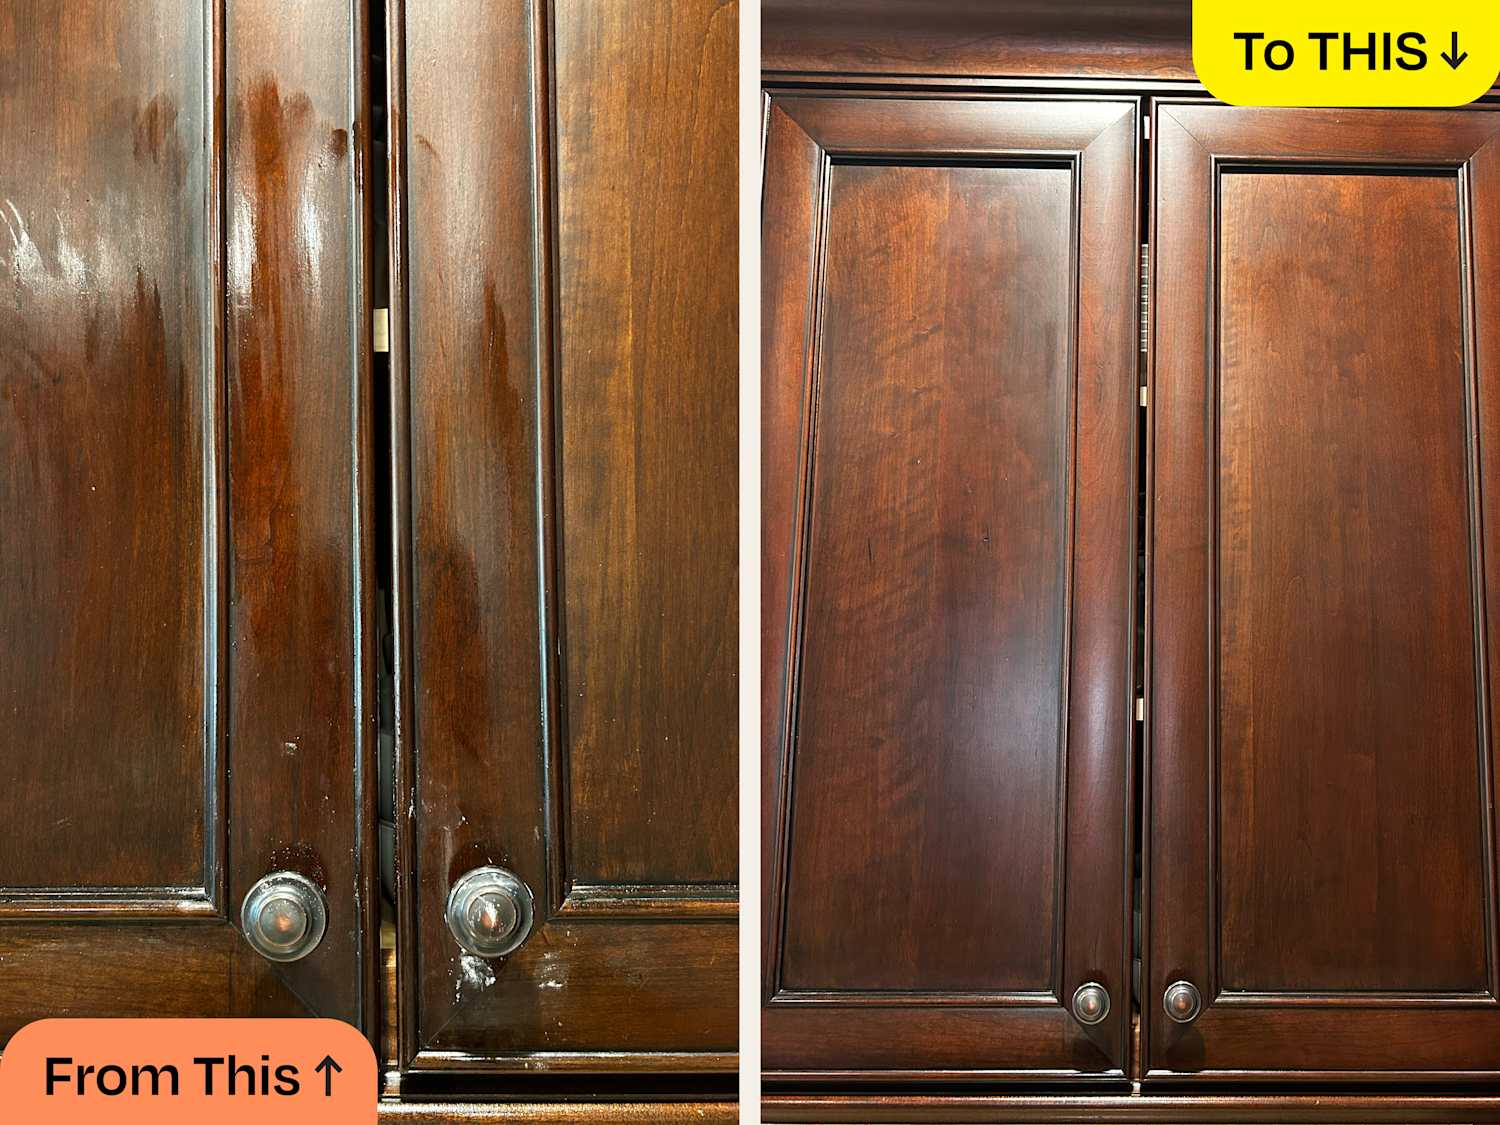
Credit: www.reddit.com
Tools And Materials Needed
Gather essential tools like a screwdriver, pry bar, and hammer. Prepare materials such as drop cloths and protective eyewear. Ensure cabinets are empty before starting the removal process.
Taking down kitchen cabinets can seem like a daunting task, but with the right tools and materials, it becomes a manageable DIY project. Whether you’re planning to refresh your kitchen space or completely remodel it, understanding what you need will save you time and effort. Before you dive in, it’s crucial to gather all the necessary equipment to ensure a smooth and safe removal process.Essential Tools
- Screwdriver Set:A versatile set is essential for removing screws from hinges and brackets. Make sure you have both Phillips and flathead screwdrivers.
- Drill:An electric drill can make unscrewing faster and more efficient, especially for stubborn or rusted screws.
- Pry Bar:Useful for gently prying cabinets away from walls without damaging them.
- Hammer:Handy for tapping the pry bar into tight spots or removing nails.
- Utility Knife:Great for cutting through sealant or paint between cabinets and walls.
Necessary Materials
- Drop Cloths:Protect your floors and countertops from dust and debris during the removal process.
- Safety Gear:Include gloves, goggles, and a dust mask to protect yourself from sharp edges and dust.
- Bucket or Container:Use it to collect removed screws and small parts, preventing loss.
- Painter’s Tape:Labeling parts or marking areas for cutting can keep your project organized.
Additional Tips
- Partner Up:Cabinets can be heavy and awkward. Having someone assist you can make the process safer and quicker.
- Check for Wiring:Ensure there are no wires hidden behind or attached to the cabinets before you start prying.
- Plan the Disposal:Consider how you will dispose of or repurpose the old cabinets once they’re removed.
Safety Precautions
Ensure the power supply is disconnected to avoid accidents. Wear protective gear like gloves and goggles to prevent injuries. Use stable ladders or stools for reaching higher cabinets safely.
Taking down kitchen cabinets requires careful attention to safety. Following precautions helps prevent injuries and accidents. Ensure you have the right tools and protective gear.Wear Protective Gear
Safety goggles shield your eyes from dust. Gloves protect your hands from sharp edges. A dust mask prevents inhaling particles. Wear sturdy shoes to protect your feet.Disconnect Electrical Appliances
Unplug nearby appliances before starting. This prevents electrical hazards. Avoid cutting or damaging wires. Ensure the area is safe for work.Use Proper Tools
Gather necessary tools like screwdrivers and drills. Ensure tools are in good condition. Use a step ladder for reaching high cabinets safely. Avoid using unstable objects to reach high places.Clear The Work Area
Remove items from countertops. Clear pathways for easy movement. Keep tools organized to avoid tripping. Ensure adequate lighting in the area.Work With A Partner
A partner helps support heavy cabinets. They can pass tools and provide stability. Two pairs of eyes catch potential hazards. Communicate clearly to ensure smooth operation.Check Cabinet Stability
Inspect cabinets for stability before removing. Check for loose screws or nails. Assess weight and size of cabinets. Plan for safe removal, considering cabinet weight.Handle Cabinets With Care
Lift cabinets carefully to avoid strain. Use proper lifting techniques. Place removed cabinets gently on the ground. Avoid dropping or damaging them. Following these precautions ensures a safe cabinet removal process. Safety should always be a priority.Preparation Steps
Preparation is the key to successfully removing kitchen cabinets. Before diving into the physical work, a few steps ensure a smooth process. These steps help prevent damage and create a safe environment for the task.
Clearing The Workspace
Start by removing items from the cabinets. Clear the countertops and floors around the cabinets. This space will be used for tools and for working. Remove anything that might hinder movement or pose a safety risk. This includes decor, small appliances, and utensils. Organize these items elsewhere until the project is complete.
Protecting Surfaces
Cover nearby surfaces with drop cloths or plastic sheets. This prevents scratches and dents from tools or falling debris. Protect floors by laying down cardboard or heavy-duty fabric. This ensures tiles or wood aren’t damaged during cabinet removal. Consider using painter’s tape to secure coverings. This helps keep protection in place and avoids unnecessary movement.
Disconnecting Utilities
Before removing kitchen cabinets, ensure all utilities are disconnected. This prevents accidents and ensures a safe work environment. Shut off water, gas, and electricity to avoid any mishaps during removal.
Disconnecting utilities is a crucial step before taking down kitchen cabinets. It ensures safety and prevents damage to appliances and wiring. Proper disconnection avoids unnecessary hazards during the removal process.Turning Off Power
Always turn off the power before starting. Locate your kitchen’s circuit breaker. Switch off the specific circuit for the kitchen area. This prevents electrical accidents. Use a voltage tester to confirm no power flows. Safety first!Removing Appliances
Start with small appliances. Unplug toasters, microwaves, and blenders. Store them safely away from the work zone. For larger appliances, like the oven or dishwasher, disconnect them carefully. Shut off water supplies to dishwashers if needed. Check each appliance manual for specific instructions. Label wires or connections for easy reinstallation. Keep a safe distance between appliances and the cabinet workspace.Removing Cabinet Doors And Drawers
Taking down kitchen cabinets begins with removing cabinet doors and drawers. Unscrew hinges to detach doors and slide out drawers carefully. This process opens up the space for further cabinet dismantling.
Removing kitchen cabinets can seem like a daunting task, but breaking it down into manageable steps makes it much easier. One of the first steps in this process is removing the cabinet doors and drawers. By doing so, you lighten the load and make it easier to handle the cabinets. Plus, it gives you a chance to evaluate the condition of the doors and drawers before deciding on replacements or refurbishments.Unscrewing Hinges
Start by grabbing a screwdriver or a drill with a screwdriver bit, whichever you prefer. Open the cabinet doors fully to access the hinges. Carefully unscrew each hinge from the cabinet frame. Keep track of all screws by placing them in a small container or a labeled bag. This prevents them from getting lost and makes reassembly much smoother. As you remove each door, pay attention to any damage or warping. This could be an opportunity to decide if you want to replace them with a new style or simply refurbish the existing ones.Taking Out Shelves
Once the doors are off, it’s time to remove any shelves inside the cabinets. Most shelves rest on small pegs or brackets. Simply lift the shelves off the pegs or brackets to remove them. If the shelves are fixed with screws, use your trusty screwdriver or drill to unscrew them. Store the screws with the others to keep everything organized. Evaluate the shelves for any signs of wear or damage. This might be the perfect time to replace them with more durable materials or even add adjustable shelving options for more flexibility. Have you ever been surprised by how much space your kitchen actually has once the cabinets are cleared? It’s a great moment to reassess your storage needs and plan for future improvements. Taking these steps not only simplifies the cabinet removal process but also sets the stage for a refreshed and more efficient kitchen space.Detaching Cabinets From The Wall
Detaching kitchen cabinets from the wall can seem daunting, but with the right approach, it becomes a manageable task. Whether you’re renovating or replacing old cabinets, understanding how to safely remove them is crucial. This guide offers practical tips that empower you to detach cabinets without causing damage to your kitchen or yourself.
Locating Screws And Fasteners
Start by inspecting the inside of the cabinets. You’ll usually find screws or fasteners hidden along the back panel. Check near the corners and edges where the cabinets meet the wall. A flashlight can help illuminate these areas.
Sometimes, screws are camouflaged by paint or hidden under shelf liners. Gently remove any liners and scrape away paint if necessary. You’ll often find screws holding the cabinets in place. Identifying all the screws ensures a smoother removal process.
Using A Pry Bar Carefully
Once you’ve removed the screws, it’s time to use a pry bar to detach the cabinets from the wall. Start at one corner and work your way around. Apply gentle pressure to avoid damaging the wall or cabinet.
It’s not about brute force; it’s about finesse. If resistance is felt, double-check for missed screws or fasteners. Sometimes, cabinets have additional brackets or adhesive that need attention. Have patience and work methodically.
Have you ever wondered why some projects go smoothly while others hit roadblocks? The key often lies in preparation and patience. By carefully detaching your cabinets, you set the stage for a successful kitchen transformation. Are you ready to take on this challenge?
Handling Upper Cabinets
Handling upper cabinets requires careful planning and attention to detail. These cabinets are often heavier and less accessible than lower ones. It’s crucial to approach the task methodically to ensure safety and efficiency. Taking down upper cabinets can transform your kitchen space dramatically. This process not only helps in updating your kitchen’s look but also in preparing for new installations. Knowing the right steps can make the task easier and safer.
Supporting Cabinets During Removal
Ensure the cabinets are secure before removing screws. Use sturdy supports to prevent them from falling. You can use wooden beams or metal stands for this purpose. Position supports at both ends of the cabinet. This will hold the weight evenly. Check the stability of the supports. Adjust them if necessary to make sure they are firm. Safety should always be the priority. Proper support prevents damage to the walls and cabinets.
Working With A Partner
Removing upper cabinets is easier with a partner. One person can hold the cabinet while the other unscrews it. Communication is key during the process. Discuss the steps clearly before starting. It’s important to coordinate your movements. This prevents accidents and ensures a smooth removal. Having a partner makes lifting heavy cabinets manageable. Teamwork enhances safety and efficiency.

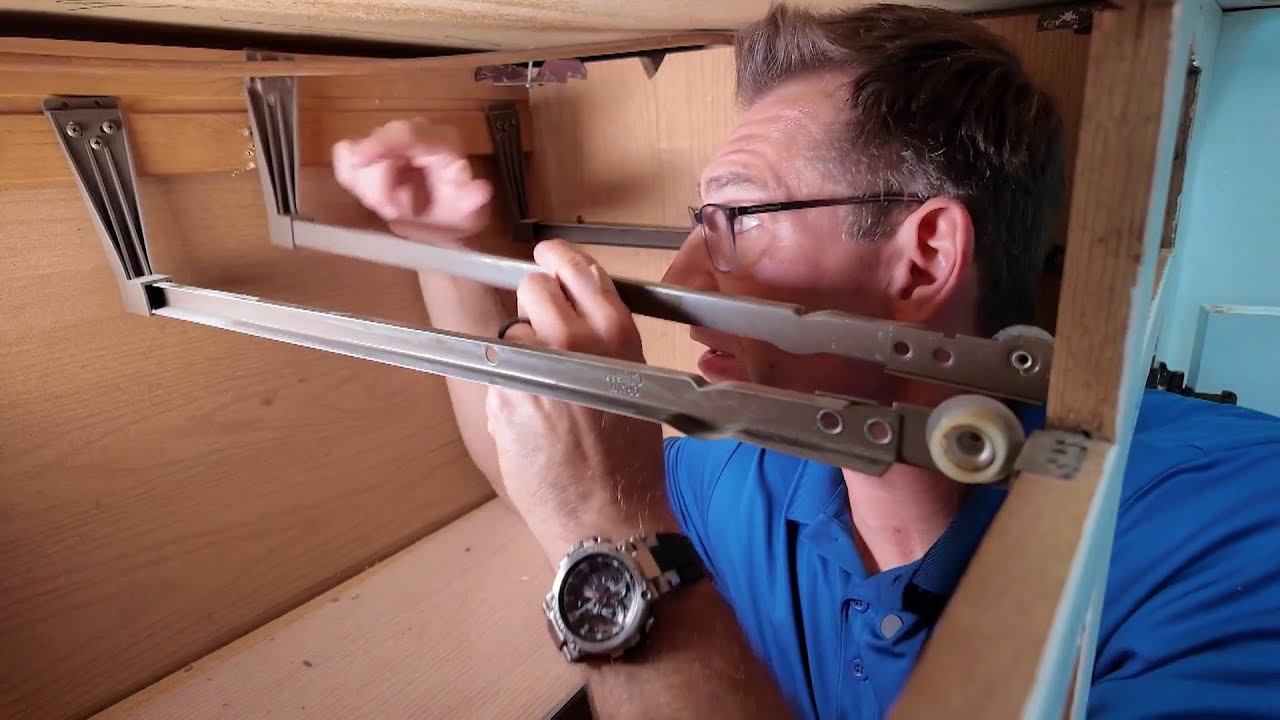
Credit: www.youtube.com
Dealing With Lower Cabinets
Taking down lower kitchen cabinets can be a straightforward task. With careful preparation, you can remove them without damaging other structures. This guide will help you through the process, ensuring a smooth removal.
Loosening Countertops
Begin by checking how your countertops are attached. They might be glued or screwed to the cabinets. Use a screwdriver to remove screws from underneath. If glued, gently slide a putty knife between the countertop and cabinet. This helps break the adhesive seal. Take your time to avoid cracks or breaks. Once loose, lift the countertop with a partner. Set it aside in a safe place.
Extracting Base Units
Next, focus on removing the base units. Start by emptying all contents from the cabinets. This reduces weight and makes handling easier. Look for screws securing the cabinets to the wall. These are usually located inside the cabinet. Use a drill or screwdriver to remove them. If the cabinets are joined, separate them by unscrewing the connecting screws. Carefully pull the cabinet away from the wall. If you feel resistance, check for missed screws. Once free, lift the cabinet with a partner to avoid injury.
Cleaning Up And Disposal
Removing kitchen cabinets involves careful planning and organization. Begin by clearing out contents and detaching doors and shelves. Unscrew fasteners and brackets, ensuring safe disposal of materials.
Taking down kitchen cabinets can be an exciting start to a renovation project, but the task doesn’t end with just removal. Cleaning up and disposing of the old cabinets is equally important to ensure a smooth transition to your new kitchen setup. This process involves not only getting rid of the unwanted pieces but also preparing the space for the new installations.Disposing Of Old Cabinets
Once the cabinets are removed, it’s time to decide what to do with them. You might be tempted to throw everything into a dumpster, but consider more environmentally friendly options. – Donate or Sell: If the cabinets are still in good condition, donating them to a local charity or selling them online can be a great way to give them a second life. Websites like Craigslist or Facebook Marketplace can be excellent platforms for this. – Recycle: Many parts of your cabinets can be recycled. Check with your local recycling center to see what materials they accept. Often, wood and metal handles can be repurposed. – Proper Disposal: If the cabinets are beyond repair, ensure they are disposed of properly. Contact your local waste management services for guidelines on disposing of large items.Cleaning The Area
With the old cabinets out of the way, it’s crucial to clean the space thoroughly. This sets a clean slate for your new kitchen. – Remove Debris: Start by sweeping and vacuuming the area to remove any debris left from the cabinet removal. Even small particles can cause issues during new installations. – Wipe Down Surfaces: Use a damp cloth to wipe down the walls and floors. Pay special attention to corners and edges where dust and dirt might accumulate. – Inspect for Damage: This is the perfect time to check for any damage or wear that needs to be addressed before the new cabinets arrive. Look for signs of mold or water damage that might require professional attention. Cleaning up might seem tedious, but it’s essential for a successful kitchen renovation. How will you ensure that your newly cleared space is ready for the next exciting phase of your kitchen makeover?
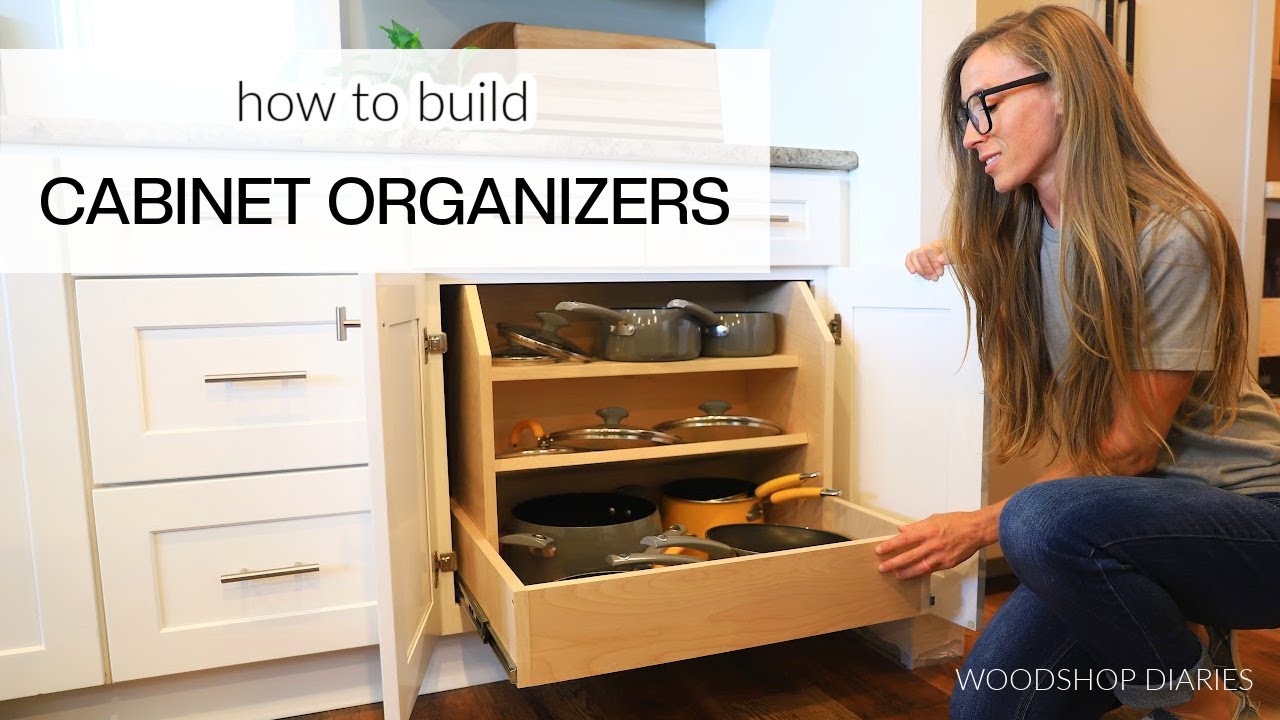
Credit: www.woodshopdiaries.com
Frequently Asked Questions
Can I Remove Kitchen Cabinets Myself?
Yes, you can remove kitchen cabinets yourself. Ensure you have the right tools and take safety precautions. Disconnect all utilities, unscrew fasteners, and carefully detach the cabinets. Seek help if needed to handle heavy parts. It’s a manageable DIY task if you’re prepared and cautious.
Are Kitchen Cabinets Glued To The Wall?
Kitchen cabinets are usually not glued to the wall. They are secured with screws into wall studs. This ensures stability and support. Glue is not typically used due to the weight and need for secure attachment. Proper installation keeps cabinets safe and functional.
How To Unclip A Kitchen Cabinet?
To unclip a kitchen cabinet, locate the clips or hinges inside. Gently press or release them. Lift the cabinet door upwards to detach it. If needed, consult the cabinet manual for specific instructions. Always ensure the cabinet is supported while unclipping to prevent damage.
How Are Kitchen Cabinets Attached To Walls?
Kitchen cabinets are attached using screws through the back panel into wall studs. Wall anchors provide extra support when needed. Cabinet mounting rails ensure alignment and stability. Always use a level to ensure cabinets are straight. Proper installation ensures safety and longevity of your kitchen cabinets.
Conclusion
Taking down kitchen cabinets is not a daunting task. With the right tools, it becomes simple. Remember to work carefully and plan each step. Clear the area for safety. Remove doors first to lighten the cabinet. Unscrew carefully to avoid damage.
Seek help if cabinets are heavy. Dispose of old cabinets responsibly. Repurpose them if possible. New cabinets will bring a fresh look to your kitchen. Enjoy the satisfaction of your hard work. Your kitchen will thank you with its new charm.
Happy renovating!

Similar Posts