How To.Paint Kitchen Cabinets: Transform Your Space Now
Executive Chef & Lead Commercial Kitchen Specialist at Daily Kitchup Test Lab
Are your kitchen cabinets looking tired and outdated? You don’t need to spend a fortune on a complete renovation to give your kitchen a fresh, modern look.
Painting your kitchen cabinets is a cost-effective and satisfying way to transform your space. Imagine the joy of walking into your kitchen and seeing a bright, new color that reflects your style and personality. It’s easier than you might think, and with the right guidance, you can achieve professional-looking results on your own.
You’ll discover simple, step-by-step instructions that take the guesswork out of painting your kitchen cabinets, ensuring you get a beautiful, lasting finish. Ready to roll up your sleeves and unlock the potential of your kitchen? Let’s dive in!

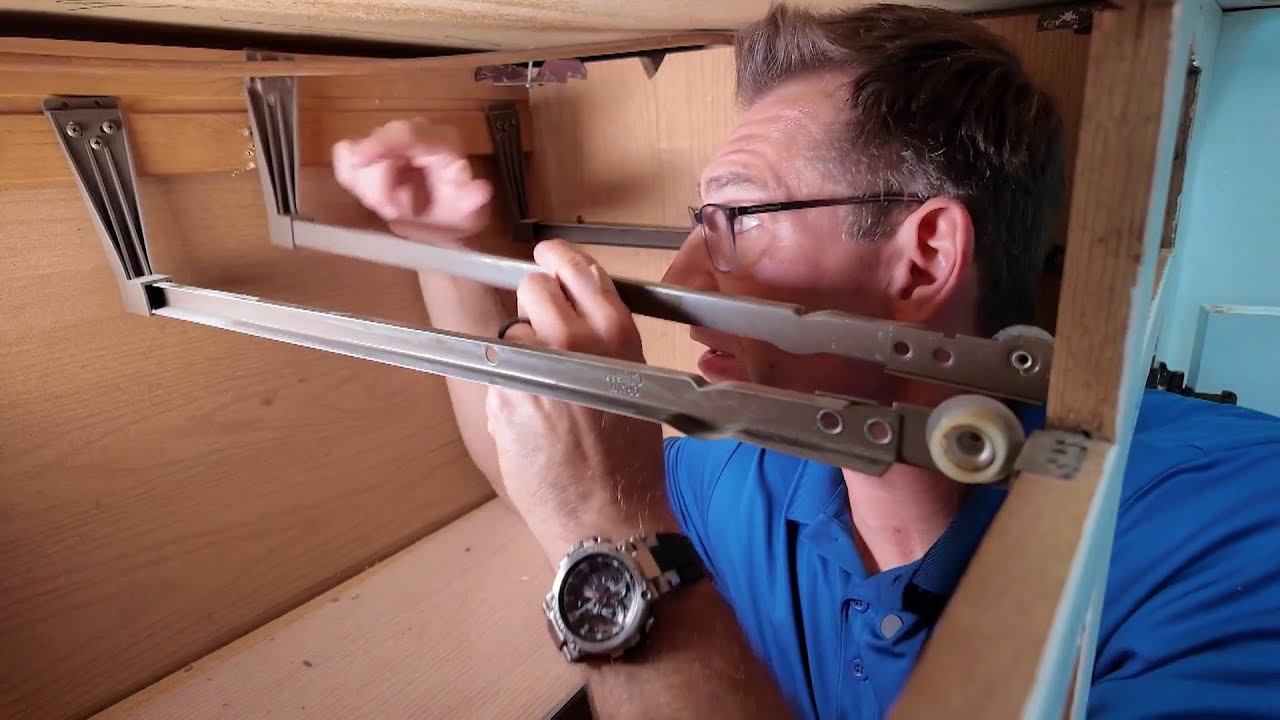
Credit: www.youtube.com
Choosing The Right Paint
Painting kitchen cabinets can transform your space. Choosing the right paint is crucial. It affects durability and aesthetics. You want your cabinets to look fresh and last long. Selecting the right paint involves considering types, colors, and finishes. Each aspect plays a role in the final look and feel.
Types Of Paints
Different paints suit different needs. Oil-based paints are durable and smooth. They resist stains and are easy to clean. Latex paints dry fast and are less smelly. They are eco-friendly and easy to work with. Consider your priorities before picking one.
Color Selection Tips
Color sets the mood in your kitchen. Light colors make spaces appear larger. Dark shades add elegance and depth. Think about the overall design of your home. Choose colors that complement your appliances. Test samples to see how they look in different lights.
Finish Options
Finishes affect the cabinet’s look. Glossy finishes shine and are easy to clean. They highlight imperfections, though. Semi-gloss offers a balanced sheen. It is durable and less reflective. Matte finishes hide flaws but are harder to clean. Pick a finish that suits your lifestyle.
Preparing Your Cabinets
Transforming your kitchen cabinets with a fresh coat of paint starts with preparation. Proper prep ensures a smooth, long-lasting finish. Don’t rush this phase. Attention to detail here saves trouble later.
Cleaning And Degreasing
Start by cleaning the cabinets thoroughly. Remove dust and grime using a damp cloth. After that, tackle stubborn grease. Use a degreasing cleaner for effective results. Ensure every surface is spotless.
Removing Hardware
Take off all cabinet hardware. This includes handles, knobs, and hinges. Use a screwdriver for easy removal. Keep the hardware in labeled bags. This way, you can reattach them easily after painting.
Sanding Techniques
Sanding is crucial for a smooth finish. Use fine-grit sandpaper to sand the surfaces. Focus on removing the gloss. This helps the paint adhere properly. Vacuum dust after sanding to keep the area clean.
Priming The Surface
Priming the Surface Clean and sand your kitchen cabinets thoroughly for a smooth finish. Choose a high-quality primer to ensure paint adheres well. Apply evenly, allowing adequate drying time before painting.
Priming the surface of your kitchen cabinets is a crucial step in achieving that flawless, professional look. Skipping this step might leave you with chipped paint and an uneven finish. A well-primed cabinet not only enhances paint adhesion but also ensures durability, making your hard work last longer.Choosing A Primer
Selecting the right primer can be the difference between a smooth finish and a disappointing one. It’s essential to choose a primer that matches your cabinet material. For wood cabinets, an oil-based primer is often recommended for its excellent sealing properties. Meanwhile, if you’re dealing with a laminate surface, a bonding primer that adheres well to slick surfaces will be your best bet. Consider the primer color as well. White is a safe choice for lighter paint colors, while a gray primer might be more suitable for darker hues. This step is all about setting the foundation for your chosen paint color to shine.Application Methods
Applying primer correctly is just as important as choosing the right type. You can use a brush, roller, or sprayer, depending on the tools available and your comfort level. Using a high-quality brush can help you reach corners and detailed areas, while a roller is excellent for large, flat surfaces. For an even coating, apply the primer in thin, consistent layers. Start from the inside edges of the cabinet doors and work your way outwards. This technique minimizes drips and ensures a smooth application.Drying Time Considerations
Patience is key when it comes to drying time. Rushing the process could lead to a less-than-perfect finish. Most primers require at least a couple of hours to dry, but it’s best to leave them overnight for optimal results. Check the primer label for specific drying times, as they can vary. Temperature and humidity in your workspace can also affect drying time. Make sure your workspace is well-ventilated and within the recommended temperature range for best results. Have you ever found yourself impatiently waiting for paint to dry? It can be tempting to speed things up, but taking the time to allow your primer to fully set will save you headaches later on. Remember, a well-prepared surface is the secret to a stunning kitchen cabinet transformation.
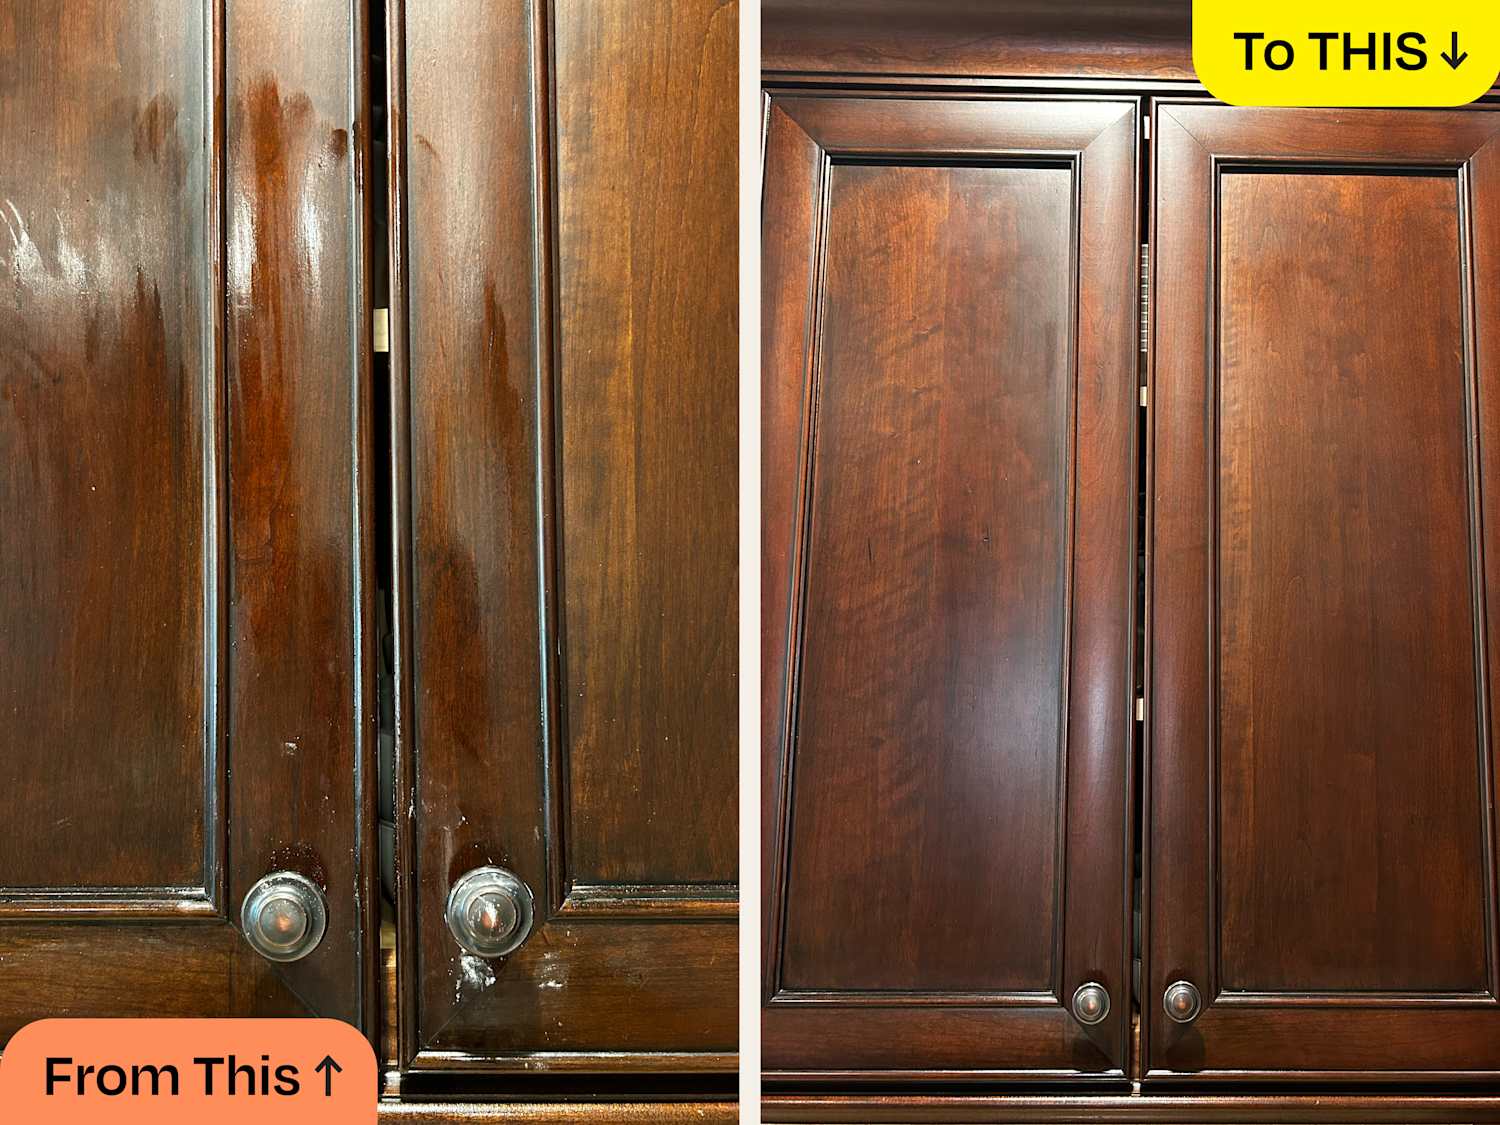
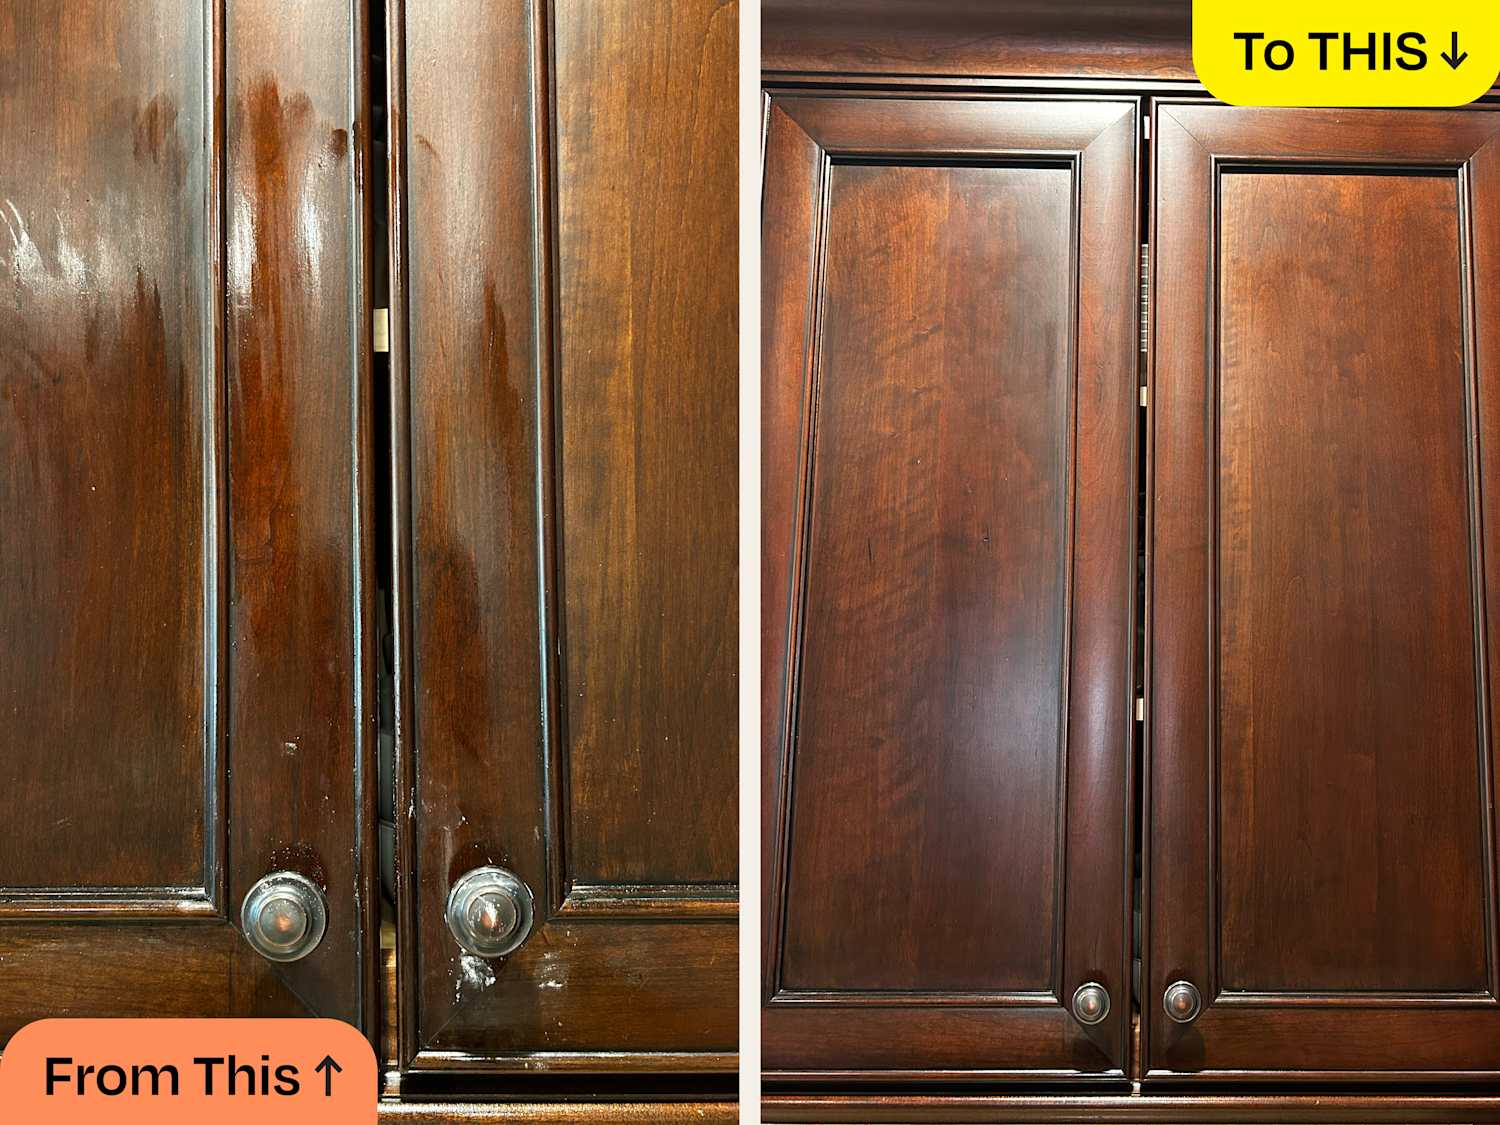
Credit: www.familyhandyman.com
Painting Techniques
Painting kitchen cabinets can transform your space. Using the right techniques ensures a smooth, professional finish. Choosing the correct method depends on your skill level and tools available. Whether you use a brush, roller, or spray, each technique has its own benefits.
Brush Vs. Roller
A brush offers precision. It allows you to reach corners and edges easily. Perfect for detailed areas and small sections. Brushes can leave visible strokes. They require steady hands and patience. A roller covers large areas quickly. It provides a smooth finish without brush marks. Ideal for flat surfaces and larger sections. Choose the roller size based on cabinet size. Both tools have their place in cabinet painting.
Spray Painting Tips
Spray painting is fast. It gives an even finish with minimal effort. Ensure the area is well-ventilated. Use protective gear to avoid inhaling fumes. Practice on a scrap piece before starting. Maintain a steady hand and consistent speed. Keep the spray nozzle at the right distance. Overlapping strokes prevent uneven coverage. Clean the spray gun regularly to avoid clogs. Proper technique ensures a flawless finish.
Multiple Coats Strategy
Multiple coats improve durability. They enhance the cabinet’s appearance. Start with a thin primer coat. Allow it to dry completely. Apply the first coat of paint evenly. Wait for it to dry before adding another. Thin layers prevent drips and streaks. Sand lightly between coats for smoothness. More coats mean longer drying time. Ensure each layer is completely dry. This strategy leads to a lasting, attractive finish.
Drying And Curing
Proper drying and curing ensure painted kitchen cabinets look smooth and last longer. Allow them to dry for 24 hours before handling. Curing takes longer, so wait a week before heavy use.
Drying and curing are key steps in painting kitchen cabinets. These steps ensure durability and a smooth finish. Proper drying prevents tackiness and smudges. Curing solidifies the paint, providing resistance to wear.Optimal Conditions
Proper ventilation speeds up drying and curing. Open windows or use fans for airflow. Maintain a temperature between 65-75°F. Humidity levels should be low to moderate. A dehumidifier can help in damp environments. Good lighting aids in spotting imperfections early.Timeframes For Best Results
Allow paint to dry for at least 24 hours. Curing takes longer, typically 7-30 days. The exact time depends on paint type and environmental conditions. Check manufacturer recommendations for specific timeframes. Patience ensures a long-lasting finish.Avoiding Common Mistakes
Rushing the process leads to poor results. Avoid stacking or reassembling too soon. Touching wet surfaces can cause fingerprints and smudges. Use gentle pressure when handling cabinets during drying. Clean tools immediately to prevent paint buildup.
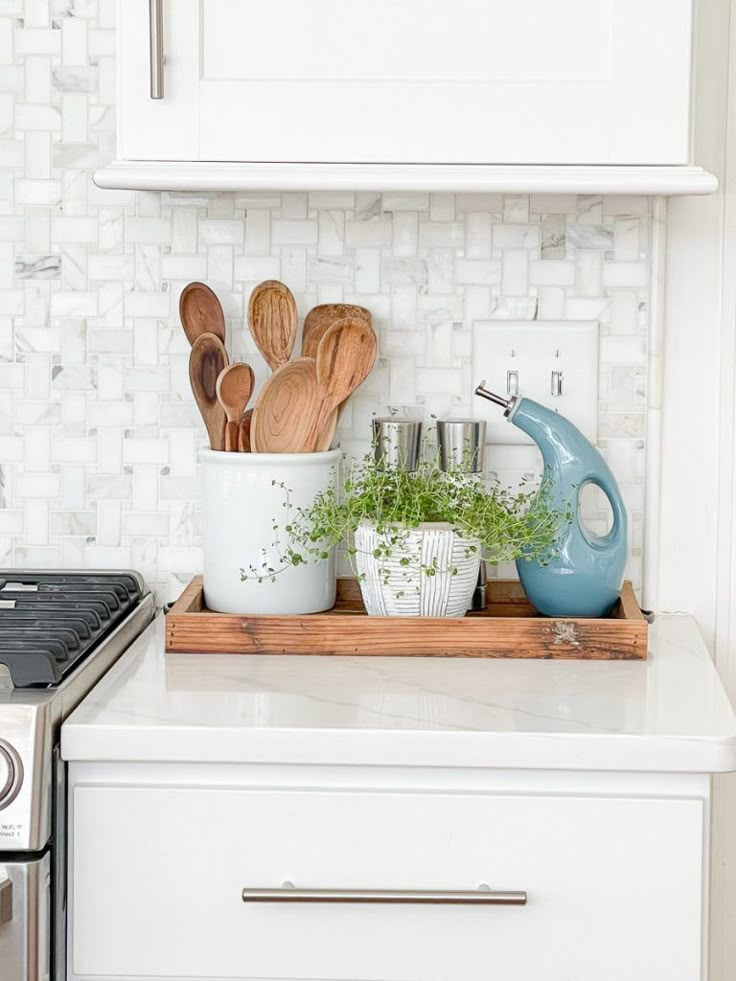
Credit: food52.com
Reassembling Cabinets
Reassembling kitchen cabinets after painting involves careful alignment and securing hinges. Ensure screws are tight for a seamless finish. Proper assembly ensures durability and a polished look.
Reassembling your kitchen cabinets is an exciting step that brings your painting project to life. It’s the moment when all your hard work starts to pay off, and your kitchen begins to transform. Imagine the satisfaction of seeing your freshly painted cabinets in place, adding a splash of color and personality to your space. But, before you get there, you need to reassemble everything carefully to ensure a smooth finish.Reattaching Hardware
Begin by gathering all the hardware you removed during the painting process. This includes hinges, knobs, and handles. Lay them out so you can easily access them. Make sure each piece is clean and free of any paint residue. Use a screwdriver to reattach hinges to the cabinet doors. Align them properly for a snug fit. Don’t rush. Take your time to ensure everything is securely fastened. This attention to detail will pay off in the long run, preventing any mishaps later.Aligning Doors And Drawers
Once your hardware is in place, it’s time to tackle the doors and drawers. Proper alignment is crucial for functionality and aesthetics. Start with the cabinet doors. Hang them one by one, ensuring they swing open and close smoothly. Adjust the hinges if necessary to achieve perfect alignment. Next, slide the drawers back into their slots. Check if they glide effortlessly. If you notice any sticking, it might be due to misalignment. Adjust accordingly for a seamless operation.Final Touches And Adjustments
With everything reattached and aligned, now is the time for those final touches. Inspect each cabinet, door, and drawer closely. Look for any minor paint imperfections or spots you might have missed. Touch up any areas that need a bit more attention. This could mean adding a second coat or smoothing out any rough edges. Consider adding bumpers or pads to the corners of doors to prevent them from banging shut. This small addition can make a big difference in preserving your cabinets’ new look. Remember, your kitchen is more than just a room—it’s a central part of your home. How do you want it to feel every time you step in? Make sure everything is just right.Maintaining Painted Cabinets
Painting kitchen cabinets can transform your space. To keep them looking great, proper maintenance is key. Painted surfaces need care to stay fresh and vibrant. Regular maintenance prevents damage and prolongs the life of your cabinets. Here, we provide tips for cleaning, repairing, and caring for your painted kitchen cabinets.
Cleaning Tips
Regular cleaning keeps your cabinets looking new. Dust them weekly with a soft cloth. Use a mild soap solution for deeper cleaning. Avoid harsh chemicals which can damage the paint. Dry the surface thoroughly to prevent moisture damage. Consider using a microfiber cloth for gentle cleaning.
Handling Chips And Scratches
Chips and scratches can happen over time. Minor imperfections can be fixed easily. Use a small brush to apply matching paint. For larger chips, sand the area first. Apply primer before painting for better adhesion. Always test the paint on a hidden spot. This ensures color match and finish.
Long-term Care Advice
Long-term care ensures cabinets stay beautiful. Avoid slamming doors and drawers. Use handles and knobs to minimize wear. Protect surfaces from heat and moisture. Place mats under appliances to prevent scratches. Regularly check for loose hinges and tighten them. Consider reapplying a protective top coat every few years.
Frequently Asked Questions
Can I Just Paint Over My Kitchen Cabinets?
Yes, you can paint over kitchen cabinets. Clean, sand, and prime them first for better adhesion. Use high-quality paint designed for cabinets to ensure durability and a smooth finish. Proper preparation ensures a professional look and long-lasting results.
What Is The Best Method For Painting Kitchen Cabinets?
The best method for painting kitchen cabinets involves cleaning, sanding, priming, and applying high-quality paint. Use a brush for detailed areas and a roller for flat surfaces. Allow each coat to dry thoroughly before applying the next. Finish with a protective topcoat for durability.
What I Wish I Knew Before Painting Cabinets?
Prep work is crucial; clean and sand cabinets thoroughly. Use quality primer and paint for durability. Choose brushes wisely for smooth application. Allow ample drying time between coats. Consider hardware removal for easier painting.
Is It Better To Roll Or Brush Paint Cabinets?
Rolling paint on cabinets provides a smoother finish and faster application. Brushing offers better control for detailed areas. Choose rolling for large surfaces and brushing for edges. Ensure using quality tools and paint for best results. Both methods can achieve great results with proper technique.
Conclusion
Painting kitchen cabinets can refresh your space easily. Follow simple steps for success. Clean, sand, and prime well. Choose quality paint for durability. Take your time with each coat. Let them dry completely. Your kitchen will look fresh and new.
Painting saves money and brings satisfaction. Anyone can do it with patience. Enjoy your newly painted cabinets. A new look without replacing them. Share your results with friends. Inspire others to try too. Happy painting!

Similar Posts