How are Kitchen Islands Attached to the Floor: Expert Guide
Executive Chef & Lead Commercial Kitchen Specialist at Daily Kitchup Test Lab
Imagine walking into your kitchen and feeling an immediate sense of style and functionality. A kitchen island can transform your space, offering both a practical workstation and a stunning centerpiece.
But have you ever wondered how these islands stay perfectly in place? Understanding how kitchen islands are attached to the floor might seem like a minor detail, but it’s crucial for the stability and safety of your kitchen layout. You’ll discover the secrets behind the installation process of kitchen islands.
We’ll unravel the techniques that ensure your island is securely anchored, giving you peace of mind as you whip up your favorite meals. Whether you’re planning a kitchen renovation or simply curious about how things work, knowing how kitchen islands are attached can help you make informed decisions and avoid costly mistakes. Stay with us as we explore the fascinating world of kitchen islands and floor attachments. Your kitchen’s future might just depend on it!
Types Of Kitchen Islands
Kitchen islands offer both functionality and style to a kitchen space. These versatile additions can be customized in various ways. Understanding the different types of kitchen islands helps in choosing the right one for your home. Two main types are freestanding and built-in islands. Each has its unique features and installation methods.
Freestanding Islands
Freestanding islands are not permanently attached to the floor. They offer flexibility in design and placement. Homeowners can move them as needed. This type suits open kitchen layouts well. They come in many shapes and sizes. Some have wheels for easy movement. Freestanding islands often feature storage options and seating areas. Their installation is straightforward. It involves placing them in the desired location.
Built-in Islands
Built-in islands are fixed to the kitchen floor. They provide stability and a permanent solution. This type integrates seamlessly with kitchen cabinetry. Built-in islands are customized to fit specific kitchen needs. They often include electrical outlets and plumbing. Installation requires professional help. This ensures proper attachment to the floor. Built-in islands enhance kitchen functionality and aesthetics.
Materials For Kitchen Islands
Kitchen islands are securely attached to the floor using screws or brackets. These methods ensure stability and prevent movement. Proper installation is crucial for both safety and functionality in the kitchen space.
When considering the design of your kitchen island, the materials you choose can greatly impact the look, feel, and functionality of your space. A well-crafted kitchen island not only enhances the aesthetic appeal but also ensures durability and practicality. Different materials bring unique characteristics and benefits to your kitchen island. Let’s explore some popular options.Wood
Wood is a timeless choice for kitchen islands, offering warmth and natural beauty. Whether you opt for maple, oak, or cherry, each type of wood brings its own charm and strength. A wooden island can be stained or painted to match or contrast with your kitchen cabinets. Wood is relatively easy to work with, allowing for custom shapes and designs. However, it requires regular maintenance to prevent damage from spills and scratches. Consider sealing or treating the wood to enhance its longevity.Metal
Metal kitchen islands exude a modern and industrial vibe, perfect for contemporary spaces. Stainless steel is a popular choice due to its resistance to heat and stains, making it ideal for those who love to cook. Metal surfaces are also easy to clean, which is a bonus for busy households. However, metal can be prone to scratches and dents, so consider the placement and usage. You might blend metal with other materials like wood to soften the look and add texture. Would a sleek metal island fit into your kitchen’s design vision?Stone
Stone islands, such as those made from granite or marble, bring elegance and sophistication to your kitchen. They are highly durable and can withstand heavy use, making them a favorite for avid cooks. Each stone slab is unique, providing a one-of-a-kind look to your island. Keep in mind that stone can be heavy, requiring sturdy support and proper attachment to the floor. It also needs sealing to prevent stains and maintain its shine. Are you ready to embrace the luxury of a stone kitchen island in your home? Choosing the right material for your kitchen island can transform your cooking space into a functional masterpiece. Consider your lifestyle, aesthetic preferences, and maintenance capabilities when making your choice.Preparation Steps
Secure kitchen islands to the floor using brackets or screws for stability. Ensure precise alignment with floor joists for strong anchorage.
Preparing to attach a kitchen island to the floor involves several crucial steps that ensure stability and functionality. This process isn’t just about picking a spot and setting down the island; it requires careful planning and precise execution. Let’s dive into the preparation steps that will set the foundation for a successful installation.Choosing The Right Spot
The location of your kitchen island can make or break the efficiency of your kitchen. Consider how you move around your kitchen daily. Is there a clear path between the sink, stove, and refrigerator? Your island should enhance this flow, not hinder it. Think about how the island will be used. Is it primarily for food prep, storage, or seating? Each purpose might require a different spot, impacting the surrounding space and accessibility.Measuring The Space
Accuracy is key when measuring the space for your kitchen island. Use a tape measure to determine the length, width, and height of the area where the island will be placed. Consider leaving at least 36 to 48 inches of clearance around the island. This ensures comfortable movement for you and your family. Double-check your measurements to avoid unpleasant surprises later.Gathering Tools And Materials
Equip yourself with the right tools and materials before starting. A drill, level, screws, and measuring tape are essential items in your toolkit. You might also need shims for leveling and brackets for extra support. Consult the installation manual of your specific island model. It will guide you on any additional materials required. Having everything ready will save you time and avoid unnecessary delays. With these preparation steps in mind, you’re on the path to a successful kitchen island installation. Are you ready to transform your kitchen into a more functional and inviting space?
Credit: www.yahoo.com
Installation Techniques
Kitchen islands are a popular addition to modern homes. They offer extra space and enhance functionality. Proper installation is crucial for safety and durability. Various techniques can securely attach your kitchen island to the floor. Each method has its own benefits and suitability depending on the kitchen layout.
Securing With Screws
Using screws is a common technique. It ensures stability and longevity. You need to drill holes in the floor and the island base. Select screws that are long enough for a secure hold. This method is ideal for wood or laminate floors.
Using Adhesive
Adhesive is a great option for those avoiding drilling. It provides a strong bond without damaging floors. Choose a high-strength adhesive suitable for your flooring type. Ensure the surface is clean and dry before application. Press the island firmly in place. Allow adequate time for the adhesive to set.
Brackets And Fasteners
Brackets and fasteners offer a discrete and sturdy attachment. Install brackets on the floor, aligning with the island’s base. Use fasteners to secure the island to the brackets. This method works well on tiled or uneven floors. It allows easy removal if needed.
Safety Considerations
Installing a kitchen island involves more than aesthetic appeal. Safety considerations are crucial in ensuring that the island remains stable and functional. Improper attachment can lead to accidents or damage. Let’s explore some key safety aspects.
Weight Distribution
Weight distribution is vital for kitchen island stability. Uneven weight can cause tipping or wobbling. Ensure that the island’s weight is evenly spread across its base. Use sturdy materials for the frame and countertop. Consider the weight of appliances or heavy cookware on the island. Adjust placement to maintain balance.
Stability Checks
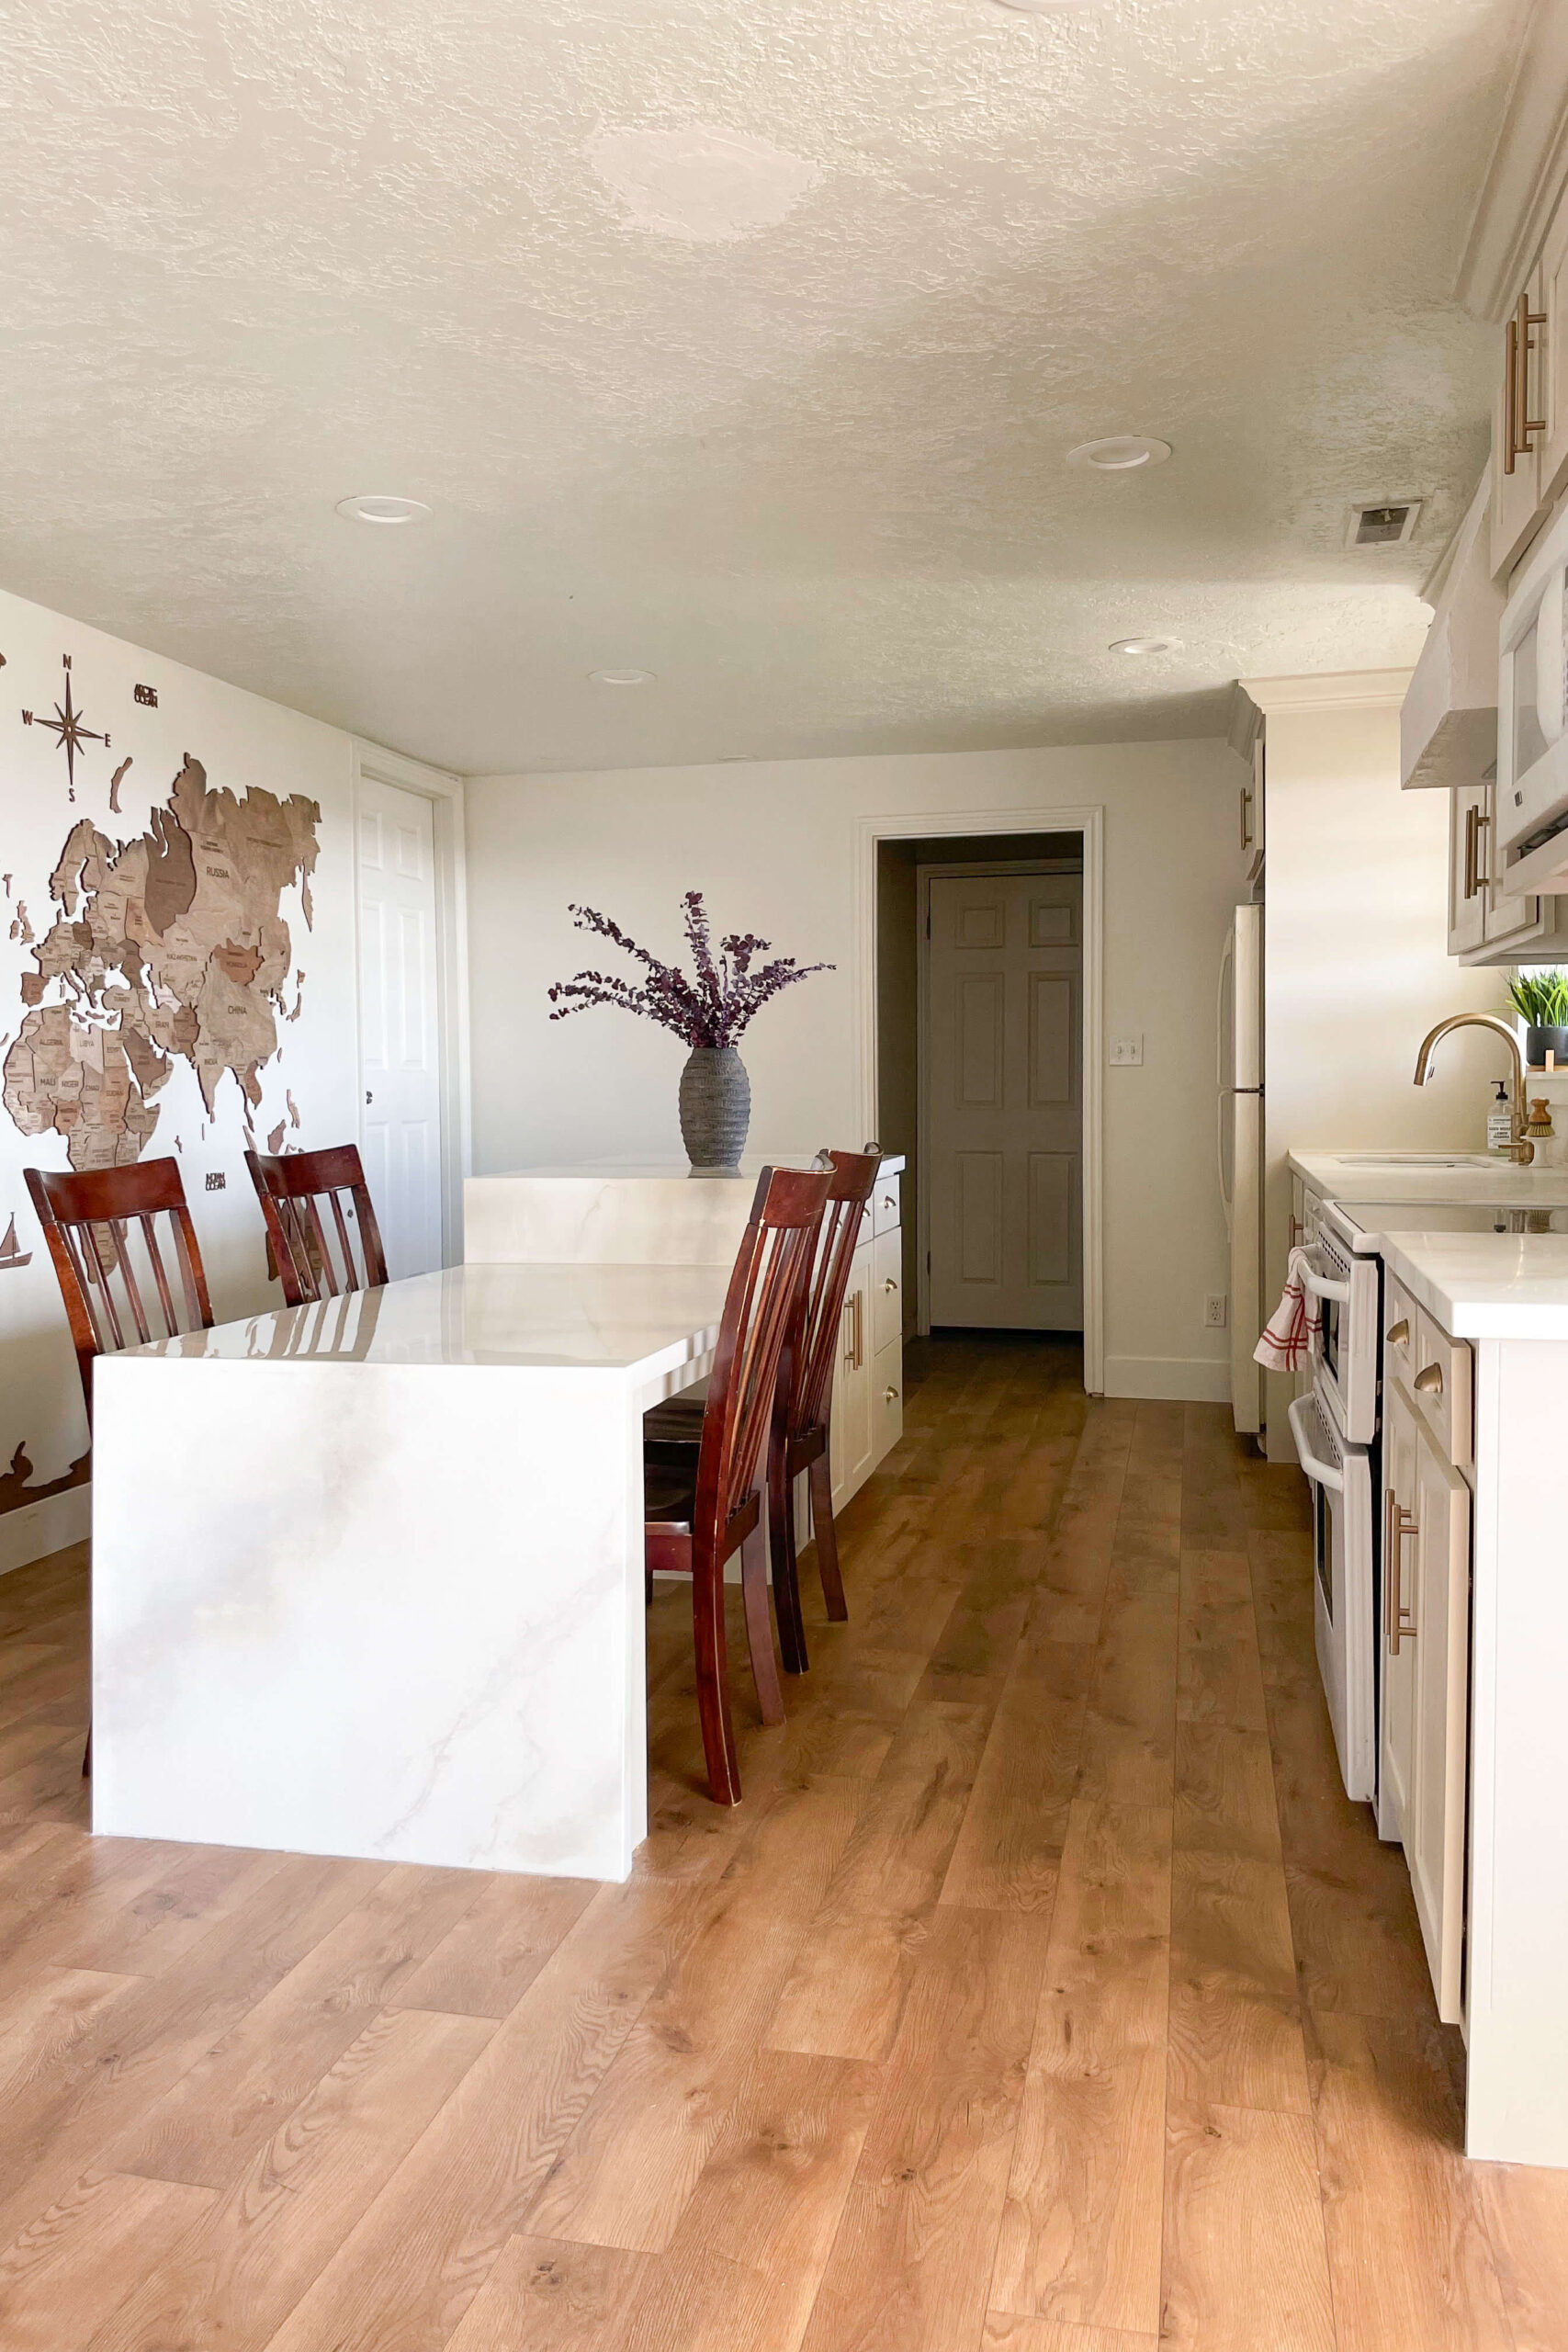
Regular stability checks prevent accidents. Inspect the island’s attachment points to the floor. Look for any signs of looseness or wear. Tighten screws and bolts as needed. Ensure that the island sits level on the floor. Use a spirit level to check this. If your floor is uneven, consider using shims. They help in leveling the island securely.
Credit: crystelmontenegrohome.com
Common Mistakes To Avoid
Installing a kitchen island is a great way to enhance functionality. But, the installation process can be tricky. Many people make common mistakes that can lead to problems. Avoiding these errors is crucial for a successful and safe installation.
Ignoring Floor Type
The type of floor affects how you attach the island. Wooden floors need different screws than concrete floors. Using the wrong screws can damage the floor. Always check the floor type before starting the installation.
Some floors may require additional support. Ensure the floor can handle the weight of the island. Failing to do this can result in instability or damage over time.
Overlooking Utility Connections
Kitchen islands often include sinks or electrical outlets. Ignoring utility connections can cause major issues. Make sure all plumbing and electrical lines are accessible. This prevents future headaches when connecting utilities.
Plan the placement of these connections early. Moving them later can be costly and time-consuming. Proper planning ensures everything fits and functions correctly.
Maintenance Tips
Kitchen islands are securely attached to the floor using brackets or screws. These fasteners ensure stability and prevent movement during use. Proper installation is crucial for safety and functionality in kitchen spaces.
Kitchen islands are a central feature in many modern kitchens. They offer extra space for cooking and storage. These islands are often fixed to the floor for stability and safety. Regular maintenance is essential to keep your kitchen island in top condition. Proper care ensures it stays durable and looks great over time.Regular Inspections
Frequent checks help detect any issues early. Look for loose screws or bolts. Make sure the island is securely attached to the floor. Check for signs of wear on the surface. Inspect the corners and edges for any damage. Regular inspections prevent bigger problems.Cleaning And Care
Clean the surface with mild soap and warm water. Avoid harsh chemicals that can damage the finish. Dry the island thoroughly after cleaning to prevent water spots. Use a soft cloth for cleaning to avoid scratches. Regular cleaning maintains the island’s shine.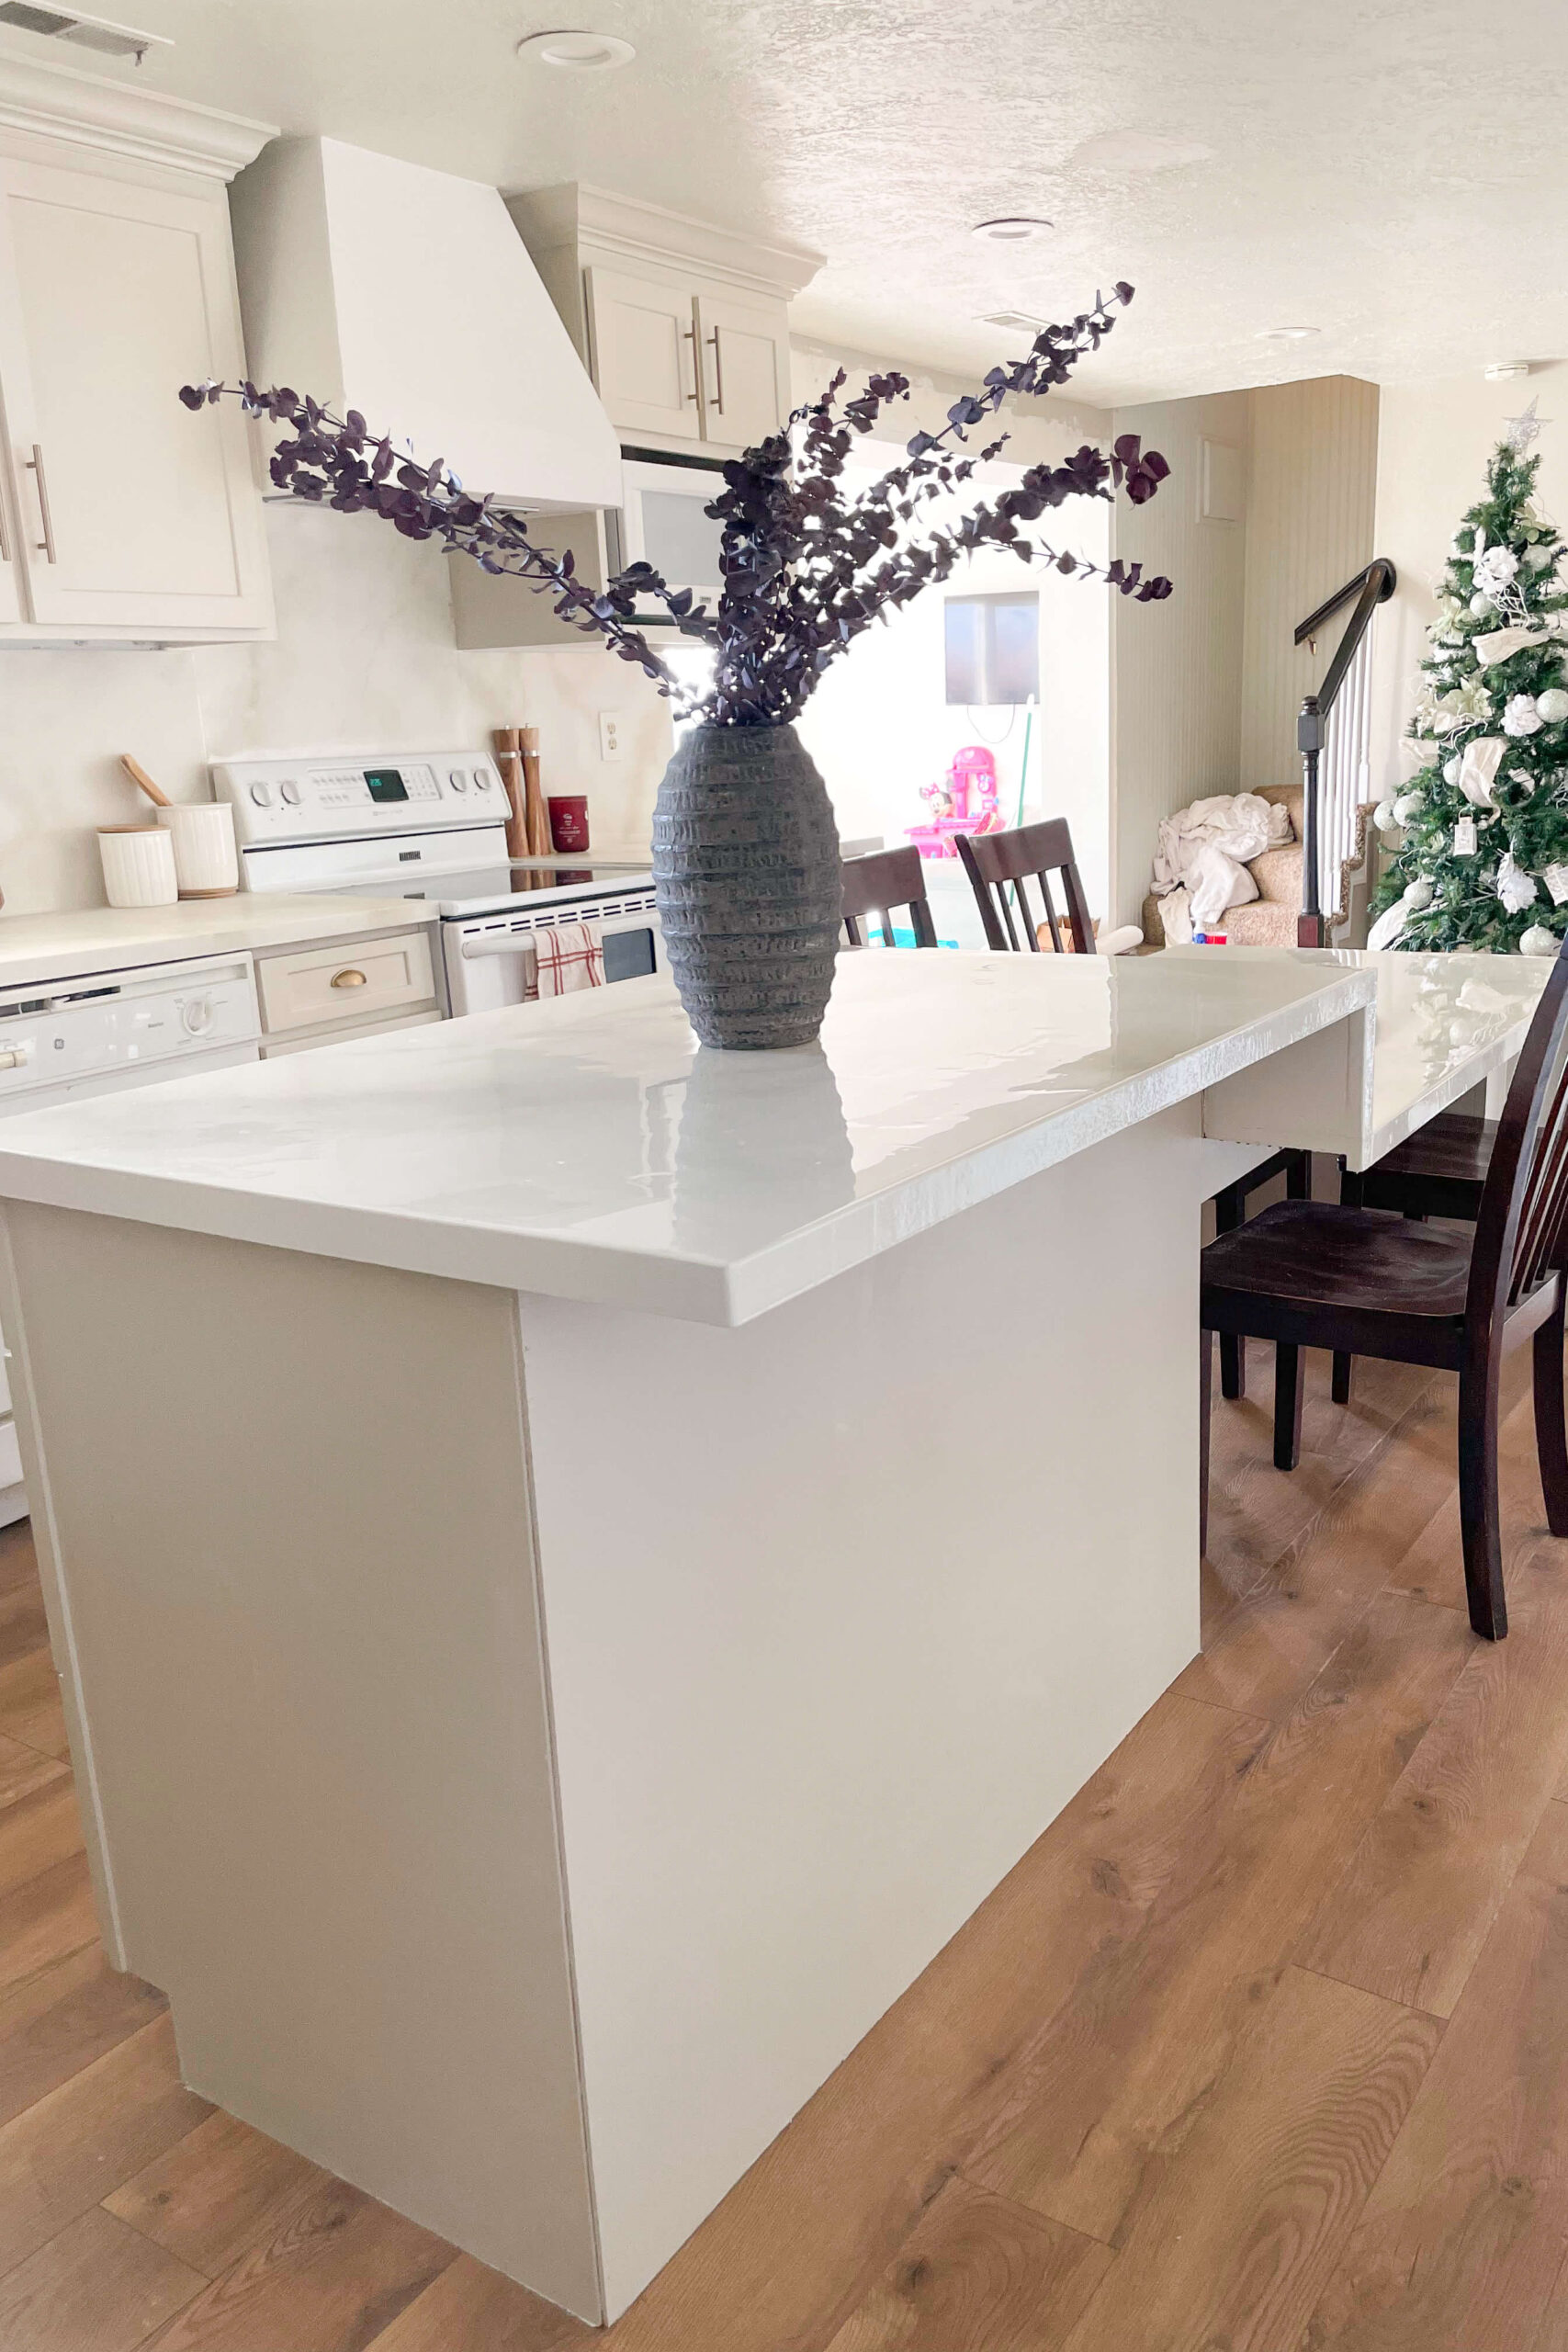
Credit: crystelmontenegrohome.com
Frequently Asked Questions
Are Kitchen Islands Anchored To The Floor?
Yes, most kitchen islands are anchored to the floor. Anchoring provides stability and prevents movement. Some portable islands don’t require anchoring. Check the manufacturer’s guidelines for installation. Proper anchoring ensures safety and functionality in the kitchen space.
How Do You Secure A Kitchen Island To The Floor?
Secure a kitchen island by attaching it to the floor using brackets and screws. Ensure the island is level. Use a stud finder to locate joists for maximum stability. Double-check alignment before finalizing the installation. Properly secured islands enhance safety and functionality in your kitchen space.
Do I Need To Anchor My Kitchen Island?
Anchoring your kitchen island ensures stability and safety, especially if it’s heavy or frequently used. It prevents tipping during daily activities. Securely anchoring helps maintain its position and protects against accidents. Always check with professionals for proper installation to ensure the best results.
Does Flooring Go Under A Kitchen Island?
Flooring typically extends under the kitchen island for a seamless look. This ensures stability and prevents gaps. Installing flooring first allows more flexibility in design and layout changes. It also simplifies maintenance and cleaning. Always consult professionals for best practices and proper installation techniques.
Conclusion
Kitchen islands anchor your space, offering style and functionality. They attach securely, ensuring stability during everyday use. With various attachment methods, islands suit different kitchen layouts. Consider your space, materials, and design preferences. Choose the right attachment method for your needs.
Professionals can ensure proper installation. This enhances safety and usability. Understanding how islands attach helps you make informed decisions. Enjoy your kitchen’s improved look and efficiency. Islands truly transform cooking and gathering areas. They blend aesthetics and practicality. Explore options to find the perfect fit for your home.
Embrace the charm and utility of a well-anchored kitchen island.

Similar Posts





















