How Long Does It Take to Paint Kitchen Cabinets: Quick Guide
Executive Chef & Lead Commercial Kitchen Specialist at Daily Kitchup Test Lab
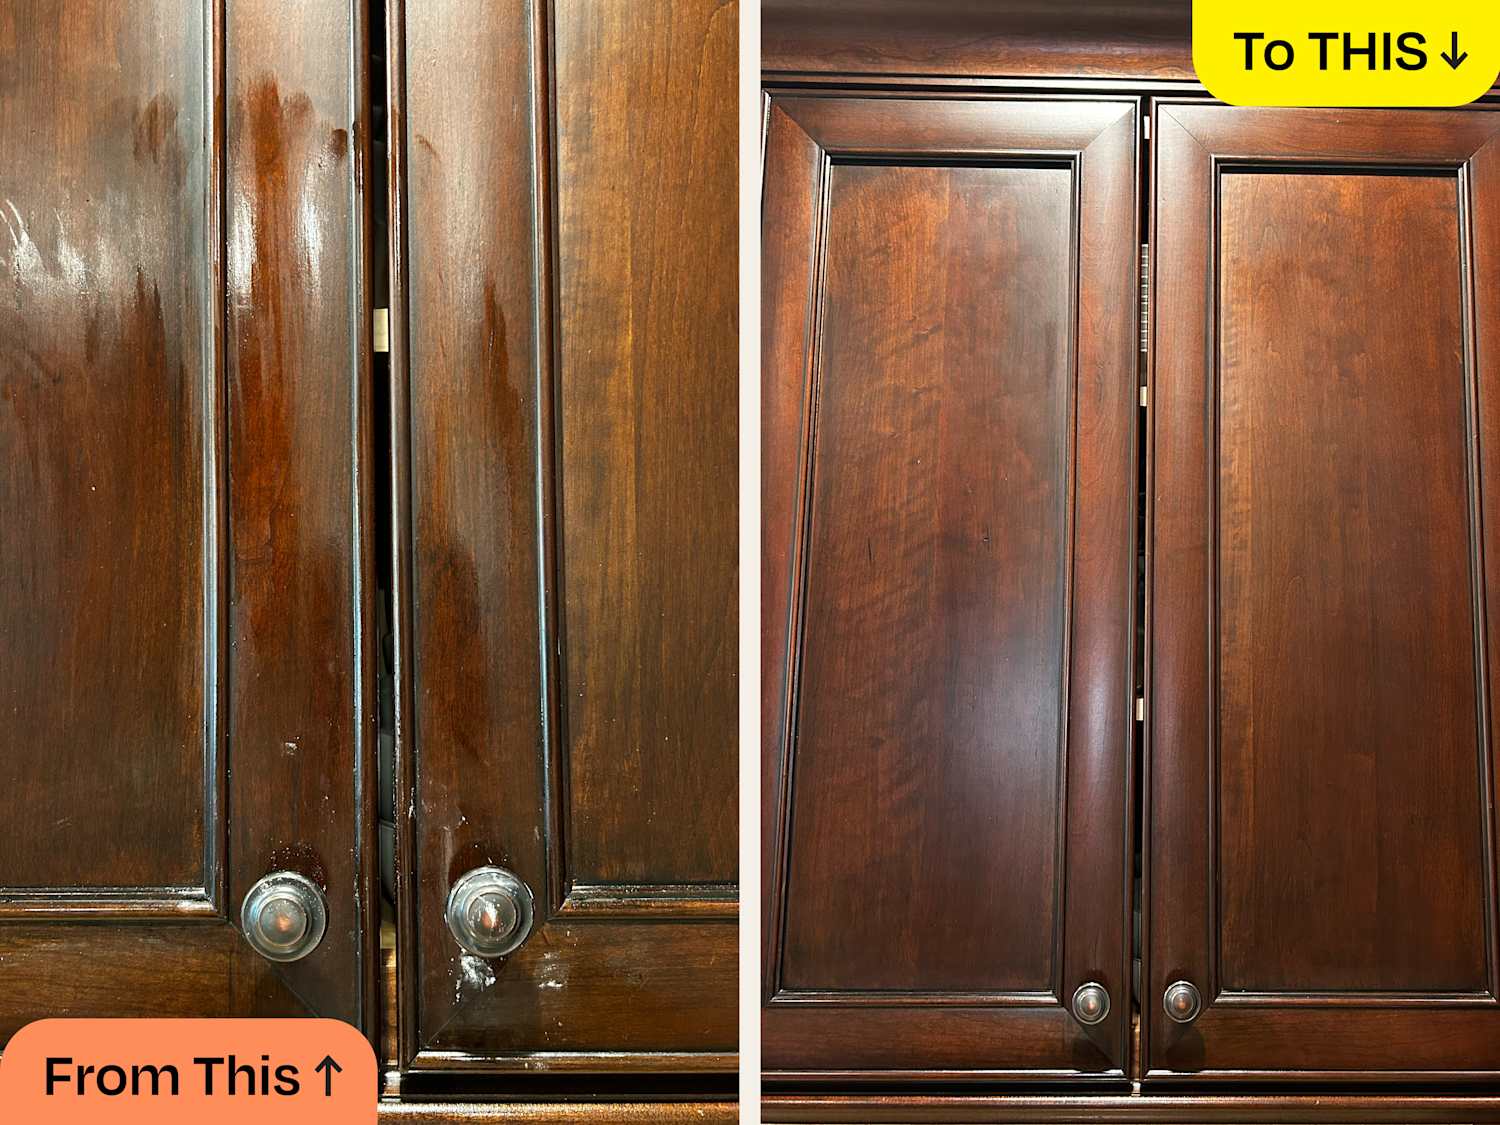
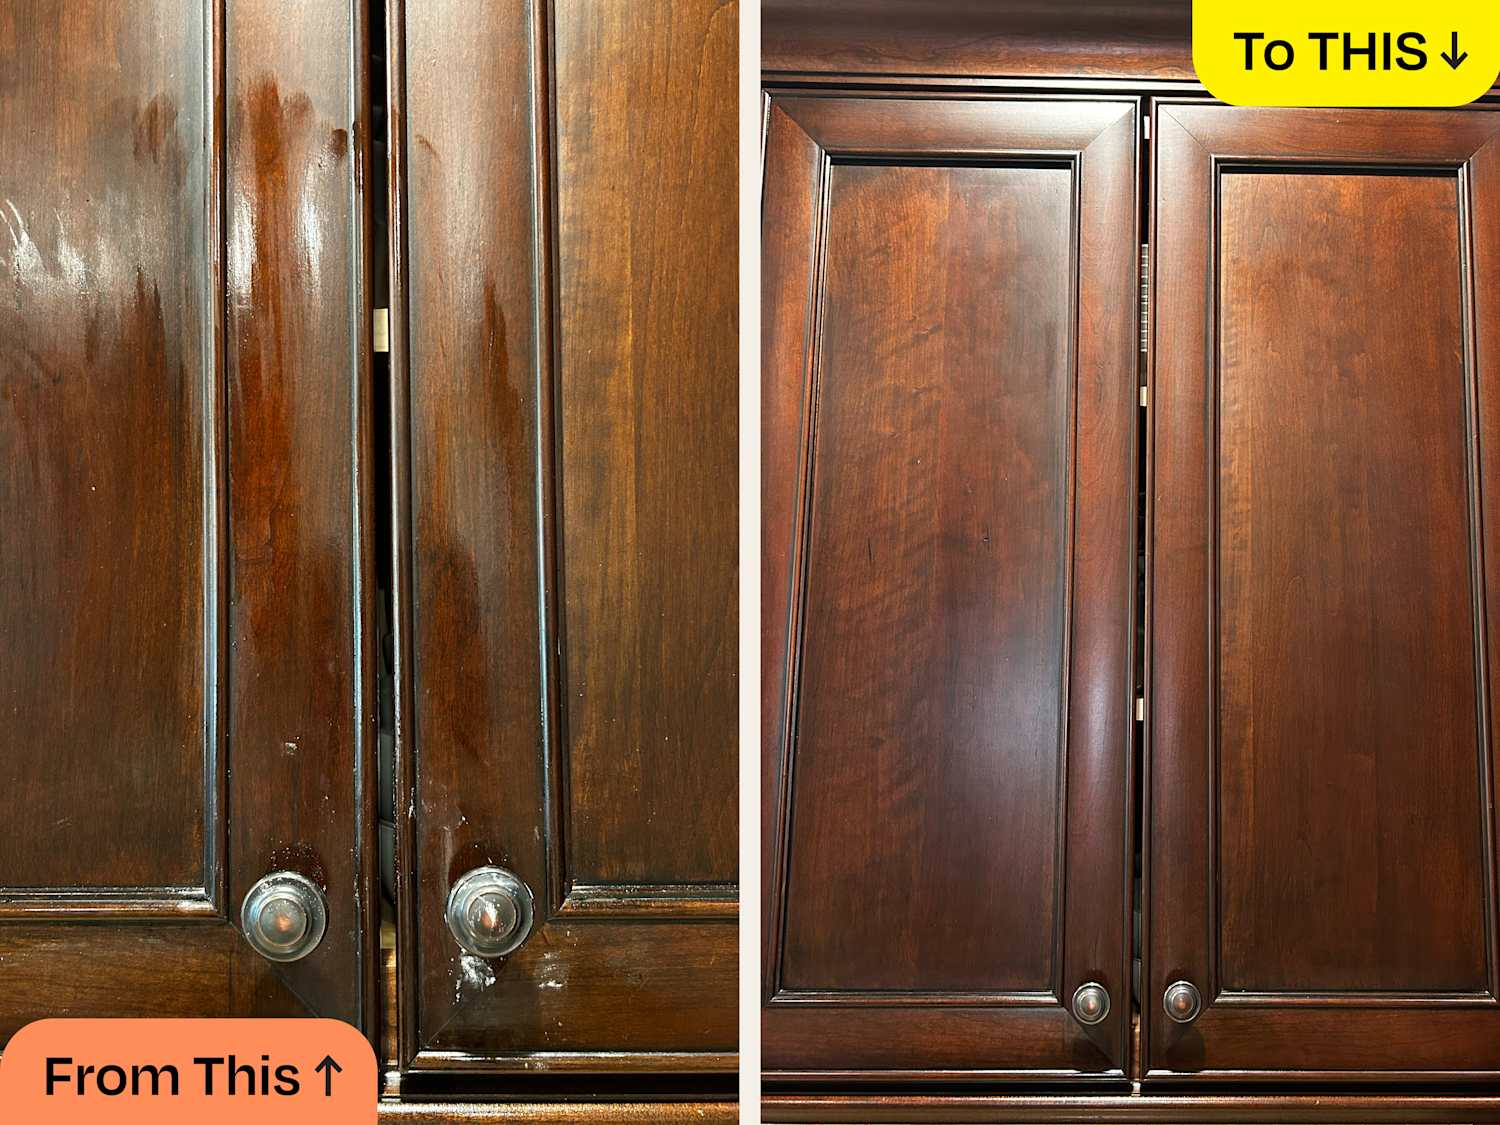
Are you tired of your old, outdated kitchen cabinets? Painting them can breathe new life into your kitchen, giving it a fresh and modern look without the hefty price tag of a complete renovation.
But before you dive into this exciting project, you’re probably wondering: how long does it actually take to paint kitchen cabinets? The answer might surprise you. Understanding the timeline can help you plan effectively and avoid unnecessary stress. Stick around as we break down the process step-by-step, revealing tips and tricks to ensure a smooth and efficient transformation.
By the end, you’ll be ready to tackle your cabinets with confidence, knowing exactly what to expect. Ready to discover the secrets to a quick and stunning cabinet makeover? Let’s get started!
Factors Affecting Painting Time
Painting kitchen cabinets can take several days. Drying time between coats and the number of cabinets affect duration. Preparation, like sanding and cleaning, also plays a crucial role in how long the process takes.
Painting kitchen cabinets can transform your cooking space, but how long will it take? This is a common question for many homeowners. The time required to paint kitchen cabinets isn’t set in stone and varies based on several key factors. Understanding these factors can help you better plan your kitchen makeover.Cabinet Material
The material of your cabinets plays a significant role in painting time. Solid wood cabinets might require less preparation compared to laminate ones, which often need a special primer for the paint to adhere properly. If your cabinets are made of MDF, be prepared for additional priming to prevent moisture issues. Each material demands different care, affecting how long the project will take.Paint Type And Finish
Choosing the right paint and finish can speed up or slow down your project. Latex paint dries faster than oil-based paint, but oil-based paint offers a more durable finish. Consider the finish type as well. A high-gloss finish may need more coats for a smooth look, while a matte finish might cover better with fewer applications. What type of paint do you think would best suit your kitchen’s environment and your patience level?Preparation Requirements
Preparation is key to a successful painting project. This step often takes as much time, if not more, than the actual painting. You’ll need to clean, sand, and possibly prime your cabinets before you pick up a paintbrush. Skipping steps can lead to a poor finish, so invest time here for better results. What shortcuts might you be tempted to take, and are they worth it?Drying And Curing Time
Drying and curing are two different things. While paint may dry to the touch within a few hours, curing can take weeks. Curing is when the paint hardens completely, ensuring durability. During this time, handle your cabinets gently to avoid damage. Are you ready to be extra careful around your kitchen for a few weeks? By considering these factors, you can better estimate the time you’ll need to breathe new life into your kitchen cabinets. Remember, patience and preparation can make all the difference in achieving a professional-looking result.
Credit: thepalettemuse.com
Preparation Steps
Embarking on the journey of painting your kitchen cabinets can breathe new life into your space. However, the secret to a flawless finish lies in meticulous preparation. Skipping these steps can lead to disappointing results, but with careful attention, you’ll achieve a professional look that stands the test of time. Let’s dive into the essential preparation steps that set the stage for success.
Removing Cabinet Doors
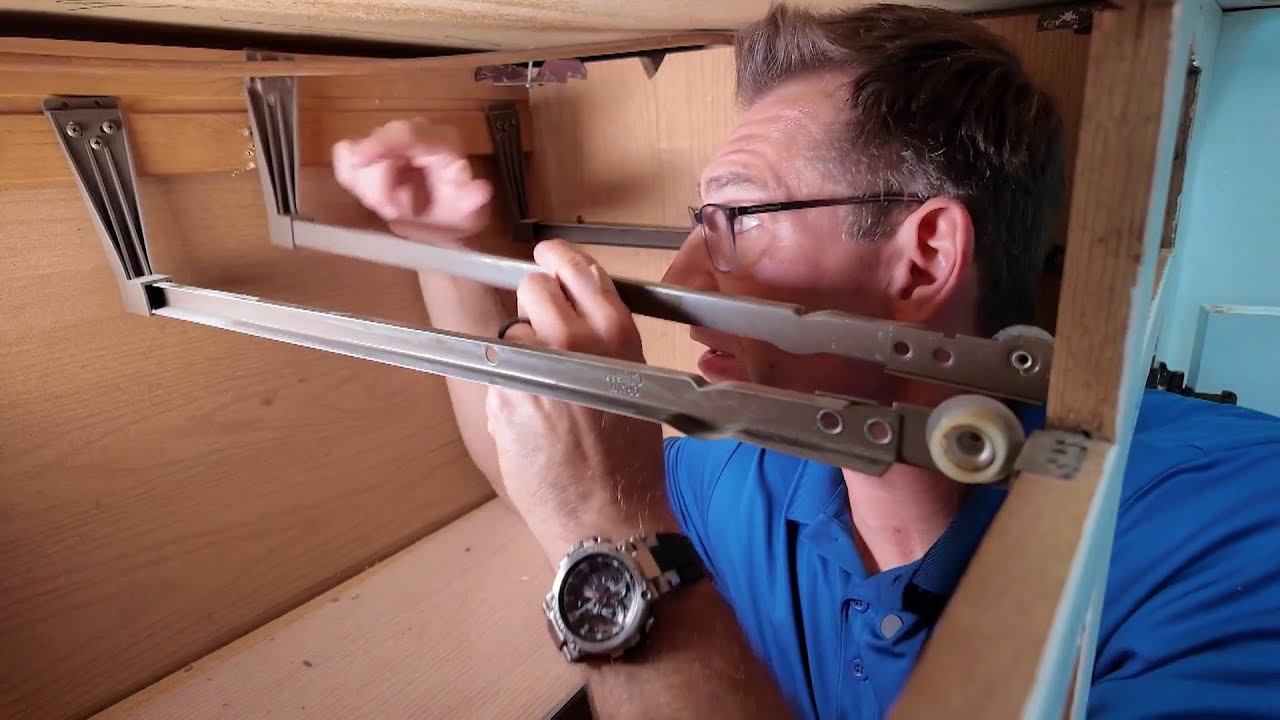
The first step is to remove the cabinet doors. This might seem daunting, but it’s crucial for achieving an even coat and avoiding drips. Use a screwdriver to carefully detach each door and set aside the screws and hardware in a labeled container for easy reassembly.
Consider using a digital camera to snap a few pictures of your cabinet setup. This can be a lifesaver when it’s time to put everything back together. Remember, patience pays off here; the more thorough your removal, the easier the painting process will be.
Cleaning And Sanding Surfaces
Once the doors are off, it’s time to clean and sand. Kitchens can be sticky, greasy places, and a thorough cleaning will ensure your paint adheres properly. Use a gentle degreaser or a mixture of warm water and dish soap.
After cleaning, sanding is essential. A light sand will help the primer stick better. Use medium-grit sandpaper to gently roughen up the surfaces. Ask yourself—have you ever seen paint peel off a cabinet? That’s usually because the surface wasn’t properly prepped.
Priming Cabinets
Priming is your best friend when it comes to durable and vibrant cabinet paint. Choose a high-quality primer that suits your cabinet material. Whether wood or laminate, priming ensures your paint looks fresh and lasts longer.
Apply a thin, even coat using a brush or roller. Don’t rush; let the primer dry completely before moving on to the painting stage. This is the moment to ask—how much time do you want to save in the long run? Proper priming now prevents costly touch-ups later.
Painting Techniques
Painting kitchen cabinets can vary in time based on the method used. Typically, it takes about three to five days, including drying and curing times. Proper preparation and technique ensure a smooth finish.
Painting kitchen cabinets can transform your space remarkably. Different techniques offer unique finishes and efficiencies. Understanding these methods can help you decide which fits your needs best. Each technique has its benefits and challenges, impacting both time and results.Brush And Roller Method
The brush and roller method is classic and straightforward. It involves using a brush for detailed areas and a roller for larger surfaces. This method gives a smooth finish if done carefully. It requires patience to ensure even coverage. Usually, it takes longer due to drying between coats. Prep work involves cleaning and sanding the cabinets. Then, apply primer before painting. Multiple coats might be necessary for a solid finish. This technique is ideal for those who prefer hands-on work.Spray Painting Method
Spray painting offers a professional-looking finish. It’s quicker than using a brush and roller. This method ensures an even coat without brush marks. Proper ventilation is crucial when spray painting indoors. Cabinets must be prepped by cleaning and sanding thoroughly. A spray gun can cover large areas rapidly, reducing painting time. It’s essential to protect surrounding areas from overspray. This technique suits those seeking speed and uniformity.Estimated Time For Each Step
Preparation usually takes a few hours, including cleaning and sanding. Priming cabinets can take another hour or two. Painting typically requires one to two days, allowing for drying between coats.
Painting kitchen cabinets is a rewarding project that can transform your cooking space without a full renovation. But how long does it actually take? Understanding the time required for each step can help you plan more effectively and avoid unnecessary stress. Let’s break down the process into manageable parts, so you can have your kitchen looking brand new without feeling overwhelmed.Disassembly And Cleaning
The first step is disassembly and cleaning, which can take about 2-4 hours. You’ll need to remove cabinet doors and hardware, such as knobs and hinges, ensuring everything is labeled for easy reassembly. Cleaning is crucial to remove grease and grime that can affect the paint’s adhesion. Use a degreaser or a mixture of warm water and dish soap. This stage is all about preparation, setting you up for a smoother painting experience.Sanding And Priming
Next comes sanding and priming, which typically takes around 4-6 hours. Sanding helps to create a rough surface for the primer to adhere to, and it’s essential for a professional finish. Use a medium-grit sandpaper, and remember to wipe away dust afterward. Once sanded, apply a primer to ensure your paint sticks and lasts longer. Let the primer dry completely, which may take several hours depending on the product.Painting And Finishing
Finally, the painting and finishing steps can take between 8-12 hours, spread over a couple of days. Apply the first coat of paint and let it dry thoroughly, usually overnight. A second coat is often needed for an even finish. Don’t rush this part; patience pays off with smoother results. Once dry, reattach your cabinet doors and hardware, and admire the transformation. Each step requires careful attention and time. How do you plan to fit these tasks into your schedule? Taking it one step at a time can make the process more manageable and enjoyable.Tips For Speeding Up The Process
Painting kitchen cabinets can be a tedious task. But, with the right approach, you can speed up the process. Whether you’re a DIY enthusiast or a busy homeowner, these tips will help. Let’s explore how to make your cabinet painting project faster and more efficient.
Organizing Workspace
A well-organized workspace makes a big difference. Clear out the area around your cabinets. Remove any unnecessary items. This minimizes distractions and allows easy movement. Gather all your tools and materials in one place. Having everything within reach saves time.
Using Fast-drying Paint
Choose fast-drying paint to reduce waiting times. Water-based latex paints dry quicker than oil-based ones. This allows you to apply multiple coats in a day. Always check the label for drying times. Fast-drying options help complete your project sooner.
Implementing Efficient Techniques
Use efficient painting techniques for better results. Start by removing cabinet doors and hardware. Lay them flat for even coverage. Use a high-quality brush or roller. This ensures smooth application with fewer strokes. Consider using a paint sprayer for larger surfaces. It speeds up the process and provides a professional finish.

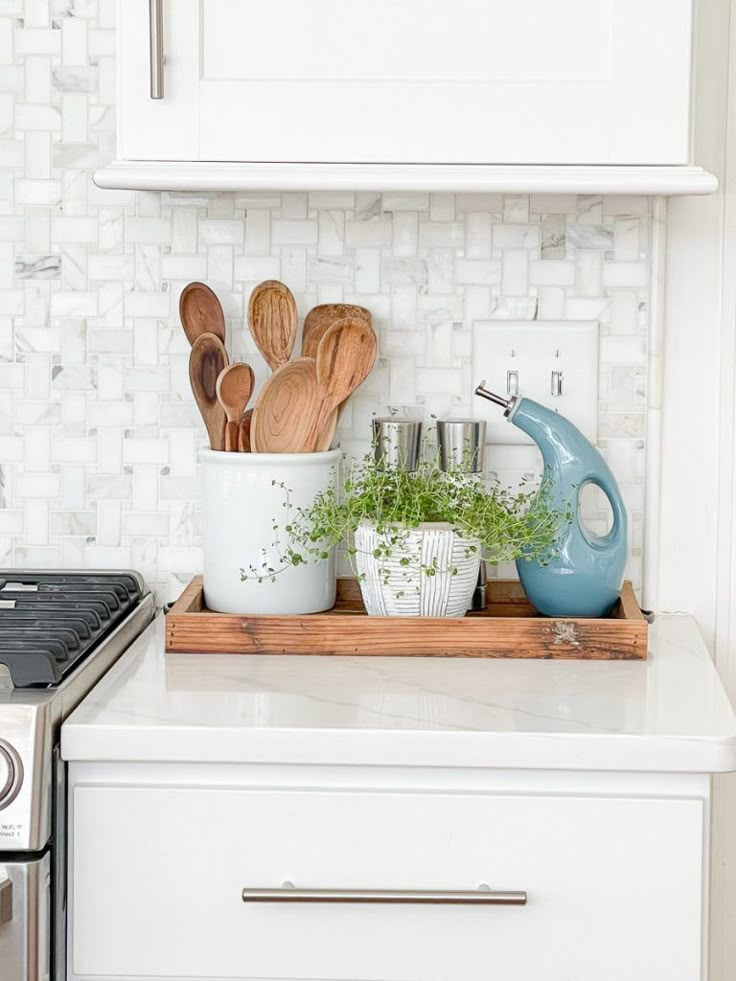
Credit: food52.com
Common Mistakes To Avoid
Rushing the process can lead to uneven coats and longer drying times. Skipping surface preparation might cause paint to peel.
Painting kitchen cabinets can be a rewarding project, transforming your space with a fresh look. Yet, many homeowners find themselves dissatisfied with the results due to common mistakes. It’s crucial to avoid these pitfalls to ensure a professional finish that lasts. Let’s dive into the errors you should steer clear of.Skipping Surface Preparation
Skipping surface preparation is a recipe for disaster. Cabinets often have layers of old paint, grease, and grime. Without properly cleaning and sanding, the new paint won’t adhere well, leading to peeling and uneven surfaces. Imagine spending hours painting only to see it chip away after a few months. A little time spent on preparation can save you from a headache down the road. Wouldn’t you prefer a smooth finish that stays intact?Rushing The Drying Process
It’s tempting to speed things up, especially when you’re eager to see the final result. Rushing the drying process, however, can lead to smudges and imperfections. Paint needs adequate time to dry before applying additional coats or handling the surfaces. If you rush, you could end up redoing the whole project. Isn’t it better to wait a bit longer and enjoy lasting results?Ignoring Safety Measures
Ignoring safety measures is a common oversight that can have serious consequences. Many paints contain chemicals that can be harmful if inhaled or contacted directly. Ensure you work in a well-ventilated area and wear proper protective gear. It’s easy to dismiss safety as unnecessary, but do you really want to risk your health over a paint job? Prioritize your safety and enjoy your beautiful new kitchen without worries.
Credit: kitchenmakeovers.co.uk
Frequently Asked Questions
How Long Does It Take A Professional To Paint Kitchen Cabinets?
A professional typically takes 3-5 days to paint kitchen cabinets. Preparation, drying, and curing time are included.
Can Kitchen Cabinets Be Painted In One Day?
Yes, you can paint kitchen cabinets in one day. Preparation is crucial for quick, effective results. Choose quick-drying paint and start early. Proper ventilation speeds up drying time. Ensure all materials are ready before beginning to save time.
How Much Does A Painter Charge To Paint Kitchen Cabinets?
Painters typically charge $30 to $60 per linear foot to paint kitchen cabinets. Costs vary by location and cabinet condition.
How Long After Painting Cabinets Can I Use Them?
Cabinets can typically be used 24 to 48 hours after painting. Ensure they are fully dry to avoid damage. For best results, wait a full week before heavy usage. This allows the paint to cure and harden properly, ensuring durability and longevity of the finish.
Conclusion
Painting kitchen cabinets takes time and patience. Typically, it requires a few days. Preparation is key. Proper sanding, priming, and painting ensure lasting results. Plan your project. Allocate time for drying between coats. Choose quality materials for the best finish.
Patience pays off with stunning cabinets. Remember, rushed work often leads to mistakes. Enjoy the transformation. A fresh coat of paint can revive your kitchen space. Happy painting!

Similar Posts