How to Clean Kitchen Cabinets before Painting: Expert Guide
Executive Chef & Lead Commercial Kitchen Specialist at Daily Kitchup Test Lab
Are you tired of looking at your worn-out kitchen cabinets and dreaming of a fresh new look? Painting them can be an exciting and cost-effective way to transform your kitchen.
But before you dive into the painting process, there’s a crucial step you must not overlook: cleaning your cabinets. This step ensures that your paint job will last longer and look smoother. Imagine the satisfaction of a flawless finish that enhances your entire kitchen atmosphere.
In this guide, you’ll discover simple yet effective techniques to clean your kitchen cabinets thoroughly before painting. By the end of this article, you’ll have the confidence and knowledge to prepare your cabinets like a pro, setting the stage for a stunning kitchen makeover. Ready to unlock the secrets to a perfect paint job? Let’s get started!
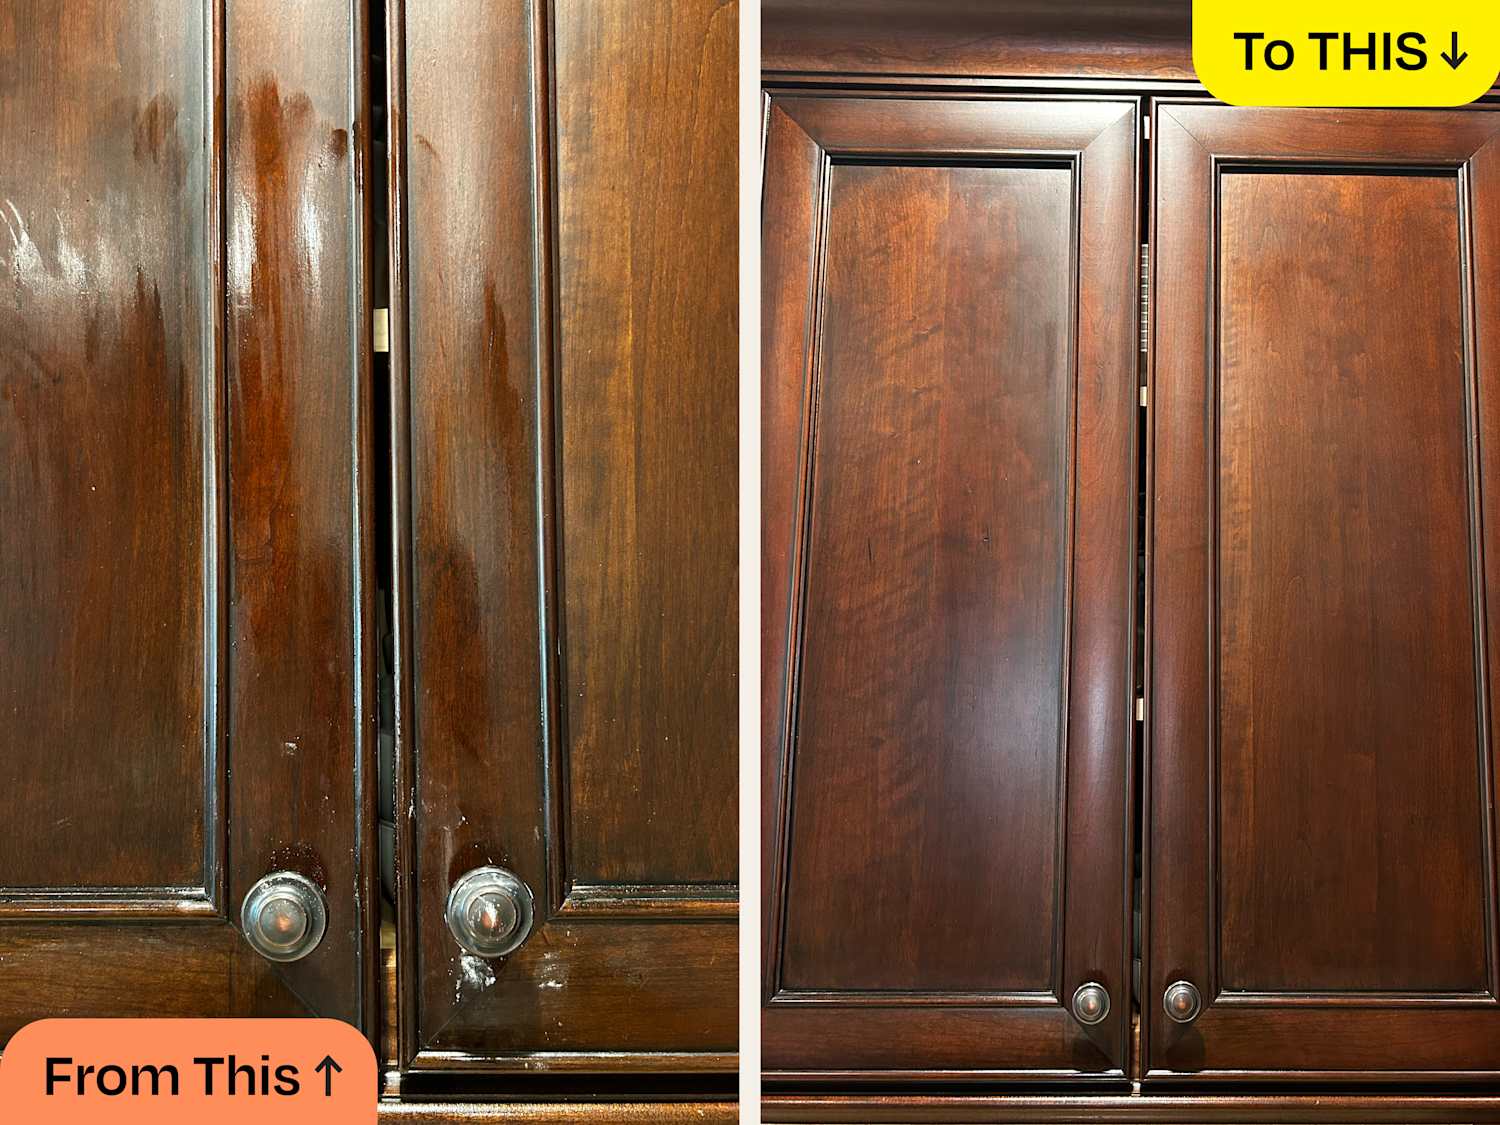
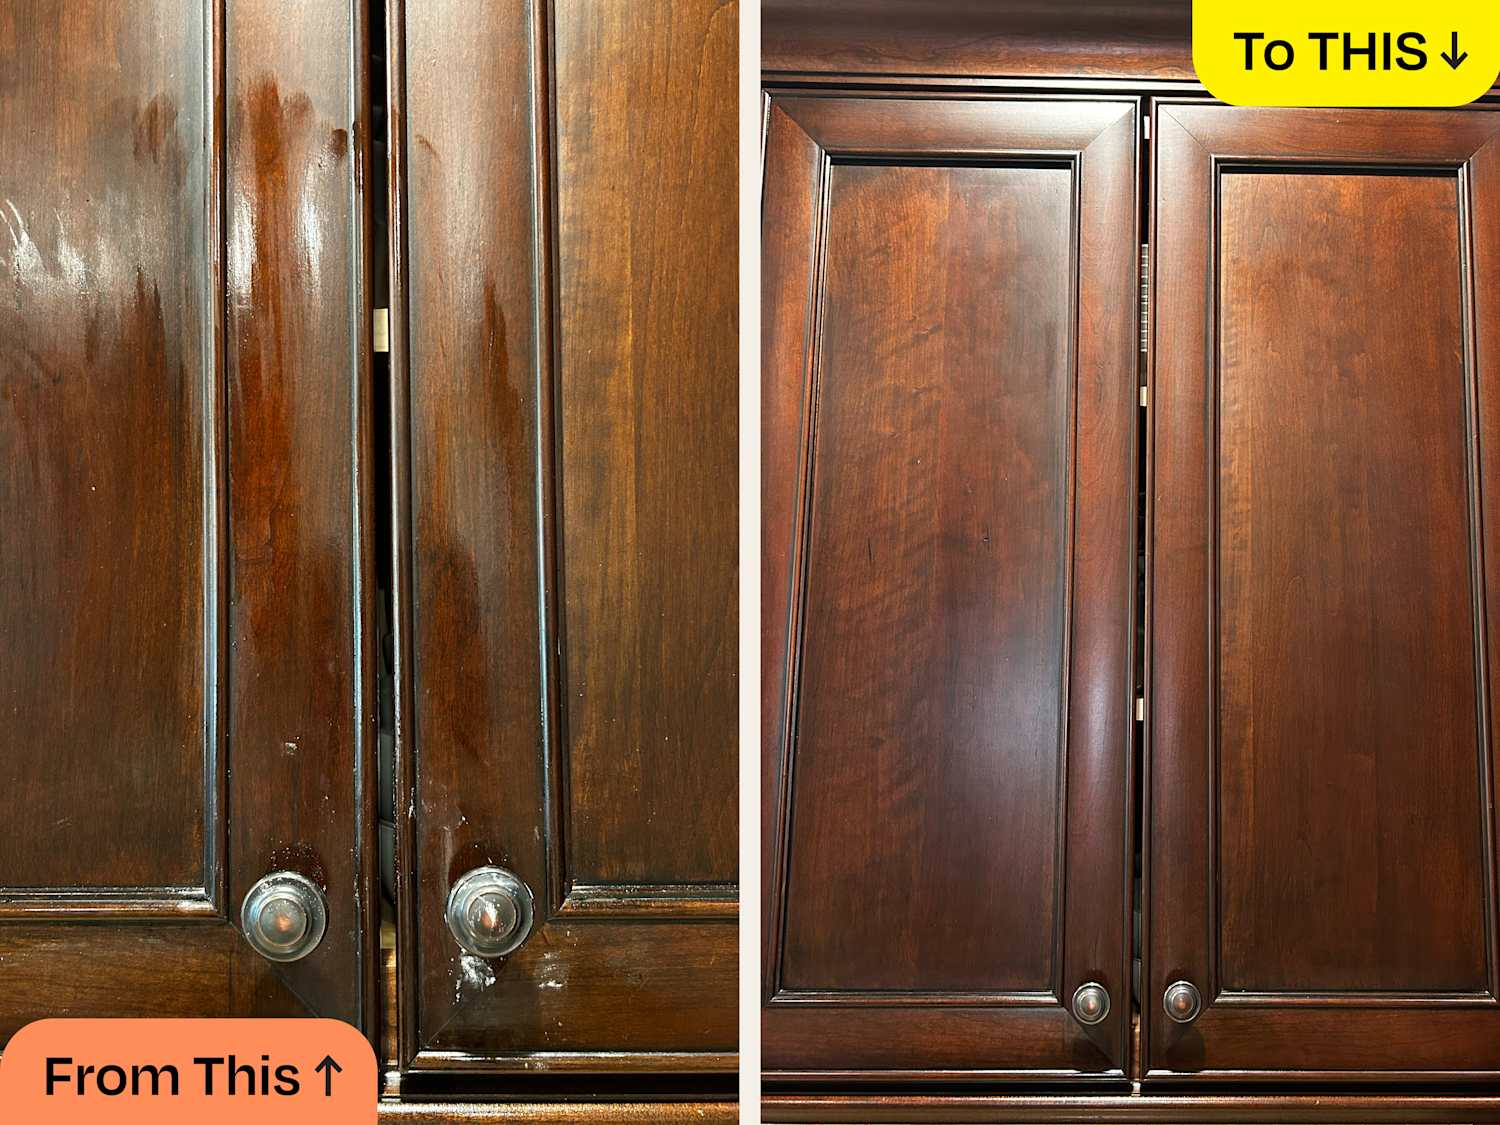
Credit: www.facebook.com
Preparing The Area
Clear the countertops and remove items from cabinets to create a tidy workspace. Cover nearby surfaces with plastic or drop cloths to protect them. Ensure proper ventilation by opening windows or using fans.
Preparing your kitchen cabinets for painting is crucial for a successful makeover. A clean and organized area ensures a smooth process. It also prevents paint mishaps and damage. Take time to prepare before jumping into the painting.Protecting Surrounding Surfaces
Before cleaning, cover nearby surfaces. Use plastic sheets or old newspapers. Protect countertops, floors, and appliances. This prevents cleaning solutions and paint from causing damage. Ensure all areas are well-covered. Secure the coverings with tape to keep them in place.Gathering Necessary Tools
Assemble all cleaning tools beforehand. Gather cloths, sponges, and a bucket. You’ll need a gentle cleaning solution. Vinegar and water work well. A scrub brush is helpful for tough grime. Keep everything within reach to save time. An organized workspace enhances efficiency.Removing Cabinet Hardware
Removing cabinet hardware is essential before cleaning kitchen cabinets for painting. This step ensures a smooth, paint-ready surface.
Removing cabinet hardware is a crucial step when preparing your kitchen cabinets for a fresh coat of paint. This process not only ensures a smooth painting surface but also protects the hardware from getting splattered with paint. Many people overlook the importance of this step, but taking the time to do it right can make a world of difference in the final result. Imagine painting over a hinge or knob—besides looking unprofessional, it could affect the functionality. So, let’s dive into the best practices for removing cabinet hardware before painting.Labeling And Storing Pieces
Labeling each piece is essential to avoid confusion later. Consider using sticky notes or masking tape to mark each item. Write a simple code or description—like “Top Left Cabinet”—on the tape. Store your labeled hardware in separate bags or containers. This keeps everything organized and prevents misplacement. Even a simple plastic bag can work wonders in keeping your screws and knobs together. Imagine the frustration of trying to match bolts and knobs to their original places without labels. A little organization now saves a lot of time later.Tools For Safe Removal
You’ll need a few basic tools for safe removal, like a screwdriver or drill. Opt for a manual screwdriver for more control and less risk of damaging the wood. If your cabinets have unique fastenings, a small wrench might be necessary. Keep a set of pliers handy for stubborn screws. Think about how annoying it is when a screw strip happens because of the wrong tool choice. Using the correct tools ensures your hardware remains intact and reusable.Deep Cleaning Techniques
Properly clean kitchen cabinets with a gentle soap solution and a soft cloth. Remove grease and dust for a smooth paint finish. Dry completely before painting to ensure the best results.
Deep cleaning your kitchen cabinets is a crucial step before painting them. It ensures that the paint adheres properly, giving your cabinets a fresh and flawless finish. Neglecting this step can lead to uneven paint and a less durable surface. Let’s dive into some effective deep cleaning techniques to prepare your cabinets for a stunning transformation.Removing Grease And Grime
Kitchen cabinets often accumulate a layer of greasy residue over time. This can be tackled effectively with a simple solution. Mix equal parts of warm water and vinegar in a spray bottle and apply it generously on the cabinet surfaces. Let it sit for a few minutes to break down the grease. Then, use a microfiber cloth to wipe away the grime. For tougher spots, sprinkle a bit of baking soda on a damp sponge and gently scrub the area. This combination acts as a natural abrasive, removing grease without scratching the surface.Dealing With Stubborn Stains
Some stains can be more persistent and require extra attention. Dish soap mixed with warm water can be a lifesaver for these stubborn spots. Apply the mixture with a soft brush, working it into the stain with circular motions. If the stain still lingers, consider using a bit of rubbing alcohol. Dab it onto a cloth and gently rub the stain until it lifts. Remember to test any strong cleaner on a small, inconspicuous area first to ensure it doesn’t damage the finish.Rinsing And Drying
After cleaning, it’s important to rinse away any cleaning solutions thoroughly. Use a cloth dampened with clean water to wipe down the cabinets. Ensure that no residue is left behind, as it can interfere with the paint adhesion. Once rinsed, dry the cabinets with a clean towel. Make sure there is no moisture left, as water can seep into the wood, causing warping or damage. Allowing cabinets to air dry for a few hours can be beneficial, ensuring they’re completely dry before painting. Taking the time to deep clean your cabinets not only prepares them for painting but also prolongs the life of your kitchen’s new look.Inspecting For Damage
Check kitchen cabinets for dents or scratches before painting. Repair damaged areas for a smooth, clean finish. Proper inspection ensures cabinets are ready for painting.
Inspecting kitchen cabinets for damage is crucial before painting. This step ensures a smooth and lasting finish. Check all surfaces for signs of wear and tear. Even small issues can affect the final look.Identifying Common Issues
Look for cracks in the wood. These can expand under paint. Examine for loose hinges or handles. They can cause misalignment. Check for water stains or swelling. This indicates moisture damage. Watch out for peeling or bubbling finishes. These need addressing before painting.Repair Tips Before Painting
Fill cracks with wood filler. Sand smooth after it dries. Tighten or replace loose hinges and handles. Ensure they sit flush. Treat water stains with a stain-blocking primer. This prevents bleed-through. Remove peeling paint with a scraper. Sand the area for a smooth base. Repair any dents or chips with putty. Sand after it sets for a seamless finish.Ensuring A Smooth Surface
Ensuring a smooth surface is essential for painting kitchen cabinets. Begin by removing grease and grime with a mild detergent. Rinse and dry thoroughly to prevent paint adhesion issues.
Ensuring a smooth surface is crucial for painting kitchen cabinets. A smooth surface ensures paint adheres well and looks professional. Cleaning cabinets properly before painting prevents imperfections. Dust, grime, and old paint can affect the final look. Follow these steps for a flawless finish.Sanding Techniques
Sanding smooths rough surfaces and removes old paint. Use fine-grit sandpaper for gentle sanding. Sand in even strokes along the wood grain. This prevents scratches and uneven surfaces. An electric sander speeds up the process. Sand edges and corners carefully. They need special attention for uniformity. Check the surface by touch to ensure smoothness.Dust Removal Tips
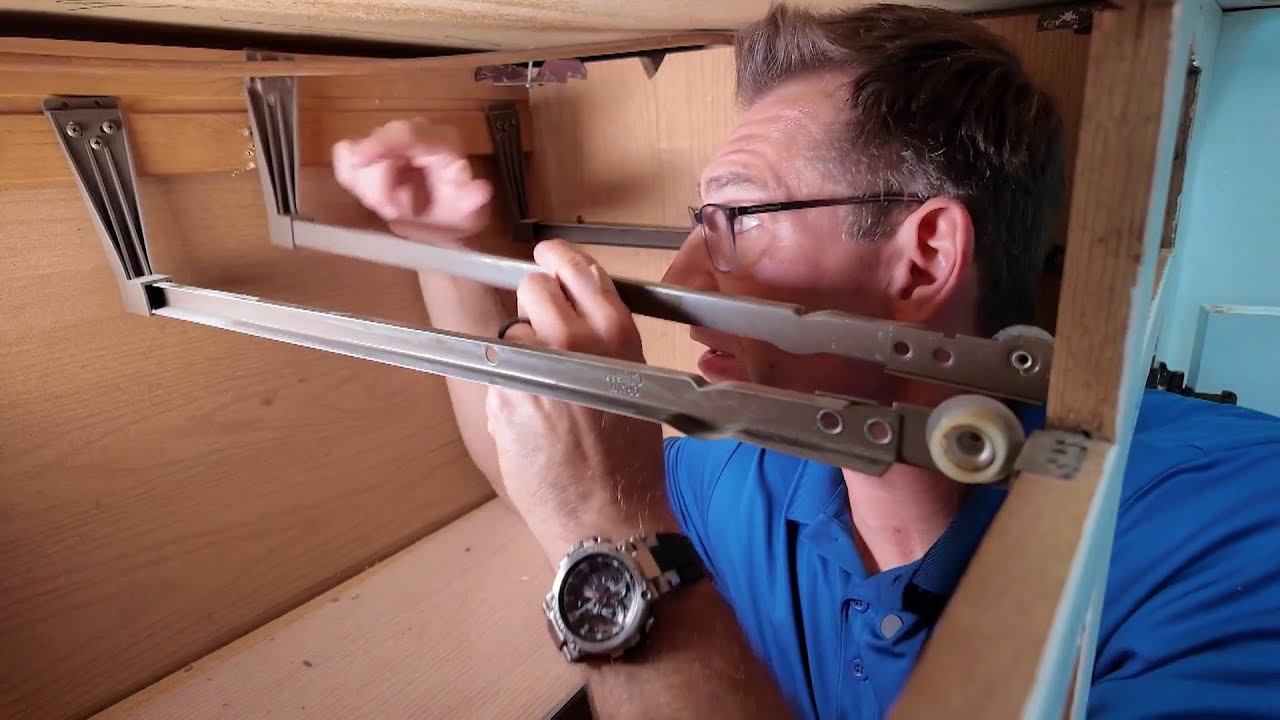
Dust affects paint application negatively. Use a vacuum with a brush attachment. This removes dust efficiently from cabinet surfaces. A tack cloth wipes away remaining particles. It’s slightly sticky for better dust pickup. Wipe cabinets in one direction to avoid spreading dust. Compressed air can clear dust from hard-to-reach areas. Be thorough in dust removal for optimal results.Credit: www.youtube.com
Frequently Asked Questions
What Is The Best Thing To Clean Cabinets Before Painting?
Use a mixture of warm water and mild dish soap to clean cabinets before painting. Scrub gently with a sponge, ensuring all dirt and grease are removed. Rinse with clean water and let them dry completely. This preparation ensures better paint adhesion and a smooth finish.
What To Use To Degrease Before Painting?
Use a degreaser like trisodium phosphate (TSP) or a commercial degreaser to clean surfaces before painting. Ensure the surface is dry and free from residue for optimal paint adhesion. Always follow the product instructions for the best results.
Can I Use Dawn To Clean Cabinets Before Painting?
Yes, you can use Dawn dish soap to clean cabinets before painting. It effectively removes grease and grime. Mix a few drops with warm water, scrub gently, and rinse thoroughly. Ensure cabinets dry completely before applying paint for optimal adhesion and finish.
How Do I Prep My Kitchen Cabinets For Painting?
To prep kitchen cabinets for painting, remove doors and hardware. Clean surfaces thoroughly. Sand to remove gloss. Fill any holes or dents with wood filler. Apply a primer suitable for your cabinet material.
Conclusion
Cleaning kitchen cabinets before painting ensures a smooth finish. Dirt and grime can ruin paint. Use mild soap and water for cleaning. Scrub gently but thoroughly. Dry completely to prevent moisture issues. Sanding comes next for a better grip. Prime if needed for extra adhesion.
Proper prep leads to beautiful results. Clean cabinets make a big difference in painting success. Take the time to do it right. Your kitchen will thank you. Enjoy your fresh, vibrant space with clean, painted cabinets. A little effort goes a long way in achieving stunning results.

Similar Posts