How to Clean Kitchen Floor Tiles: Expert Tips & Tricks
Executive Chef & Lead Commercial Kitchen Specialist at Daily Kitchup Test Lab
Does your kitchen floor look a little less vibrant than it used to? If you’re like most people, your kitchen is one of the busiest places in your home, and those floor tiles take a beating.
Every spill, splash, and step leaves its mark, slowly dulling their shine. But here’s the good news: restoring your kitchen floor tiles to their original sparkle isn’t as hard as you might think. Imagine walking into your kitchen and feeling a sense of pride as your floor gleams with cleanliness.
In this guide, you’ll discover simple yet effective techniques to clean your kitchen floor tiles, bringing back their beauty and making your kitchen a place you love even more. Get ready to transform your space with a few easy steps!
Choosing The Right Cleaning Products
Cleaning kitchen floor tiles can be a daunting task, but choosing the right cleaning products can make all the difference. Whether you’re battling stubborn stains or simply maintaining the shine of your tiles, the products you use play a crucial role. But with so many options available, how do you decide which ones are best for your home? Here’s a guide to help you make an informed choice, ensuring your kitchen floor tiles remain spotless and sparkling.
Natural Vs. Chemical Cleaners
There’s an ongoing debate about the effectiveness of natural versus chemical cleaners. Natural cleaners, like vinegar and baking soda, are often praised for their eco-friendly properties. They are less harsh and can be a good choice if you have children or pets.
On the other hand, chemical cleaners can be more powerful and efficient at removing tough stains and grime. However, they may contain harsh ingredients that could damage your tiles or affect indoor air quality.
Ask yourself: Are you willing to trade power for gentleness? Or do you prioritize a quick, thorough clean? Your choice can impact not just cleanliness, but the healthiness of your living space.
Recommended Brands
The market is flooded with cleaning products, making it tricky to pick the best one. For natural cleaners, brands like Seventh Generationand Mrs. Meyer’sare popular for their effective yet gentle formulations.
If you lean towards chemical cleaners, Cloroxand Mr. Cleanoffer powerful solutions that tackle even the most stubborn dirt. They have a long-standing reputation for delivering spotless results.
Consider creating a mix: use natural cleaners for regular maintenance and chemical ones for deep cleans. Remember, the right product can transform your cleaning routine, making it simpler and more efficient.
Preparing The Tiles For Cleaning
Clearing the kitchen floor of any obstacles is essential before cleaning. Sweep or vacuum to remove loose dirt and debris. This prepares the surface for a thorough scrub and ensures an effective cleaning process.
Preparing the tiles for cleaning is a crucial step. It ensures effective cleaning and protects the tile surface. Proper preparation prevents damage and enhances cleanliness. Let’s dive into how to get started.Clearing The Area
Start by removing items from the kitchen floor. This includes chairs, rugs, and appliances. An empty floor makes cleaning easier. It also ensures you don’t miss any spots. Store items in another room temporarily.Removing Loose Dirt And Debris
Sweep the floor to remove dust and dirt. Use a soft-bristle broom for best results. Pay attention to corners and edges. A vacuum cleaner with a hard floor setting works too. Ensure all loose debris is cleared. This step prevents scratches during mopping.Daily Maintenance Tips
Keeping your kitchen floor tiles clean doesn’t have to be a daunting task. With daily maintenance, you can ensure your tiles remain sparkling and free from grime. By adopting simple habits, you can prevent dirt buildup and make your kitchen a more inviting space for cooking and gathering. Let’s dive into some practical tips that you can incorporate into your routine.
Quick Sweeping Techniques
It’s amazing what a quick sweep can do for your kitchen floor tiles. Consider using a lightweight broom that can easily maneuver around your kitchen furniture. Sweep in gentle strokes to capture dust and crumbs, focusing on high traffic areas. Have you ever noticed how much dirt accumulates under the kitchen table? Make it a habit to sweep there daily, ensuring those hidden spots aren’t forgotten.
If sweeping feels like a chore, think about investing in a handheld vacuum. It makes reaching corners and under cabinets a breeze. Another tip is to sweep in the direction of the tile grout lines. This technique helps to catch debris that might otherwise sneak into the grout and settle there.
Spot Cleaning For Spills
Spills are inevitable, especially in a bustling kitchen. The key is immediate action. Keep a microfiber cloth handy for quick clean-ups. These cloths are excellent for absorbing liquids and are gentle on tile surfaces.
For sticky spills, like juice or sauce, a mixture of warm water and mild detergent works wonders. Blot the spill rather than scrubbing to avoid spreading the mess further. How often have you found a sticky spot days after a spill? Regular spot cleaning prevents those surprises.
Try to establish a habit of inspecting your tiles after meal prep. A quick glance can save you from future headaches. Do you have a favorite spill-cleaning solution? Sharing tips with family can make everyone part of the cleaning team.
Deep Cleaning Methods
Begin by sweeping away loose dirt and debris. Mix warm water with mild detergent. Scrub tiles with a soft brush. Rinse thoroughly with clean water. Dry the floor with a towel to prevent water spots. Regular maintenance keeps tiles looking fresh and reduces grime buildup.
Deep cleaning your kitchen floor tiles can transform the look and feel of your entire cooking space. It’s not just about aesthetics; it’s about maintaining hygiene and prolonging the life of your flooring. Whether you’re dealing with everyday dirt or stubborn stains, using the right methods can make all the difference.Using A Mop Effectively
Mopping is a fundamental yet often underestimated method of deep cleaning. Ensure your mop is clean before you start—using a dirty mop just spreads grime around. Warm water mixed with a few drops of mild dish soap can work wonders. Move the mop in an “S” pattern to efficiently cover more area. This technique helps lift dirt rather than just pushing it around. Rinse the mop frequently in clean water to avoid reapplying dirt to the tiles.Steam Cleaning For Tough Stains
When your tiles have stubborn stains that refuse to budge, steam cleaning can be your best ally. A steam cleaner uses hot steam to loosen dirt, grease, and grime without harsh chemicals. Simply fill the machine with water, let it heat up, and then glide it over the stained areas. The heat and moisture break down the toughest residues, making them easy to wipe away. Have you ever noticed how satisfying it is to see a particularly stubborn stain lift away? It’s like watching a magic trick right in your kitchen! If you haven’t tried steam cleaning yet, it might just become your new favorite cleaning method. It’s efficient, eco-friendly, and gives your tiles a pristine shine.Dealing With Grout
Cleaning kitchen floor tiles starts with tackling grout. Use a mixture of baking soda and water. Scrub gently with a toothbrush, rinse, and dry.
Dealing with grout can be one of the trickiest parts of maintaining a spotless kitchen floor. Grout lines often collect dirt and stains more easily than the tiles themselves, making them look dingy over time. But fear not, with the right techniques, you can keep your grout looking fresh and clean.Cleaning Grout Lines
Keeping grout lines clean requires a bit of effort, but the results are worth it. Start by mixing baking soda and water to form a paste. Apply this paste to the grout lines, then scrub using a toothbrush or a small scrub brush. Focus on one small area at a time, ensuring you give each line the attention it needs. Rinse with warm water and wipe away any residue. For stubborn stains, consider using a vinegar solution or a commercial grout cleaner.Preventing Grout Discoloration
Preventing grout discoloration is all about regular maintenance. Seal your grout lines every few months to protect them from stains and moisture. This creates a barrier that helps keep the grout looking new. Additionally, mop your floors regularly with a mild detergent and warm water. Avoid harsh chemicals that can erode the grout over time. Consider using rugs in high-traffic areas to minimize wear and tear. Have you ever noticed how a clean grout line can make your entire kitchen look brighter? Taking these preventive steps can save you time and effort in the long run. Keep your grout lines in top shape and enjoy the satisfaction of a spotless kitchen floor.
Credit: limestone.tilecleaning.co.uk
Preventing Future Stains
Regular cleaning prevents future stains on kitchen floor tiles. Use mild detergent and warm water to clean spills immediately. Dry thoroughly to avoid water marks.
Preventing Future Stains Kitchen tiles face spills and stains daily. Keeping them spotless can feel like a task. Yet, with a few preventive measures, you can maintain their shine longer. A proactive approach can save you from constant scrubbing. Focus on prevention rather than cure.Applying Sealants
Sealants act as a protective shield. They create a barrier against moisture and dirt. Apply sealants every couple of years. This ensures tiles resist stains effectively. Choose high-quality sealants suitable for your tile type. Follow manufacturer instructions for best results.Regular Maintenance Schedule
A cleaning schedule prevents buildup. Sweep tiles every day. Mop them weekly using mild detergents. Inspect grout regularly for dirt accumulation. Address stains immediately to avoid long-term damage. Consistent care keeps tiles looking fresh.Safety Tips During Cleaning
Ensure proper ventilation while cleaning to avoid inhaling fumes. Wear gloves to protect your skin from harsh chemicals. Select cleaning products suitable for tile surfaces to prevent damage and ensure a thorough clean.
Cleaning kitchen floor tiles requires careful attention to safety. Proper safety measures prevent accidents and protect your health. Below are some essential safety tips to follow during the cleaning process.Proper Ventilation
Ensure your kitchen is well-ventilated. Open windows to let fresh air in. This helps to disperse cleaning fumes quickly. Use fans if necessary to enhance airflow. Proper ventilation reduces the risk of inhaling harmful chemicals.Using Protective Gear
Wear rubber gloves to protect your hands from harsh chemicals. Use a face mask to avoid inhaling cleaning agents. Consider wearing goggles to shield your eyes from splashes. Protective gear is crucial for a safe cleaning experience.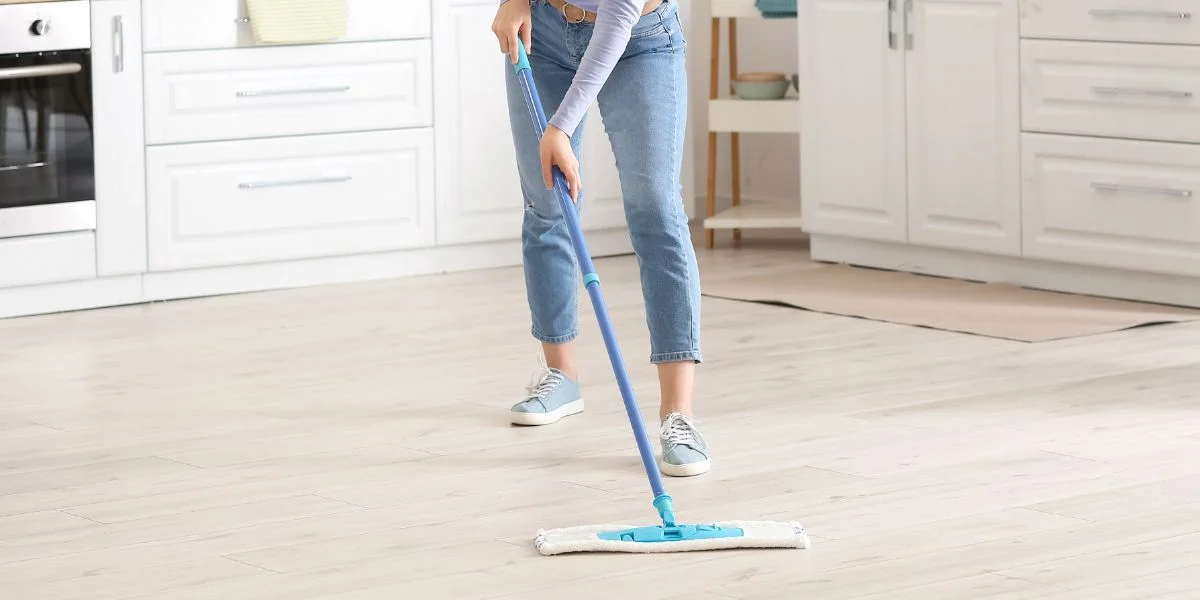
Credit: www.abt.com

Credit: limestone.tilecleaning.co.uk
Frequently Asked Questions
What Is The Best Solution To Clean Kitchen Floor Tiles?
Use a mixture of warm water, white vinegar, and mild dish soap to clean kitchen floor tiles. Scrub gently with a soft brush or mop. Rinse with clean water and dry with a microfiber cloth for a streak-free finish.
What Should You Not Clean Tile Floors With?
Avoid using acidic cleaners on tile floors; they can damage grout and dull surfaces. Skip abrasive tools, which may scratch tiles. Steer clear of oil-based detergents as they can leave a residue. Do not use bleach frequently, as it can discolor grout.
Always choose pH-neutral cleaners for safety.
How To Deep Clean A Tiled Kitchen Floor?
Sweep the floor to remove debris. Mix water and vinegar in a bucket. Scrub tiles with a stiff brush. Rinse with clean water. Dry with a clean towel or mop. For stubborn stains, use baking soda paste before scrubbing.
What Is The Best Way To Clean A Very Dirty Kitchen Floor?
Sweep away debris first. Mix warm water with vinegar and dish soap. Scrub the floor using a stiff brush. Rinse with clean water. Dry thoroughly with a clean cloth. Repeat if necessary for stubborn stains. Use a steam cleaner for deep cleaning.
Maintain regularly for best results.
Conclusion
Cleaning kitchen floor tiles doesn’t have to be a hassle. Use the right tools. Choose effective cleaners that suit your tile type. Regular sweeping prevents dirt buildup. Mopping removes stubborn stains and grime. Dry the floor after cleaning to avoid water spots.
Spot cleaning handles small spills quickly. Keep your kitchen shining with these easy steps. Consistency keeps your tiles looking fresh. Save time and effort with a simple cleaning routine. Enjoy a clean, inviting kitchen space. Follow these tips for sparkling tiles, always ready for cooking and family time.
Happy cleaning!

Similar Posts





















