
How to Make Kitchen Drawers: Step-by-Step Guide
Are you tired of rummaging through cluttered kitchen cabinets every time you need a spatula or a saucepan lid? Imagine opening a drawer where everything has its place, and you can easily grab what you need.
Making your own kitchen drawers might seem like a daunting task, but it can be a game-changer for your kitchen organization. In this guide, you’ll discover the simple steps to create sturdy, functional, and attractive kitchen drawers that will transform your cooking space.
Whether you’re an experienced DIY enthusiast or a first-time builder, this step-by-step process will help you achieve professional results without the hefty price tag. Dive in, and before you know it, you’ll have the organized kitchen you’ve always dreamed of.
Materials And Tools
Gather essential materials like wood, screws, and glue for crafting kitchen drawers. Use tools such as saws, drills, and measuring tapes for precise assembly.
Creating kitchen drawers is a satisfying DIY project that can transform your kitchen’s functionality and aesthetics. Before you dive into the construction, understanding the materials and tools is crucial for a successful outcome. Picking the right resources not only ensures durability but also makes the building process smoother.Materials Needed
Selecting the right materials can make or break your kitchen drawer project. Plywood is a popular choice due to its strength and affordability. It’s available in various thicknesses, but 3/4-inch plywood is typically used for drawer sides and bottoms. Solid wood, like oak or maple, can be used for a premium finish if you’re aiming for a high-end look. Consider using hardwood for the drawer fronts to add a touch of elegance. You will also need screws, nails, and wood glue to hold everything together securely. Don’t forget drawer slides, which are essential for smooth operation.Tools Required
Equipping yourself with the right tools will streamline the building process. A measuring tape is vital for accuracy in cutting and fitting. To ensure perfect cuts, a circular saw or table saw is indispensable. A drill and screwdriver will be your go-to for fastening components together. A hammer is also useful for tapping nails and adjusting pieces. A square tool helps maintain right angles and precision. Sandpaper will come in handy for smoothing rough edges and creating a polished finish.Do you have a favorite tool that makes your DIY projects easier? Share your insights in the comments below! Remember, investing in quality materials and tools not only enhances your craftsmanship but also ensures your kitchen drawers stand the test of time.
Measuring And Planning
Accurate measurements ensure kitchen drawers fit perfectly. Use a tape measure to determine width, height, and depth. Plan your layout by sketching a simple design for each drawer’s placement and functionality.
Planning is a crucial step in creating functional kitchen drawers that meet your specific needs. Without careful measurement and strategic planning, you risk ending up with drawers that don’t fit or aren’t as useful as you’d like. By taking the time to measure accurately and plan your layout, you ensure that your kitchen drawers will be both practical and aesthetically pleasing.Determining Drawer Size
Start by measuring the cabinet space where you plan to install the drawers. Use a tape measure to get the width, height, and depth. Remember, accuracy is key. A mistake of even a few millimeters can lead to misaligned drawers. Consider the items you plan to store. If you have large pots and pans, you’ll need deeper drawers. Think about the number of drawers you want. More drawers mean less height per drawer, which could limit what you can store.Sketching Design Layout
Once you have your measurements, sketch out a design layout. This visual representation helps in planning the drawer arrangement and spacing. Use graph paper or a digital tool for precise dimensions. Include details like handles and any special compartments. Ask yourself: How will this layout complement your cooking habits? For instance, keep utensils near prep areas for convenience. This step allows for adjustments before you start building, saving time and materials. Engage your creativity and make a space that truly works for you.Cutting The Wood
Cutting the wood for kitchen drawers requires precision and attention to detail. Measure the dimensions accurately, ensuring each cut aligns perfectly. Use a saw for clean, smooth edges that fit seamlessly into your design.
Cutting the wood is a crucial step in making kitchen drawers. The precision of each cut influences the overall structure. Accurate measurements ensure a smooth assembly process. Selecting the right wood and cutting techniques is essential. This section will guide you through these steps.Choosing The Right Wood
The type of wood affects the durability of your drawers. Hardwood like oak or maple is ideal for longevity. Softwoods such as pine may be easier to work with. Consider the finish and color you desire. Check for knots or imperfections in the wood. These can affect the strength and appearance. Choose straight and even-grained pieces for best results.Cutting Drawer Pieces
Start by measuring your drawer dimensions carefully. Use a tape measure for accuracy. Mark the measurements on the wood with a pencil. This helps in guiding your cuts. Use a circular saw or table saw for straight cuts. Ensure the blade is sharp for clean edges. Safety is important; wear goggles and gloves. Cut the front, back, sides, and bottom pieces. Check each piece against your measurements. Adjust any pieces that are slightly off.
Credit: www.familyhandyman.com
Assembling The Drawer Box
Assembling the drawer box begins with selecting sturdy materials for durability. Connect the sides using screws or nails, ensuring a snug fit. Align the base with precision and attach securely to maintain stability.
Assembling the drawer box is a crucial step in kitchen drawer construction. It impacts the drawer’s durability and smooth operation. This task demands precision and care, ensuring everything fits perfectly. You’ll need basic tools and materials for this part. With patience and focus, you can create a sturdy drawer box.Joining Techniques
There are various ways to join the drawer pieces. Dovetail joints offer strength and elegance. They interlock, providing a tight fit. Butt joints are simpler, involving glued ends. This method suits beginners. Box joints use interlocking fingers, adding visual appeal. Pocket holes provide hidden screws for a clean look. Choose the method that fits your skills and tools.Securing The Frame
Securing the frame ensures stability. Use clamps to hold parts tightly. Apply wood glue to edges for added strength. Check alignment before fastening screws. Drill pilot holes to prevent wood splitting. Reinforce corners with brackets if needed. Ensure all angles are square. Once secure, let the glue dry completely. This step guarantees a reliable and lasting drawer box.Installing Drawer Slides
Enhancing kitchen functionality begins with installing drawer slides correctly. Align slides with the cabinet, ensuring smooth drawer movement. Secure them firmly, focusing on precise measurements for optimal operation.
Installing drawer slides is a crucial step in crafting functional kitchen drawers. Properly installed slides ensure smooth, effortless motion and extend the life of your drawers. Whether you’re revamping your kitchen or working on a DIY project, understanding how to install drawer slides can significantly enhance the utility and aesthetic of your space. Let’s break it down into simple steps.Selecting Slide Type
Choosing the right drawer slide is vital for your kitchen drawers’ performance and durability. Consider the weight of the contents you plan to store. Light-duty slides might suffice for utensils, but heavier items like pots and pans require robust, heavy-duty slides. There are different types of slides, such as side-mounted, bottom-mounted, and center-mounted. Each has its advantages. Side-mounted slides often provide full extension, while bottom-mounted slides offer a cleaner look. Think about how often you’ll use these drawers. High-frequency use drawers benefit from soft-close features, which prevent slamming and add longevity. Your choice directly impacts the drawer’s functionality and your daily kitchen experience.Attaching Slides To Cabinet
Before attaching the slides, ensure your cabinet is level. An uneven cabinet can cause alignment issues, leading to jamming. Use a spirit level to check and adjust as necessary. Mark the positions where you’ll attach the slides. Measure accurately, and mark the spots on both the cabinet and the drawer. Precision here will save you headaches later. Start by attaching the slides to the inside of the cabinet. Follow the manufacturer’s instructions for screw placement. Secure the slide firmly to avoid any wobble. Next, align the corresponding slide part to the drawer itself. It’s crucial that both sides are perfectly aligned for smooth operation. Once aligned, fix the slides with screws, ensuring they are tight and secure. Finally, insert the drawer into the cabinet. Test the movement. It should glide in and out seamlessly. If it doesn’t, make the necessary adjustments. A well-installed slide will make using your kitchen drawers a joy rather than a chore. Do you feel the difference already? Your kitchen is not only more efficient but also more enjoyable to work in.Attaching Drawer Fronts
Attaching drawer fronts involves aligning the fronts with the drawer box. Secure them using screws through pre-drilled holes. Ensure they are level and evenly spaced for a professional finish.
Attaching drawer fronts is a crucial step in creating functional and attractive kitchen drawers. Properly aligning and securing the drawer fronts ensures a professional finish. This process requires attention to detail, as it affects both aesthetics and usability. A well-attached drawer front should be flush with the cabinet and easy to open.Aligning The Front
Start by positioning the drawer front against the drawer box. Ensure the edges are parallel to the cabinet frame. Use a level tool to check that the front is straight. Adjust as necessary for perfect alignment. Double-check the placement before securing it.Securing With Screws
Once aligned, hold the drawer front in place. Use a drill to insert screws through the pre-drilled holes. Secure the screws tightly to avoid movement. Ensure the screws are flush with the surface. Recheck the alignment after securing, making adjustments if needed.Finishing Touches
The final steps in making kitchen drawers are crucial. These finishing touches give your drawers a polished look and enhance durability. Let’s explore the key processes involved in perfecting your kitchen drawer project.
Sanding And Smoothing
Sanding is essential for a sleek surface. Start with a coarse sandpaper to remove rough spots. Gradually switch to finer grit for a smooth finish. This process eliminates splinters and prepares the wood for painting or varnishing. After sanding, wipe the surface with a damp cloth. This removes dust and ensures a clean base for the next step.
Applying Varnish Or Paint
Choose between varnish or paint for your drawers. Varnish highlights the natural wood grain and provides a glossy finish. Paint offers color and a protective layer. Apply thin coats evenly for best results. Allow each coat to dry completely before adding another. This prevents streaks and ensures a professional appearance. A final coat seals and protects the surface, completing your drawer project.
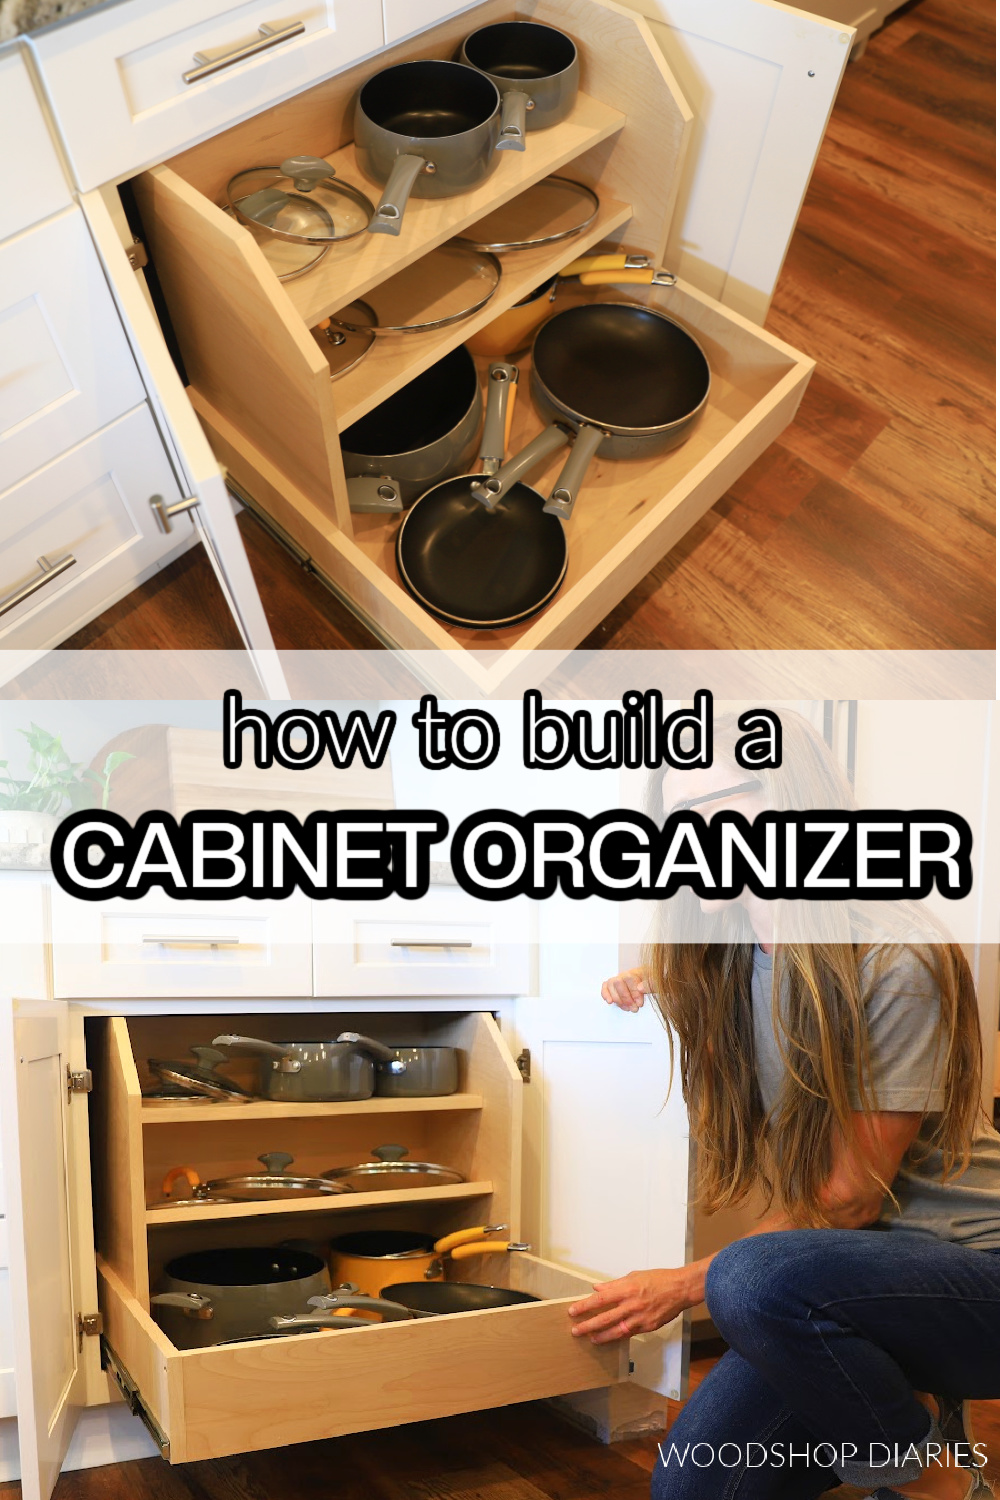
Credit: www.woodshopdiaries.com
Troubleshooting Common Issues
Building kitchen drawers can be rewarding, but challenges may arise. Misaligned drawers or stubborn slides are common issues. Understanding how to troubleshoot these problems is crucial. Let’s explore solutions for these common drawer issues.
Fixing Misaligned Drawers
Misalignment can cause drawers to stick or look uneven. First, check the drawer’s position within the cabinet. It should be centered and level. Use a carpenter’s square to confirm alignment. Tighten any loose screws that may affect the drawer’s position.
If the drawer remains misaligned, inspect the rails. They should be parallel and securely attached. Adjust them if necessary, ensuring they are straight. This simple check can often resolve alignment issues effectively.
Adjusting Slide Mechanisms
Drawer slides can become jammed or operate roughly. Begin by cleaning the slides. Dust and debris often cause friction. Use a dry cloth to wipe away any dirt. Applying a small amount of lubricant can also improve slide performance.
If cleaning doesn’t help, examine the slides for damage. Bent or broken parts may need replacement. Ensure the slides are mounted correctly. Misplacement can prevent smooth operation. Reposition them if needed, ensuring proper alignment.

Credit: www.youtube.com
Frequently Asked Questions
What Materials Are Best For Kitchen Drawers?
The best materials for kitchen drawers include solid wood, plywood, and MDF. Solid wood offers durability and a classic look. Plywood is cost-effective and sturdy. MDF provides a smooth finish and is budget-friendly. Choose materials based on your budget and desired aesthetic.
How Do I Measure Drawer Dimensions Correctly?
To measure drawer dimensions, use a tape measure. Measure the width, height, and depth of the drawer space. Ensure the drawer fits snugly without gaps. Accurate measurements help in selecting the right drawer slides and ensure a smooth fit.
What Tools Are Needed For Making Kitchen Drawers?
Essential tools include a saw, drill, screwdriver, measuring tape, and clamps. A saw helps cut materials to size. A drill is needed for making holes. Screwdrivers and clamps assist in assembly. Accurate measuring tools ensure precision in cutting and fitting.
How Do I Ensure Drawers Slide Smoothly?
To ensure drawers slide smoothly, use quality drawer slides. Clean and lubricate slides regularly to prevent sticking. Align drawer slides precisely during installation. Avoid overloading drawers to maintain their functionality and ease of use.
Conclusion
Creating kitchen drawers can be a rewarding project. With patience, you craft something useful. Each step brings you closer to a functional kitchen. Simple tools and materials make it possible. Start with measuring your space. Then gather your tools. Follow the steps carefully.
Sand and paint for a smooth finish. Install the drawer slides. Ensure everything fits snugly. Enjoy your new storage space. Feel proud of your handiwork. Your kitchen now looks organized and tidy. Share your experience with friends. Inspire them to try too.
Building drawers isn’t hard. It’s a skill worth having. Happy building!


