How to Paint Kitchen Cabinets Without Removing Them: Easy Guide
Executive Chef & Lead Commercial Kitchen Specialist at Daily Kitchup Test Lab
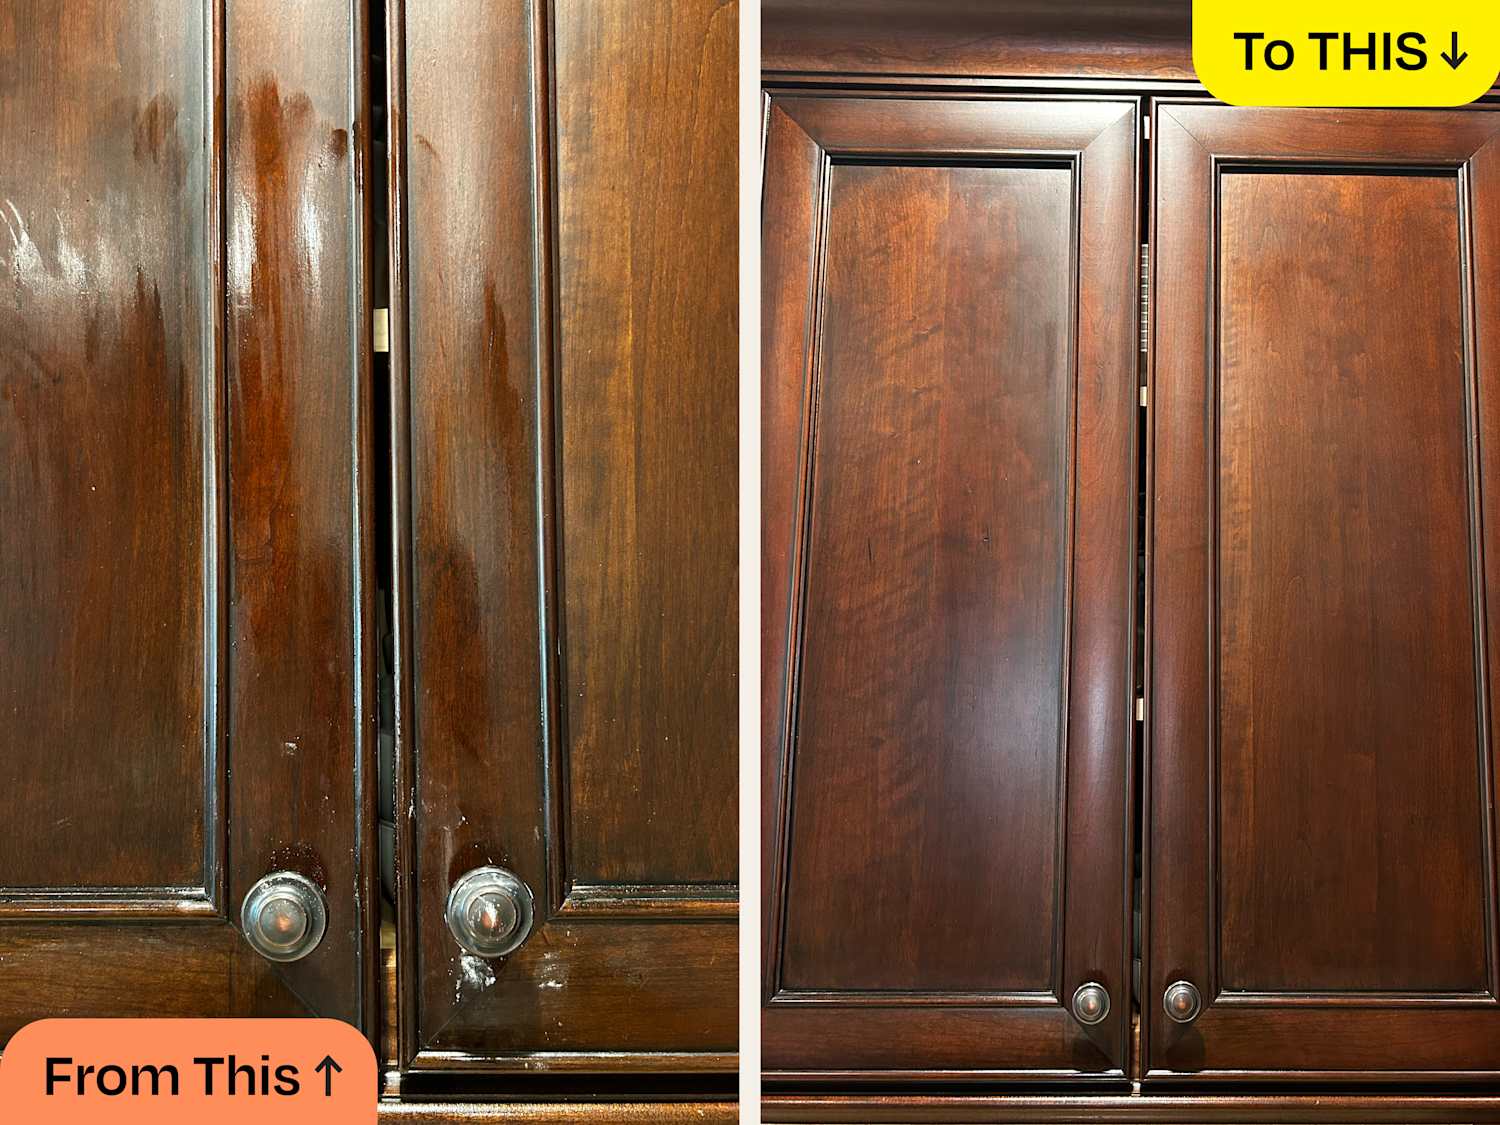
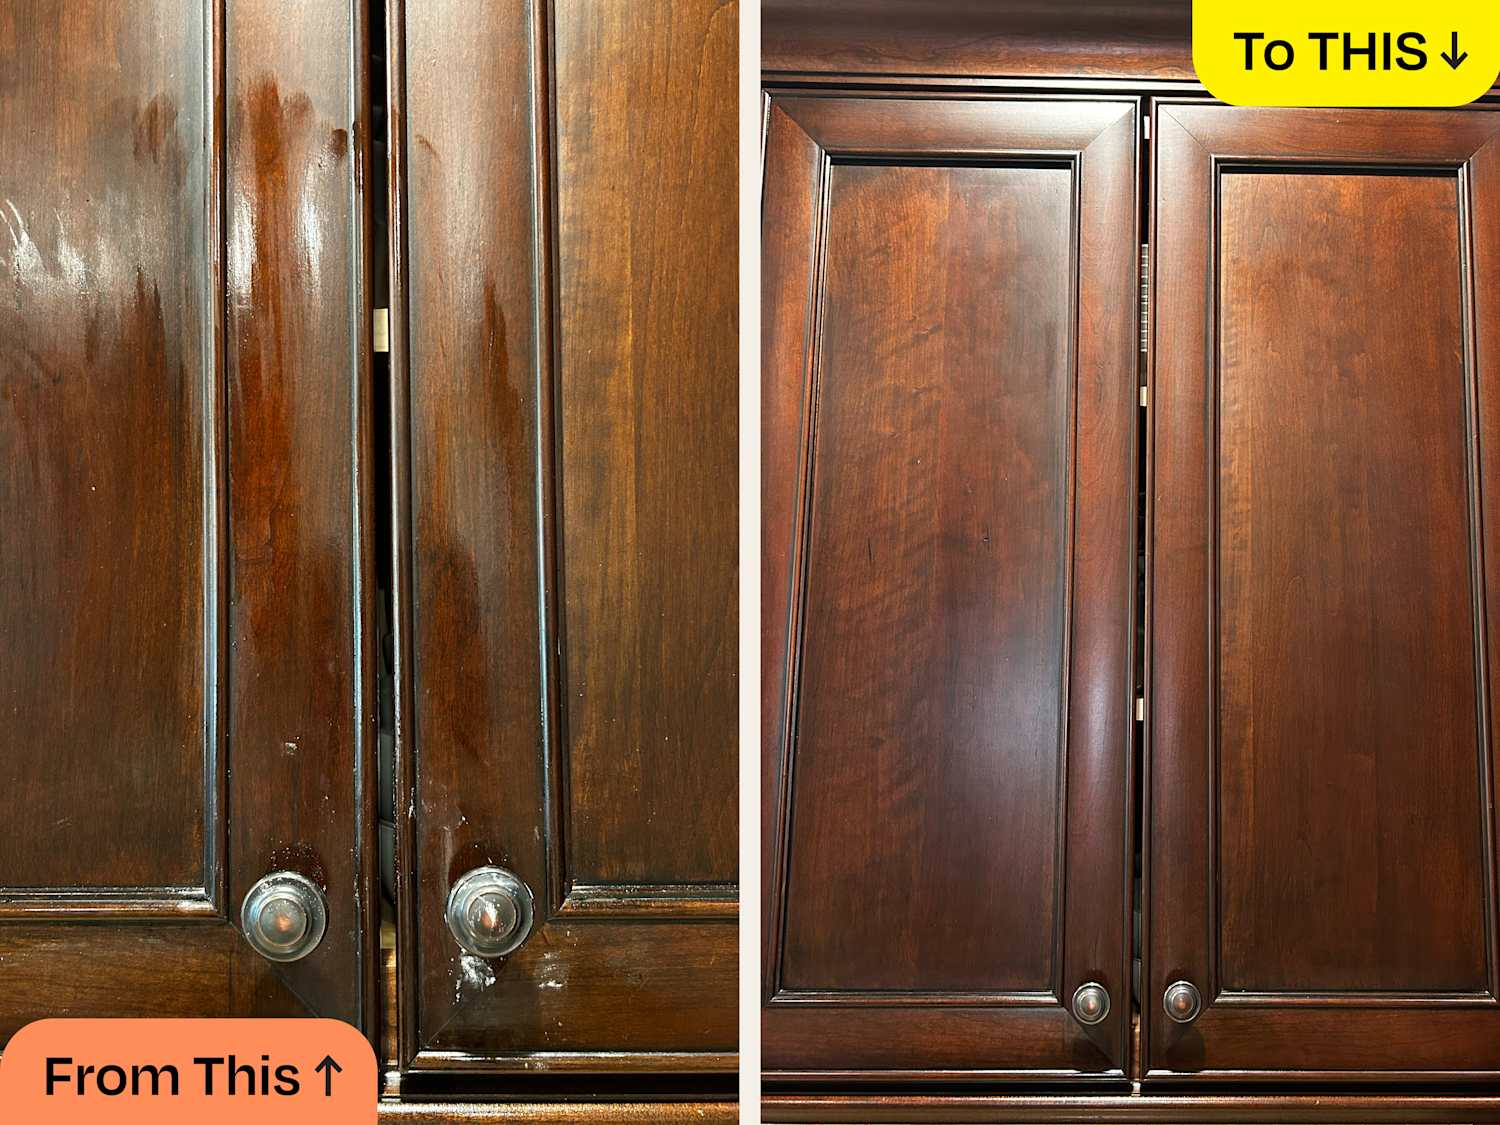
Transforming your kitchen doesn’t have to mean a complete overhaul or spending a fortune. If your kitchen cabinets are looking a little tired but you dread the thought of taking them down, you’re in luck.
There’s a way to refresh your kitchen’s look without even removing the cabinets! Imagine the satisfaction of revamping your space with less hassle, less mess, and in less time. You’re about to discover a straightforward method to paint your kitchen cabinets right where they are, saving you time, effort, and money.
Don’t miss out on these simple yet effective tips that could change the entire vibe of your kitchen. Are you ready to give your kitchen the facelift it deserves? Let’s dive in and find out how!
Credit: www.facebook.com
Preparation Steps
Begin by cleaning cabinets thoroughly to remove grease. Sand the surfaces lightly to ensure paint sticks well. Use painter’s tape to protect areas not being painted. Apply primer for a smooth finish, then paint with a high-quality brush or roller.
Allow drying time between coats for best results.
Preparing to paint kitchen cabinets without removing them requires careful planning. Following precise steps ensures a smooth and lasting finish. Let’s dive into the essential preparation steps.Clean The Cabinets
Start by thoroughly cleaning the cabinet surfaces. Remove grease, dirt, and grime with a mild detergent. Use a soft sponge to avoid scratching. Rinse with water and let them dry completely. Clean surfaces ensure paint adheres well.Gather Necessary Supplies
Before you begin, gather all required supplies. You’ll need sandpaper, primer, paint, brushes, and rollers. Have a screwdriver for hardware removal. Keep drop cloths handy to catch spills. Having everything ready saves time and effort.Protect Surrounding Areas
Protect nearby surfaces to prevent paint splatters. Use painter’s tape to cover edges and hinges. Lay drop cloths over floors and countertops. Cover appliances with plastic sheets. Ensure everything is covered for a neat workspace.Choosing The Right Paint
Painting kitchen cabinets without removing them involves careful preparation. Clean the surfaces thoroughly and sand them lightly. Use a high-quality primer and paint suitable for wood.
Choosing the right paint for kitchen cabinets is crucial. The paint affects the look and durability of the cabinets. Selecting the wrong type can lead to peeling or fading. So, it’s important to make an informed choice.Types Of Paint
There are several types of paint suitable for kitchen cabinets. Latex paint is popular for its easy application and cleanup. It dries quickly and has low odor. Oil-based paint, on the other hand, offers a hard finish. It is durable but takes longer to dry. Chalk paint gives a matte finish and is easy to distress. It’s ideal for a vintage look.Color Selection Tips
Choosing the right color can transform your kitchen. Light colors make small kitchens look bigger. They reflect more light, creating an airy feel. Dark colors add drama and contrast, perfect for spacious kitchens. Consider the overall theme of your home. Match cabinet colors with walls and floors for a cohesive look. Test a small area first to see how the color looks in different lights.Sanding And Priming
Sanding kitchen cabinets helps to create a smooth surface for painting. Priming is essential for ensuring the paint adheres well, preventing peeling and chipping over time.
Painting kitchen cabinets without taking them off their hinges can save you time and hassle. However, for a flawless finish, proper preparation is key. Sanding and priming are essential steps that set the stage for a smooth and durable paint job. Let’s dive into the details of these crucial steps.Lightly Sand Surfaces
Start by lightly sanding your cabinet surfaces. This step might seem tedious, but it’s crucial for ensuring the paint adheres properly. Use a fine-grit sandpaper, around 220 grit, to gently roughen the surface. Focus on areas with existing paint or varnish. The goal here is not to strip down to bare wood but to create a texture for the primer to grip. Remember to sand all visible surfaces, including door edges and frames. After sanding, wipe down the surfaces with a damp cloth to remove dust. Skipping this can lead to a gritty texture in your final paint job. Have you ever tried painting over dust? It’s not pretty.Apply Primer
Once the surfaces are smooth and clean, it’s time to apply the primer. Choose a quality primer suitable for your cabinet material—wood, laminate, or metal. A good primer can make a significant difference in the durability of the paint. Use a brush or roller to apply a thin, even coat of primer. Avoid thick applications, which can result in drips and uneven drying. Patience pays off here; let the primer dry completely before moving on to painting. Consider using a bonding primer if your cabinets have a glossy finish or are made of a challenging material. This type of primer will adhere better, ensuring your paint lasts longer. Have you ever seen peeling paint? It’s not a sight you want in your kitchen. Taking the time to properly sand and prime your cabinets will ensure a smooth and professional-looking finish, making your kitchen transformation a success.Credit: www.facebook.com
Painting Techniques
Painting kitchen cabinets without removing them is possible with careful preparation. Clean the surfaces thoroughly to ensure paint adheres well. Use painter’s tape to protect edges and hardware for a neat finish.
Painting your kitchen cabinets without removing them can save time and effort, but using the right techniques is crucial to achieving a professional finish. Whether you’re a DIY enthusiast or a first-timer, understanding different painting methods can make all the difference. Let’s dive into some effective painting techniques that will transform your kitchen cabinets into a stunning masterpiece.Brush Vs. Roller
Choosing between a brush and a roller depends on the finish you desire and the type of paint you’re using. Brushes are great for detailed work and getting into corners or intricate designs. They offer precision, allowing you to control the thickness of the paint and reduce drips. Rollers, on the other hand, cover large areas quickly and provide a smooth, even finish, ideal for flat surfaces. They can save you time and are especially useful for the cabinet doors’ larger sections. Have you considered combining both for the best results? Use a brush for the edges and a roller for the main surfaces for a seamless look.Layering Coats
Applying multiple coats is key to durability and achieving a rich color. Start with a thin base coat to help the paint adhere better. Patience is essential here—allow each coat to dry completely before adding the next. It’s tempting to rush, but building up thin layers leads to a more polished appearance. Consider lightly sanding between coats to ensure a smooth finish. This step may seem tedious, but it can make your cabinets look like they were painted by a pro. Are you ready to elevate your painting game with these techniques?Drying And Curing
Ensure proper drying and curing for painted kitchen cabinets. This step prevents smudges and ensures a lasting finish. Let each coat dry fully before applying the next to achieve a smooth, durable surface.
Painting kitchen cabinets without removing them is a practical approach that saves both time and effort. However, one of the most critical aspects of this task is ensuring the paint dries and cures properly. Drying and curing are not just about waiting but understanding the process to achieve that flawless finish you’re aiming for. It’s like baking a cake—just because it looks done doesn’t mean it’s ready. So, how can you ensure your newly painted cabinets will stand the test of time?Allow Adequate Drying Time
Patience is key when it comes to drying your painted cabinets. You might be tempted to rush the process, especially if the kitchen is the heart of your home. But here’s a tip: let each coat dry thoroughly. Most paints require at least 24 hours to dry completely. Check the manufacturer’s instructions for specific drying times. Keep your kitchen well-ventilated to speed up the drying process. Avoid using the cabinets too soon. A gentle touch test can help determine if the surface is dry.Curing Process
Drying is not the end; curing is where the magic happens. Curing allows the paint to harden and become resistant to scratches and stains. You’re probably wondering how long you need to wait before putting your kitchen back to full use. Usually, curing takes a few weeks, but you don’t have to be hands-off entirely. Consider using the kitchen with care during this period, avoiding heavy use. Think of curing like letting a fine wine age—it’s all about patience for optimal results. You’ll know the paint is fully cured when it feels hard and smooth to the touch. Are you ready to embrace the transformation of your kitchen? Waiting for paint to cure might seem tedious, but it’s the secret ingredient to achieving a durable and beautiful finish. What’s your strategy for staying patient during this process?Credit: www.facebook.com
Final Touches
The final touches can make or break your kitchen cabinet painting project. After all the effort of painting without removing them, it’s crucial to perfect the details. Ensure your cabinets look fresh and professionally finished.
Inspect For Touch-ups
Start by examining each cabinet surface. Look for any missed spots or uneven paint. Use a small brush to fix any areas needing attention. This ensures a smooth, consistent finish.
Check corners and edges carefully. These areas often have paint drips or missed spots. Wipe any drips with a damp cloth before they dry. Make sure every surface looks neat and polished.
Reattach Hardware
Once the paint is dry, it’s time to reattach the hardware. Gather all handles and knobs. Ensure they are clean and free from paint splatters.
Use a screwdriver to securely fasten each piece. Double-check alignment for a uniform look. Properly attached hardware adds a touch of sophistication to your cabinets.
Consider upgrading to new hardware for a fresh appearance. This simple change can enhance the overall look of your kitchen.
Maintenance Tips
Keeping your kitchen cabinets looking fresh after painting is vital. Regular maintenance ensures the longevity of the paint and keeps your kitchen looking great. Here are some simple tips to help you maintain your painted cabinets.
Cleaning Painted Cabinets
Clean cabinets with a soft cloth. Use a mild detergent mixed in warm water. Avoid abrasive cleaners. They can scratch the paint surface. Wipe cabinets gently to remove dust and grease. Regular cleaning prevents buildup that can damage paint.
Preventing Damage
Be careful when using sharp objects near cabinets. Avoid banging pots and pans against cabinet surfaces. Use felt pads under heavy items to prevent scratches. Keep moisture away from cabinets. Excess water can lead to warping and paint peeling.
Frequently Asked Questions
Can I Paint My Kitchen Cabinets Without Taking Them Off?
Yes, you can paint your kitchen cabinets without removing them. Clean, sand, and prime the surfaces first. Use a high-quality paint and brush for best results. Ensure good ventilation and protect surrounding areas. Consider using a sealer for durability. This approach saves time and maintains kitchen functionality.
Can I Just Paint Over Already Painted Cabinets?
Yes, you can paint over already painted cabinets. Clean, sand, and prime the surface first for best results. Use high-quality paint suitable for cabinets to ensure durability and a smooth finish. Proper preparation prevents peeling and promotes adhesion. Follow these steps for a successful cabinet painting project.
Can You Just Paint Over Cabinets Without Sanding?
Yes, painting over cabinets without sanding is possible. Clean them thoroughly and use a primer for better adhesion. Choose high-quality paint for lasting results.
Is It Better To Roll Or Spray Paint Kitchen Cabinets?
Spray painting kitchen cabinets provides a smoother finish and quicker application. Rolling is more budget-friendly and accessible for DIY projects. Consider your budget, skill level, and desired finish.
Conclusion
Painting kitchen cabinets without removing them is simple and effective. This method saves time and effort. It transforms your kitchen quickly. Follow the steps carefully for best results. Prep the surfaces properly. Choose the right paint for durability. Use quality brushes or rollers.
Patience is key for a smooth finish. Enjoy your refreshed kitchen space! Tackle this project with confidence. You can achieve a professional look. Your kitchen will feel new again. Embrace the change and enjoy cooking in a fresh environment. Now, grab that paintbrush and start your project today!

Similar Posts