How to Paint Unfinished Kitchen Cabinets: Expert Tips
Executive Chef & Lead Commercial Kitchen Specialist at Daily Kitchup Test Lab
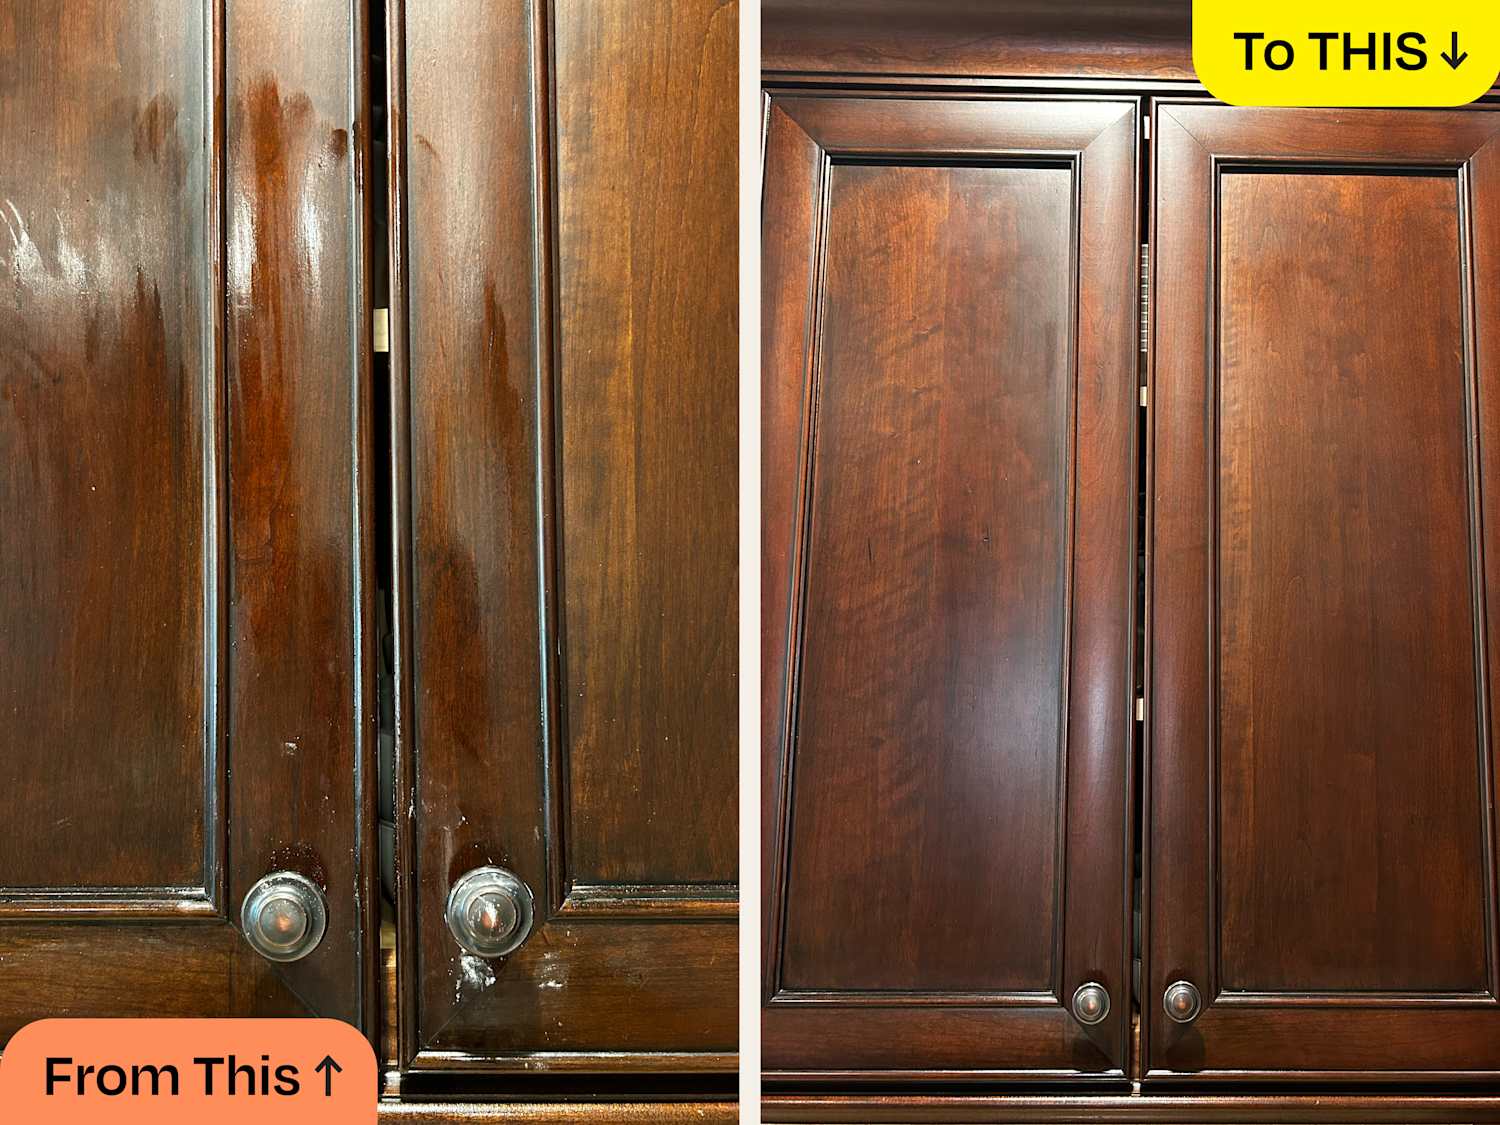
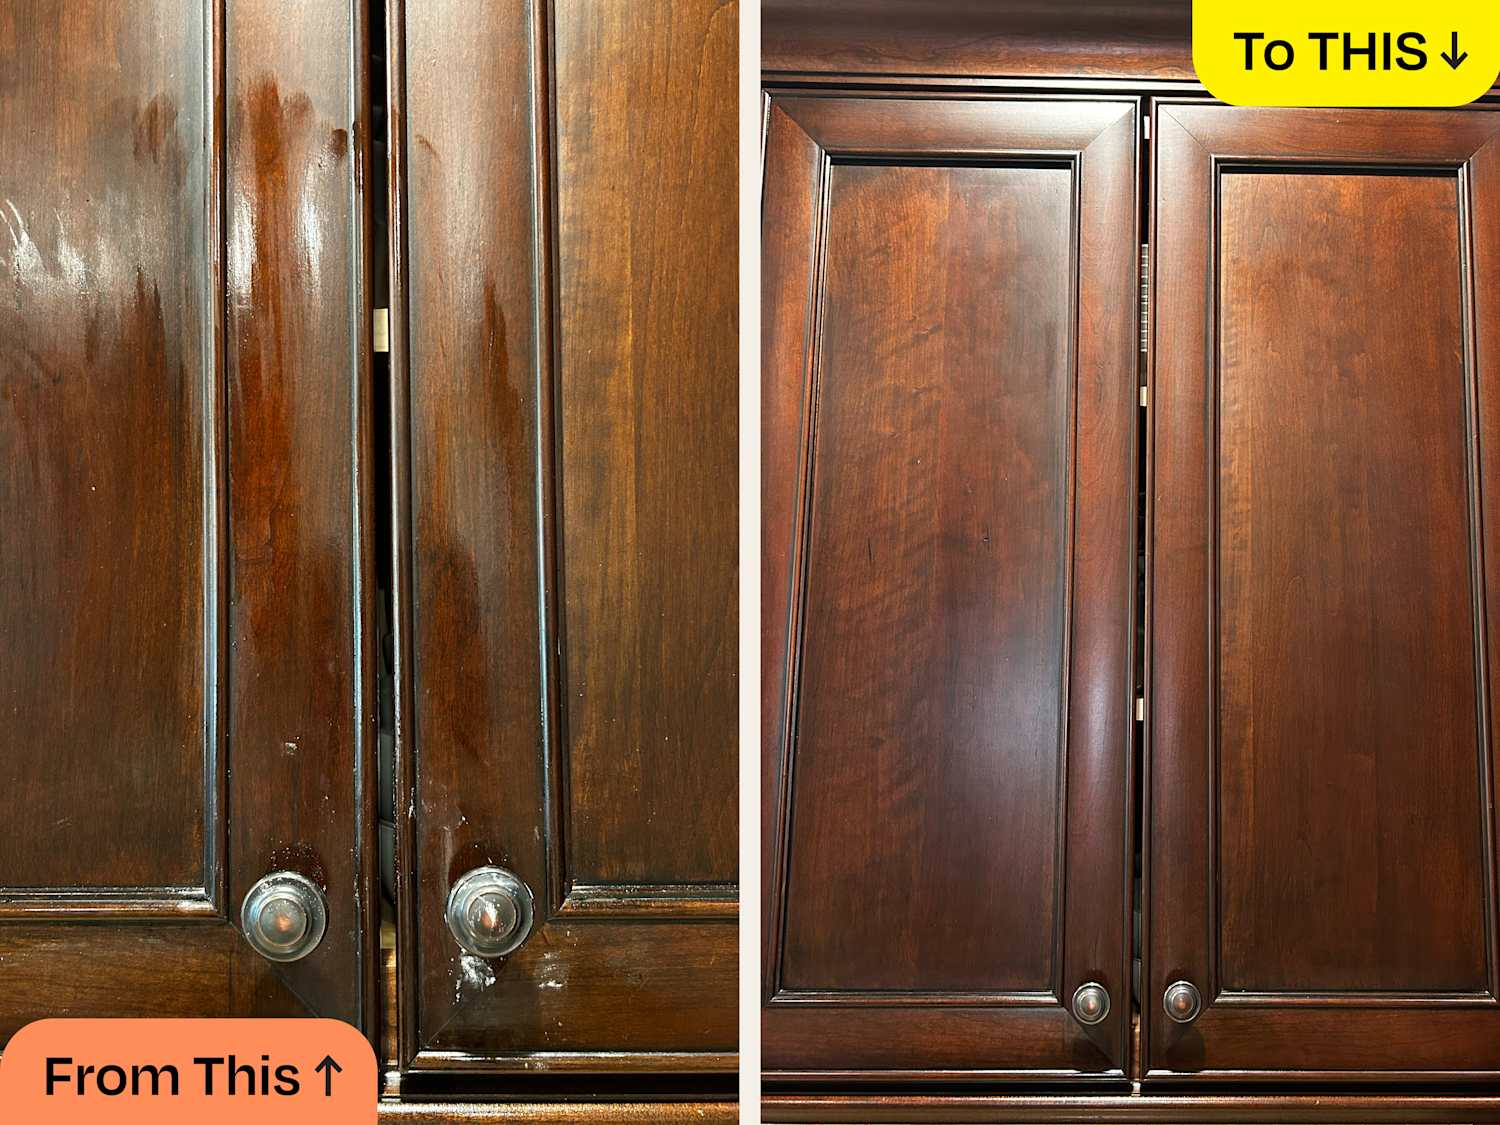
Transforming your kitchen can be as simple as giving your unfinished cabinets a fresh coat of paint. It’s an affordable way to achieve a stunning makeover without the hefty price tag of a complete renovation.
Imagine walking into your kitchen and feeling the satisfaction of a space that reflects your personal style. Painting your cabinets can make that dream a reality. Are you worried about tackling this project on your own? Don’t be. With the right guidance, you can turn your unfinished cabinets into the centerpiece of your home.
This process is not only empowering but also incredibly rewarding. And the best part? You’ll have bragging rights to a DIY project that looks professionally done. Stick with us, and you’ll discover simple, step-by-step instructions that will help you achieve a flawless finish. You’ll learn the secrets to selecting the right paint, prepping your surfaces, and applying techniques that will ensure your cabinets stand the test of time. Ready to roll up your sleeves and unleash your creativity? Let’s dive in and get those kitchen cabinets looking fabulous!
Credit: www.tiktok.com
Choosing The Right Paint
Painting your unfinished kitchen cabinets can dramatically transform the look and feel of your kitchen. The right paint selection is crucial, not just for aesthetic appeal but also for durability and ease of maintenance. With so many options available, how do you choose the right paint for your kitchen cabinets? Let’s explore the types of paint and color selection tips to help you make the best decision.
Types Of Paint For Kitchen Cabinets
- Oil-based Paint:Known for its durability and smooth finish, oil-based paint is a great choice for kitchen cabinets. It resists stains and can withstand scrubbing, making it ideal for high-traffic areas. However, it takes longer to dry and has a strong odor.
- Latex Paint:Latex paint is water-based, making it easier to clean and quicker to dry. It has less odor and is environmentally friendly. While it might not be as durable as oil-based paint, it’s easier to work with and can be a great option for DIY projects.
- Chalk Paint:If you’re looking for a vintage or matte finish, chalk paint might be your go-to. It’s easy to apply and gives a rustic look but requires a wax topcoat for durability. Consider using chalk paint if you want to add a unique touch to your cabinets.
Color Selection Tips
Choosing the right color for your kitchen cabinets can set the mood and style of your kitchen. Here are some tips to help you decide:
- Consider Your Kitchen’s Lighting:Natural and artificial light can affect how colors appear in your kitchen. A color that looks great in the store might look different under your kitchen lights. Test paint samples in your kitchen to see how they look at different times of the day.
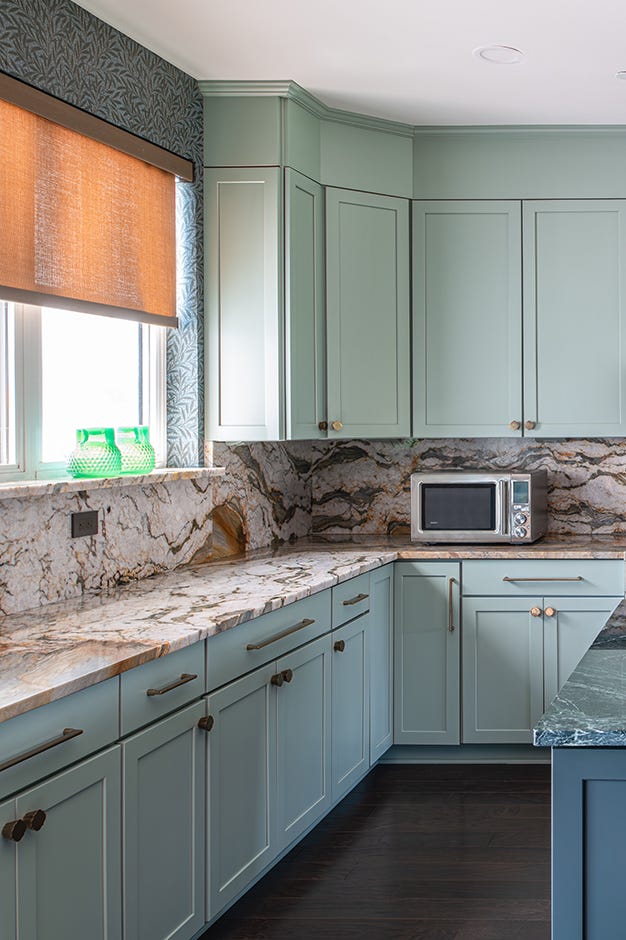
- Match with Existing Elements:Your cabinets should complement the other elements of your kitchen, like countertops, backsplash, and appliances. Coordinating colors can create a cohesive look.
- Think About Long-Term Appeal:Trendy colors might look appealing now, but consider whether you’ll still love them in a few years. Neutral colors often provide a timeless appeal and can adapt to future changes in your kitchen decor.
What color do you imagine your kitchen cabinets to be? Remember, the paint you choose will set the tone for your culinary space. Take the time to select the perfect shade and finish that reflects your style and meets your practical needs.
Preparing Your Workspace
Preparing Your Workspace Clear the area and lay down protective sheets. Gather tools and materials nearby for easy access. Ensure proper lighting to see details clearly.
Preparing your workspace is crucial for painting unfinished kitchen cabinets. A well-organized area ensures a smooth process and better results. Begin by clearing the space around the cabinets. This helps prevent accidents and keeps your tools handy. Clean your workspace thoroughly. Dust and debris can ruin your paint job. Now, let’s dive into the specific steps.Tools And Materials Needed
Before starting, gather all necessary tools and materials. Having everything ready saves time and reduces stress. Here’s a list to guide you:- Sandpaper or sanding blocks (medium and fine grit)
- Primer and paint (choose a type suitable for wood)
- Paintbrushes and rollers
- Drop cloths or plastic sheeting
- Painter’s tape
- Safety goggles and gloves
- Cleaning cloths and mild detergent
- Paint tray and stir sticks
Setting Up A Safe Painting Area
Choose a well-ventilated space to paint your cabinets. Proper ventilation prevents inhaling fumes. If indoors, open windows or use fans. Lay down drop cloths or plastic sheeting. This protects floors and countertops from spills. Use painter’s tape to cover edges and hinges. This ensures clean lines and prevents paint from spreading. Arrange your tools on a table or bench nearby. Keep them organized to avoid interruptions. Wear safety goggles and gloves to protect your eyes and skin. Ensure you have adequate lighting. Proper lighting helps you spot imperfections while painting. With your workspace ready, you can now focus on painting your cabinets.Sanding The Cabinets
Painting unfinished kitchen cabinets can transform your space. Proper preparation is key to achieving a smooth finish. Sanding is a crucial step that ensures your paint adheres well and looks professional. Skipping this step can lead to peeling or uneven surfaces. Here’s how to sand your cabinets effectively.
Importance Of Sanding
Sanding prepares the surface for painting. It removes rough spots and imperfections. A smooth surface helps the paint stick better and last longer. Without sanding, paint may chip or peel over time. Sanding also opens the wood pores, allowing for even paint absorption.
Proper sanding enhances the final look. It makes your cabinets look refined and clean. This step is crucial for a professional finish. Taking your time with sanding will pay off in the end.
Choosing The Right Sandpaper
The right sandpaper makes all the difference. Start with medium-grit sandpaper, around 120-150 grit, to remove rough edges. This grit is ideal for initial sanding of unfinished wood. It smooths out the surface without causing damage.
Switch to fine-grit sandpaper, around 220-240 grit, for a smoother finish. This finer grit helps achieve a polished look, ready for painting. Use this after the initial sanding for best results.
Always sand in the direction of the wood grain. This prevents scratches and ensures a smooth surface. Proper sandpaper selection and technique will enhance your painting project.
Applying Primer
Applying primer creates a smooth base for painting unfinished kitchen cabinets. Clean the surface thoroughly to remove dust. Use a brush or roller to apply an even coat of primer, ensuring complete coverage.
Applying primer to unfinished kitchen cabinets is a crucial step that sets the foundation for a flawless finish. It ensures your chosen paint adheres perfectly and looks vibrant and smooth. But why is priming so important, and how can you ensure an even application?Benefits Of Priming Cabinets
Priming your cabinets before painting offers a range of benefits that can enhance the longevity and appearance of your kitchen. Primers are designed to seal the wood surface, preventing any stains or tannins from bleeding through the paint. This is especially important for unfinished wood, which can have knots or grain patterns that might otherwise disrupt your final look. Additionally, primer creates a smooth base, reducing the number of paint coats needed. This not only saves time but also means you’ll use less paint, saving you money.Tips For Even Application
Achieving an even primer application can be simple with the right techniques. First, ensure your cabinets are clean and dry. Dust and grease can prevent the primer from sticking properly, leading to uneven coverage. Use a high-quality brush or roller designed for primer application. This ensures you get a smooth coat without brush marks. Work in small sections, applying thin, even layers. It’s better to apply multiple thin coats rather than one thick layer to avoid drips and ensure even coverage. Remember to lightly sand between coats. This extra step helps to smooth out any imperfections and prepares the surface for the next layer. Have you ever noticed how a little extra effort in preparation can transform the outcome? Taking the time to prime your cabinets well can make all the difference in achieving a professional-looking finish.Painting Techniques
Transform unfinished kitchen cabinets with a fresh coat of paint. Start by sanding the surface for smoothness. Apply primer to ensure even color and finish.
Painting your unfinished kitchen cabinets can dramatically change the look and feel of your space. The right painting technique is crucial to achieving a professional finish. Each technique offers its benefits, and choosing the right one depends on your preference, skill level, and tools available.Brush Vs. Roller Vs. Spray
Using a brush gives you excellent control, especially in detailed areas and corners. However, it can leave brush marks if not applied carefully. Rollers cover large areas quickly, providing a smooth finish with the right nap. They work best on flat surfaces but might struggle with intricate details. Spraying offers the smoothest finish, almost like a factory finish, but requires setup and practice to avoid drips and overspray. What method fits your space and comfort level?Achieving A Smooth Finish
Sanding between coats is the secret to a smooth finish. It might seem tedious, but lightly sanding with fine-grit sandpaper removes imperfections and creates a perfect base for the next coat. Cleaning the surface thoroughly after sanding is essential to avoid dust particles in your final coat. Use tack cloths to wipe down and ensure a pristine surface. Patience and attention to detail will reward you with a kitchen that looks professionally painted.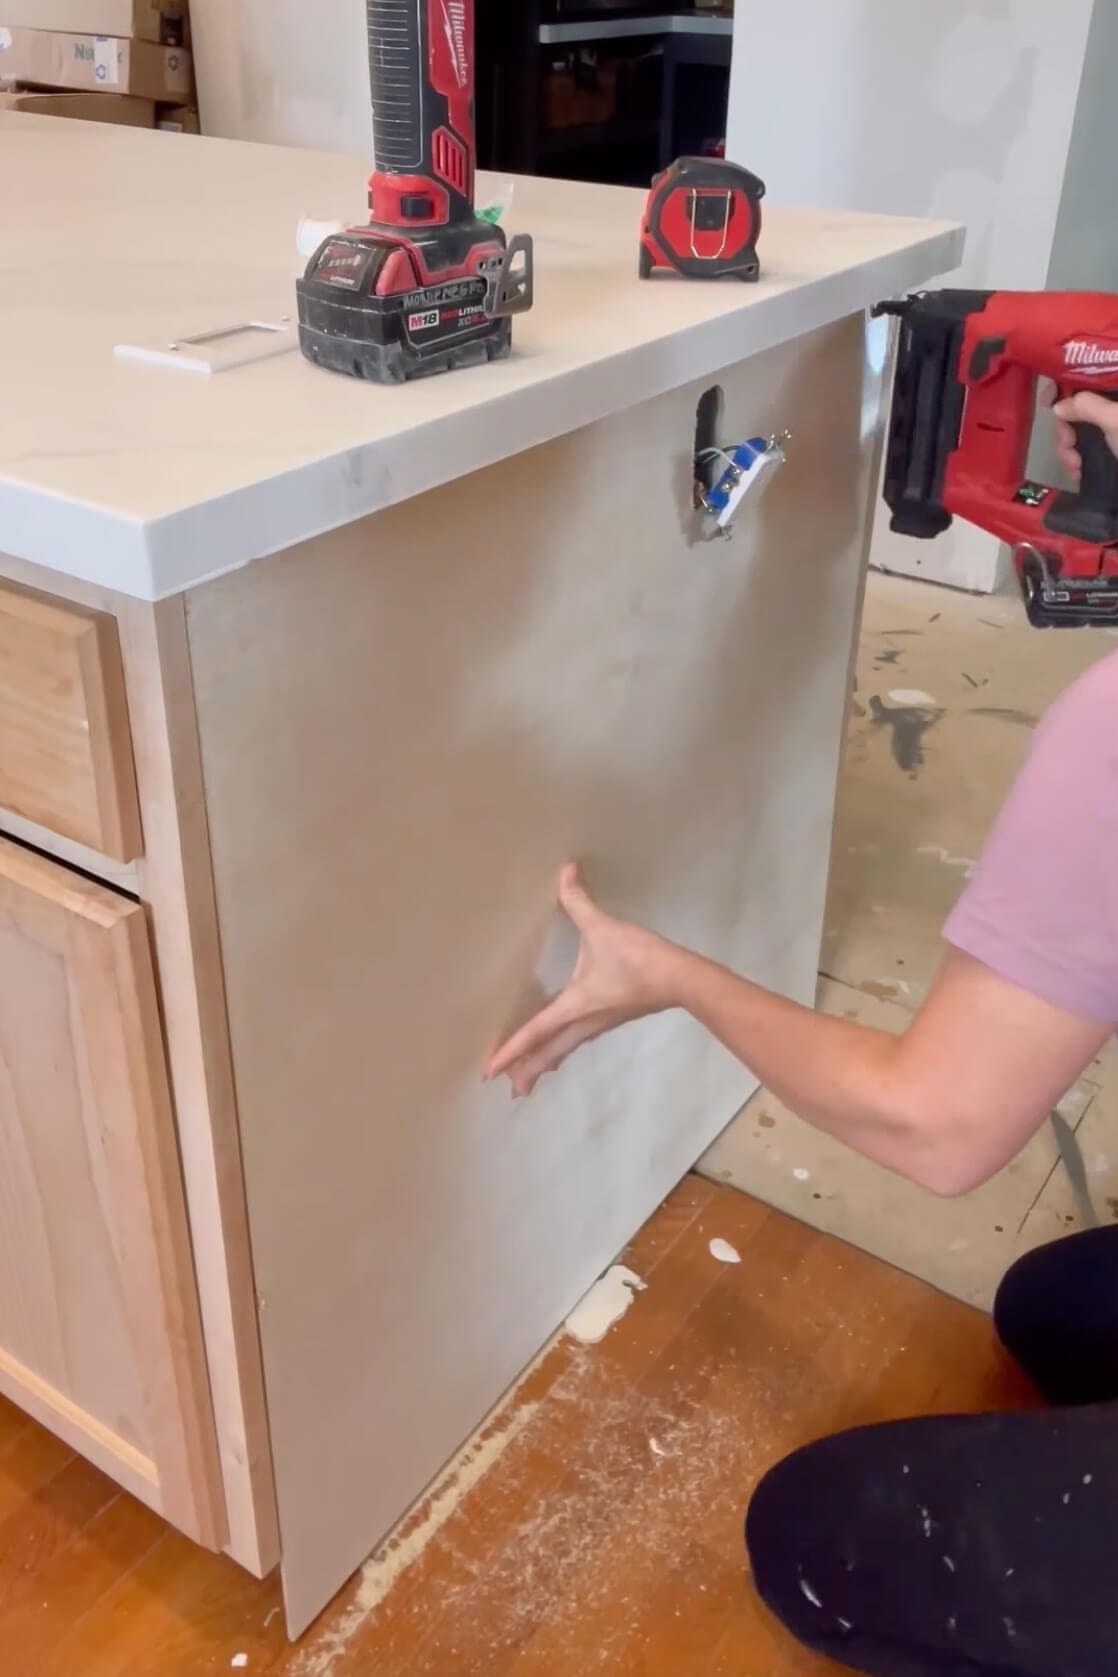
Credit: crystelmontenegrohome.com
Drying And Curing
Drying and curing are crucial steps in painting unfinished kitchen cabinets. This phase is not just about waiting; it’s about ensuring your hard work pays off with a flawless, durable finish. You might be tempted to rush the process, but patience here is your best ally. A well-dried and fully cured paint will enhance the longevity and beauty of your cabinets, making your kitchen the envy of every guest.
Recommended Drying Times
Understanding the recommended drying times for different paint types is essential. Most water-based paints dry to the touch within a couple of hours, but this doesn’t mean they’re ready for action. Allow a minimum of 24 hours for the paint to dry completely before handling your cabinets.
For oil-based paints, the drying time is longer. These paints typically need 6 to 8 hours to dry to the touch and up to 48 hours for a complete dry. Always check the manufacturer’s instructions for the best results.
Remember, humidity and temperature can affect drying times significantly. Try painting on a day with moderate weather conditions to ensure the paint cures properly.
Avoiding Common Mistakes
Rushing through drying and curing is a common mistake. Resist the urge to reassemble your kitchen before the paint has cured; this can lead to smudges or peeling. Give your paint at least a week to cure completely.
Avoid painting in high humidity areas. Excess moisture can interfere with the drying process, leading to a tacky or uneven finish. Use dehumidifiers if necessary to maintain optimal conditions.
Ensure good ventilation during drying. A well-ventilated area helps paint dry evenly and prevents any lingering odors. Open windows or use fans to facilitate airflow.
Are you ready to transform your kitchen? Remember, patience is the key to achieving that perfect finish. By following these drying and curing tips, you can ensure your cabinets are not only beautiful but also built to last.
Reassembling Cabinets
Preparing unfinished kitchen cabinets for painting involves sanding and priming. Clean surfaces ensure smooth paint application. Choose a high-quality primer to seal the wood, preventing bleed-through. Apply paint evenly for a flawless finish.
Reassembling your kitchen cabinets after painting them can feel like putting together a puzzle. It’s the final step that brings your hard work to life, transforming your kitchen into a fresh and vibrant space. Taking care to reassemble them properly ensures that your newly painted cabinets not only look good but function seamlessly. Let’s dive into the details to make this process smooth and satisfying.Attaching Hardware
Begin with attaching the hardware. This is the jewelry of your kitchen cabinet, providing both utility and style. Gather all knobs, pulls, hinges, and screws. Make sure they are clean and free from any paint splatters. Consider using a screwdriver instead of a drill for more precise control. This helps avoid over-tightening, which can strip screws or damage the freshly painted surface. If you’re upgrading your hardware, be sure to match the style and finish with your new cabinet color for a cohesive look.Ensuring Proper Alignment
Proper alignment is crucial for the functionality of your cabinets. Misaligned doors and drawers can make your kitchen look sloppy and cause them to not close properly. Start by hanging the doors back on their hinges. Use a level to ensure everything lines up perfectly. If you find gaps or uneven spacing, adjust the hinges accordingly. Don’t rush this step; a little patience here can save you from frustration later. Have you ever thought about the satisfaction of a cabinet door closing smoothly? It’s the small victories that make the effort worthwhile. Once everything is aligned, check for smooth operation. Open and close each door and drawer to ensure they move easily without sticking. This final check ensures your cabinets are ready for everyday use, enhancing the overall kitchen experience.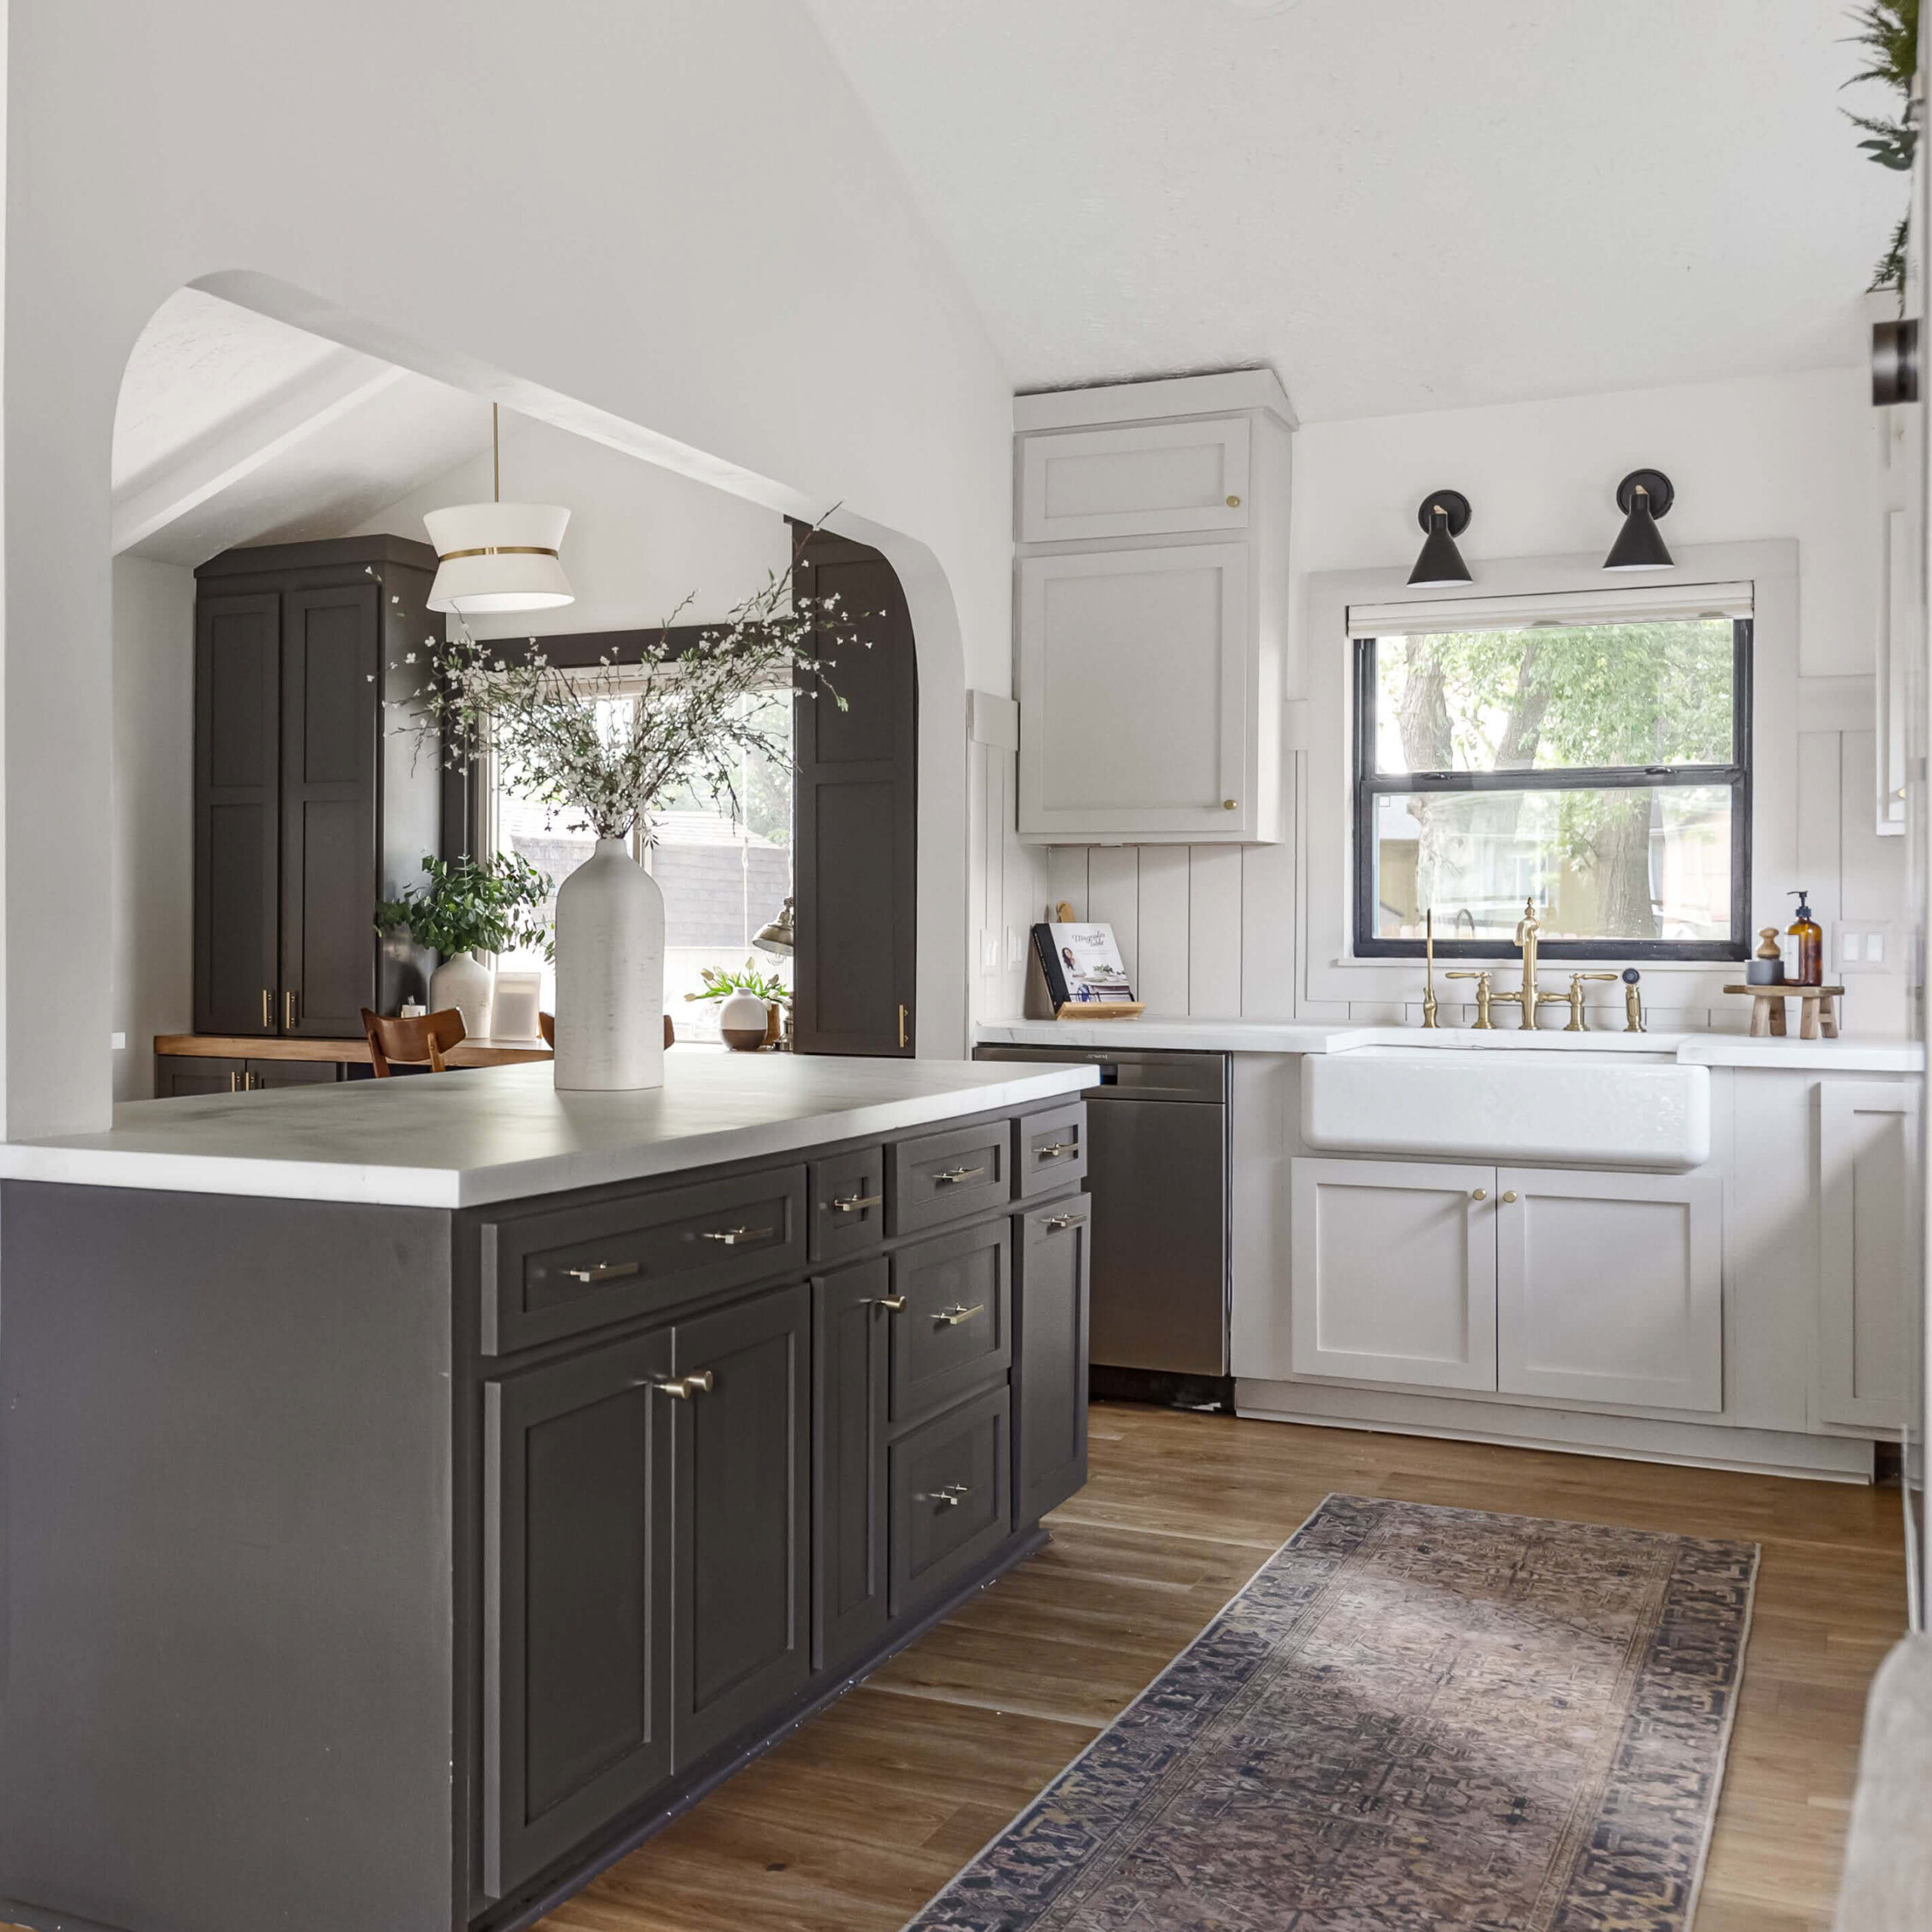
Credit: crystelmontenegrohome.com
Maintenance Tips
Painting unfinished kitchen cabinets requires careful preparation. Sand the surfaces smoothly to ensure paint adhesion. Apply primer to prevent stains and enhance durability.
Maintaining painted kitchen cabinets is vital for lasting beauty. Proper care ensures they stay vibrant and fresh. With regular maintenance, you can avoid costly repairs or repaints. Here are some essential tips to keep your painted cabinets looking new and clean.Cleaning Painted Cabinets
Regular cleaning keeps cabinets spotless. Use a soft cloth and mild soap. Avoid harsh chemicals that can damage the paint. Gently wipe surfaces, focusing on greasy spots. For tough stains, use a mixture of vinegar and water. Dry with a clean towel to prevent watermarks.Touch-up Techniques
Small scratches are inevitable. Touching them up is easy with the right paint. Keep leftover paint from the original project. Use a fine brush for precise application. Apply the paint lightly, blending with the surrounding area. Let it dry completely to match the finish.Frequently Asked Questions
Can You Just Paint Unfinished Cabinets?
Yes, you can paint unfinished cabinets. Proper preparation is key for a smooth, lasting finish. Clean, sand, and prime the surface before applying paint. Choose high-quality paint suitable for cabinets. This ensures durability and enhances appearance.
Are Home Depot Unfinished Cabinets Ready To Paint?
Yes, Home Depot unfinished cabinets are ready to paint. They provide a smooth surface for customization. Sand lightly before painting for best results. Use primer for improved paint adhesion and longevity. Choose your preferred paint color and finish to match your decor.
Do You Need To Prime Raw Wood Cabinets Before Painting?
Yes, priming raw wood cabinets is essential before painting. Primer enhances paint adhesion and provides a smooth finish. It also seals the wood, preventing stains and moisture damage. For best results, use a high-quality wood primer and allow it to dry completely before applying the paint.
Is It Better To Roll Or Brush Paint Cabinets?
Brushing provides a smooth finish for cabinets, especially on intricate details. Rolling is faster for large surfaces. Both methods have benefits, but brushing offers more control for detailed work. Choose based on your skill level and desired finish. For best results, consider combining both techniques.
Conclusion
Painting unfinished kitchen cabinets transforms your space beautifully. It’s a simple task. Start with good preparation. Sand them smoothly. Choose quality paint for lasting color. Apply primer first for better adhesion. Paint in thin layers, letting each dry. Clean your brushes after use.
This keeps your tools in top shape. The right technique offers a fresh look. Personalize with your favorite colors. Enjoy the satisfaction of a DIY project. Transform your kitchen without a big budget. Feel proud of your handiwork. Your kitchen will look amazing.
Ready to impress guests and family.

Similar Posts