How to Remove a Kitchen Tile Backsplash: Expert Tips
Executive Chef & Lead Commercial Kitchen Specialist at Daily Kitchup Test Lab
Are you tired of staring at your outdated kitchen tile backsplash? Maybe it’s time for a change, and you’re ready to tackle the task yourself.
You might be wondering, “Where do I even start? ” Removing a kitchen tile backsplash might seem daunting, but with the right guidance, it can be a manageable and rewarding project. Imagine transforming your kitchen space with a fresh look that you’ve achieved with your own hands.
In this guide, we’ll walk you through the step-by-step process of removing your kitchen tile backsplash efficiently and safely. Get ready to unleash your inner DIY enthusiast and discover just how satisfying it can be to update your kitchen. Stick around to learn valuable tips and tricks that will make this seemingly challenging task a breeze.
Gathering Necessary Tools
Gather all necessary tools before removing a kitchen tile backsplash. Essential items include a utility knife, chisel, hammer, and safety goggles. Having these tools ready ensures a smooth and efficient tile removal process.
Removing a kitchen tile backsplash requires careful preparation. Gathering the right tools is essential. This ensures a smooth removal process. It minimizes damage to the wall and makes the task easier. With the proper equipment, you can efficiently remove the tiles, leaving your kitchen ready for the next step.Essential Equipment
To successfully remove a backsplash, you need specific tools. These tools help loosen and remove tiles effectively. Here’s what you should have:- Putty Knife:Useful for prying tiles off the wall.
- Hammer:Helps in tapping the putty knife behind the tiles.
- Chisel:Assists in breaking stubborn tiles.
- Scraper:For removing adhesive residue.
- Bucket:To collect removed tiles and debris.
Safety Gear
Safety is crucial during any home improvement task. Protect yourself with the right gear. Here’s what you need:- Gloves:Protect your hands from sharp edges and debris.
- Safety Glasses:Shield your eyes from flying tile pieces.
- Dust Mask:Prevents inhalation of dust and particles.
Preparing The Workspace
Preparing the Workspace Clear the kitchen area of appliances and decorations. Cover countertops with protective sheets to catch debris. Ensure you have the necessary tools like goggles and gloves for safety. A tidy workspace helps avoid accidents and speeds up the tile removal process.
Preparing your workspace is the first step in removing a kitchen tile backsplash. A well-organized area ensures safety and efficiency. It helps minimize dust and debris spread. This process requires attention and a bit of planning.Clearing The Area
Remove all items from the countertops. This includes appliances, utensils, and decor. Place them in a different room to avoid damage. Empty the kitchen of unnecessary items. This ensures you have ample space to work. Keep the floor clear too. This prevents tripping hazards. A tidy space aids focus and efficiency.Protecting Surfaces
Cover the countertops with a heavy-duty fabric. Old bedsheets or drop cloths work well. Secure them with tape to prevent slipping. Protect the floor using similar materials. This avoids scratches and tile fragments. Use plastic covers for cabinets. They shield from dust and debris. Masking tape secures these covers in place. This prevents any accidental movement.Removing Grout
Removing grout requires a grout saw or a multi-tool with a grout removal attachment. Carefully guide the tool along the grout lines to remove it without damaging the tiles. Clean the area thoroughly before installing a new backsplash.
Removing grout can seem daunting at first, but with the right approach, it becomes a manageable task. Grout is the glue that holds your tiles together, and its removal is crucial for taking down a kitchen backsplash. The key lies in carefully choosing the right tools and techniques to ensure the integrity of the surrounding tiles and walls. Let’s dive into the specifics to make your grout removal process as smooth as possible.Choosing The Right Tool
Selecting the appropriate tool is your first step in grout removal. Have you ever found yourself overwhelmed by the choices at a hardware store? You’re not alone. For small areas or thin grout lines, a grout removal tool or a utility knife may be sufficient. They offer precision without the risk of damaging nearby tiles. For larger surfaces, consider an oscillating tool with a grout removal attachment. This tool not only speeds up the process but also minimizes the dust and debris. Before you begin, ensure you have protective eyewear and gloves. Safety is crucial when handling sharp or motorized tools.Careful Grout Extraction
When extracting grout, patience is your best ally. Have you ever rushed a task only to create more work for yourself? With grout removal, slow and steady wins the race. Start by gently scoring the grout lines with your chosen tool. Apply consistent pressure to avoid slipping and damaging the tiles. Gradually work your way along each line, removing small sections at a time. This method reduces the risk of chipping tiles or gouging the wall behind them. If you encounter stubborn grout, don’t force it. Consider applying a grout softener to loosen it up, making removal smoother and more efficient. Remember, while the task may seem tedious, each careful step brings you closer to a fresh, new kitchen look. Are you ready to tackle your backsplash with confidence?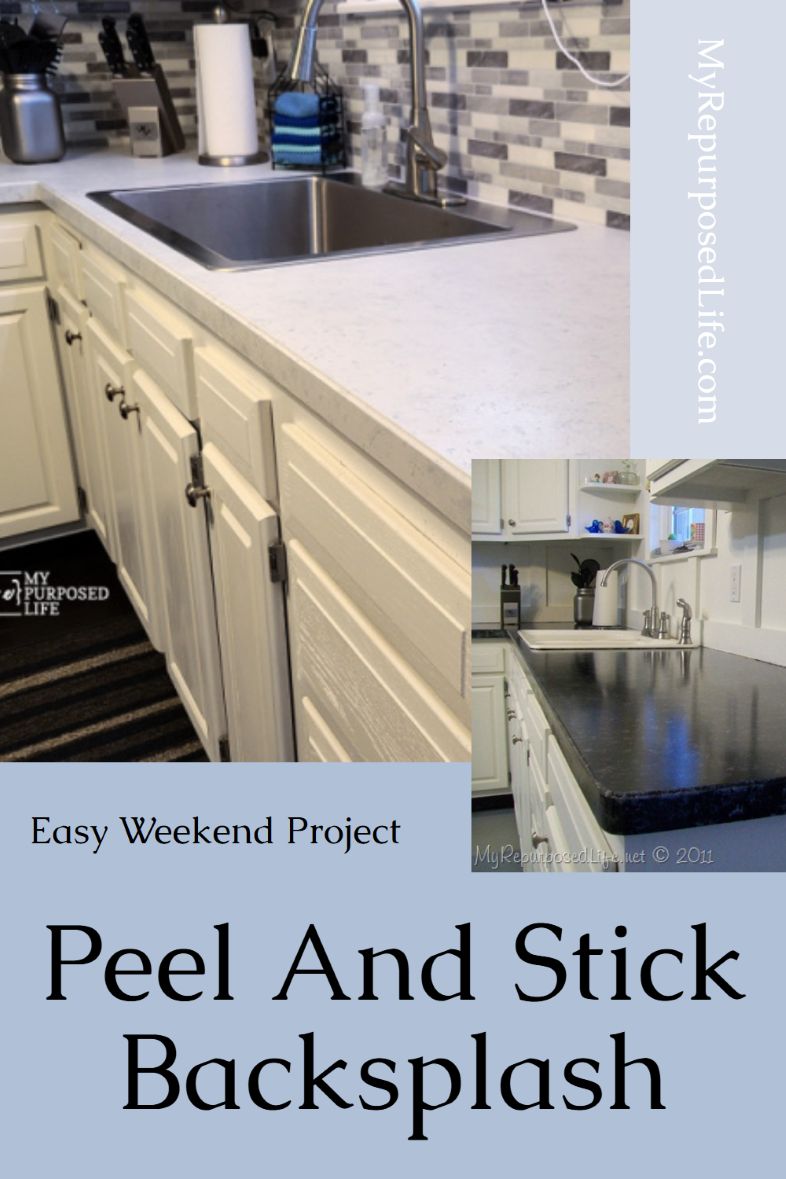
Credit: www.myrepurposedlife.com
Detaching Tiles
Removing kitchen tile backsplash involves careful preparation and technique. Start by loosening grout lines with a utility knife. Use a chisel and hammer to gently pry tiles off the wall, working slowly to avoid damage.
Detaching tiles from a kitchen backsplash can be a satisfying task. It requires patience and the right technique. Start with the right tools. Safety goggles and gloves are a must. Use a putty knife or a chisel. They help in loosening the tiles.Prying Techniques
Use the putty knife to get under a tile edge. Gently tap with a hammer. This helps in loosening the tile. Work slowly to avoid breaking it. Move the putty knife around the tile. This ensures even pressure. Once loose, pry the tile away.Avoiding Tile Damage
Tile removal should be gentle. Use minimal force when prying. Excessive force can crack tiles. Keep the putty knife flat. This reduces the risk of breaking. If a tile is stuck, move to another. Return to stubborn tiles later.Cleaning Residual Adhesive
Removing a kitchen tile backsplash involves scraping off tiles and cleaning residual adhesive. Use a putty knife to gently remove leftover adhesive, ensuring a smooth surface.
Cleaning Residual Adhesive Removing a kitchen tile backsplash isn’t just about getting rid of the tiles. The real challenge often lies in cleaning the residual adhesive left behind. This sticky residue can turn your DIY project into a frustrating ordeal if not handled properly. Imagine scraping away at the stubborn adhesive only to realize it’s barely budging. The secret is using the right technique and tools to make this task easier. So, how do you effectively clean off that pesky adhesive? Let’s dive into some practical methods.Scraping Methods
Scraping is usually the first method to try when dealing with residual adhesive. Use a putty knife or a scraper with a comfortable grip. This will give you better control and reduce hand fatigue. Start by holding the scraper at a low angle to the wall. This helps minimize the risk of gouging the drywall. Apply consistent pressure and gently work your way across the adhesive. If the adhesive proves stubborn, don’t hesitate to switch to a more robust tool like a chisel. Just ensure it’s not too sharp to avoid damaging the wall surface.Using Solvents
Solvents can be a game changer for removing adhesive that refuses to budge. Products like adhesive removers or even household items like vinegar can soften the adhesive. Before applying, test the solvent on a small, inconspicuous area to ensure it doesn’t damage the wall. Once confirmed, soak a cloth with the solvent and apply it to the adhesive. Let it sit for a few minutes to break down the adhesive. Afterward, use your scraper to peel away the softened adhesive. You’ll notice it’s much easier to remove. Remember, patience and persistence are key. Sometimes, it takes multiple applications to fully remove the residue. But once done, you’ll have a clean slate to work with for your next kitchen makeover.Inspecting The Wall
Begin by examining the wall for damage or weak spots. Carefully check for loose tiles or cracks. Identifying these areas helps ensure a smoother removal process.
Inspecting the wall after removing a kitchen tile backsplash is a crucial step that sets the foundation for a successful new installation. You might think the hard work is over once the tiles are gone, but the real magic happens now. Inspecting the wall ensures the surface is ready for your next creative project, whether it’s a fresh set of tiles or a modern alternative.Checking For Damage
The first thing you’ll want to do is check for any damage. Walls can suffer during tile removal, especially if tiles were bonded with strong adhesive. Look for gouges, cracks, or uneven surfaces. Use a flashlight to spot imperfections that might need patching. If you find damage, don’t panic. Consider using a wall patch kit for minor repairs or professional help for bigger issues. Addressing these promptly prevents future headaches and ensures your new backsplash adheres smoothly.Prepping For New Installation
Once you’re satisfied with the wall’s condition, start prepping for the new installation. Think about what you want next—tiles, paint, or something entirely different. Preparing the wall involves cleaning to remove dust and debris. A clean surface is non-negotiable. If you’re planning to install new tiles, ensure the wall is perfectly smooth. Use sandpaper to even out any rough spots. Planning to paint? Check that the surface is primed for a fresh coat. What’s your vision for the kitchen? Get creative and choose materials that express your style.Disposing Of Materials
Removing a kitchen tile backsplash requires careful planning and the right tools. Start by protecting countertops and removing grout using a grout saw. Carefully pry tiles off with a putty knife, ensuring minimal damage to the wall. Dispose of old tiles responsibly, following local waste disposal guidelines.
Disposing of the materials from a kitchen tile backsplash removal can often feel like an overwhelming task. With tiles, grout, and other debris piling up, knowing how to responsibly dispose of these materials is crucial. Fortunately, there are several methods to handle the waste efficiently while being kind to the environment.Recycling Options
Did you know that some tiles can be recycled? Ceramic and porcelain tiles, for instance, are often accepted by recycling facilities. Check with your local recycling center to see if they accept these materials. If you’re a creative soul, consider repurposing old tiles for DIY projects. Tiles can be transformed into coasters, garden mosaics, or even used in art projects. It’s a great way to give them a second life instead of sending them to the landfill.Safe Waste Disposal
For tiles that can’t be recycled, safe disposal is key. Many areas have specific guidelines for disposing of construction debris, including tiles. Contact your local waste management service to learn about your options. Consider renting a small dumpster if you have a large volume of waste. It’s a convenient way to handle debris, and many companies offer recycling services for construction materials. Lastly, always wear protective gear when handling and disposing of tiles. Sharp edges can cause injuries, so gloves and safety goggles are a must. Remember, safety first!
Credit: www.youtube.com
Common Mistakes
Removing a kitchen tile backsplash can seem easy. But common mistakes can lead to costly repairs. Awareness of these errors can help avoid them. Let’s look at two frequent pitfalls.
Avoiding Tile Breakage
Many people rush through the removal process. This can cause tiles to crack or break. Use the right tools for the job. A putty knife or chisel works well. Insert it gently under the tile edge. Apply slow, steady pressure to lift the tile. Avoid using a hammer directly on the tile. This can shatter it. Wear gloves to protect your hands from sharp edges.
Preventing Wall Damage
Prying tiles off too forcefully can harm walls. This damage can lead to extra repairs and costs. Use a gentle touch during removal. Score the grout lines first. This loosens the tile. Use a utility knife for this step. Be careful not to cut too deep. Work slowly along the edges. Keep the wall intact for future projects.

Credit: mercurymosaics.com
Frequently Asked Questions
How Do I Remove Tile Backsplash Without Damaging Drywall?
Use a utility knife to score grout lines, then carefully pry tiles with a putty knife. Work slowly, keeping the knife flat against drywall to avoid damage. Remove adhesive residue with a gentle scraper. Clean the area with a damp cloth to finish.
Is It Difficult To Remove A Kitchen Tile Backsplash?
Removing a kitchen tile backsplash can be challenging. It requires proper tools and caution to avoid damage. With patience and the right technique, you can successfully remove it. Professional help might be needed for large or stubborn tiles. Always ensure safety during the process to prevent injuries.
What Tool Should I Use To Remove Backsplash Tile?
Use a pry bar, chisel, or oscillating multi-tool to remove backsplash tiles effectively. Equip yourself with safety glasses and gloves. Start from the edge and work carefully to avoid damaging the wall. For stubborn tiles, a heat gun can help loosen adhesive.
Always prioritize safety and precision.
Can You Remove Tile Without Removing Drywall?
Yes, you can remove tile without removing drywall. Carefully pry tiles off using a chisel and hammer. Protect drywall from damage by working gently. Fill any minor drywall holes or damage with spackle. Ensure proper safety measures and tools are used during the process to avoid any harm.
Conclusion
Removing a kitchen tile backsplash can be a simple task. Start by gathering your tools. A hammer, chisel, and safety gear. Then, loosen the tiles carefully. Protect your countertop from damage. Work slowly to avoid breaking tiles. Clean the wall thoroughly after removal.
Prepare the surface for new tiles or paint. Enjoy the fresh look in your kitchen. Remember, patience is key. Take your time to ensure a clean finish. With these steps, the process can be smooth and rewarding. Your kitchen will soon have a fresh new style.

Similar Posts





















