How to Remove Kitchen Tile Countertop: Easy DIY Guide
Are you tired of staring at those outdated kitchen tile countertops every time you cook or entertain? You’re not alone.
Many homeowners feel trapped by old-fashioned designs that no longer match their style or needs. If you’ve been dreaming of a fresh kitchen look but fear the daunting task of removing those tiles, you’re in the right place. Imagine the satisfaction of transforming your cooking space into a modern, stylish kitchen that reflects your personality.
In this guide, you’ll discover simple, step-by-step methods to safely and efficiently remove your kitchen tile countertop, making way for the kitchen of your dreams. Keep reading, and you’ll soon find yourself ready to tackle this home improvement project with confidence.
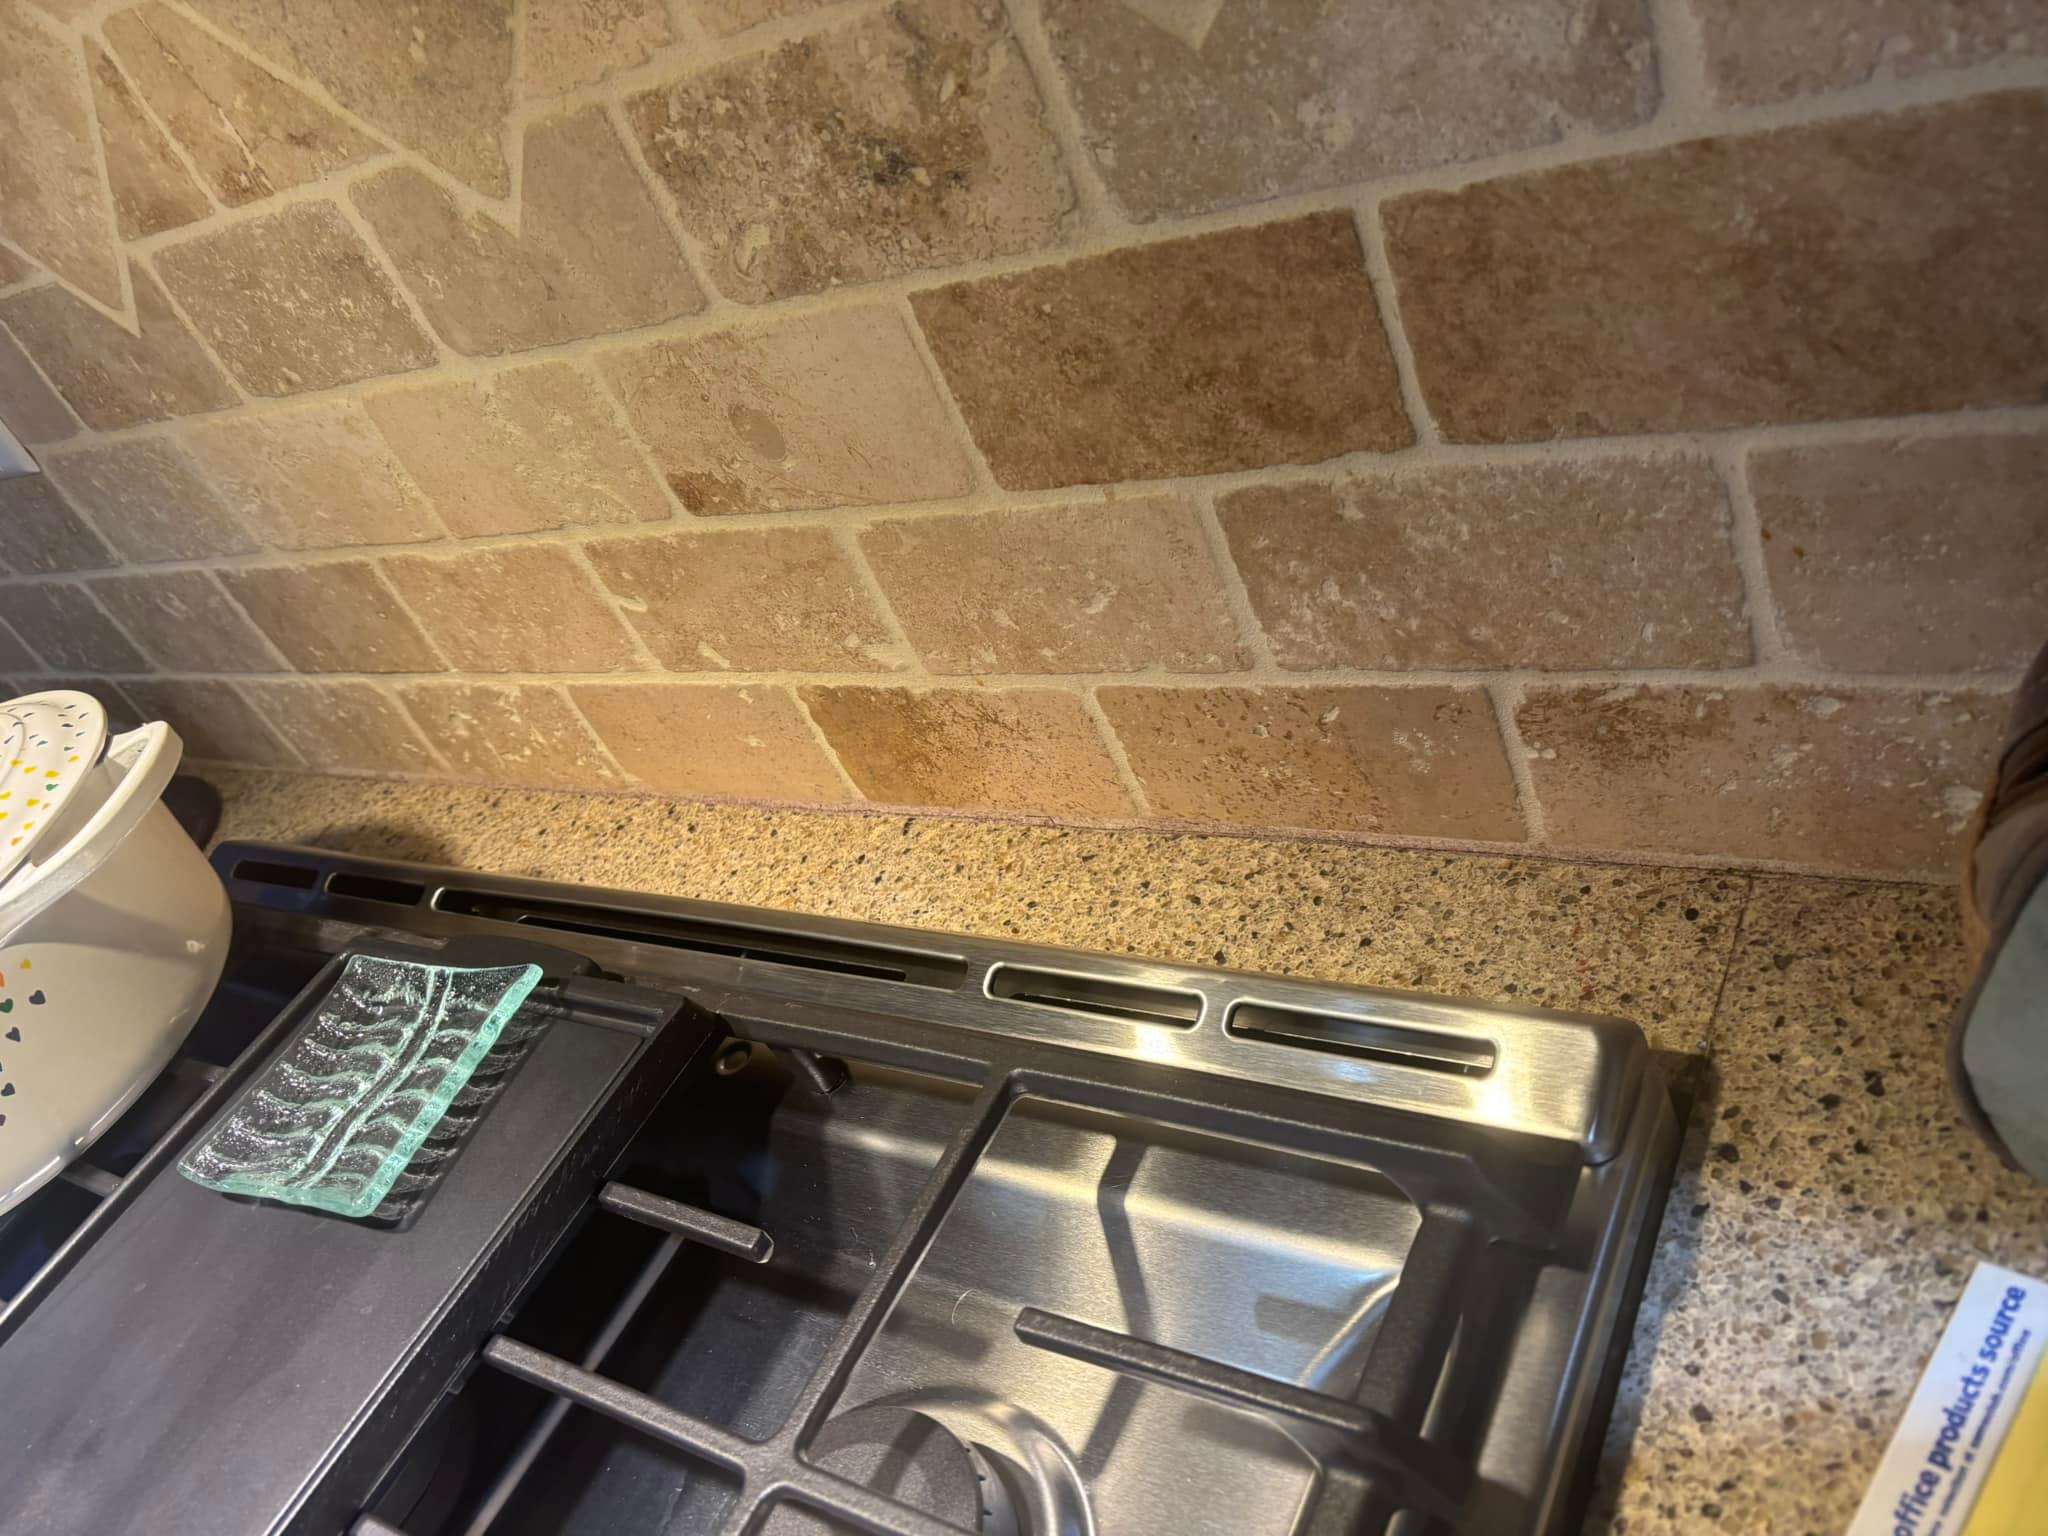
Credit: www.facebook.com
Preparing For Tile Removal
Removing a kitchen tile countertop requires careful preparation. Gather necessary tools like a chisel and hammer. Wear safety gear to protect yourself from dust and debris.
Removing a kitchen tile countertop can be a satisfying home improvement project. Before you dive in, it’s crucial to prepare properly. This ensures the process is smooth and reduces the risk of damage to your kitchen or injury to yourself. Whether you’re an experienced DIY enthusiast or a first-timer, preparation is key to success.Gathering Necessary Tools
Having the right tools at your disposal makes the job much easier. You’ll need a few essentials to get started. A hammer and chisel are basic, but effective, for prying up tiles. Consider using a putty knife for more delicate work. For larger areas, a pry bar can provide the leverage needed. A utility knife helps in cutting through caulk and adhesive. A dust mask and goggles protect you from debris.Ensuring Safety Precautions
Safety should be your top priority. Before you begin, ensure you’re wearing protective gear. Gloves protect your hands from sharp edges and broken tiles. Eye protection is crucial to shield against flying debris. A dust mask keeps you from inhaling harmful particles. Clear the area of unnecessary items to prevent accidents. Think about your work area. Is it well-ventilated? Adequate airflow is important, especially if you’re working with adhesives that emit fumes. Take a moment to plan your movements and keep your workspace organized. Being prepared and cautious not only ensures your safety but also makes the tile removal process more efficient and enjoyable. What tools do you already have, and which ones do you need to acquire before starting your project?
Credit: www.tiktok.com
Clearing The Work Area
Removing a kitchen tile countertop can be messy. Start by clearing the work area. This step helps ensure a smooth process. A clutter-free space reduces accidents and makes work easier.
Removing Kitchen Items
Begin by removing all items from the countertop. Take away appliances like mixers and coffee makers. Store utensils and containers elsewhere. Clear the area of any decorative pieces. Check cabinets underneath the counter. Remove items inside that may get damaged. This helps protect them during the project.
Covering Adjacent Surfaces
Protect nearby surfaces from dust and debris. Use plastic sheets or drop cloths. Cover walls, floors, and any furniture close by. Secure coverings with tape to keep them in place. This simple step prevents unwanted mess. It also saves cleaning time later.
Loosening The Grout
Loosening grout is crucial for tile removal. Use a grout removal tool to carefully chip away grout lines. This ensures tiles can be lifted without damage.
Loosening grout is the first step in removing a tile countertop. This process requires care to avoid damaging surrounding areas. Proper technique ensures a smoother tile removal experience.Using A Grout Saw
A grout saw is a handy tool. It helps scrape out grout between tiles. You should use gentle back-and-forth motions. This reduces the risk of tile damage. Start at one end and work steadily. Remember to wear safety goggles. Tiny grout particles can be harmful to the eyes.Softening Grout With Heat
Heat can make grout removal easier. A hairdryer or heat gun works well. Direct the heat at the grout lines. Move slowly to avoid overheating tiles. Warm grout becomes softer. This makes scraping with a tool much simpler. Always maintain a safe distance to prevent burns.Removing The Tiles
Removing kitchen tile countertops can seem daunting. With the right approach, it becomes manageable. Tiles are typically glued to the surface. Removing them requires patience and the right tools. Focus on a methodical approach to avoid damaging underlying surfaces.
Starting From The Edge
Begin at the countertop’s edge. It is usually the weakest point. Use a putty knife or chisel. Carefully insert it under the tile edge. Apply gentle pressure to lift the tile. Work slowly to avoid cracking tiles. If tiles resist, use a hammer to tap the tool gently. This helps loosen stubborn tiles.
Using A Putty Knife
A putty knife is essential for tile removal. It has a thin, flat blade. This makes it perfect for prying up tiles. Slide the knife under a tile edge. Rock it back and forth gently. This motion helps break the adhesive bond. Repeat this process for each tile. Consistency is key for smooth removal.
Handling Stubborn Tiles
Removing stubborn kitchen tile countertops requires patience and the right tools. Begin by loosening grout with a chisel or scraper. Carefully pry the tiles using a pry bar, ensuring minimal damage to the underlying surface.
Removing kitchen tile countertops can be a daunting task, especially when faced with stubborn tiles that refuse to budge. Many homeowners find themselves frustrated, wondering why certain tiles cling so tightly. The key to success lies in knowing the right techniques to handle these obstinate tiles. With patience and the right tools, even the most stubborn tiles can be removed efficiently. Here’s how:Using A Chisel And Hammer
Using a chisel and hammer is a tried-and-true method for dealing with stubborn tiles. Position the chisel at the edge of the tile, aiming to get underneath it. Apply a gentle tap with the hammer to loosen the tile. This method requires patience and precision. If the tile doesn’t move, adjust your angle and try again. Perseverance pays off here, as I’ve learned from my own kitchen renovation.Applying Gentle Pressure
Gentle pressure can sometimes be more effective than force. Instead of hammering away relentlessly, try applying steady pressure to the tile. This can be done using a flat tool or even your hands. The goal is to gradually loosen the adhesive without damaging surrounding tiles. Have you ever found that taking a step back and reassessing your approach can make all the difference? This technique embodies that philosophy.
Credit: www.instagram.com
Cleaning The Surface
Cleaning the surface is a crucial step in removing a kitchen tile countertop. After prying up the tiles, the surface will be messy. Dust, debris, and adhesive remain. Cleaning ensures a smooth base for new installations.
Scraping Off Residual Adhesive
Use a putty knife to scrape off any leftover adhesive. Work carefully to avoid damaging the surface beneath. A heat gun can soften stubborn adhesive, making it easier to remove. Keep the scraper at a low angle for better control. Check for any stubborn spots that need extra attention.
Preparing For New Installation
Once the surface is clean, inspect for uneven areas. Sand down high spots to create a flat surface. Ensure the area is completely dry before proceeding. Gather necessary materials for the new countertop installation. Double-check measurements to ensure a perfect fit.
Disposing Of Old Tiles
Removing a kitchen tile countertop requires careful planning and proper tools. Start by loosening grout with a grout saw. Then, gently pry tiles using a chisel and hammer, ensuring not to damage underlying surfaces. Dispose of tiles responsibly, considering recycling or local waste management options.
Disposing of old tiles after removing a kitchen tile countertop can seem like a daunting task. However, it’s an opportunity to make environmentally conscious decisions. Instead of simply tossing them into the trash, consider more sustainable options.Eco-friendly Disposal Options
One eco-friendly option is to donate your old tiles. Local charities or community centers might welcome them for art projects or building repairs. You could also check with your local Habitat for Humanity ReStore, where building materials are often accepted. Another approach is to use the tiles in your own garden. Broken tiles can create beautiful mosaics or serve as stepping stones. This not only saves them from the landfill but also adds a unique touch to your outdoor space.Recycling And Reusing Tiles
Recycling tiles can be a straightforward process if you find the right facilities. Many waste disposal centers have specific bins for construction materials. It’s worth a call to see if they accept tiles. Reusing tiles can spark creativity. Consider repurposing them into coasters or trivets. You might also use whole tiles as a durable, heat-resistant surface for crafts or workshops. Have you thought about integrating them into a new DIY project? Tiles can be used to create custom tabletops or backsplashes. By thinking outside the box, you give your old tiles a second life. This process not only benefits the environment but also adds a personal touch to your living space. Remember, every tile you repurpose or recycle is one less piece in a landfill.Frequently Asked Questions
Is It Difficult To Remove A Kitchen Tile Backsplash?
Removing a kitchen tile backsplash can be challenging. It requires careful handling to prevent wall damage. Tools like a chisel and hammer are needed. Preparation and patience are essential for a successful removal. Professional assistance can simplify the task. Consider the time and effort involved before starting the project.
How Much To Demo Tile Countertops?
Demolishing tile countertops typically costs between $5 to $15 per square foot. Prices vary based on location and complexity. Always get multiple quotes from professionals to ensure competitive pricing. Consider factors like disposal fees and labor costs for a more accurate estimate.
Can You Remove Kitchen Tile Without Removing Cabinets?
Yes, it’s possible to remove kitchen tiles without removing cabinets. Carefully detach tiles using tools like chisels or pry bars. Protect cabinets from damage during the process. Consider hiring professionals for precision and safety. Ensure all debris is cleared to maintain a clean workspace.
Can Countertops Be Removed Without Damaging The Backsplash?
Yes, countertops can be removed without damaging the backsplash. Use careful techniques and appropriate tools for best results. Ensure proper separation and support during removal to avoid cracks or chips. Hiring a professional can minimize the risk of damage and ensure a smooth process.
Conclusion
Removing a kitchen tile countertop might seem tough at first. With patience, it becomes manageable. Start with the right tools. Wear safety gear to protect yourself. Follow each step carefully. Take your time to avoid damage. Clean up the area after removal.
A clean space helps with the next steps. Feel proud of your hard work. A new countertop awaits you. Enjoy the satisfaction of a job well done. You now have a fresh canvas for your kitchen dreams. Happy renovating!