How to Repair Kitchen Sink Sprayer: Easy DIY Guide
Is your kitchen sink sprayer acting up, refusing to deliver that satisfying stream of water when you need it most? You’re not alone.
Many homeowners face this frustrating issue, and the good news is that you can fix it yourself without breaking a sweat. Imagine the convenience of a fully functional sink sprayer, always ready to rinse dishes or fill a pot. By taking a few simple steps, you can save time, money, and the hassle of calling in a professional.
So, roll up your sleeves and discover how to repair your kitchen sink sprayer efficiently and effectively. Don’t let this small setback disrupt your kitchen’s harmony any longer! Dive into our guide and reclaim the convenience you deserve.

Credit: www.youtube.com
Tools And Materials Needed
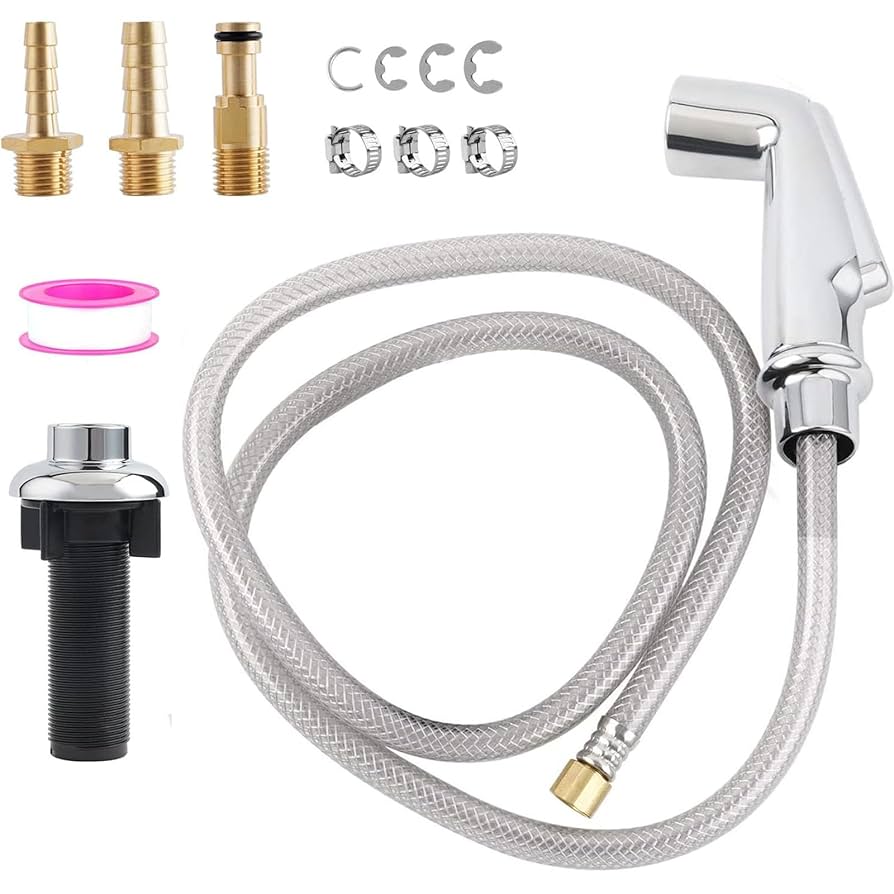
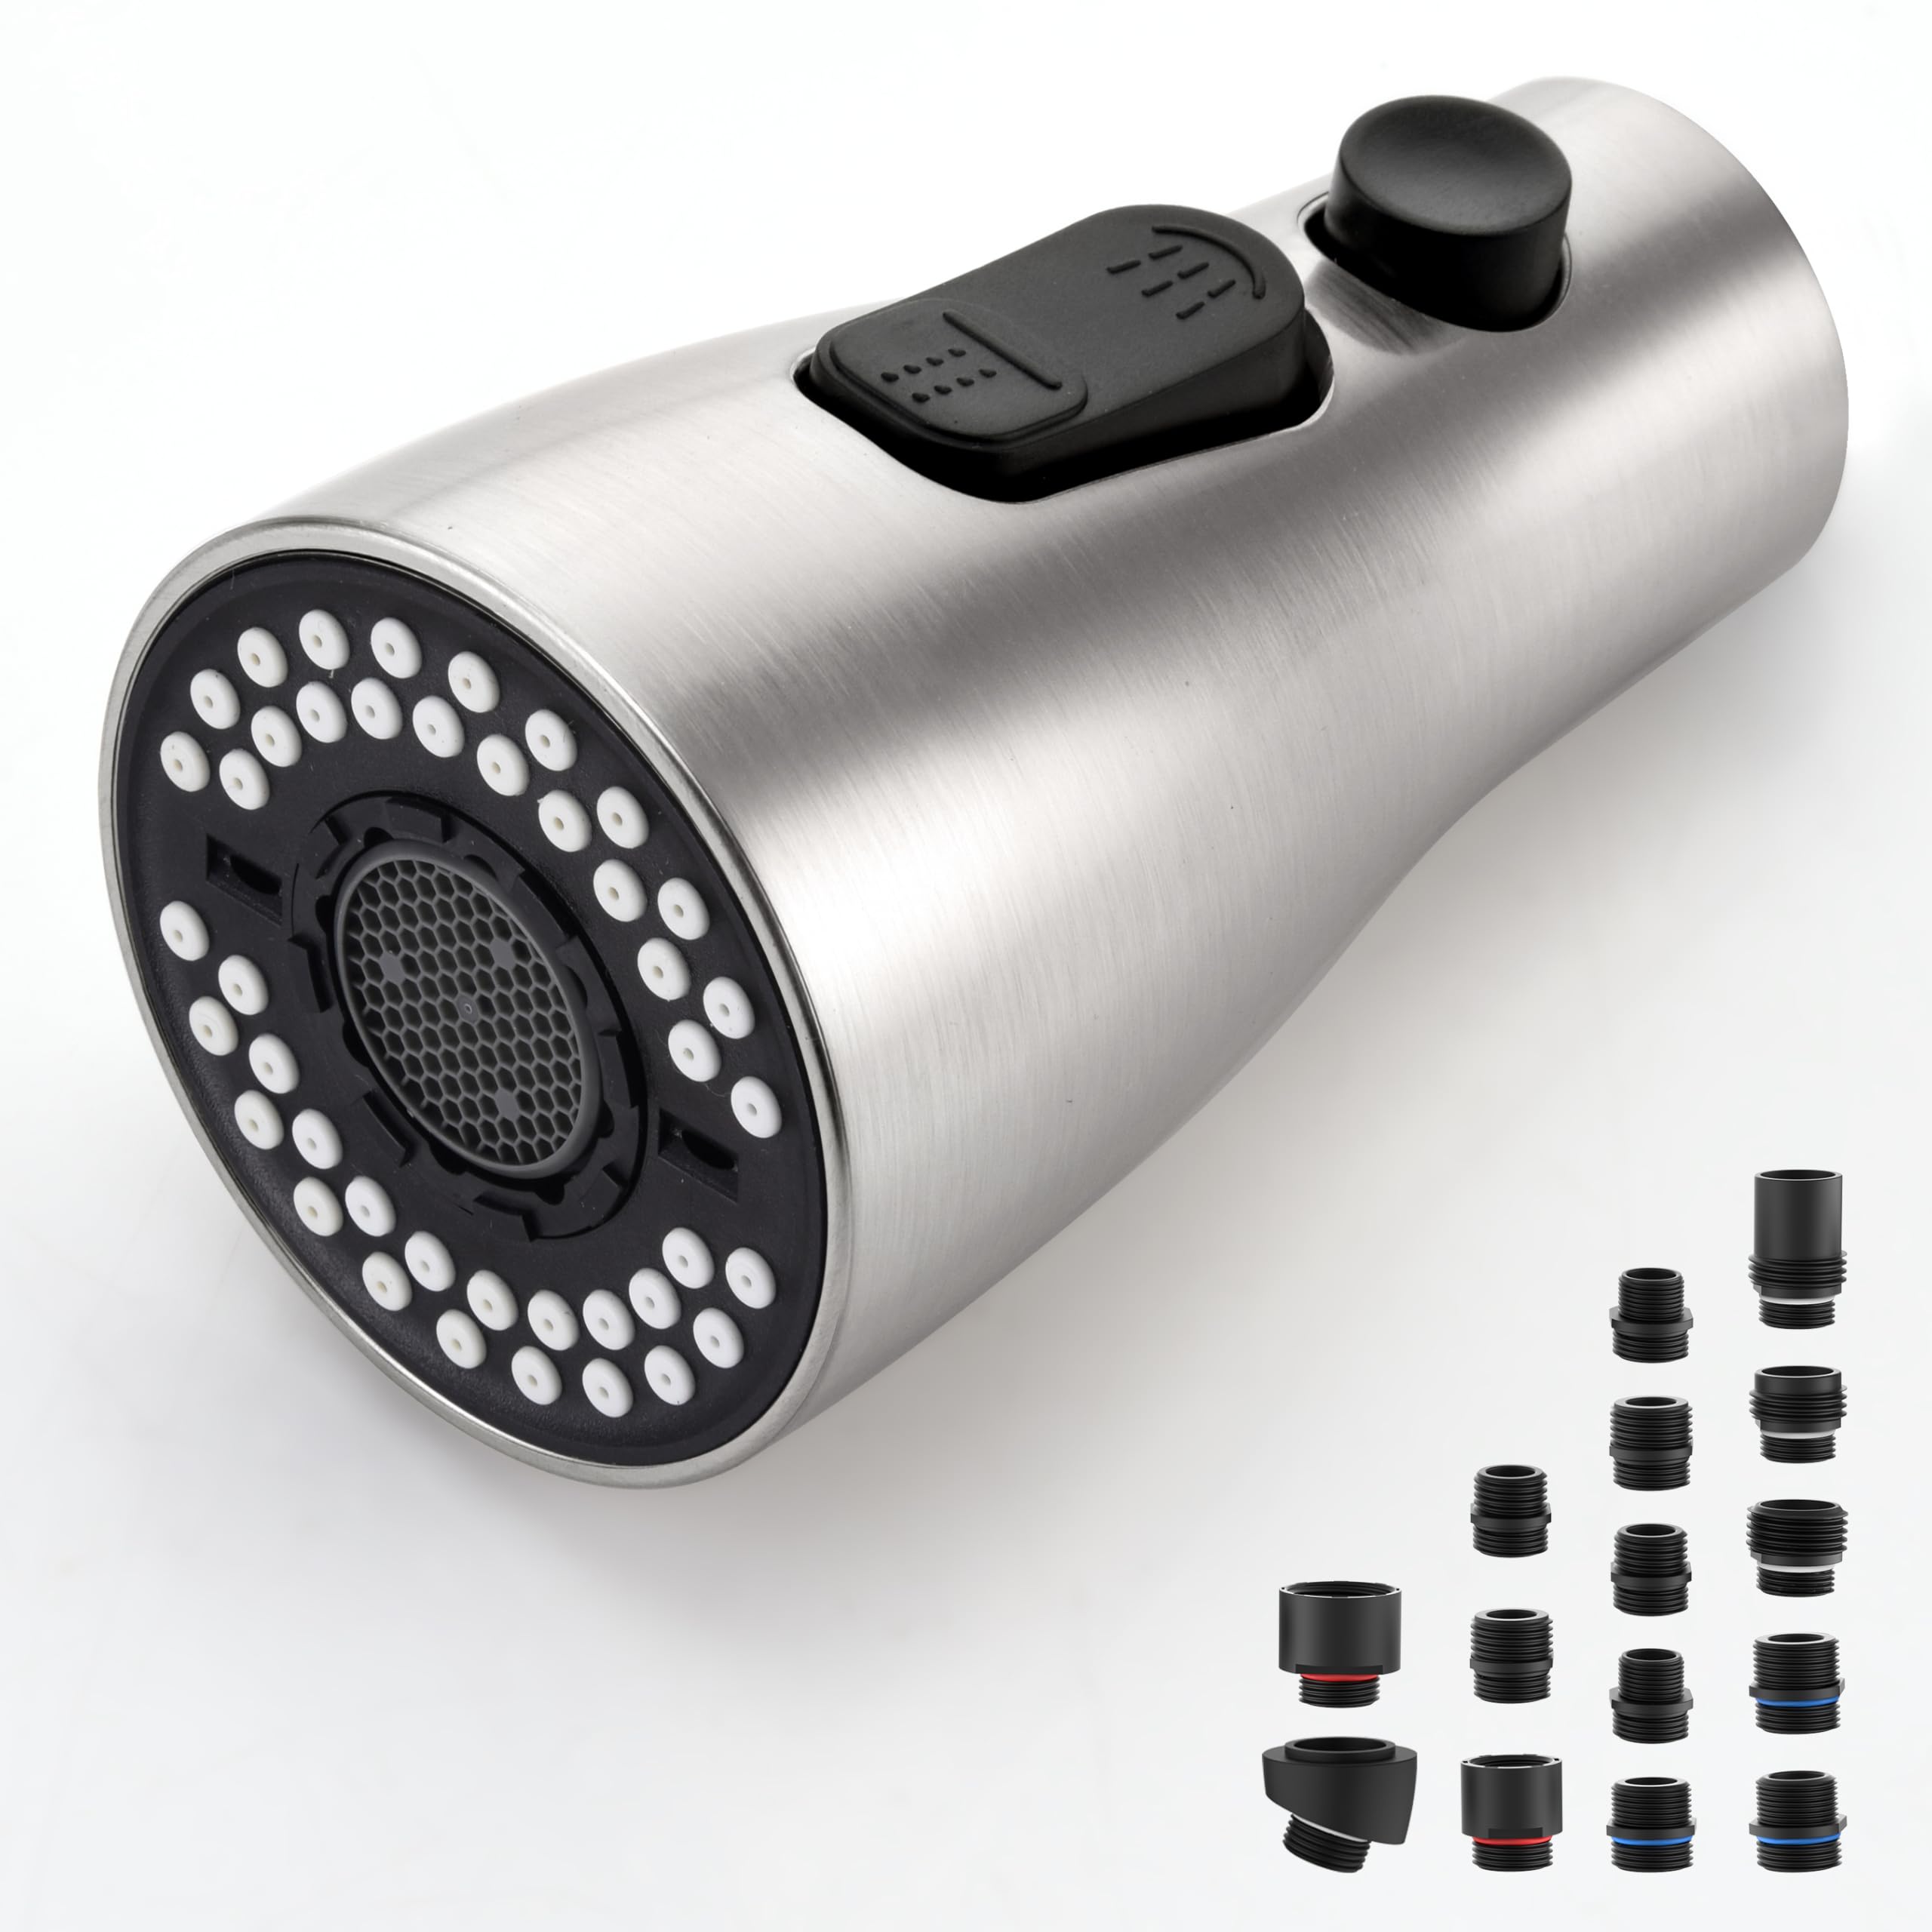
Gather a wrench, pliers, and a screwdriver. You’ll also need plumber’s tape and a replacement sprayer head. These basic tools and materials are essential for fixing a kitchen sink sprayer efficiently.
Repairing your kitchen sink sprayer can be a simple task if you have the right tools and materials on hand. Having everything ready can save you time and frustration. Let’s dive into what you’ll need to get the job done effectively.Tools You’ll Need
Ensure you have a basic set of tools handy. A wrench, preferably an adjustable one, will help you loosen or tighten nuts. A screwdriver set is essential for removing screws, especially if the sprayer is attached to a plate or if you need to access internal components. Don’t overlook the importance of having a pair of pliers. They come in handy for gripping and pulling out stubborn parts.Materials Required
Before you start, gather all necessary materials. You’ll likely need a replacement hose if that’s the source of the leak or malfunction. Choose a hose that’s compatible with your specific sprayer model for seamless installation. Consider having a roll of plumber’s tape. This will help you secure connections and prevent any leaks after the repair. Keep a clean rag nearby to wipe away any excess water and keep your workspace tidy.Additional Supplies
While not always necessary, having a small flashlight can be incredibly helpful. It allows you to clearly see under the sink or into dark areas where the sprayer connects. If you’re dealing with persistent leaks, consider a leak detection solution. It can help you identify any hidden issues that might not be visible to the naked eye. Having all these items ready can make the repair process smoother and more efficient. Are you ready to tackle your kitchen sink sprayer repair with confidence?
Credit: nrarep.net
Identifying The Problem
Identifying the problem with your kitchen sink sprayer is crucial. It helps in determining the right fix. Many issues can arise, each with its own signs. Understanding these can save time and effort.
Leaking Sprayer
A leaking sprayer usually means a loose connection. Check the hose connection to the faucet. Tighten it if it’s loose. Sometimes, the sprayer head gasket may be worn out. Replace it if necessary. Inspect the hose for cracks or splits. A damaged hose needs replacement.
Low Water Pressure
Low water pressure can frustrate any kitchen task. Start by checking the water supply valve. Ensure it’s fully open. Mineral build-up in the sprayer head could also be the cause. Remove the head and clean it thoroughly. If the problem persists, inspect the hose for kinks or blockages.
Stuck Button
A stuck button can disrupt your kitchen routine. Dirt or debris often causes this issue. Clean around the button with a soft brush. If it’s still stuck, remove the sprayer head. Check for any internal debris. Reassemble carefully after cleaning. A malfunctioning button may require a replacement sprayer head.
Basic Maintenance Tips
Maintaining a kitchen sink sprayer ensures it works smoothly. Regular care can prevent issues and extend its life. Here are some essential tips to keep your sprayer in top shape.
Regular Cleaning
Clean the sprayer head weekly to prevent mineral buildup. Soak it in vinegar and water for 30 minutes. This removes grime and keeps water flowing well. Use a soft brush to scrub the holes gently. Avoid using harsh chemicals that might damage the sprayer.
Inspecting Connections
Check the hose and connections monthly for leaks. Tighten any loose fittings with a wrench. Look for cracks in the hose that might cause water leaks. Replace damaged hoses immediately to prevent further problems. Ensure the connections are secure for optimal performance.
Step-by-step Repair Guide
Fixing a kitchen sink sprayer can seem daunting, but it’s manageable. With a few tools and patience, you can have it working again. Follow this easy guide to troubleshoot and repair your sink sprayer.
Turn Off Water Supply
First, ensure safety by turning off the water supply. Locate the valves under the sink. Turn them clockwise to shut off the water flow. This prevents any water leakage during the repair process.
Remove The Sprayer
Detach the sprayer from the hose by unscrewing it. Use a wrench if it’s tight. Gently pull the sprayer away from the hose. Keep all parts in a safe place for easy reassembly.
Check For Blockages
Inspect the sprayer for blockages. Debris can clog the nozzle, reducing water flow. Clean the nozzle with a thin brush or toothpick. Ensure water passages are clear and unobstructed.
Replace Worn-out Parts
Examine the sprayer and hose for worn-out parts. Look for cracks or damages in the hose. If needed, replace these parts with new ones. This ensures optimal sprayer performance and prevents leaks.
Reassemble And Test
Reattach the sprayer to the hose. Ensure all connections are secure. Turn the water supply back on. Test the sprayer by running water through it. Check for leaks and proper water flow.
Common Mistakes To Avoid
Ignoring leaks in the hose can worsen the problem. Forgetting to turn off the water before repairs may lead to flooding. Using incorrect tools might damage components, complicating the repair process.
Diving into the task of repairing a kitchen sink sprayer can be a rewarding experience, but it’s easy to make a few missteps along the way. These common mistakes can lead to wasted time and frustration, or even worsen the problem. Let’s ensure you avoid these pitfalls and get your sprayer back in top shape efficiently.Overlooking The Sprayer Hose Connection
Neglecting to check the hose connection is a frequent error. This connection can become loose over time, leading to leaks. Double-check that the hose is tightly secured to both the sprayer and the faucet. A quick twist might be all that’s needed to solve the problem.Ignoring Clogs In The Sprayer Head
A clogged sprayer head is often the culprit behind weak water flow. Many people forget to clean the tiny holes in the sprayer head. Use a toothpick or a small brush to clear out any debris. This simple step can dramatically improve water flow.Not Turning Off The Water Supply
Forgetting to shut off the water supply is a mistake you definitely want to avoid. This can lead to flooding your kitchen when you disconnect parts. Always turn off the water valves under the sink before starting any repair work.Failing To Test The Sprayer After Repair
Once you’ve fixed the issue, it’s tempting to pack up your tools and call it a day. However, not testing the sprayer can mean missing out on identifying other underlying issues. Turn the water back on and test the sprayer for leaks or weak flow, ensuring everything is working as it should.Using The Wrong Tools
Using incorrect tools can strip nuts and cause more damage. Ensure you have basic tools like adjustable wrenches and pliers. Having the right tools on hand makes the repair process smoother and prevents further damage. Repairing your kitchen sink sprayer can be a straightforward task if you avoid these common mistakes. Keeping these pointers in mind will help you tackle the repair confidently. Have you made any of these errors before? Share your experiences in the comments below.When To Call A Professional
Leaking or low pressure issues often signal the need for expert help. Frequent clogs or persistent problems require a professional’s touch. Complex repairs ensure your kitchen sink sprayer functions efficiently.
When your kitchen sink sprayer stops working, you try to fix it. But sometimes, professional help becomes necessary. Knowing when to call a plumber can save time and prevent damage. Here are some signs that indicate you need expert assistance.Persistent Leaks
If the sprayer leaks continuously, it’s a problem. You might see water pooling under the sink. This can lead to mold and damage. A professional can identify and fix the source of the leak.Low Water Pressure
Low pressure can result from clogs or faulty parts. If cleaning the sprayer doesn’t help, call an expert. They have tools to diagnose and resolve pressure issues efficiently.Strange Noises
Strange noises when using the sprayer indicate trouble. It could be air trapped in the line or a broken part. A plumber can pinpoint the cause and fix it safely.Complex Repairs
Some repairs require specialized tools and skills. If the job seems too complex, it’s best to call a plumber. They ensure the repair is done correctly and safely.Reoccurring Issues
If the same problem keeps happening, get professional help. They can find underlying issues and provide a lasting solution.Water Damage Signs
Water stains or dampness around the sink are serious. They suggest leaks that need urgent attention. A plumber can assess and repair the damage to prevent further issues.Tips For Future Maintenance
Maintaining your kitchen sink sprayer is crucial to ensure it serves you well for years. While repairing it might seem daunting, regular maintenance can prevent frequent issues and prolong the life of your sprayer. By incorporating some simple routines, you can keep your kitchen sprayer in top-notch condition without much hassle.
Routine Checks
Regularly inspect your kitchen sink sprayer for any signs of wear and tear. Look for leaks, cracks, or any unusual performance issues. Catching these early can save you from more significant repairs down the line. Make it a habit to check the sprayer every few weeks, especially if it’s used frequently.
Keep an eye on the hose as well. Ensure it’s not twisted or kinked as this can affect water flow and lead to damage. A quick visual inspection can help you spot potential problems before they become costly.
Using Quality Parts
When replacing parts, always opt for quality over cost-saving alternatives. Using high-quality parts can prevent frequent breakdowns and ensure smoother operation. While it might be tempting to go for cheaper options, investing in durable parts pays off in the long run.
Think about it: would you prefer spending a bit more now for peace of mind or deal with constant repairs? Quality parts often come with warranties, offering added assurance. Consider this next time you need a replacement, and you’ll likely notice the difference in performance.
Remember, a well-maintained kitchen sink sprayer not only saves you money but also enhances your kitchen experience. What simple maintenance tips have saved you from a kitchen mishap? Share in the comments!
Credit: www.amazon.com
Frequently Asked Questions
How To Fix Spray Nozzle On Kitchen Sink?
Turn off the water supply under the sink. Remove the spray nozzle. Clean or replace the nozzle if blocked. Reattach securely. Ensure hose connections are tight. Turn on the water supply and test for leaks.
Can You Replace Just The Sink Sprayer?
Yes, you can replace just the sink sprayer. Disconnect the old sprayer and attach the new one. Ensure compatibility with your faucet for a smooth replacement. Choose a sprayer that fits your style and needs. It’s a simple DIY project that can improve your kitchen’s functionality and appearance.
How To Fix A Dripping Kitchen Sink Sprayer?
To fix a dripping kitchen sink sprayer, check for a loose connection. Tighten the spray head and hose. Inspect for worn-out washers or O-rings and replace them. Clean any debris from the spray nozzle. Ensure all parts are securely reassembled.
Test for leaks by turning the water on.
Why Is There No Pressure In My Kitchen Sink Sprayer?
Low pressure in a kitchen sink sprayer can result from clogs, damaged hoses, or faulty diverter valves. Check for blockages in the nozzle or hose. Ensure the diverter valve functions correctly. Inspect connections for leaks. Regular maintenance and cleaning can prevent pressure issues.
Conclusion
Fixing a kitchen sink sprayer can be simple. Start by checking the hose. Look for leaks or damage. Replace the hose if needed. Clean the sprayer head regularly. Mineral buildup can cause problems. Use vinegar to remove deposits. Tighten connections to prevent leaks.
If the sprayer still doesn’t work, consider replacing it. Choose a new sprayer that fits well. Follow installation instructions carefully. Regular maintenance keeps your sprayer working. A functional sprayer makes kitchen tasks easier. Repairing it saves money on replacements. Happy fixing and enjoy your sprayer’s smooth operation!