
Are you ready to give your kitchen a fresh new look without breaking the bank? Uninstalling your kitchen cabinets is the first step towards a stunning transformation.
Imagine how satisfying it will be to create a space that reflects your style and meets your needs. Whether you’re planning a complete kitchen makeover or just updating a few elements, knowing how to uninstall your kitchen cabinets safely and efficiently is crucial.
In this guide, you’ll discover simple, step-by-step instructions that make the process as easy as pie. Dive in to learn how you can take control of your kitchen renovation and achieve the look you’ve always dreamed of. Your perfect kitchen is just a few steps away!
Tools And Materials Needed
Gather a screwdriver, a pry bar, and a utility knife. Protective gloves and safety goggles are essential for safe removal. Keep a flashlight handy to illuminate hard-to-see areas.
Uninstalling kitchen cabinets requires the right tools and materials. This ensures a smooth and efficient process. Using the right equipment helps avoid damage to walls and floors. Knowing what you need beforehand saves time and frustration.Tools Required
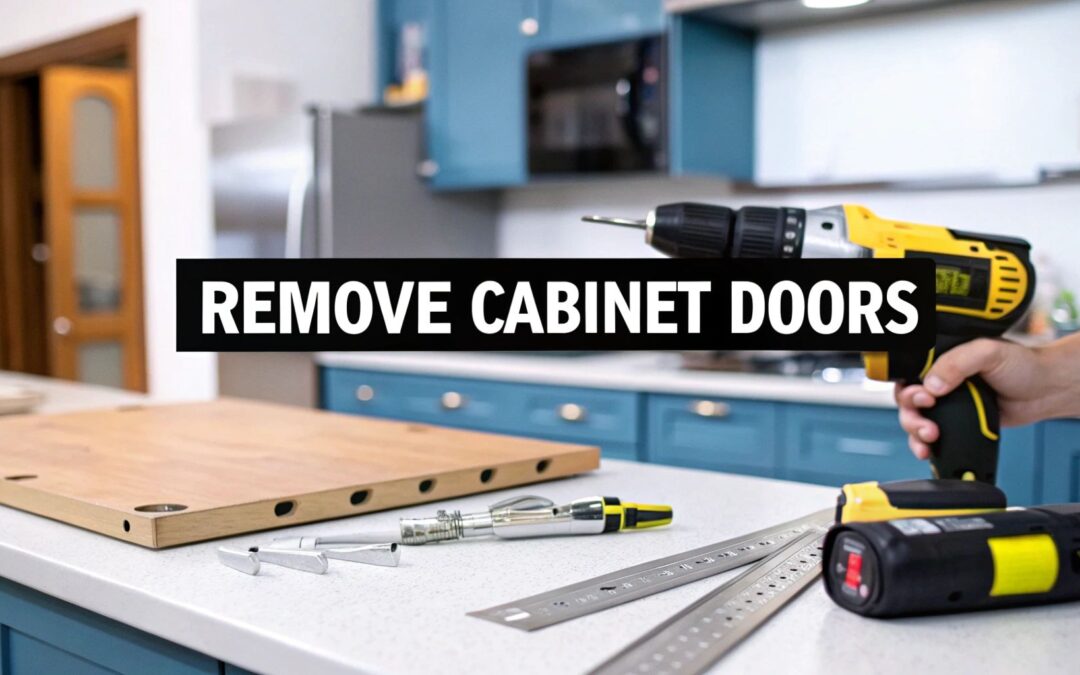
- Screwdriver: Essential for removing screws holding cabinets.
- Drill: Speeds up the process of unscrewing.
- Hammer: Useful for loosening stubborn parts.
- Utility Knife: Cuts through sealants or caulking.
- Pry Bar: Assists in gently prying cabinets from walls.
- Stud Finder: Locates wall studs to prevent damage.
- Level: Ensures cabinets are removed evenly.
Materials Needed
- Drop Cloths: Protects floors from dust and debris.
- Masking Tape: Marks edges and prevents chipping.
- Safety Glasses: Shields eyes from flying particles.
- Gloves: Protects hands from sharp edges and splinters.
- Bucket: Holds small parts and screws during removal.
Credit: sinclaircabinets.com
Preparation Steps
Uninstalling kitchen cabinets requires careful planning and preparation. Proper steps ensure a smooth process. Begin with organizing your workspace. It minimizes mess and ensures safety.
Clear The Area
Remove everything near the cabinets. This includes appliances, furniture, and decor. Free space helps in easy movement. It reduces the risk of accidents or damage.
Turn Off Utilities
Safety comes first. Turn off the water supply. Disconnect any electrical connections. This prevents accidents during the uninstallation process. Double-check to ensure all utilities are off.
Remove Cabinet Contents
Empty all cabinets. Take out dishes, glasses, and food items. Use labeled boxes for organization. This keeps your items safe and sorted. Cleaning the cabinets before removal is helpful.
Removing Cabinet Doors And Drawers
Taking off cabinet doors and drawers involves unscrewing hinges and handles. Carefully remove screws and slide drawers out. Label parts for easy reinstallation later.
Removing kitchen cabinets can seem like a daunting task, especially when you’re starting with the doors and drawers. But with a little patience and the right approach, you can tackle this DIY project with confidence. Begin by gathering your tools and setting aside some dedicated time. Remember, the key is to take it one step at a time and pay attention to details.Unscrew Hinges
The first step in removing cabinet doors is to unscrew the hinges. Use a screwdriver to carefully remove the screws that secure the hinges to the cabinet frame. As you do this, support the door with one hand to prevent it from dropping or damaging the cabinet surface. Place the screws and hinges in a labeled container to keep everything organized for later use or disposal.Detach Drawers
To remove the drawers, begin by pulling them out as far as they will go. Most drawers have a release mechanism that allows them to be fully detached. Look for a lever or button on the side of the drawer track. Press or lift it to release the drawer from the track. Carefully slide the drawer out completely, and store it in a safe place. Are you finding it easier than you expected, or is there a challenge you didn’t anticipate? This step-by-step approach not only makes the task manageable but also ensures you can reinstall or dispose of your cabinets with ease.
Credit: www.arc-cabinetry.com
Detaching Countertops
Detaching countertops is a key step in uninstalling kitchen cabinets. Carefully remove any sealant or screws holding the countertop. Lift gently to avoid damaging surrounding areas.
Detaching countertops is a crucial step in the process of uninstalling kitchen cabinets. This task requires precision and care to avoid damaging the countertops or the cabinets. Whether you’re remodeling your kitchen or replacing old cabinetry, understanding the nuances of this process will make your DIY project smoother. Have you ever wondered what lies beneath that shiny surface? Let’s explore the steps to safely detach your countertops.Remove Fasteners
Start by locating the fasteners that hold the countertops in place. These are usually screws or bolts found underneath the counter, accessible from inside the cabinets. Use a flashlight if necessary to spot them clearly. Gather a screwdriver or wrench, depending on the type of fasteners used. Carefully unscrew each fastener, ensuring you keep them in a safe place for future use or disposal. As you remove these fasteners, pay attention to any additional adhesive or sealant that might be holding the countertop down.Lift Off Countertops
Once all fasteners are removed, it’s time to lift the countertop. This step might require an extra pair of hands, especially if the countertop is large or heavy. Position yourself on one side and have a helper on the other side. Gently lift the countertop, starting from one end, and work your way across. Be mindful of any remaining adhesive that might resist the lift; use a knife or scraper if needed to gently break the seal. Think about the moment when the countertop comes free. Does it feel like uncovering a secret hidden beneath for years? Now, imagine the possibilities for your newly open space.Taking Down Wall Cabinets
Uninstalling kitchen cabinets involves removing doors, loosening screws, and carefully detaching units from the wall. Ensure safety by supporting cabinets during removal.
Taking down wall cabinets can seem daunting at first, but with a bit of planning and the right approach, it becomes a manageable task. Whether you’re remodeling your kitchen or simply replacing outdated cabinets, knowing how to properly remove them is crucial. Imagine the satisfaction of watching your kitchen transform, starting with the removal of those old wall cabinets.Locate And Remove Screws
The first step in taking down wall cabinets is identifying the screws that hold them in place. Cabinets are typically secured with screws through the back panel into the wall studs. Use a flashlight to find these screws, especially in dimly lit areas. Once located, use a screwdriver or power drill to remove them carefully. Keep the screws in a container or bag to avoid losing them, as they can be repurposed or recycled.Support Cabinets During Removal
Supporting the cabinets during removal is crucial to prevent damage or injury. Once the screws are removed, the cabinets can become unstable and may fall. Consider having a friend or family member assist you. Having an extra set of hands can make the process smoother and safer. Alternatively, using a sturdy ladder or support brace can provide the necessary stability. Think of it as teamwork; you’re not just removing cabinets, you’re ensuring safety and preserving your kitchen space. What would you do if a cabinet slipped during removal? Planning ahead with proper support can save you from a kitchen disaster.Removing Base Cabinets
Removing base cabinets involves careful dismantling. Begin by clearing out contents and unscrewing them from the wall. Next, gently detach the cabinet from surrounding structures to avoid damage.
Removing base cabinets can be an exciting project, transforming your kitchen space and offering a fresh canvas for new designs. The task might seem daunting at first, but with a little patience and the right approach, you can tackle it effectively. The key is to break down the process into manageable steps, ensuring you don’t damage your kitchen or yourself in the process.Cut Sealant Lines
Start by examining the sealant lines along the edges of your base cabinets. These lines secure the cabinet to the wall and countertop. Use a utility knife to carefully cut through the sealant. Work slowly to avoid damaging the wall or countertop surfaces. This step is crucial to ensure the cabinets can be removed without leaving unsightly marks or causing unnecessary repairs. Remember, precision is your best friend here.Unfasten From Wall And Floor
Once you’ve cut the sealant, it’s time to unfasten the cabinets from the wall and floor. Cabinets are typically secured with screws or nails. Use a screwdriver or a power drill to remove these fasteners. Start with the screws on the inside of the cabinet, then work on any that might be securing the cabinet from the outside. Don’t forget to check for hidden screws, especially in corners or beneath shelves. After removing the screws, gently rock the cabinet to ensure it is free from all attachments. This movement can help identify any missed fasteners. Have a friend help you lift the cabinet out of place once it’s fully detached to avoid injury. Do you remember the last time you tackled a home project and found an unexpected obstacle? This can be one of those moments, but with patience and attention, you’ll clear the path to a refreshed kitchen space.Cleaning Up After Removal
Removing kitchen cabinets requires careful cleanup to ensure a tidy space. Dispose of debris and hardware responsibly. Sweep and vacuum the area to remove dust and particles.
After removing kitchen cabinets, a thorough clean-up is essential. This process ensures a tidy space for any new installations or renovations. Begin by addressing leftover debris and dust. Use a vacuum and damp cloth to remove all particles. This step is crucial for a clean working area and future installation. Once the dust settles, it’s time to tackle the larger tasks.Dispose Of Old Cabinets
Old cabinets can clutter your space if left unattended. You have several options for disposal. First, check if local waste services offer bulk pickup. If not, consider donating cabinets to charities or recycling centers. Some organizations accept usable materials. This choice benefits your community and reduces landfill waste. Another option is selling them online if they are in good condition. This can earn you extra cash and clear space quickly.Repair Wall And Floor Damage
Removing cabinets may reveal wall and floor damage. Assess the area for scratches or holes. Use filler to patch wall imperfections. For larger holes, apply a patch and smooth it out. Sand the area for a seamless finish. Floors may have dents or scratches. Buff out minor scratches using floor polish. For deeper damage, consider replacing affected floorboards. A smooth, repaired surface is vital for installing new cabinets. This ensures a perfect fit and lasting durability.
Credit: crystelmontenegrohome.com
Frequently Asked Questions
How Do I Start Uninstalling Kitchen Cabinets?
Begin by emptying all cabinets and removing the doors. Unscrew hinges and detach the hardware carefully. This helps avoid damage and makes the process easier.
What Tools Are Needed For Cabinet Removal?
You’ll need a screwdriver, drill, pry bar, and safety gear. These tools help safely detach cabinets from walls, ensuring a smooth uninstallation process.
Can I Uninstall Cabinets Without Professional Help?
Yes, you can uninstall cabinets yourself with proper tools and guidance. Follow safety precautions and steps to ensure a successful and safe removal.
How Do I Safely Detach Cabinets From Walls?
Use a drill to unscrew fasteners and a pry bar for stubborn sections. This method prevents wall damage and facilitates easy cabinet removal.
Conclusion
Removing kitchen cabinets can seem challenging at first. But it’s manageable with clear steps. Start by gathering the right tools. Safety matters, so wear gloves and goggles. Follow each step carefully to avoid damage. Mark and label parts for easier reinstallation.
Ask for help if needed to lift heavy items. Patience is key. Taking your time ensures a smooth process. Soon, you’ll have a fresh space ready for new cabinets. Enjoy the satisfaction of a job well done. Feel confident in your DIY skills.
Ready for the next home project?