
Are you tired of that old, leaky kitchen sink faucet? Replacing it might seem like a daunting task, but it doesn’t have to be.
Imagine the satisfaction of upgrading your kitchen’s look and functionality all by yourself. Picture the ease of use and the modern touch a new faucet can bring. You deserve a kitchen that works efficiently and looks amazing. This guide is here to empower you with clear, simple steps to replace your kitchen sink faucet without the hassle or the expense of hiring a professional.
Dive in to discover how you can transform your kitchen space today!

Credit: www.youtube.com
Tools And Materials Needed
Gather basic tools like a wrench, pliers, and a basin wrench. Ensure you have plumber’s tape and a towel for water spills. Choose a new faucet and matching hoses to complete the setup.
Replacing a kitchen sink faucet might seem like a daunting task at first, but with the right tools and materials, it can be a straightforward DIY project. Before you dive in, make sure you have everything you need to avoid unnecessary trips to the hardware store. Preparation is key, and having the correct tools and materials will ensure a smooth and efficient replacement process.Tools Required
- Adjustable Wrench:Essential for loosening and tightening nuts.
- Pipe Wrench:Helpful for larger pipes that require extra grip.
- Phillips Screwdriver:Used for removing screws from the faucet.
- Plumber’s Tape:Prevents leaks at threaded joints.
- Bucket:To catch water when you disconnect the supply lines.
- Allen Wrench:Needed for removing the handle of some faucets.
Materials Needed
- New Faucet:Choose one that fits your sink’s configuration and style.
- Supply Lines:Sometimes new faucets come with these; double-check before purchasing.
- Gasket or Plumber’s Putty:Ensures a watertight seal between the faucet and sink.
- Optional: Basin Wrench:Useful in tight spaces where a regular wrench won’t fit.
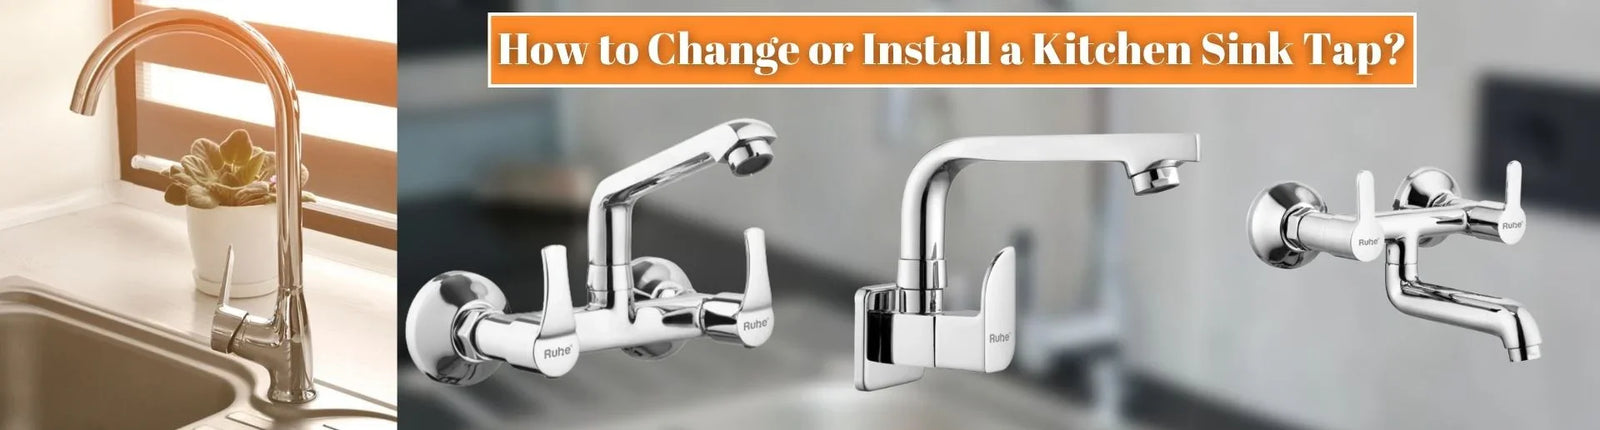
Credit: ruheindia.com
Preparation Steps
Turn off the water supply before starting. Gather necessary tools like a wrench and plumber’s tape. Clear under-sink area for easy access.
Replacing a kitchen sink faucet might seem daunting. Proper preparation simplifies the task. Before diving into the replacement, follow these crucial steps. They ensure a smooth process and prevent potential mishaps.Turn Off Water Supply
Begin by turning off the water supply. Locate the shut-off valves under the sink. Turn them clockwise to stop the water flow. If your valves are stuck, use a wrench gently. Check the faucet to confirm the water is off. This prevents water spills during replacement.Clear The Area
Clear the area around the sink. Remove items stored under the sink. This provides ample working space. It also avoids damage to your belongings. Keep a towel handy for any residual water. Organize your tools within reach. A clutter-free environment makes the task easier.Removing The Old Faucet
Start by turning off the water supply under the sink. Use a wrench to loosen and remove the old faucet.
Removing the old faucet can seem daunting, but it’s straightforward. This task involves a few simple steps. With the right tools and patience, you’ll succeed. Follow these steps to remove your old kitchen faucet.Disconnect Water Lines
Start by turning off the water supply. Look for valves under your sink. Turn them clockwise to stop the flow. Next, use a wrench to loosen the water lines. Place a bucket underneath to catch any drips. This prevents water from spilling onto the floor. Make sure both hot and cold water lines are disconnected.Unscrew Mounting Nuts
Locate the mounting nuts beneath the sink. Use a basin wrench to unscrew them. This tool helps reach tight spaces. Turn the nuts counterclockwise to loosen. Remove any washers or brackets holding the faucet. Keep these parts in a safe place. They might be useful later.Lift Out Old Faucet
Once loose, lift the old faucet out. Hold the base and pull upwards gently. If it sticks, wiggle it slightly to free it. Check for any remaining parts or sealant. Clean the sink area thoroughly. This ensures the new faucet fits perfectly. Now, you’re ready for the next step.Installing The New Faucet
Installing the new faucet can refresh your kitchen sink’s look. It is not difficult with the right steps. Follow these easy instructions to complete the task effortlessly.
Position The New Faucet
Start by placing the faucet into the designated hole. Ensure it’s centered for a balanced look. Align the faucet so it faces straight ahead. This positioning is crucial for proper function and aesthetics.
Secure With Mounting Nuts
Once positioned, fasten the faucet with mounting nuts. Use a wrench to tighten them securely. This step prevents any wobbling or movement. Check that the faucet remains aligned as you tighten.
Connect Water Lines
Attach the hot and cold water lines to the faucet. Make sure connections are snug to prevent leaks. Turn the water valves on and check for any drips. A tight connection ensures efficient water flow.
Testing The Installation
Check for leaks or loose connections after installing the new kitchen sink faucet. Turn on the water supply and test both hot and cold water flows. Adjust any fittings if necessary to ensure a secure and efficient installation.
After installing a new kitchen sink faucet, testing the installation is crucial. This step ensures everything works smoothly and prevents future issues. Proper testing involves checking for leaks and ensuring the water flow is correct.Check For Leaks
Turn on both hot and cold water taps. Look under the sink for any drips or moisture. Use a flashlight to inspect hard-to-see areas. Pay close attention to connections and joints. Even small leaks can cause significant problems over time. Tighten any loose fittings you find. If leaks persist, consider using plumber’s tape for a better seal.Ensure Proper Water Flow
Test the water flow by running the faucet at full pressure. It should be steady and strong. Listen for any unusual sounds like sputtering or gurgling. These may indicate air trapped in the pipes. Run the water for a few minutes to clear any air. Check both hot and cold settings to confirm consistent flow. Adjust the faucet handle to ensure smooth operation.
Credit: www.youtube.com
Final Touches
After installing a new kitchen sink faucet, attention to detail ensures a polished finish. Final touches improve the overall look and functionality. Let’s explore how to seal the base and clean the area, creating a seamless experience.
Seal The Base
Apply a thin bead of silicone sealant around the faucet base. This prevents water from seeping underneath. Use a caulking gun for precise application. Smooth the sealant with your finger or a damp cloth. Ensure the seal is even and covers all gaps. Let the sealant dry as per the manufacturer’s instructions.
Clean The Area
Wipe down the sink area with a soft cloth. Remove any excess sealant or debris. Use a gentle cleaner to shine the faucet and surrounding surfaces. Check for any leaks at the connections. Tighten them if necessary. Ensure the faucet operates smoothly, without any drips or loose parts.
Frequently Asked Questions
Can I Replace My Kitchen Faucet Myself?
Yes, you can replace your kitchen faucet yourself. Basic plumbing skills and tools are needed. Carefully follow instructions and ensure water is off before starting. Consider watching DIY videos for guidance.
Do All Kitchen Faucets Fit All Kitchen Sinks?
Not all kitchen faucets fit all sinks. Compatibility depends on mounting holes and faucet configuration. Check sink specifications before purchasing.
Do You Need To Turn Water Off To Change A Kitchen Faucet?
Yes, you need to turn off the water supply before changing a kitchen faucet. Locate the shut-off valves under the sink and turn them clockwise to stop the water flow. This prevents leaks and makes the installation process smoother and safer.
Ensure water is completely off before proceeding.
Can You Change The Faucet On A Sink Without A Plumber?
Yes, you can change a faucet without a plumber. Gather tools like a wrench and screwdriver. Turn off water supply, remove the old faucet, and install the new one. Follow manufacturer instructions for best results. Ensure all connections are tight to prevent leaks.
It’s a straightforward DIY task.
Conclusion
Replacing a kitchen sink faucet is manageable. Follow these steps for success. First, gather tools and materials. Ensure you have a new faucet. Turn off water supply to prevent leaks. Remove old faucet carefully. Install the new faucet, securing it tightly.
Test for leaks once installed. Fix any issues immediately. Regular maintenance keeps your faucet in good shape. With patience, anyone can accomplish this task. Enjoy your refreshed kitchen space. Feel proud of your DIY achievement. This guide makes the process easier and clear.
Happy plumbing!